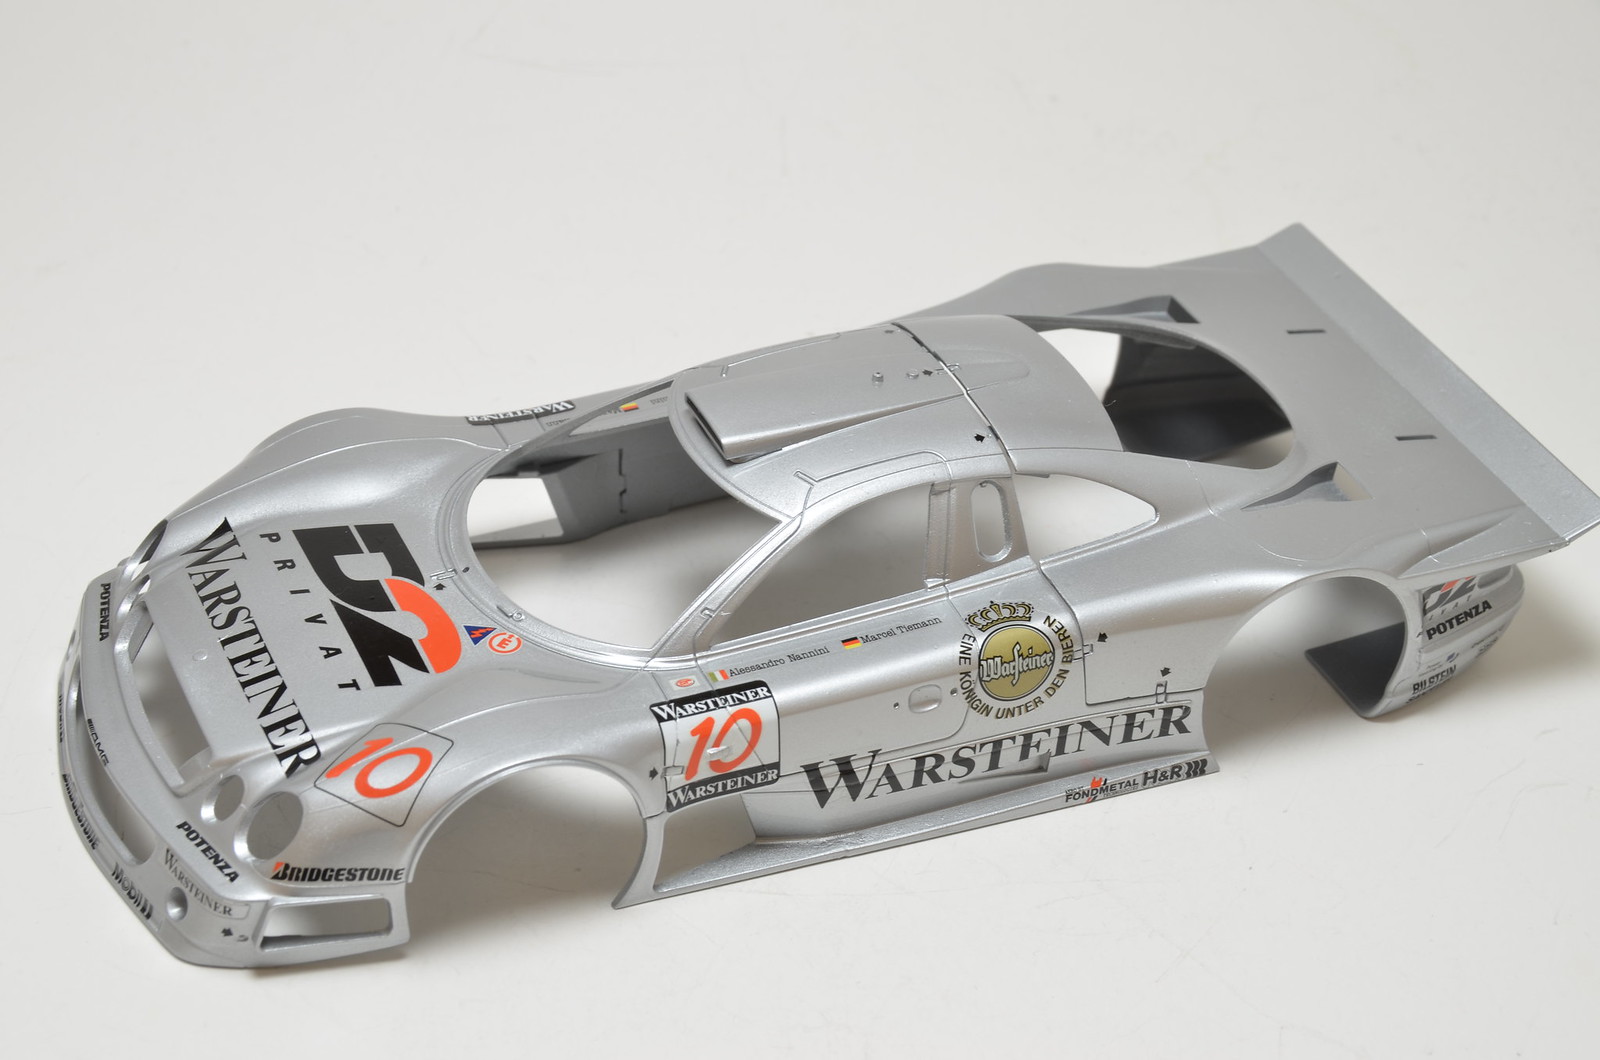
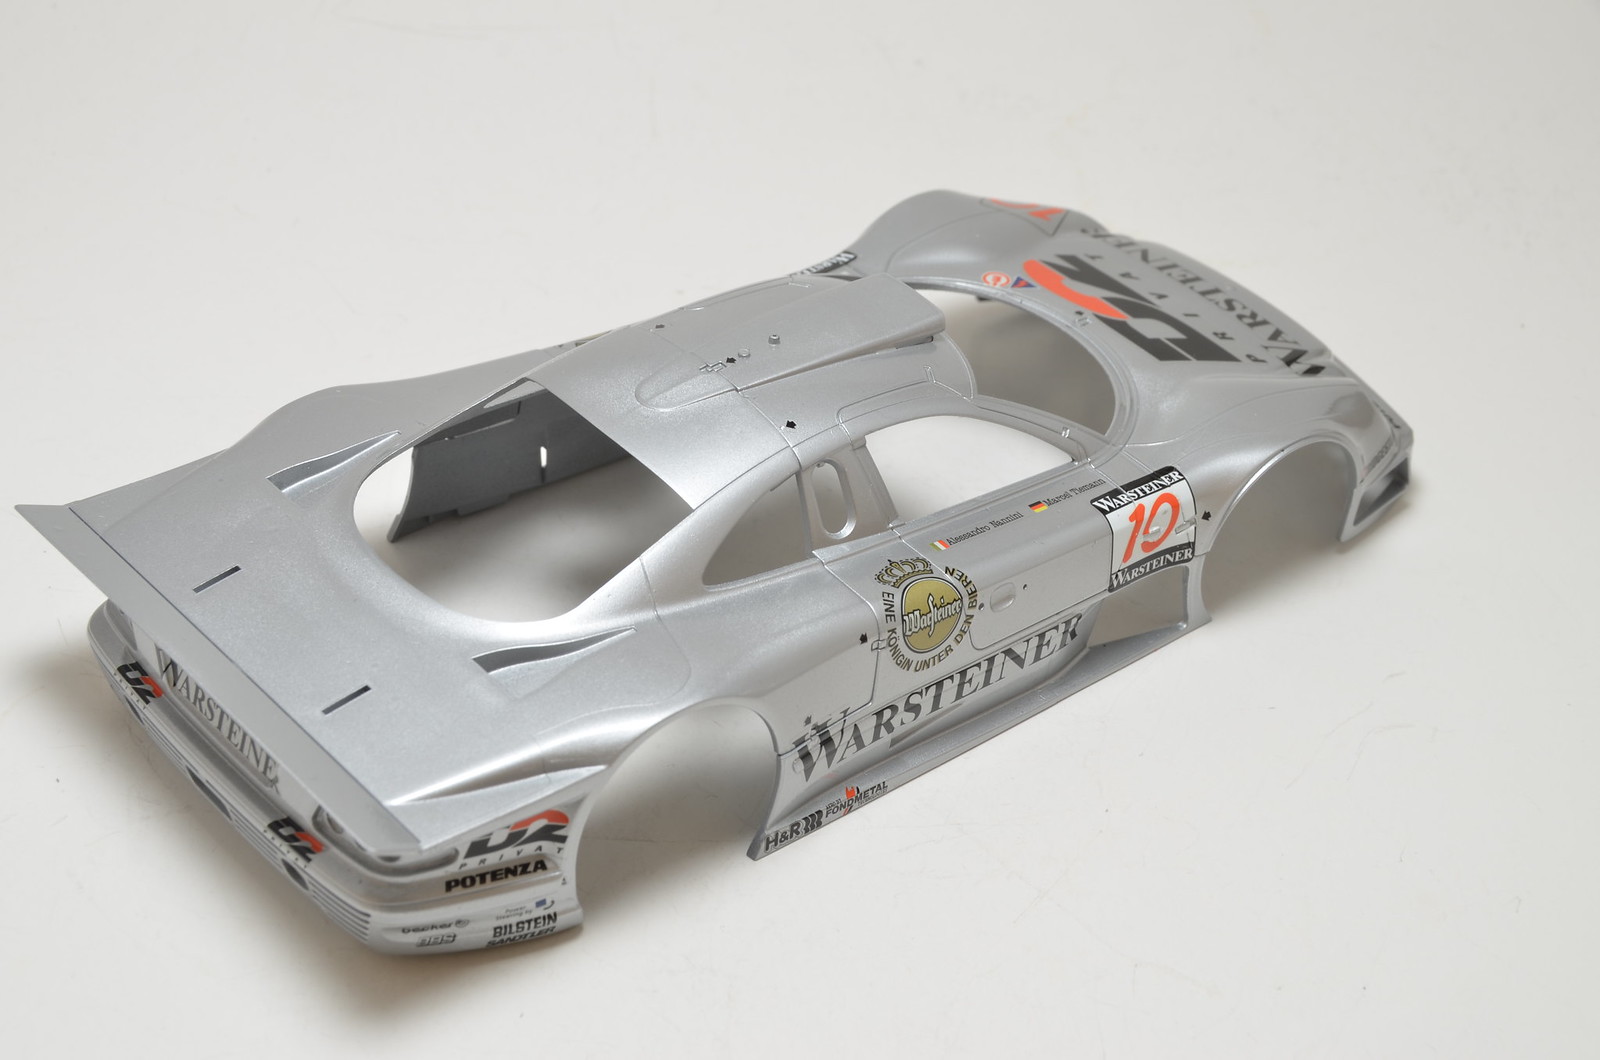
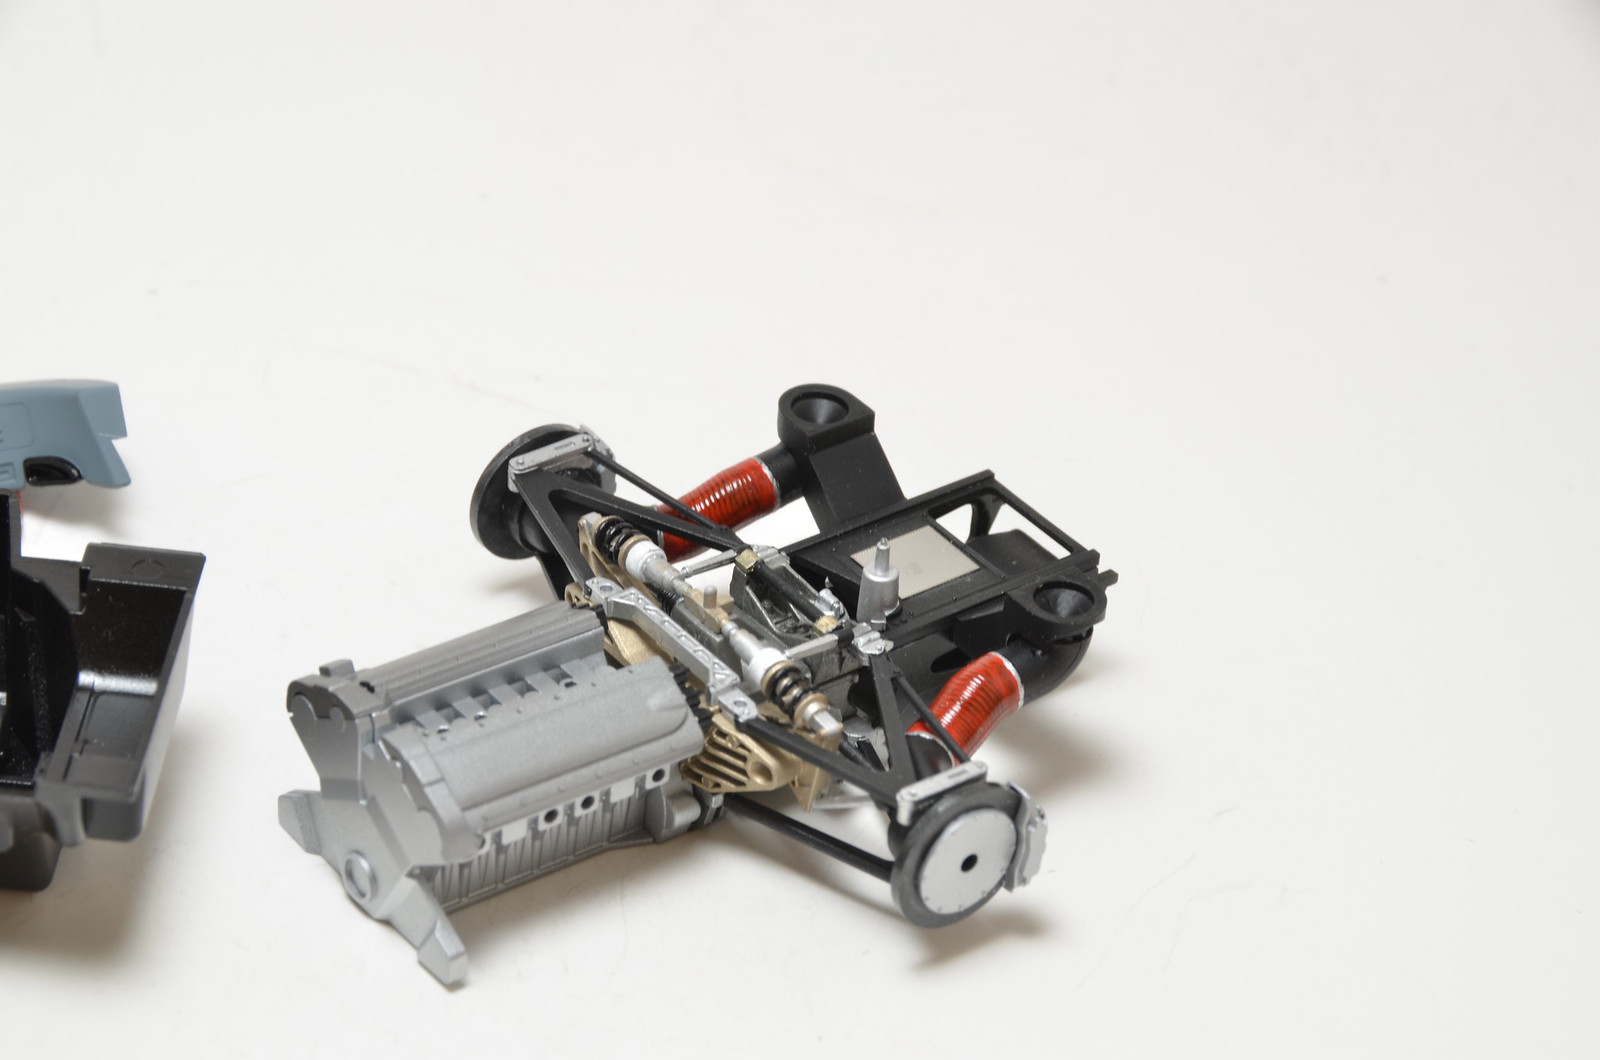
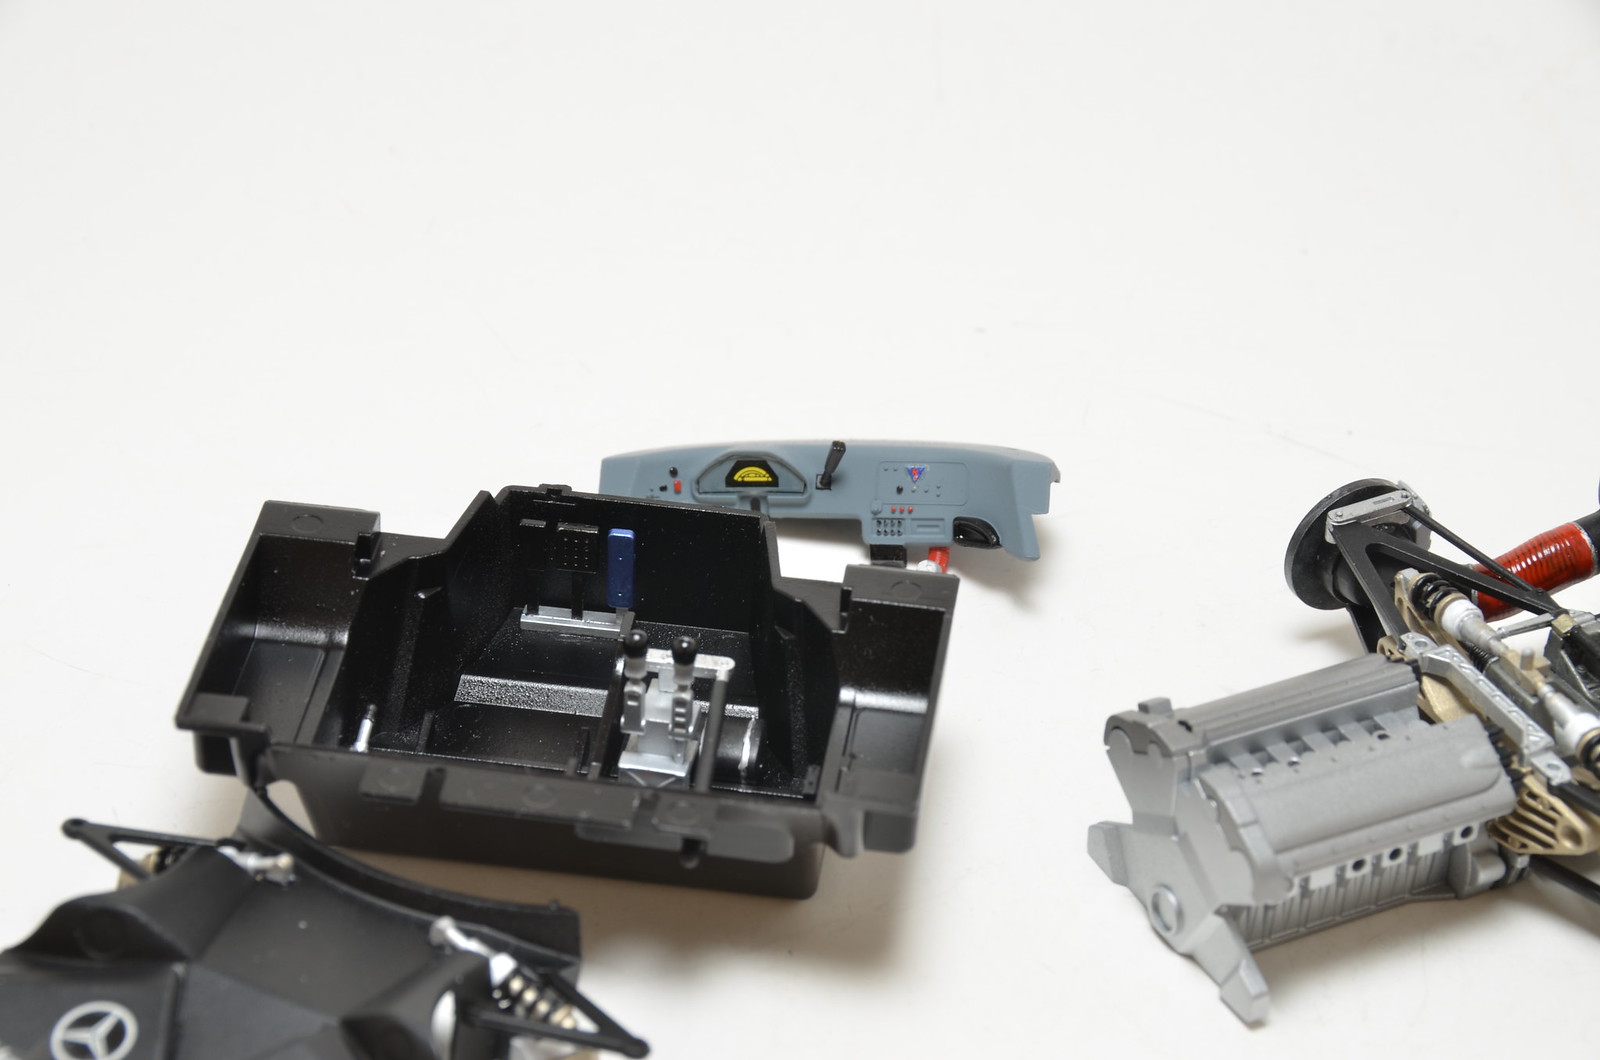
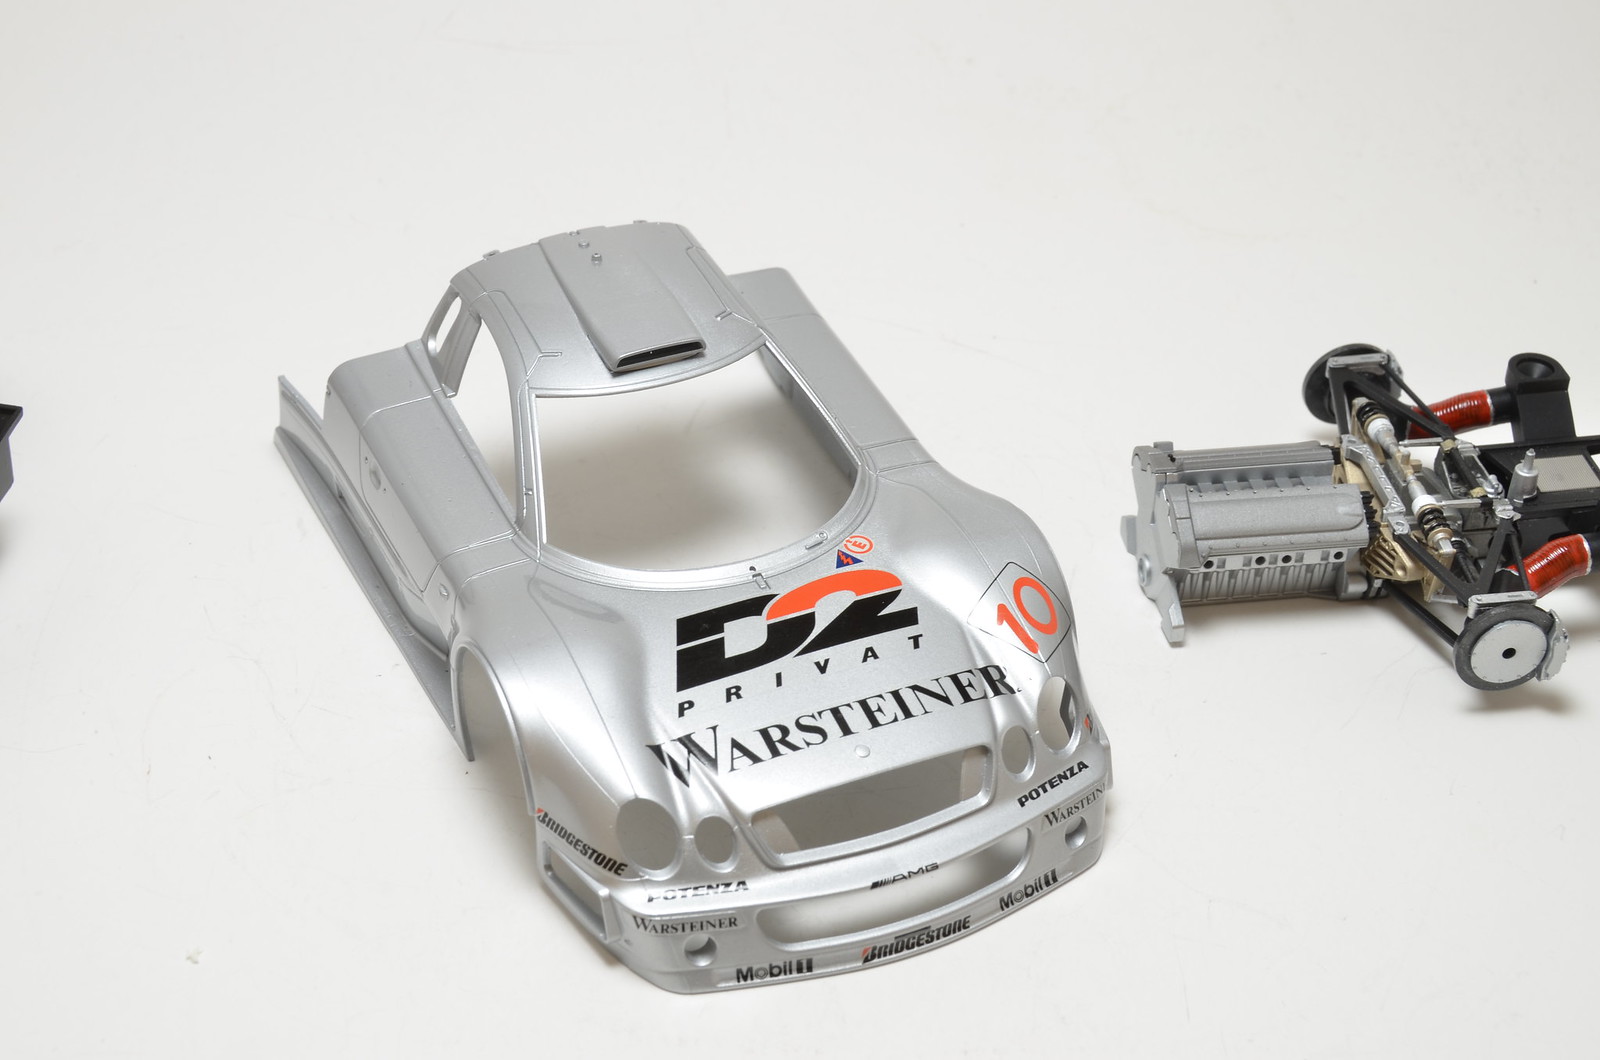
While my moto was going for this car, I've decided to finish all the livery decals on the body. Completed all last night. Next it is going to wait for clear coat and then wait till I get moto for it again mask and paint black inside and outside. I don't like those masking jobs, so wait could be quite long.
Sunday, November 27, 2016
Saturday, November 26, 2016
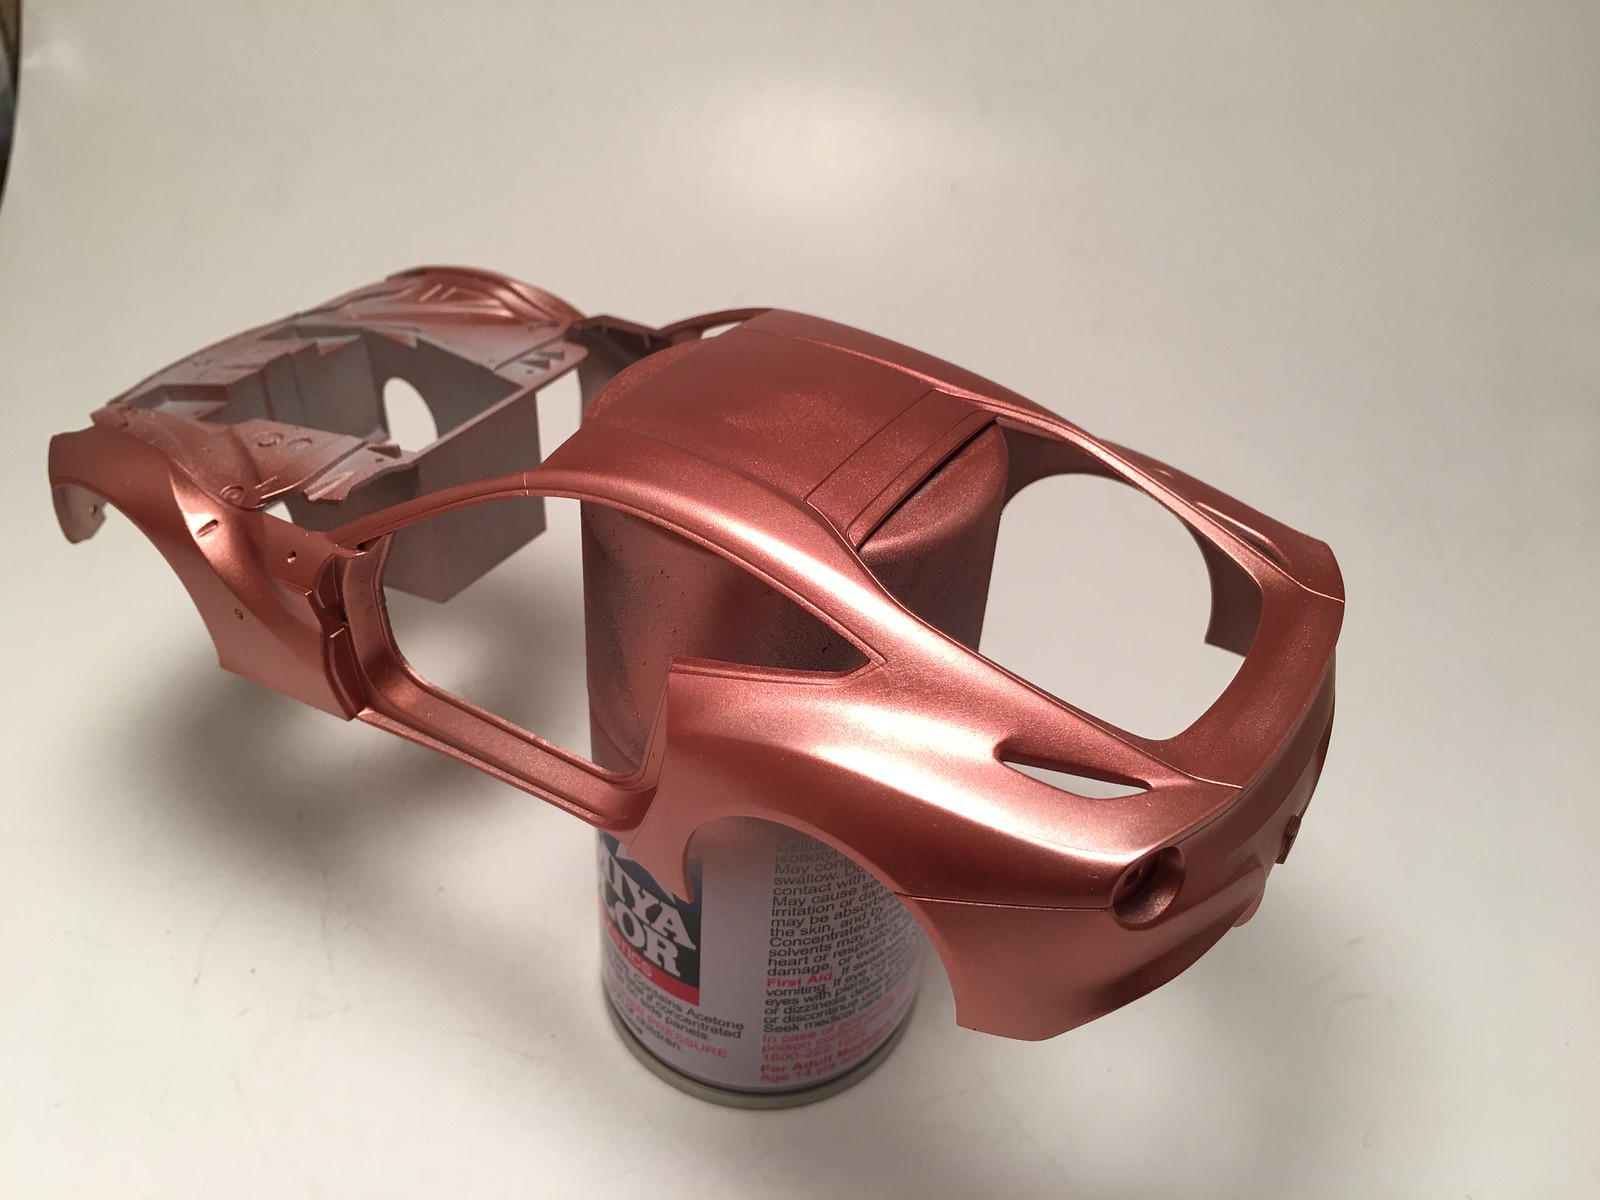
Painted F12's body
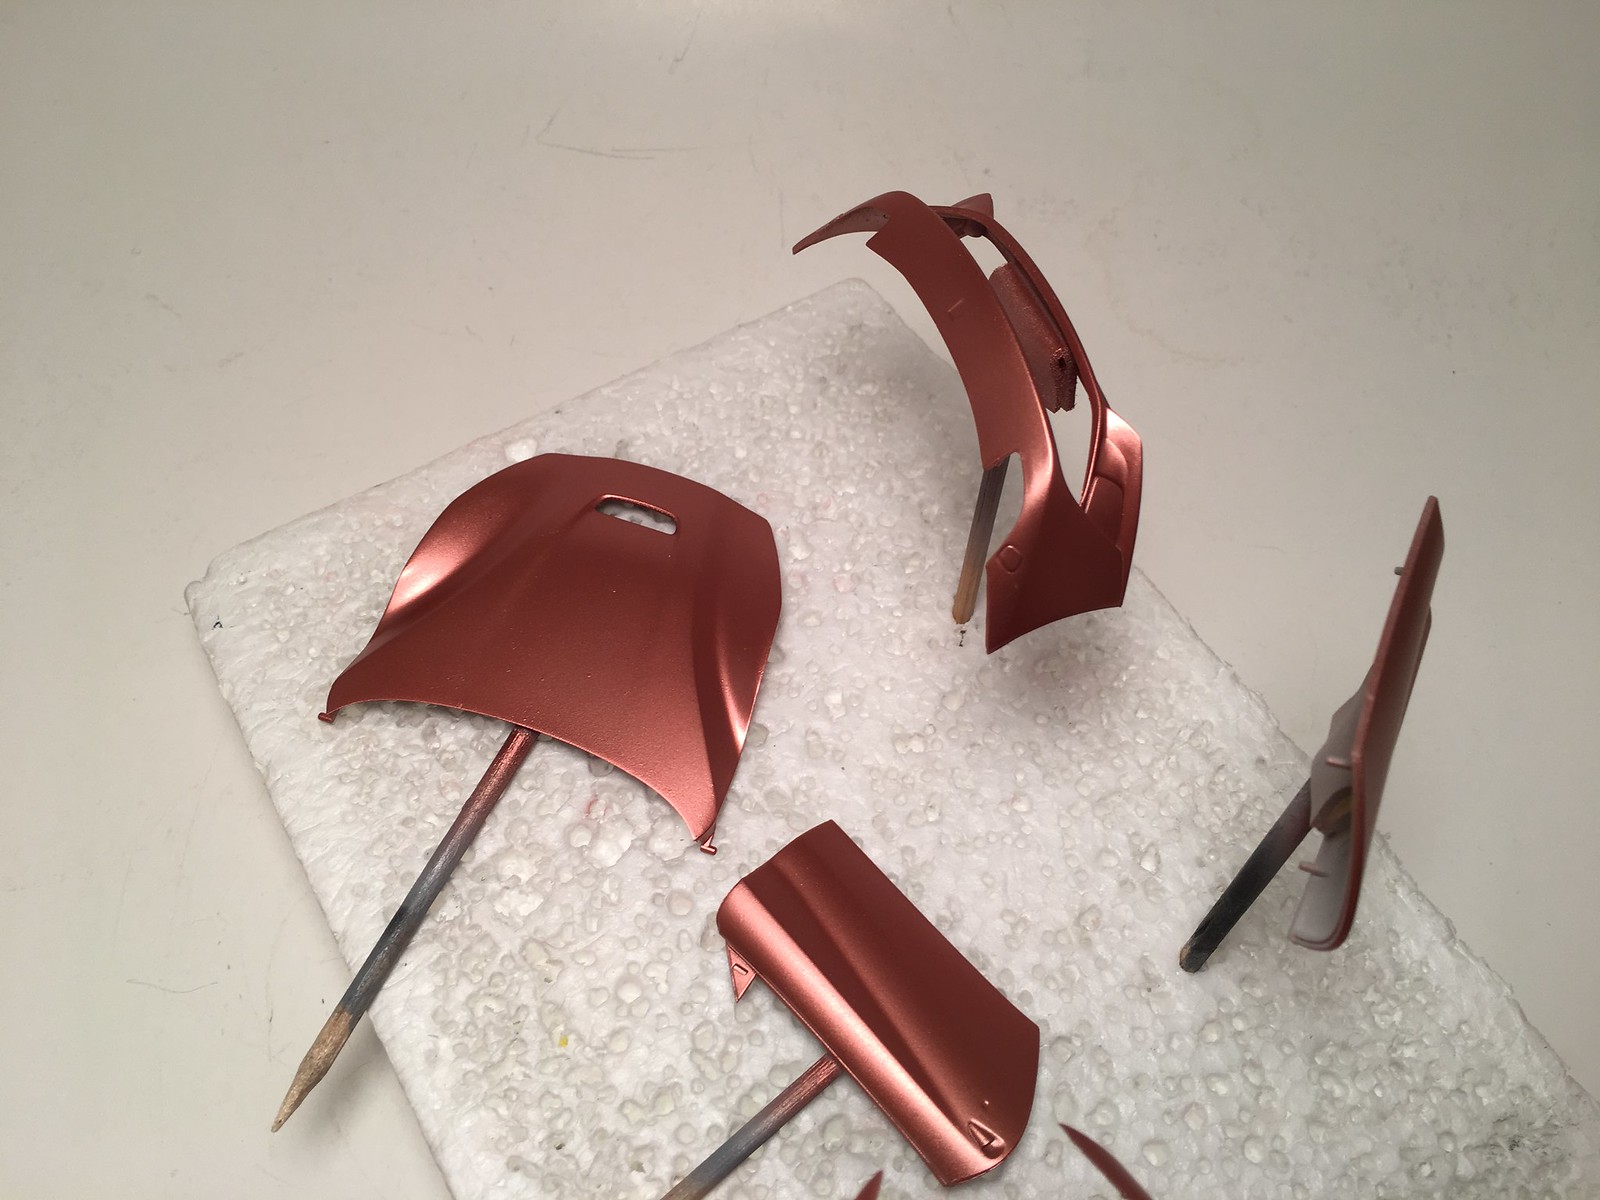
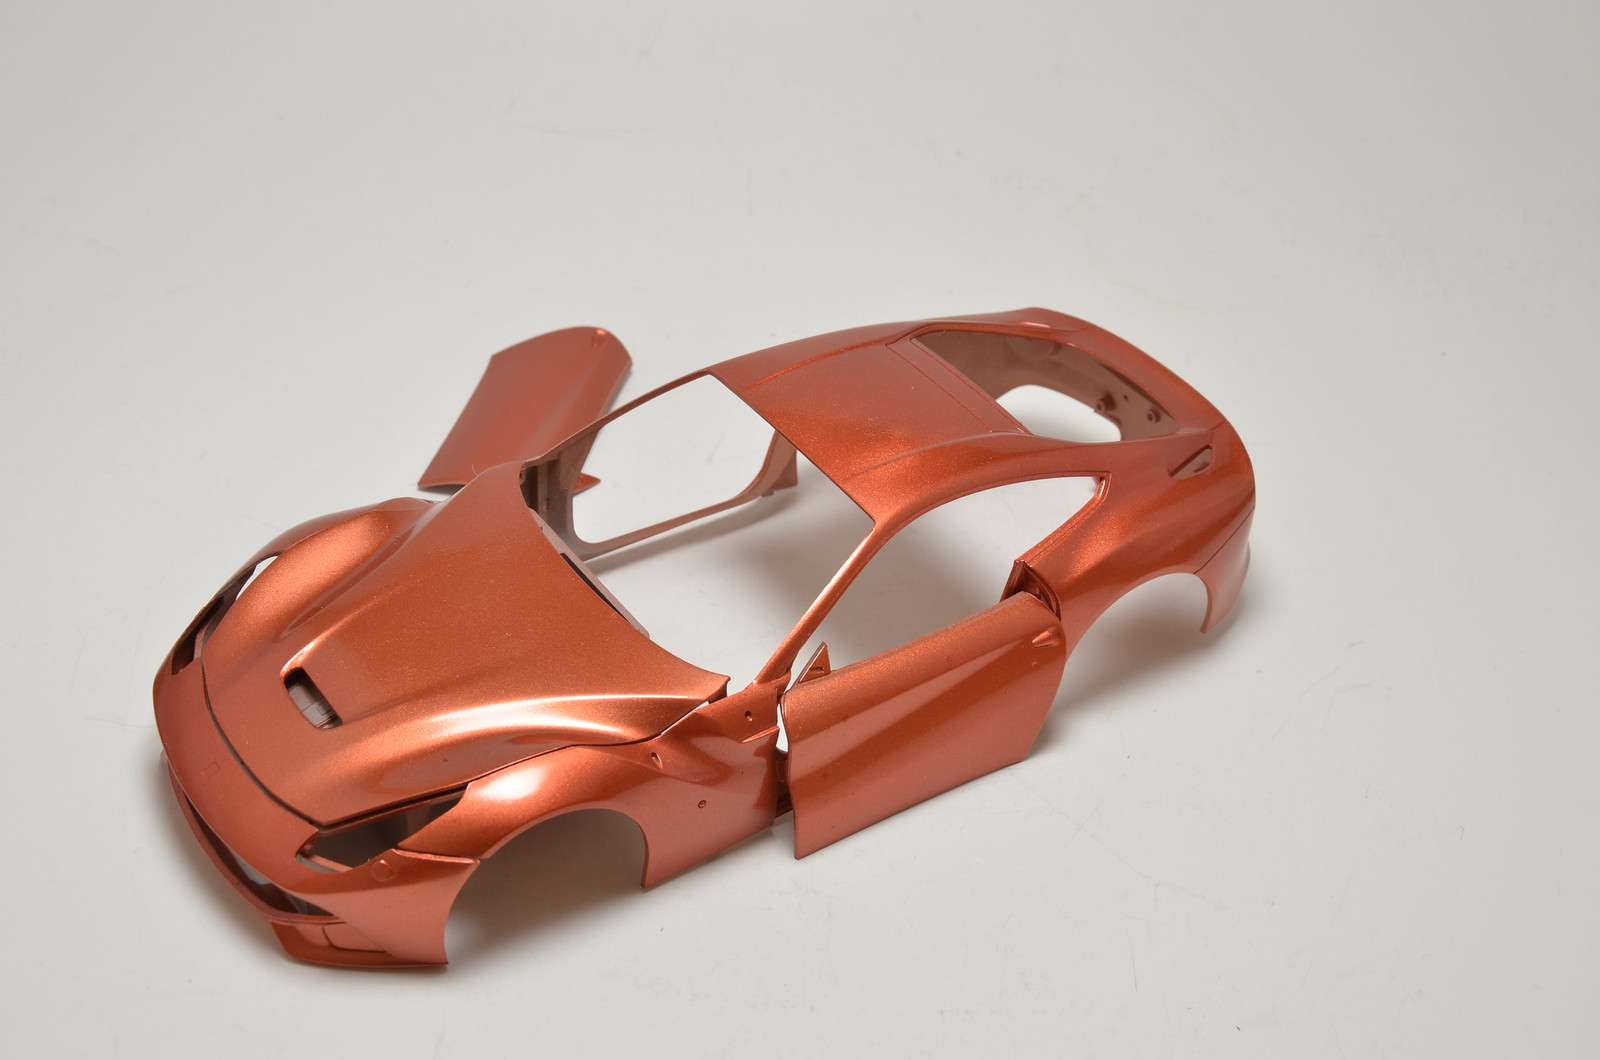
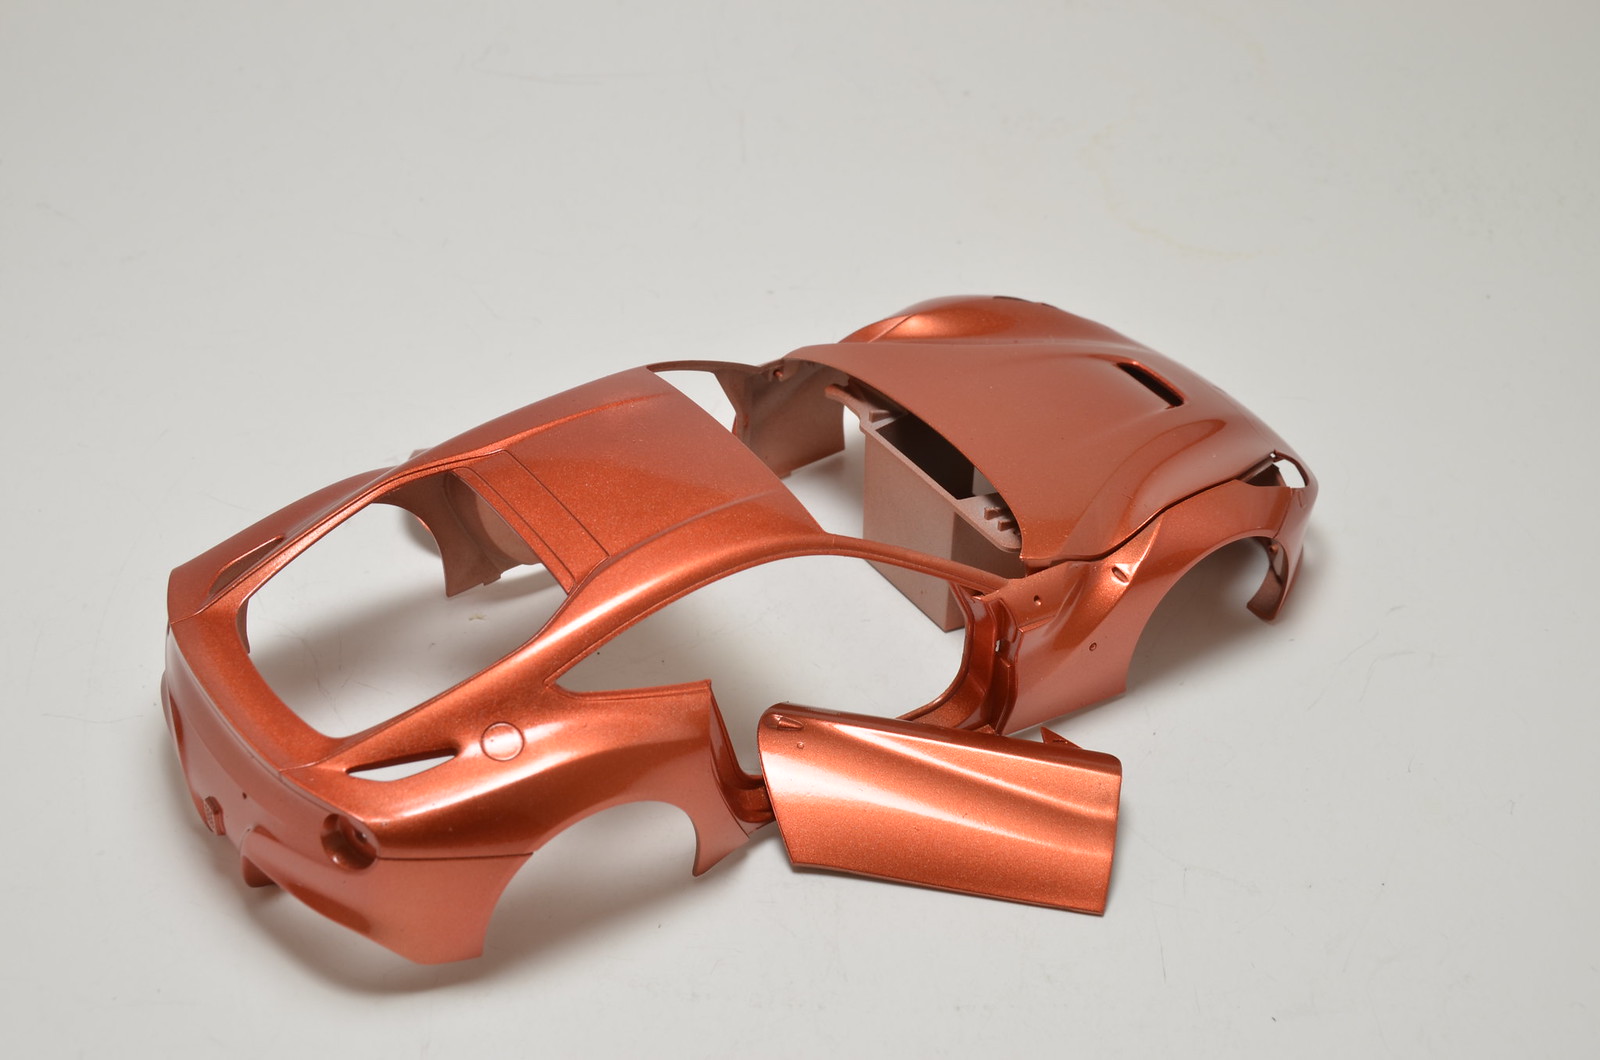
While doing experiments with different colours for F2008, I've decided to paint F12's body to see how Gravity paint looks like. Primed it in grey, sanded smooth and then applied Gravity paint. This particular paint is 2 colours set. First I've applied layers of base colour.
Even single base colour looked nice. But final shade could only be achived with second colour application. So, next final colour was applied and then 2K clear coat. Over all it looks nice, but has little in common with F2008 colours.
Assembly started for CLK-GTR
After long hiatus, this model finally made it back to my modeling table and I've started first assemblies on it. In the mean time clear coat was put onto body shell and I've brush painted details on various parts. I am pretty much following sequence from kit instructions. First assembly was engine, gearbox and rear suspension parts. No major issues. There were small fitting problems that I worked out with a bit of sanding. Next was front suspension. Attached dumpers/rockers to the top of front structure, then installed PE faces to radiators and put them in as well. Then I switched to cockpit assembly. Put in all the items, except for driver seat. Still need to complete seat belts, before I could install it. Added some items to dashboard too. That was as far as I could go with assembly before I got blocked by missing decals. So, I switched to decal application. Most of decals for internals are applied, but I need to decided, if I will put any kind of clear coat over them to hide silvering. Decals look fine over SG black in direct view, but at the angles decal film could be seen. After internal decals were done, I've started application on main livery decals. Kit is 16 years old and I've got 2 of them. 1 set of decals is in good shape, another is not really usable. So, I am using better one. Decals are going on fine. Just need warmer water to get them off the backing paper. I've chosen car number 10, becasue I plan to do championship winning car 11 fully detailed. And I think liver for #10 car is more rare.
Sunday, November 6, 2016
Undecided on the Red
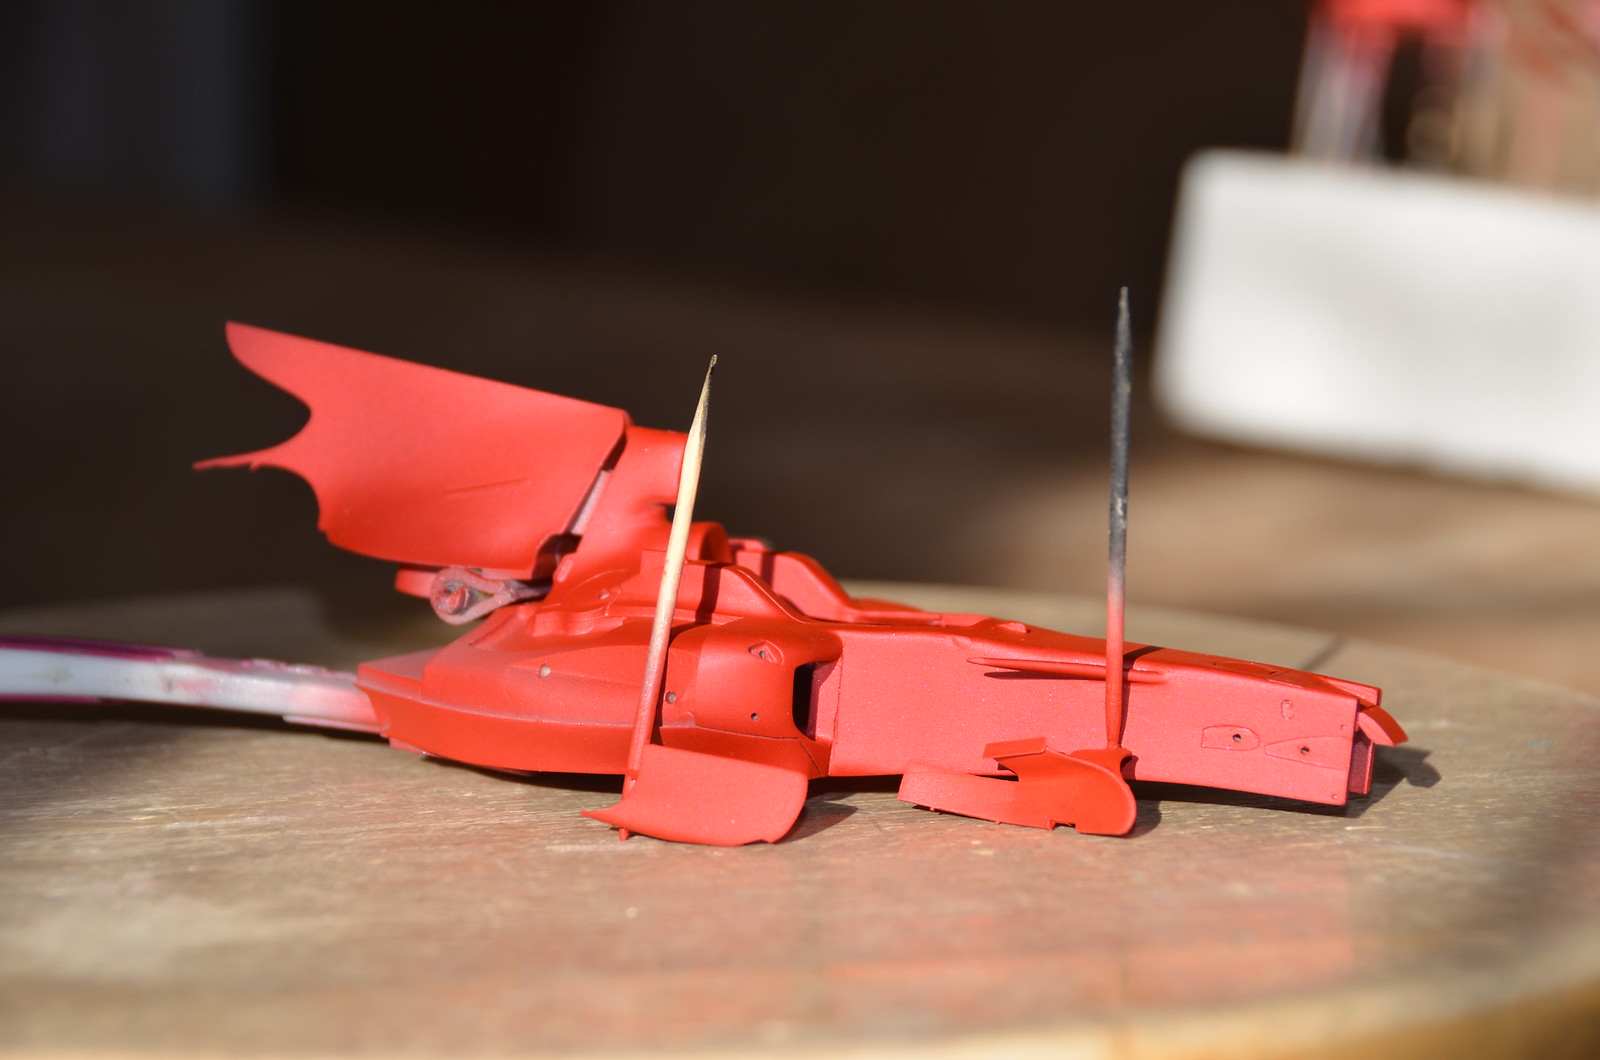
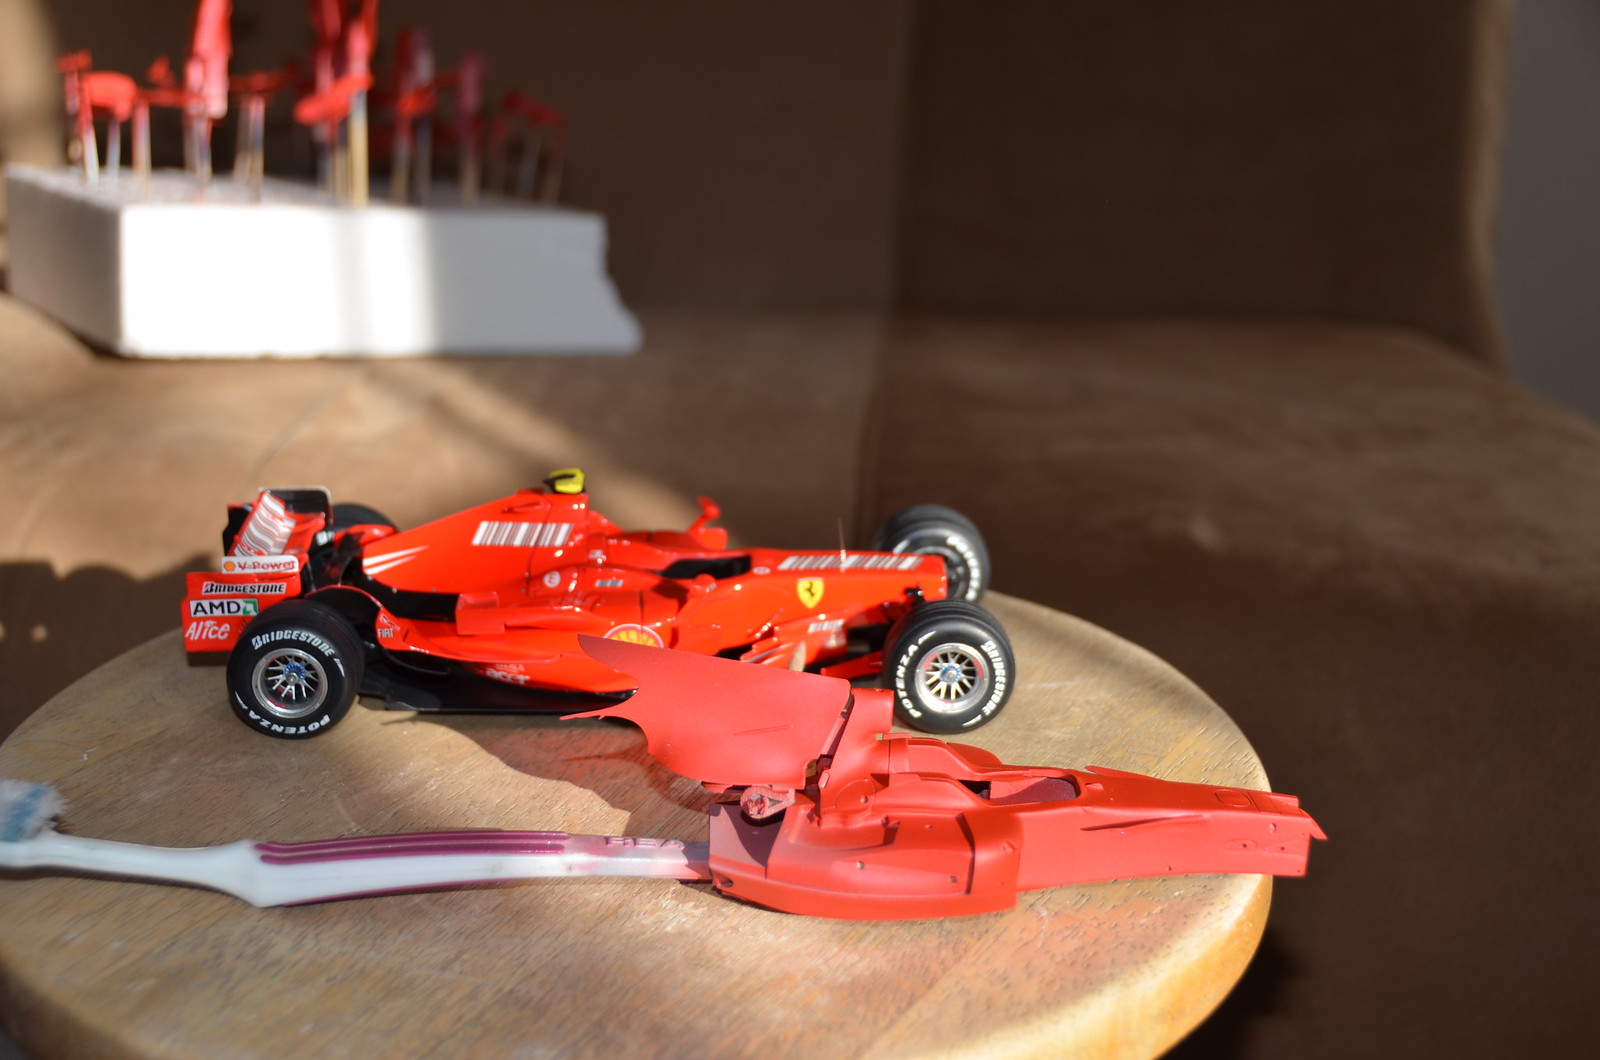
During recent push to finish other models for local contest, I had some time to finally get back to F2008. Finished prep tasks and primed F2008 parts. Then in mid October, I've put silver base paint on. This time I painted all parts separately, in a bid to get as light coverage of transparent red as possible. In the end of October I put red on. It went on better then last time. But it looks darker. I am afraid hiroboy sent me wrong mix. I have noticed this in the past. His light colours are not 100% consistent between batches.
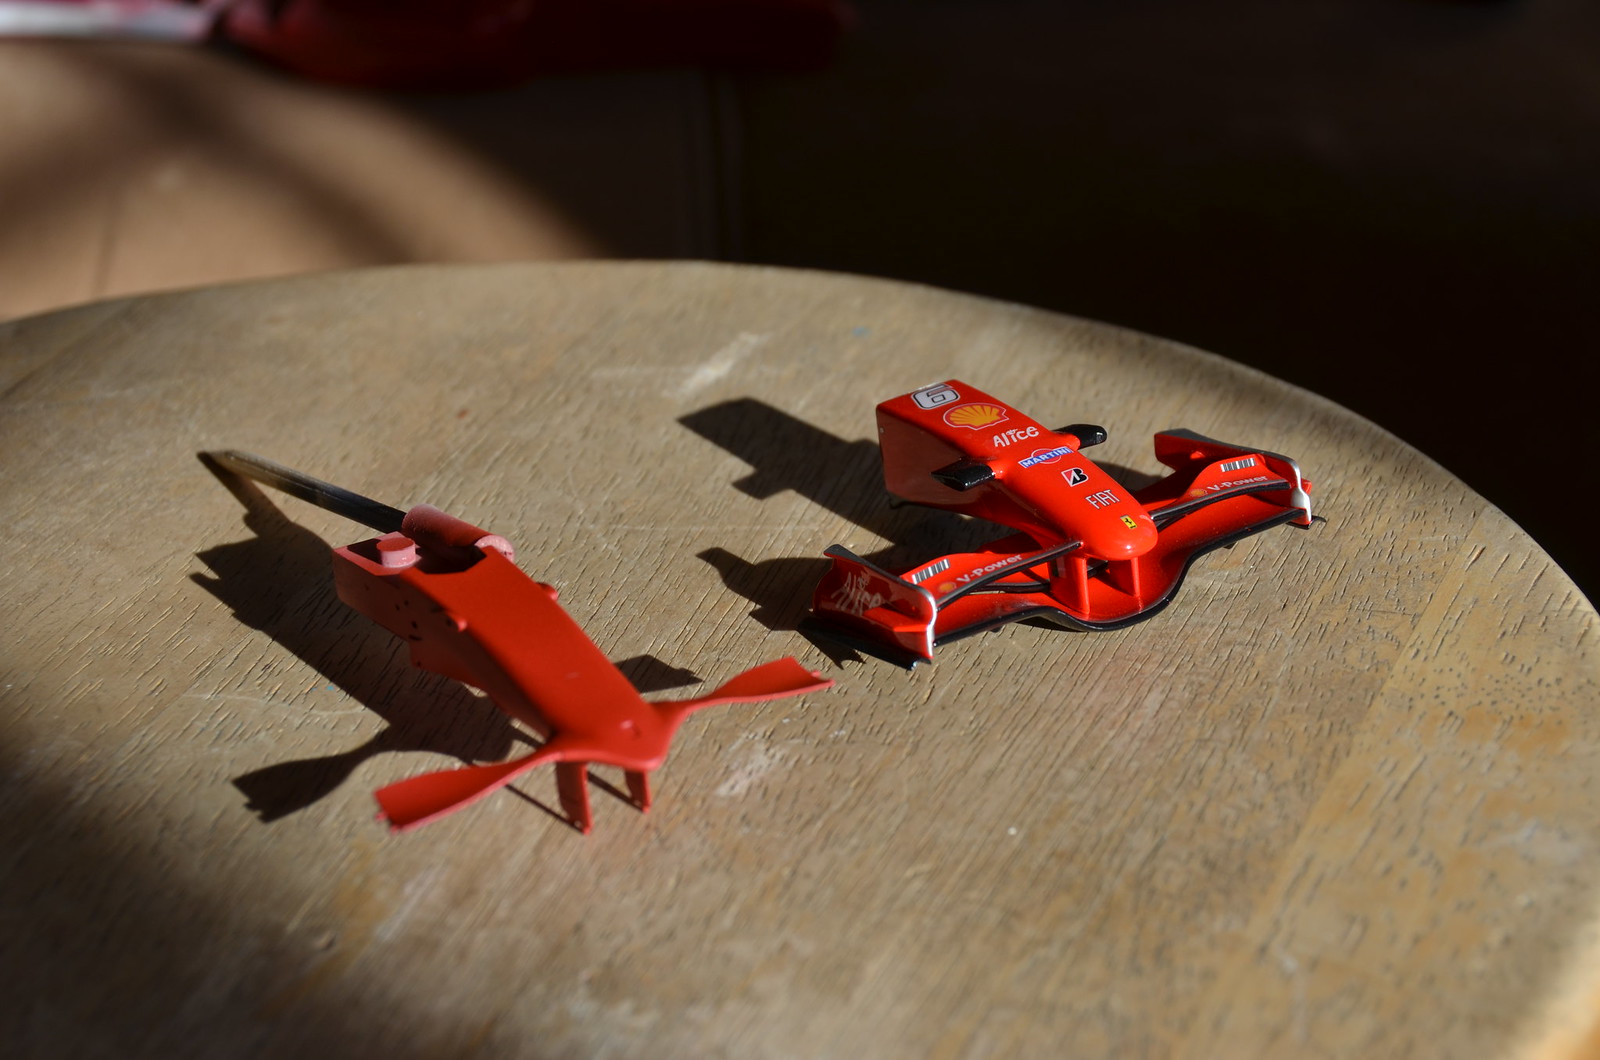
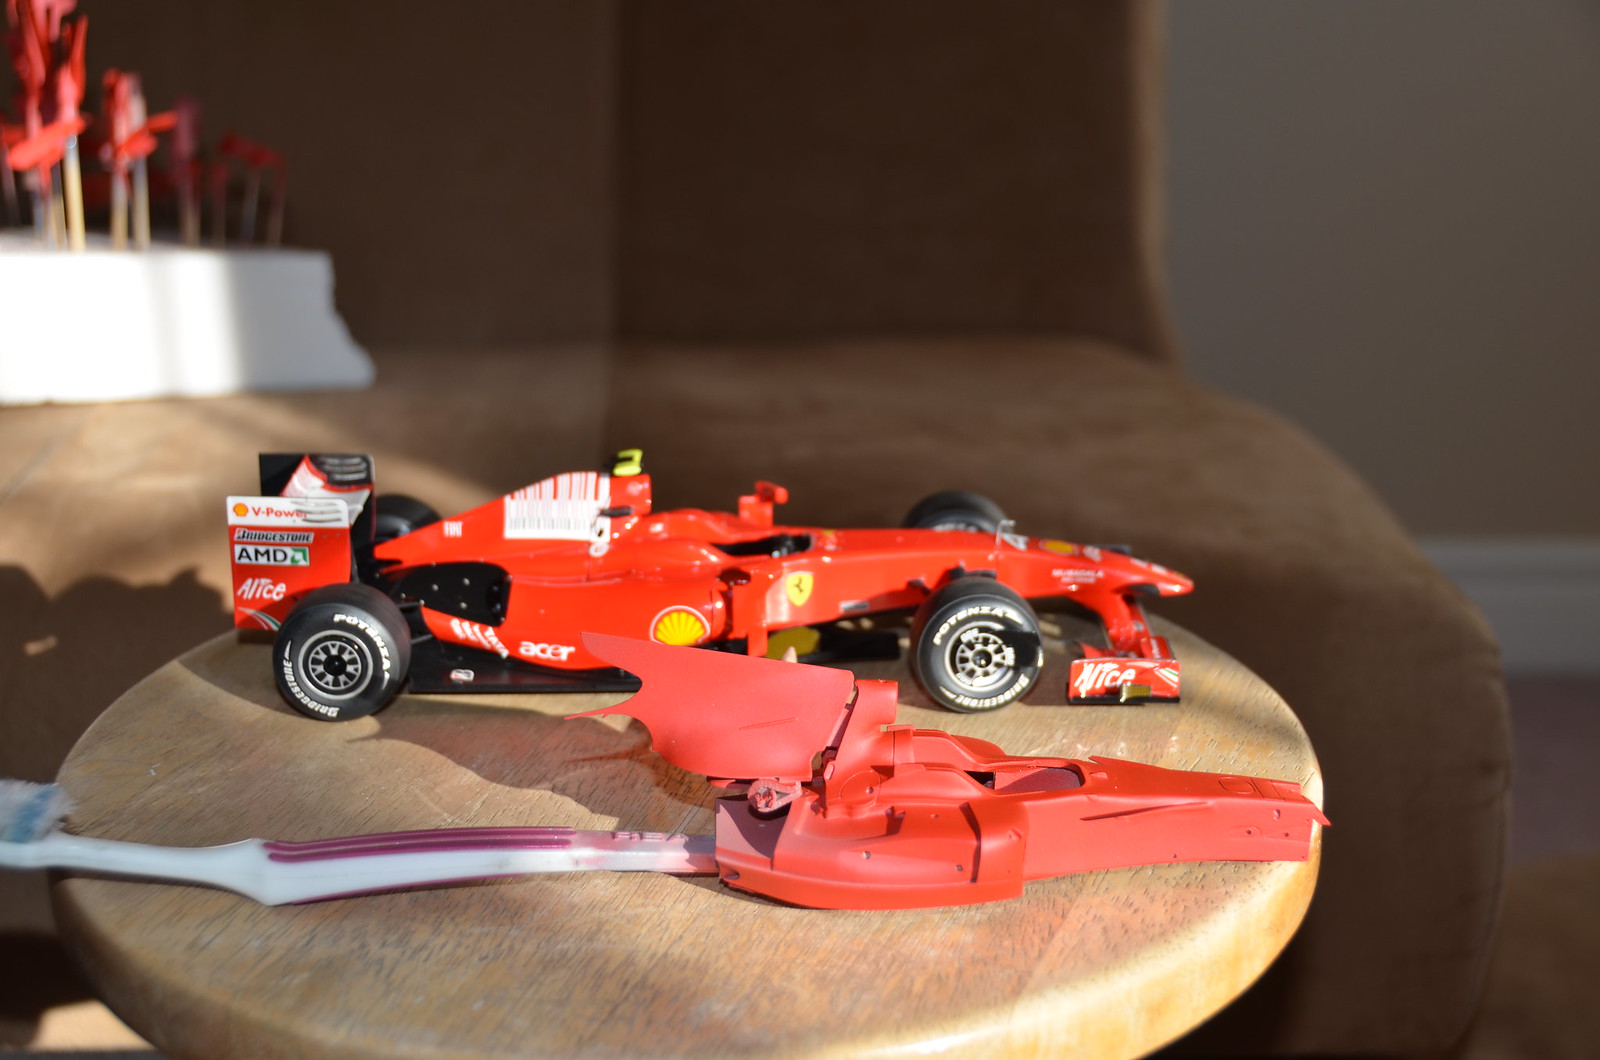
It looks darker then my 248F1 and F2007 models, which were painted in pre 2008 bright red, and even darker then F60, painted with TS85. Below are some photos I did in sun light for comparison. Granted, F2008 does not have clean on yet, but still it looks too dark to me.
I don't know what to do. If I put clear on top of it and it still looks dark, I might have to go through another strip/prep/prime/paint cycle.
Saturday, November 5, 2016
Lotus 88 USA 1981 Elio De Angelis started.
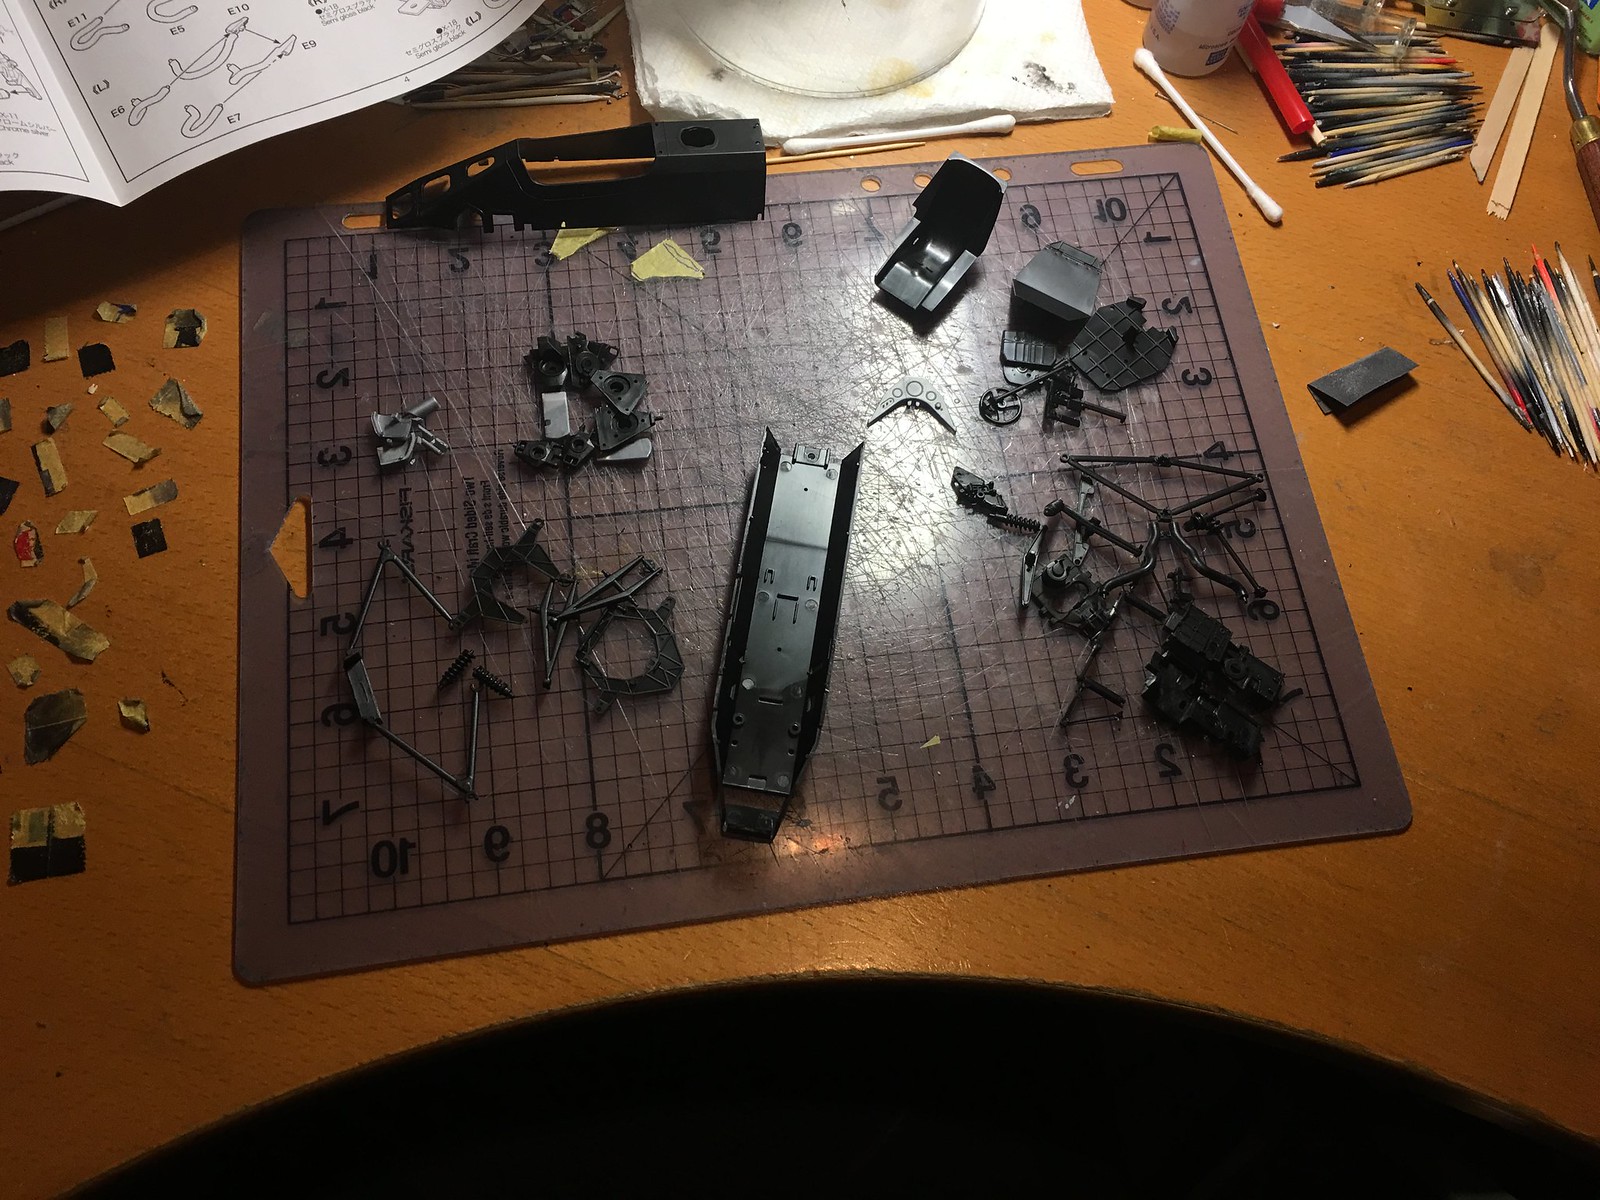
With 3 models out of my pipeline recently, I can start couple of new builds. Most exciting at present is Ebbro Lotus 88. I've selected a Blue Essex car for my build. Just started it last night. At present I am in process of cutting off and preparing parts. Then I will do test fit assembly. So far impressions with fit and quality are positive. 2 light grey part trees seem to be made from softer type of plastic. It feels different to familiar hard plastics of Tamiya and Fujimi models. Hopefully no loaded parts in the model are made form this softer plastic. Black parts seem to be stronger. Haven't touched body panels yet, which are made in blue plastic.
Below is a quick shot of my work table. Quite a bit more work is needed to get parts ready for primer.
Subscribe to:
Posts (Atom)