Showing posts with label Fujimi MP4/6. Show all posts
Showing posts with label Fujimi MP4/6. Show all posts
Tuesday, December 15, 2020
Thursday, October 17, 2019
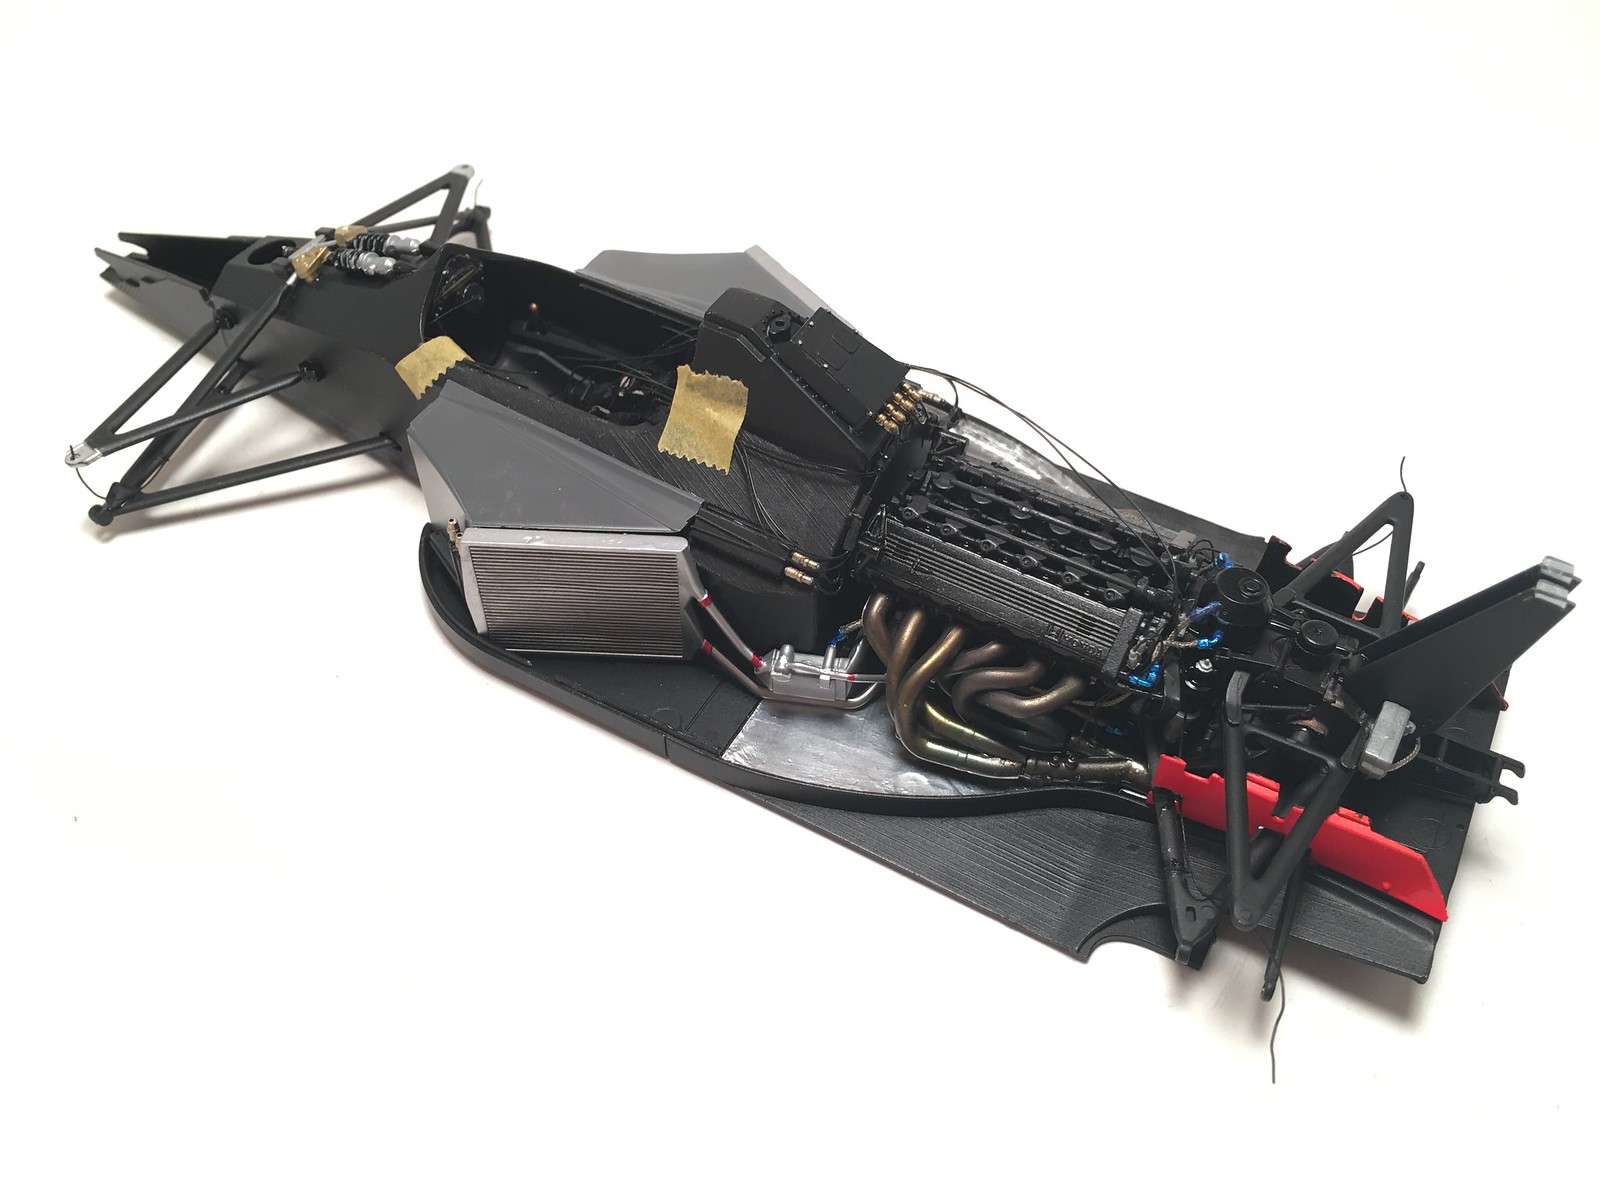
More assembly steps completed for MP4/6
More progress. Cables are tied up. Steering wheel attached. Brakes assembled and installed. Brake lines routed out to calipers. Rear and front wings assembled. Need to complete number of small items and wheel before Saturday's local context. Will be adding rivets later and some other small details later.


Monday, September 23, 2019
Saturday, June 22, 2019
Decals in progress on MP4/6
Worked on decal application for past 2 weekends. Most of the livery is done. Remaining decals are the white ones. For whatever reason white decals in this kit has already yellowed a bit. This is a relatively recent kit and it's quite surprising to see white decals yellow so fast. I will try to expose them to sun light and if it does not help, will likely have to look for alternatives.


Sunday, May 5, 2019
More wiring for MP4/6
Worked on adding wires and making wire loom for MP4/6 during past two weekends. User shrinking tube, super glue and thin wires to make something that looks like what TopStudio instructions for 1/12 kit present. Not going to replicated all wiring that they call out. And it's going to be way short of real car. But at least model will look a little "busier" in the end, hopefully. I've also decided to make brake fluid line on this model. That required from me to make a hole in front bulkhead, so I could route lines from fluid cylinders to brake calipers and into cockpit, from where one line goes to rear splitter and rear calipers as well. Wiring and plumbing on the engine is in progress.
Here are some quick photos made with my phone.


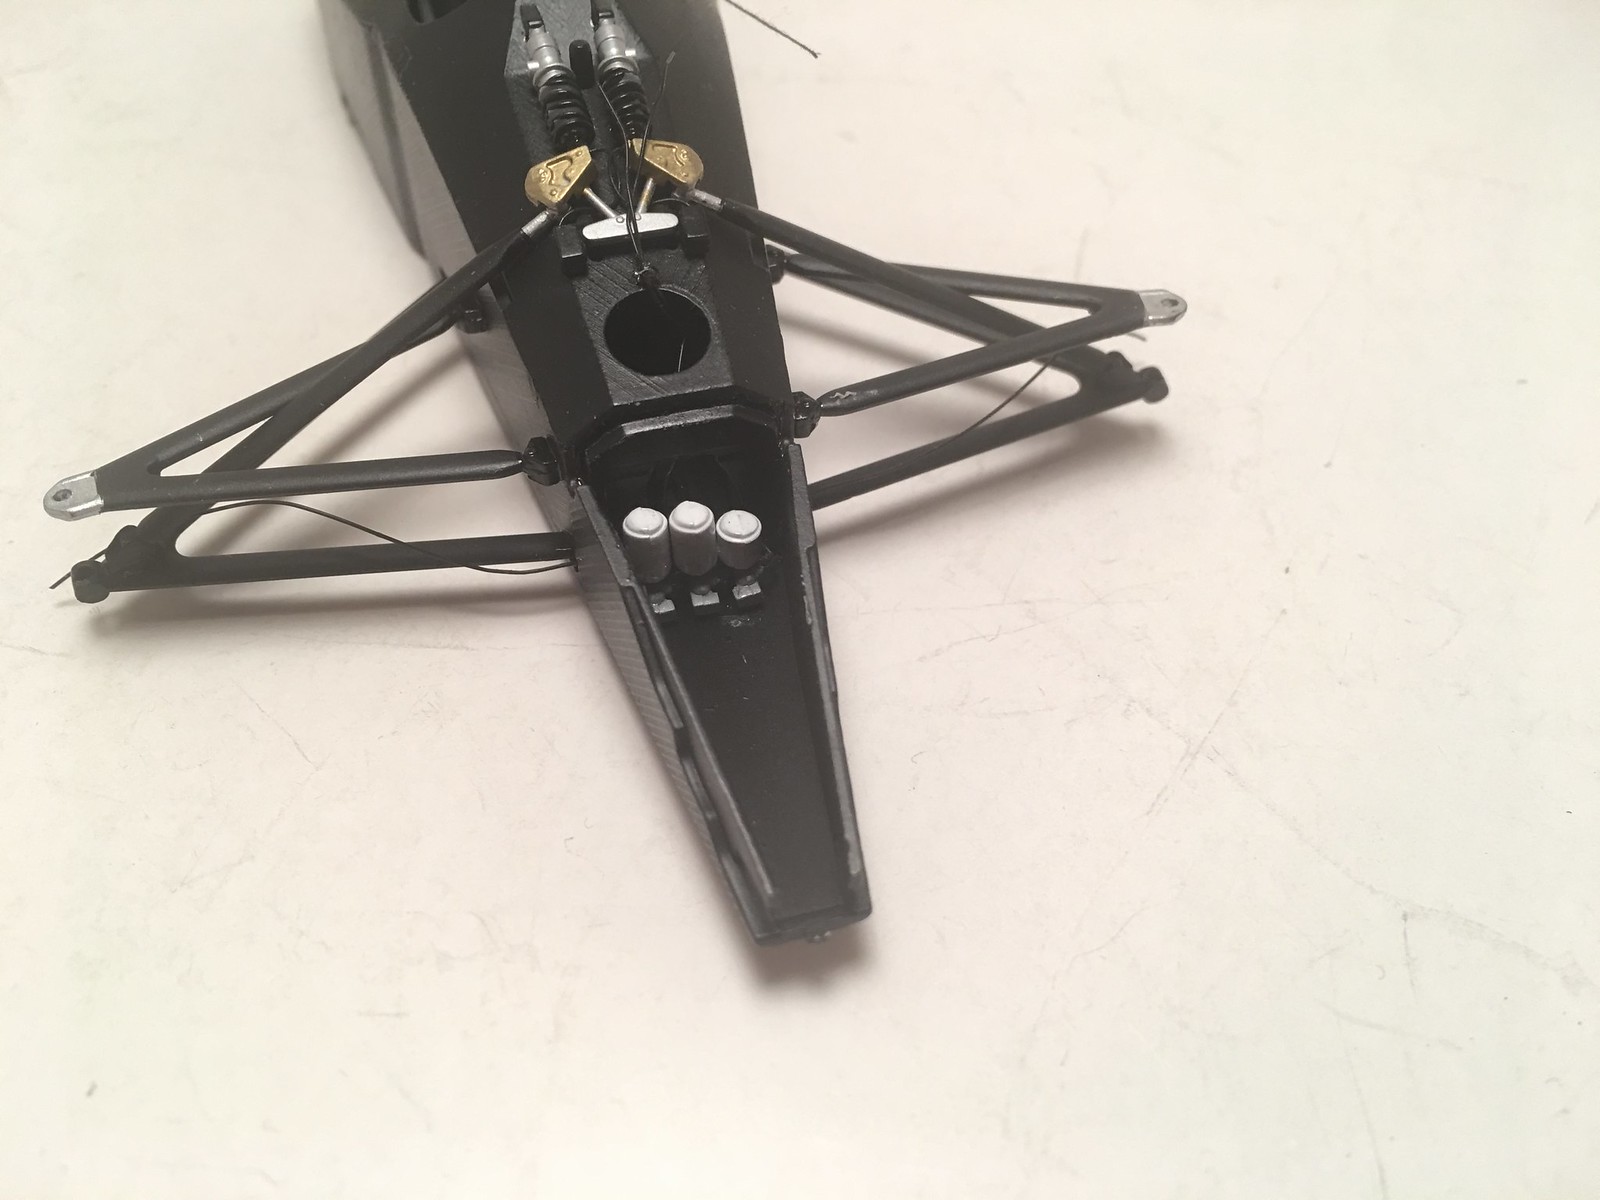

Here are some quick photos made with my phone.


Sunday, April 14, 2019
Plumbing and wiring progress
After some hiatus MP4/6 returned to my work bench. I've had a change of heart and decided to add more details, instead of doing it OOB, as was originally planned. It will be mostly based on instructions from TopStudio's 1/12 super detail set and a bit of inspiration from Tamiya 1/12 kit. Also plan to add brake fluid lines. There is a lot of wires and hoses on real car. Most of those I could not figure out. So, I will add few items I could understand the routing for. Started with oil and water hoses. Here are couple of quick shots of current state.


Wednesday, October 31, 2018
Fluo orange painted
After body was stripped off of paint from my previous attempt, it took a while to get it primed and painted base white. Work on other projects got in a way. But last weekend I got it masked and was able to put fluo orange on. In attempt to minimize paint bleeds under masking tape, I’ve “sealed” masks with one more coat of base white. In the end it did not come out perfect, but it’s not too bad either. I was able to polish some overspray, bleeds and orange peal spots. So, I am ok with it and it will have to do it for this build. Need to get thin clear coat on top of base paint, before I could apply decals. Color is a bit of on the photo made with my cell phone. I will get proper white balanced photos after clear is applied and true colors will show.


Monday, September 25, 2017
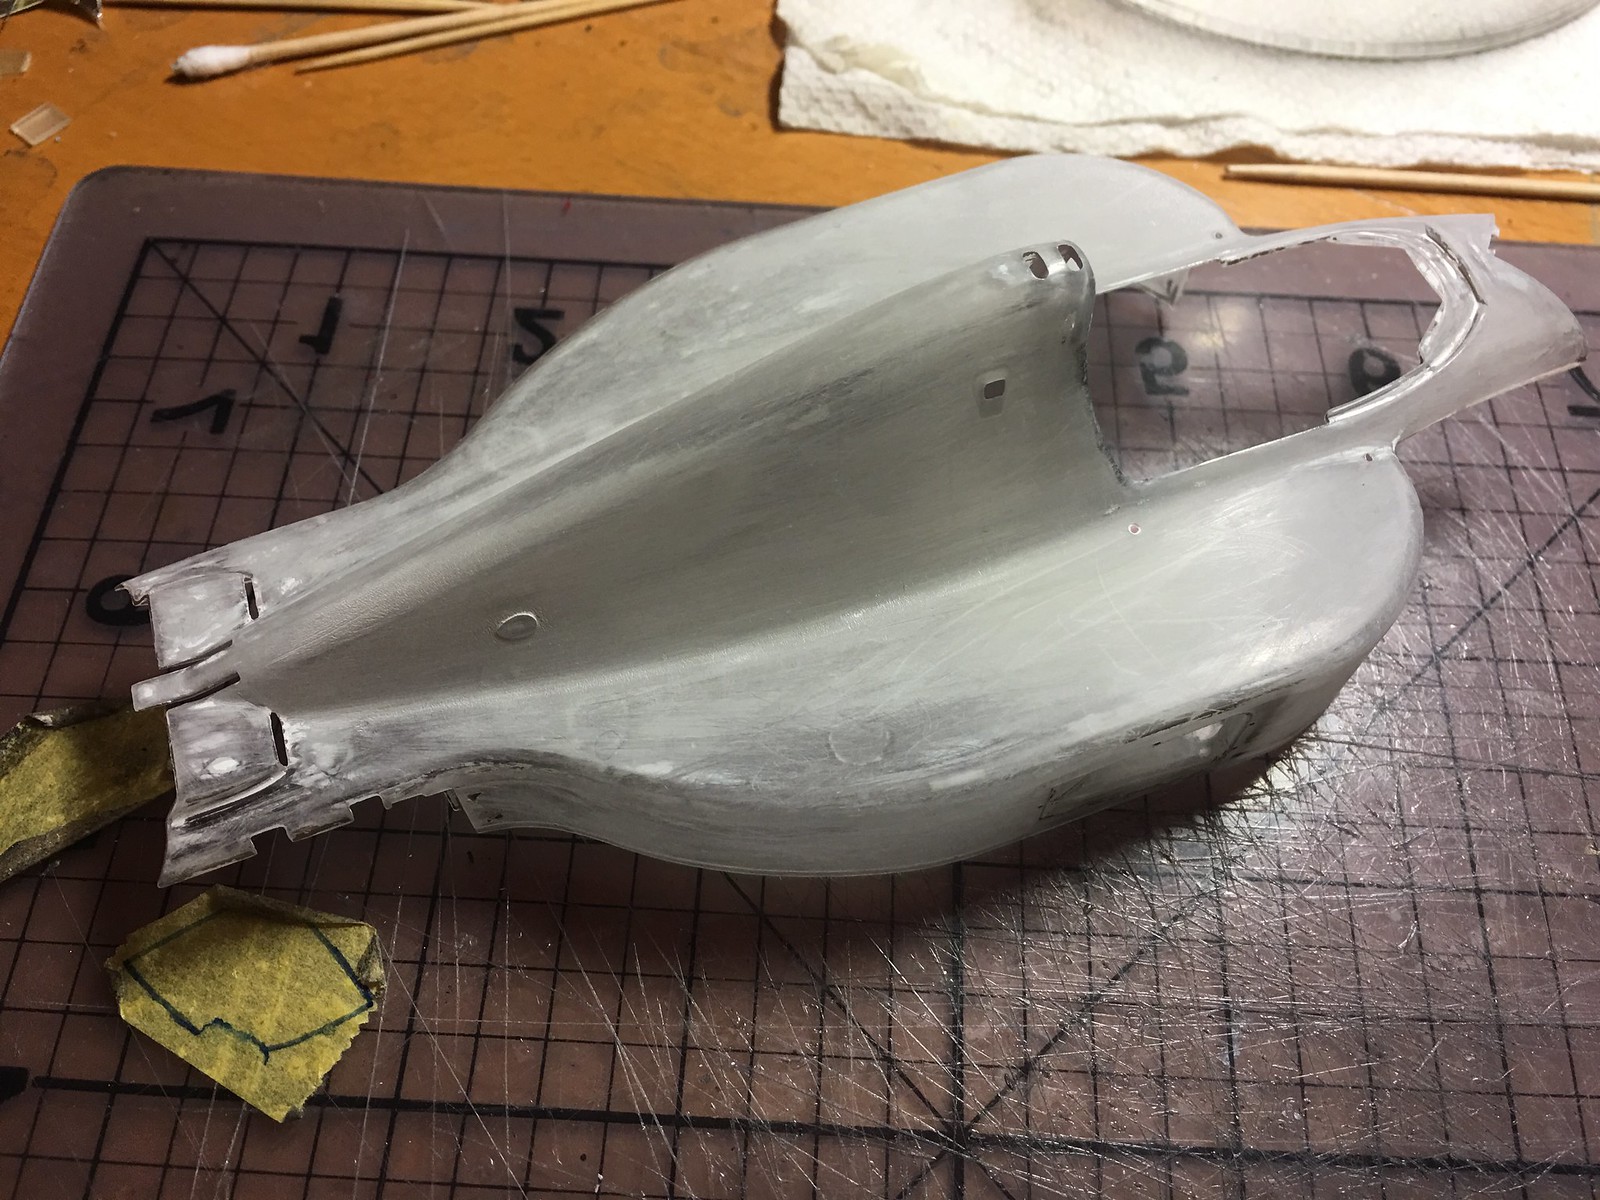
Back to bare plastic for the body shell
I've lost the fight with MP4/6's body shell. Just could not get white on it properly. It's second time in my building history that I have had plastic crazed by Zero paints. My own fault likely. Probably went too heavy on paint. After number of attempts to fix white coats, I've finally decided to strip it. Just another small set back. I've got used to them by now.

Monday, March 20, 2017
Another painting session completed
Primed and painted lot of parts over the weekend. For some that picture might look boring. For me it is a great milestone in any build, when I am able to put primer on parts. This step indicates that prep work is completed for particular build.
Most of the parts were for Lotus 91 build. However I've painted parts for MP4/6 and F2008 builds as well. Both builds were blocked and now I can move further on them.
Though, body of MP4/6 is fighting me all the way. Got crazed spots on it again. So, will have to prep and re-paint it at least once more.

Labels:
Ebbro Lotus 91,
Fujimi MP4/6,
MFH F2008,
scale modeling
Sunday, October 23, 2016
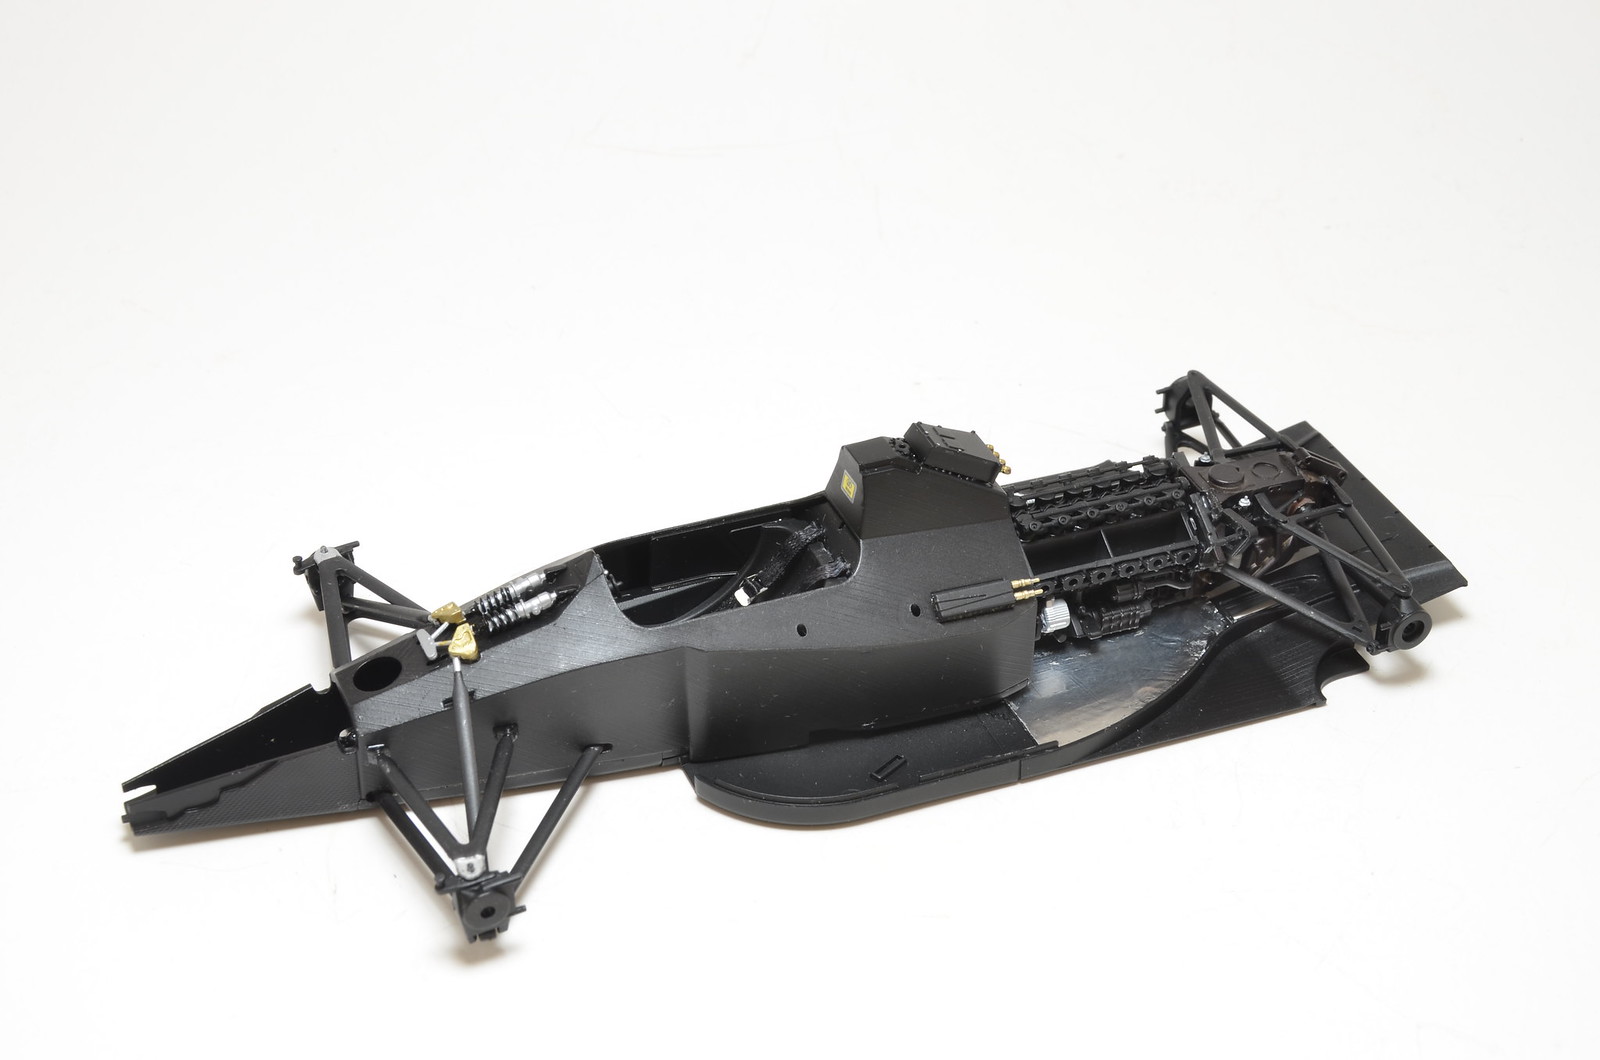
Worked on suspension.
Returned to MP4/6 Friday night. Assembled most of the rear and front suspensions. Uprights are only there temporary to keep arms aligned. Will have to assemble and attach brakes first, before I could put uprights in place permanently. At the rear body panels have to be installed as well, prior to final assembly. Still some progress to be happy about. Nothing is attached to the floor at the moment. Just a mock up to see how it all fits.


Saturday, February 27, 2016
MP4/6 cockpit completed
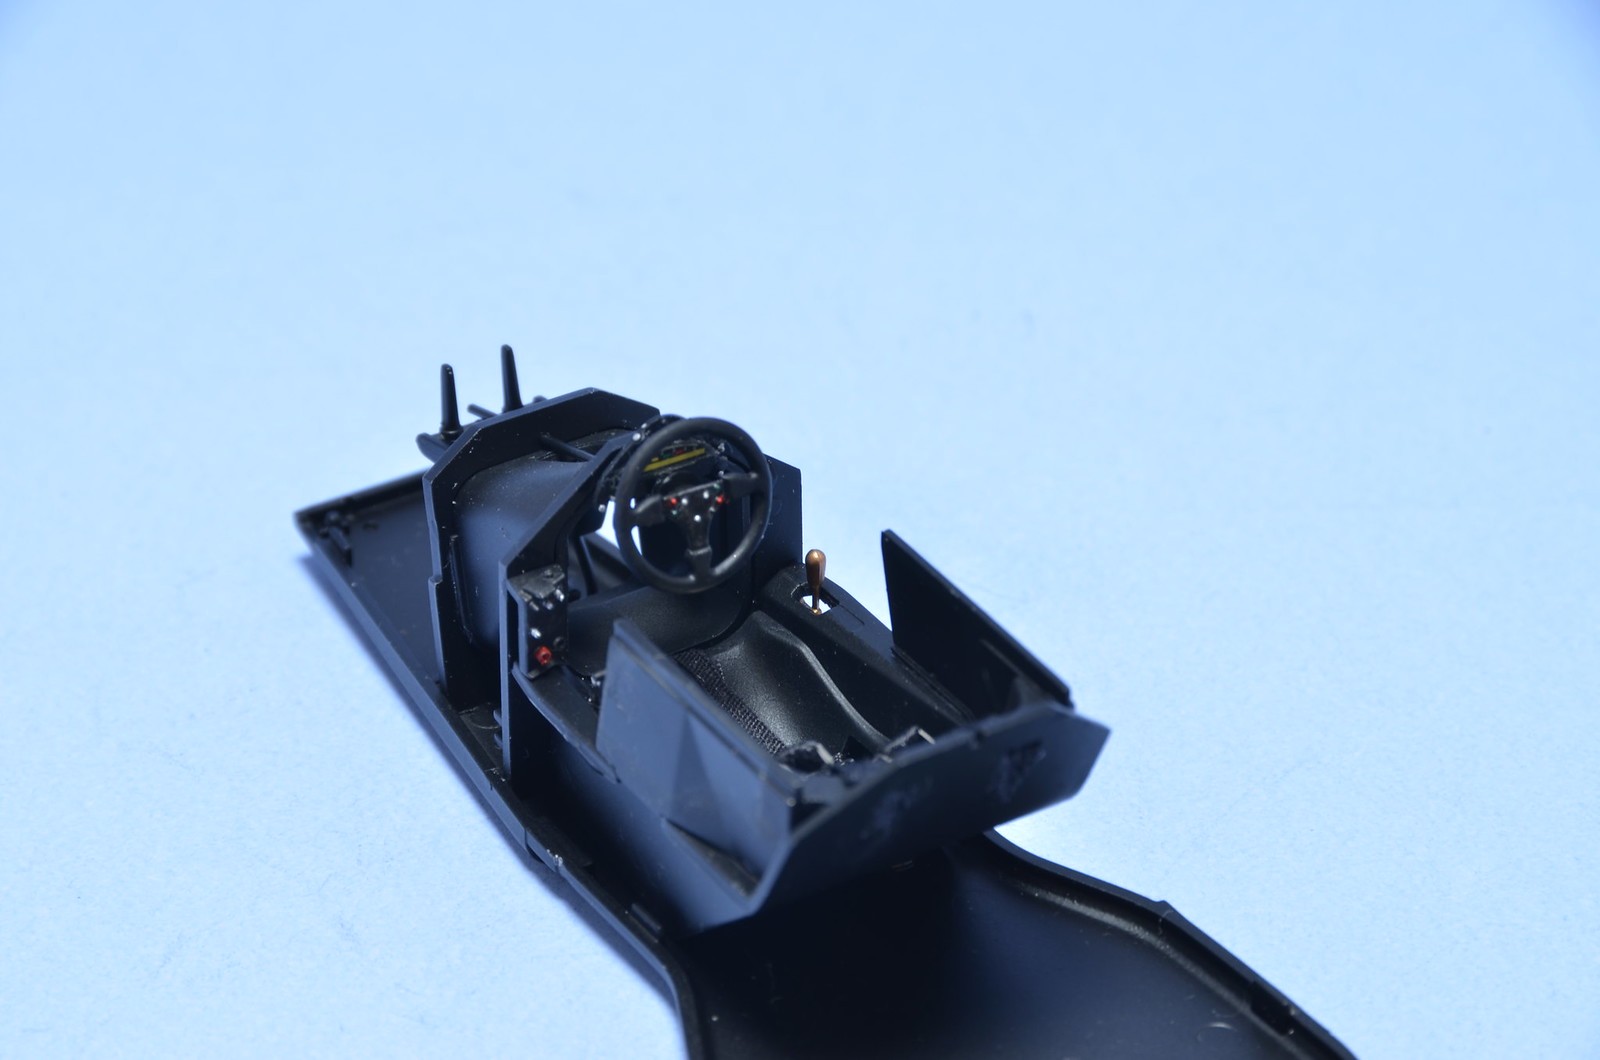
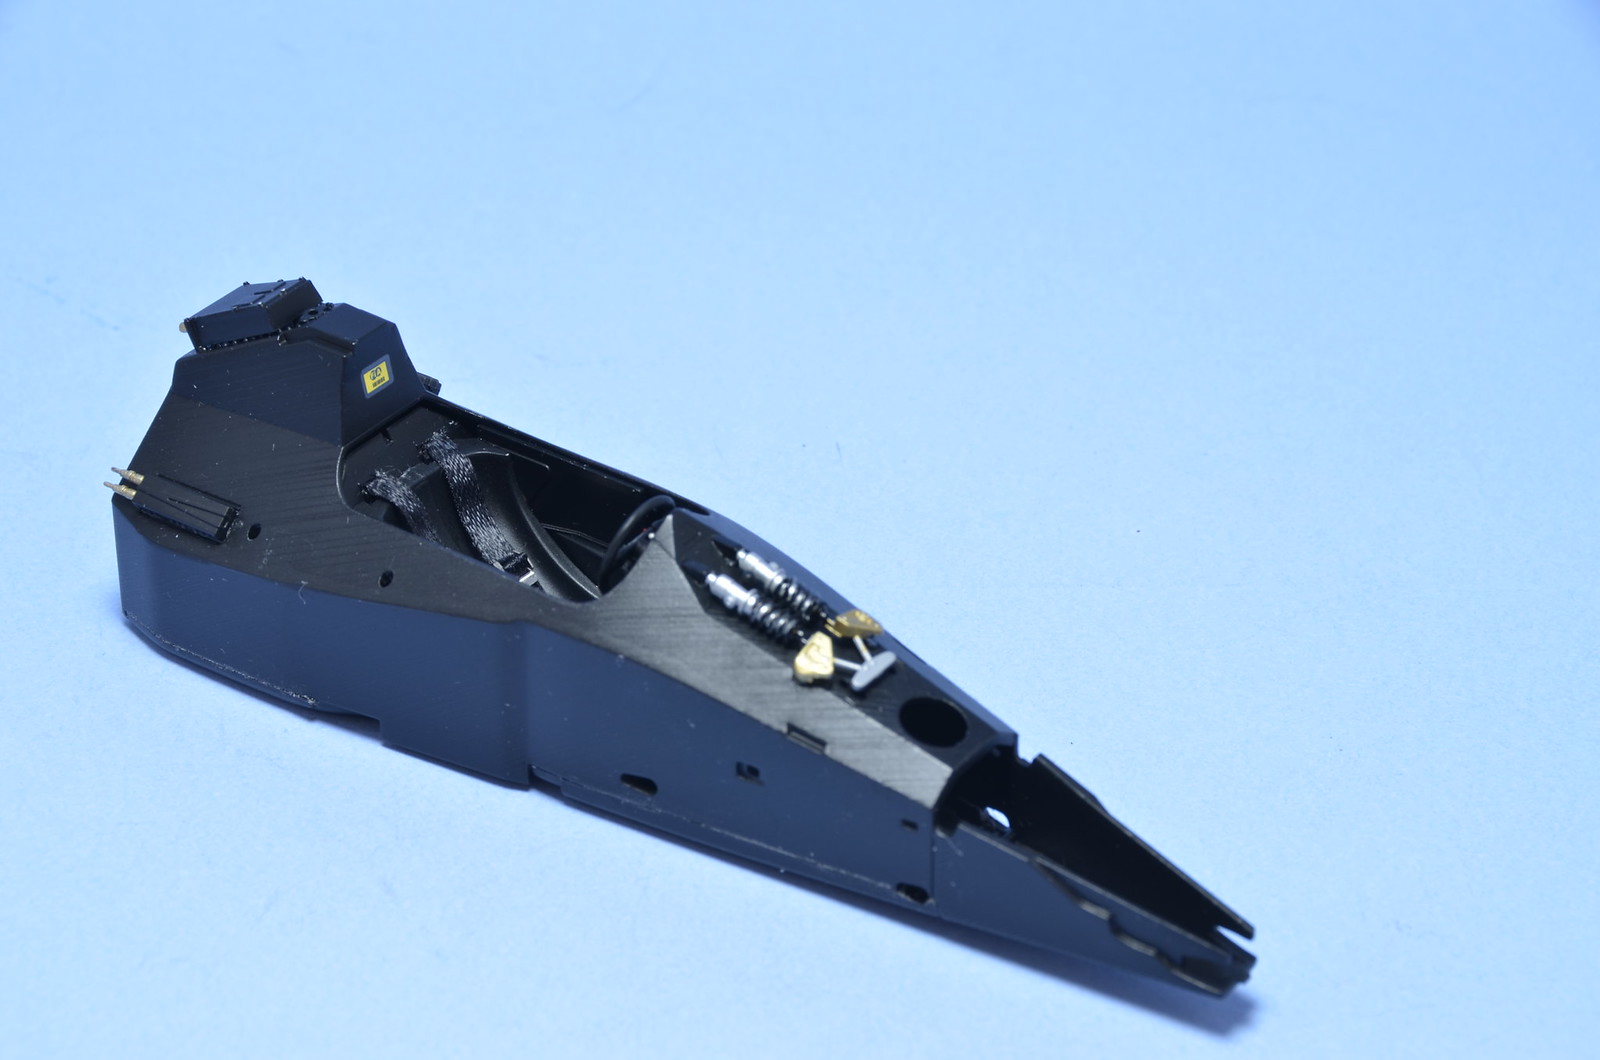
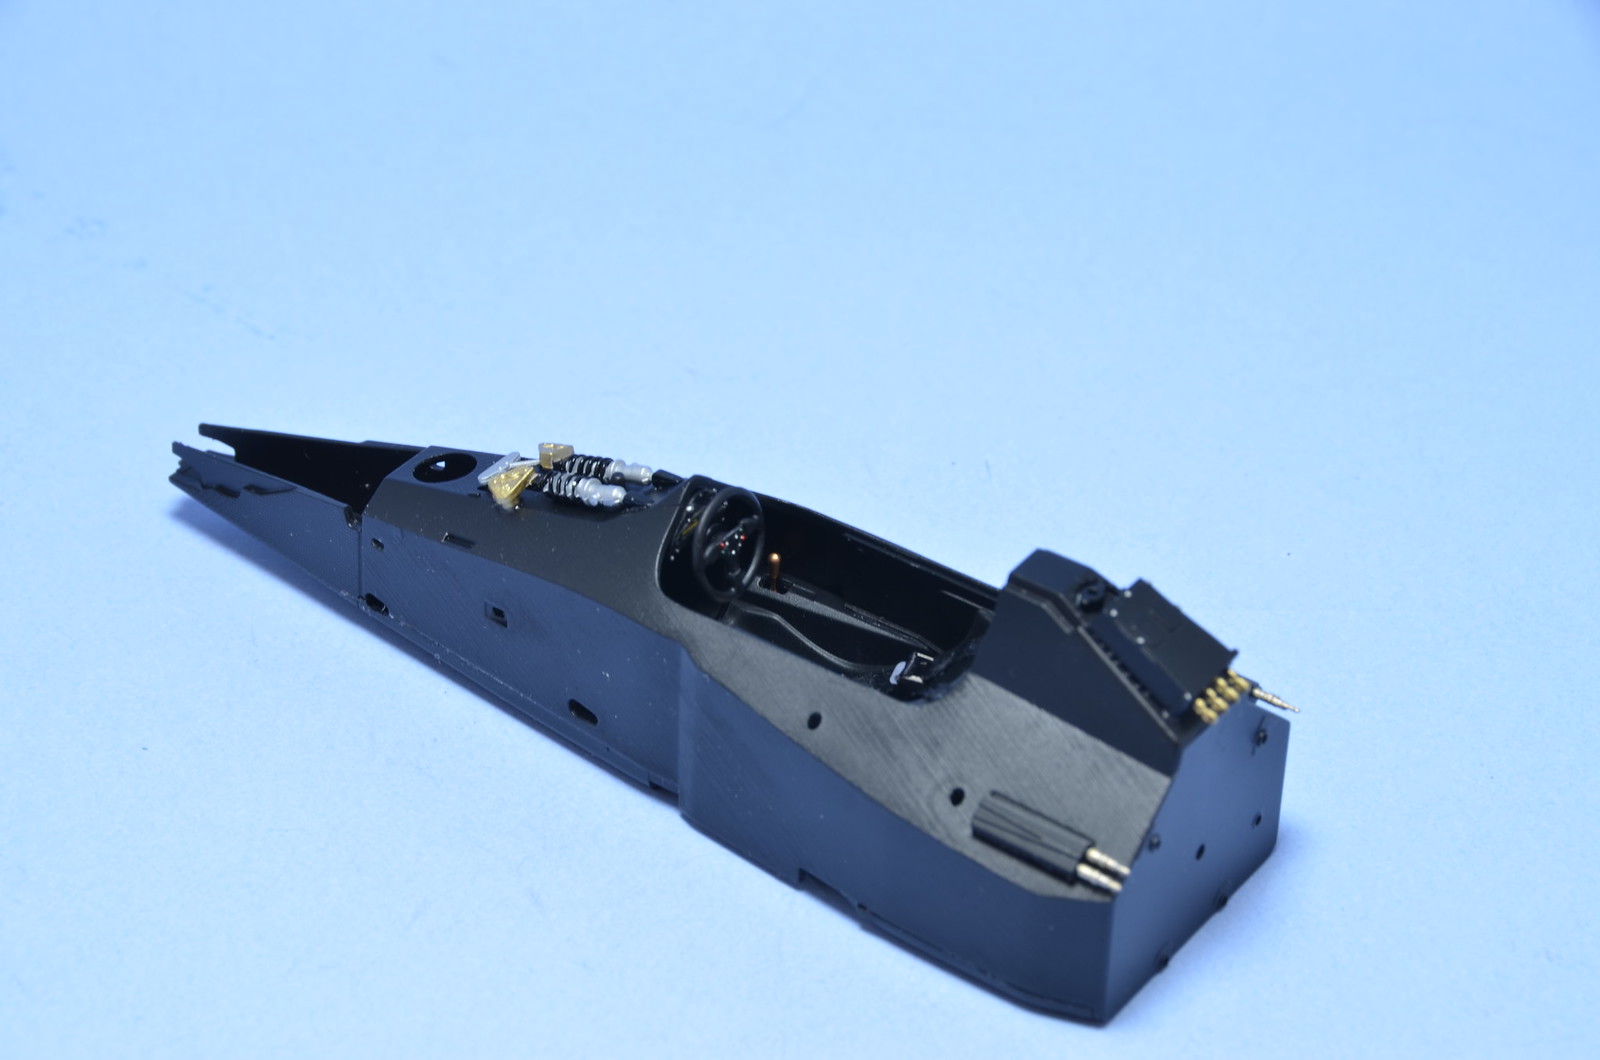
Returned to MP4/6 last weekend. Made seat belts, added other items and assembled cockpit. With cockpit completed I was able to close whole monocoque and now I am unblocked to continue with other assemblies for the chassis. Body parts are in primer and still need more preparations in waiting for final paint layers. Seat belts I've made don't look that great, but it is not my favourite part and I'm just happy they are out of the way and I am unblocked.



Sunday, December 6, 2015
Small progress
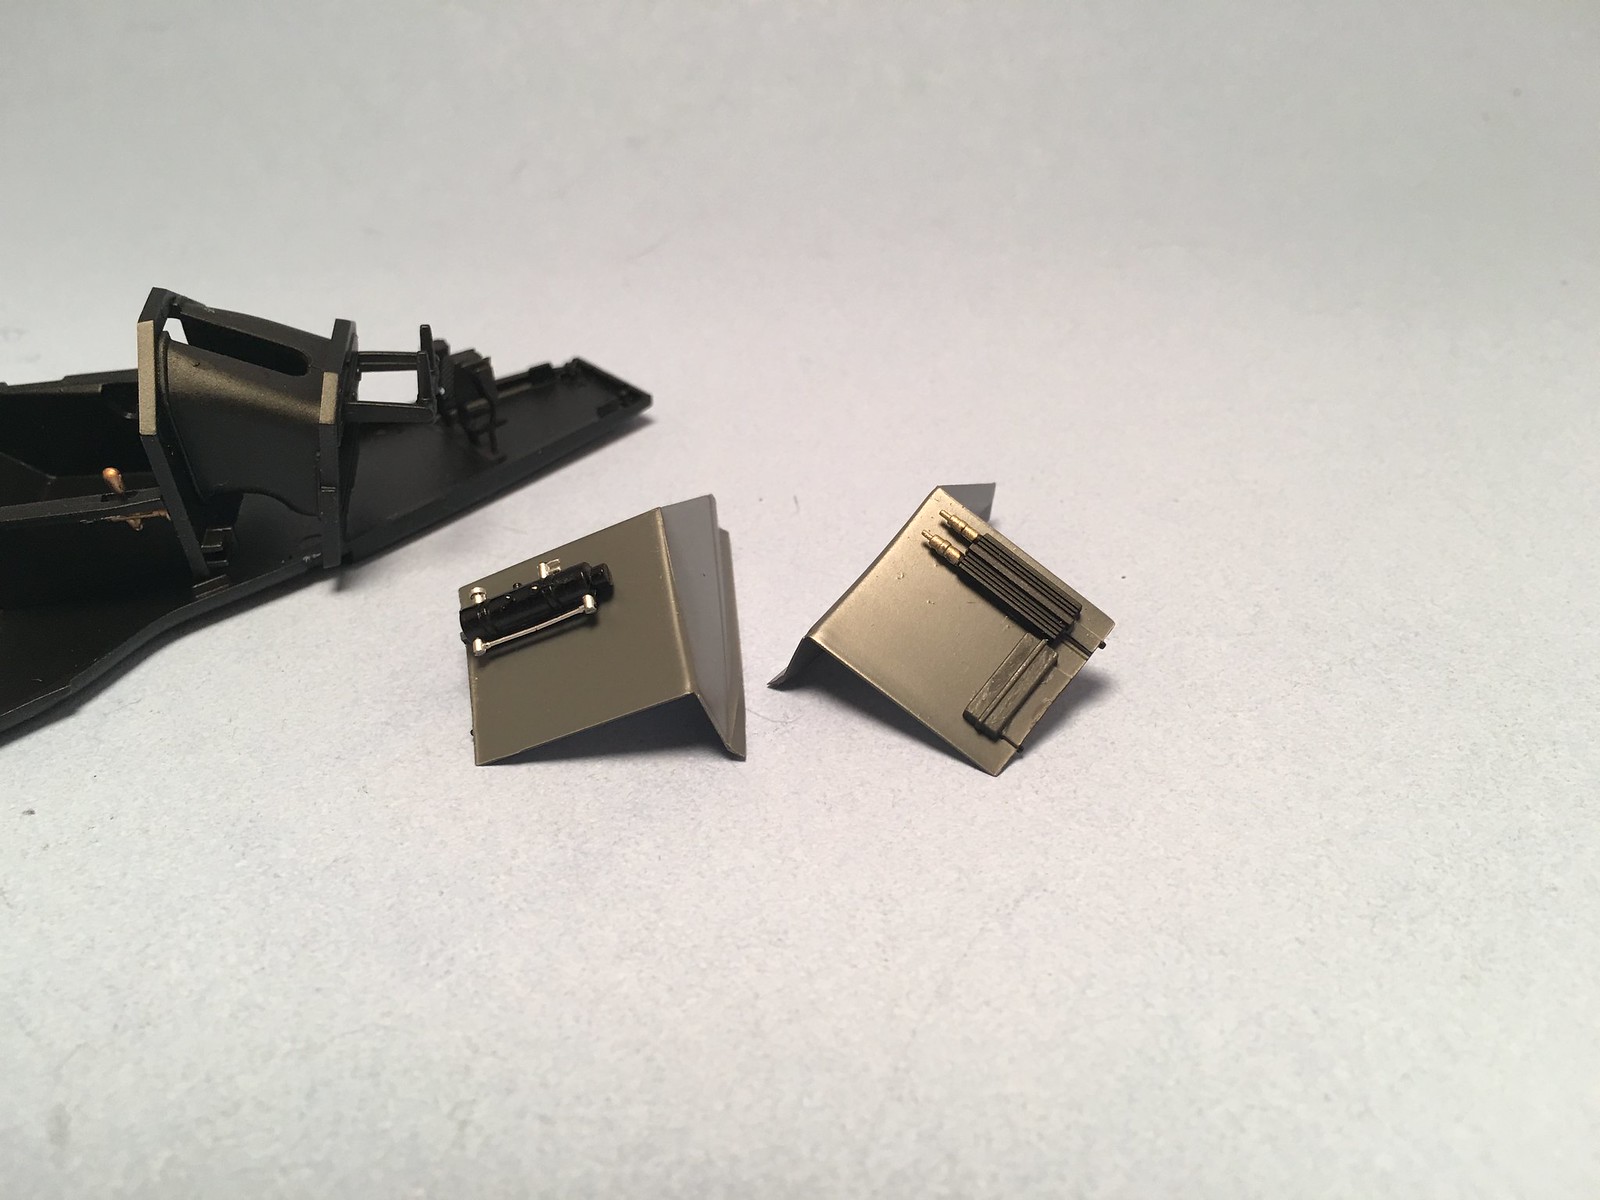
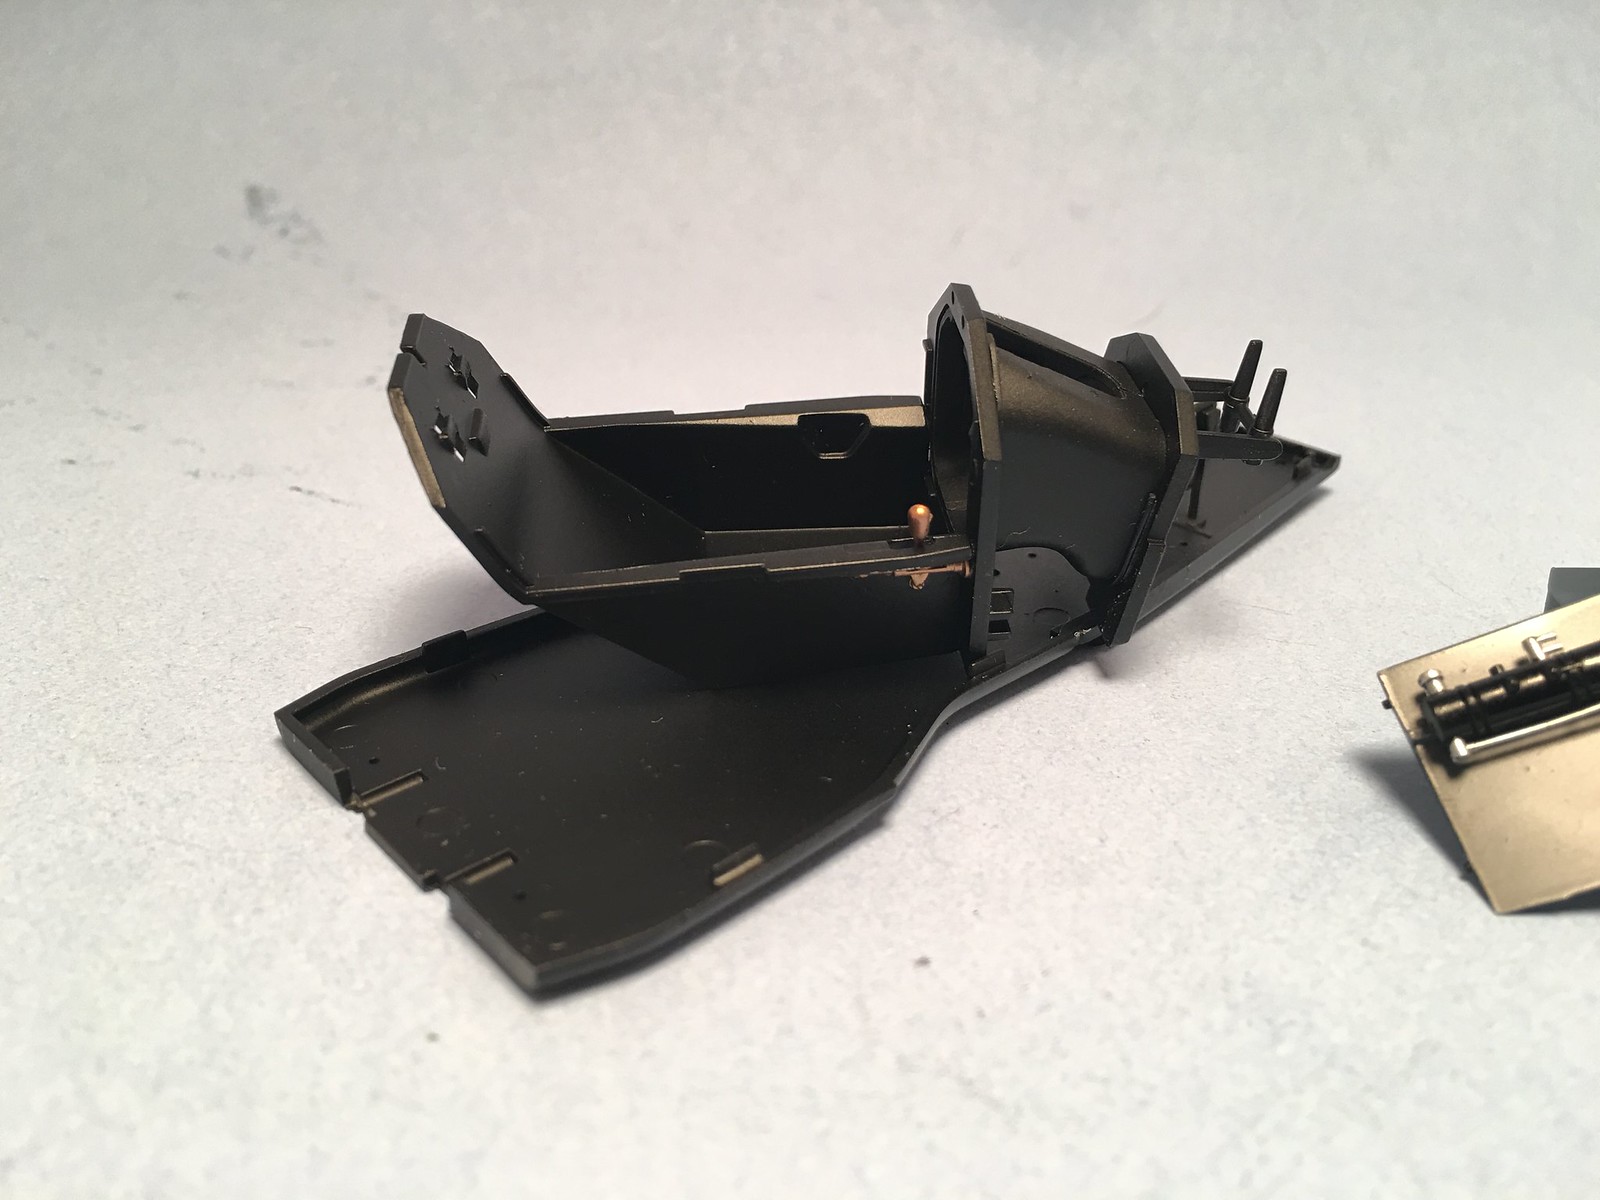
Didn't have much time this weekend, only small update. Continued assembly of engine/gearbox accessories and started assembly of cockpit items. Fit is better for cockpit parts. Also test fitted HD brakes and modified wheels to accept them. Detail painted steering wheel and switches on side panel for cockpit. And attached electronics boxes to side pod panels


Monday, November 30, 2015
Assembly started
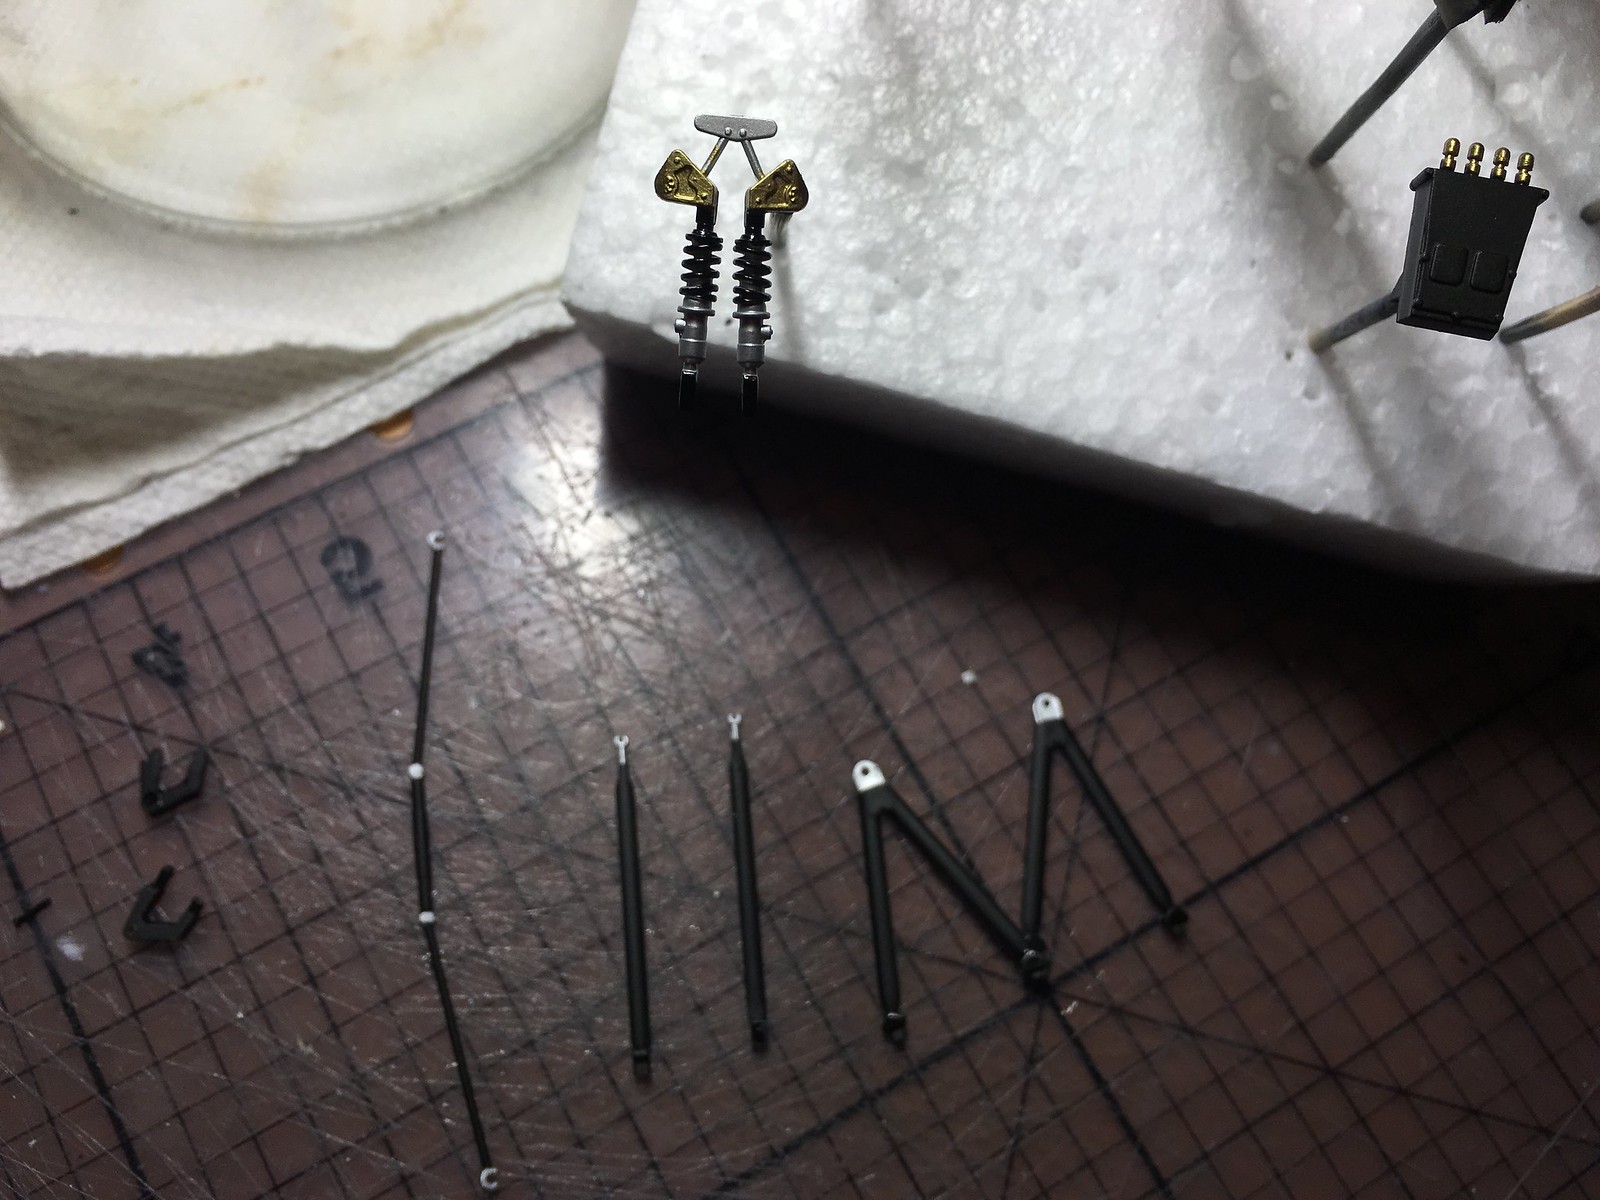
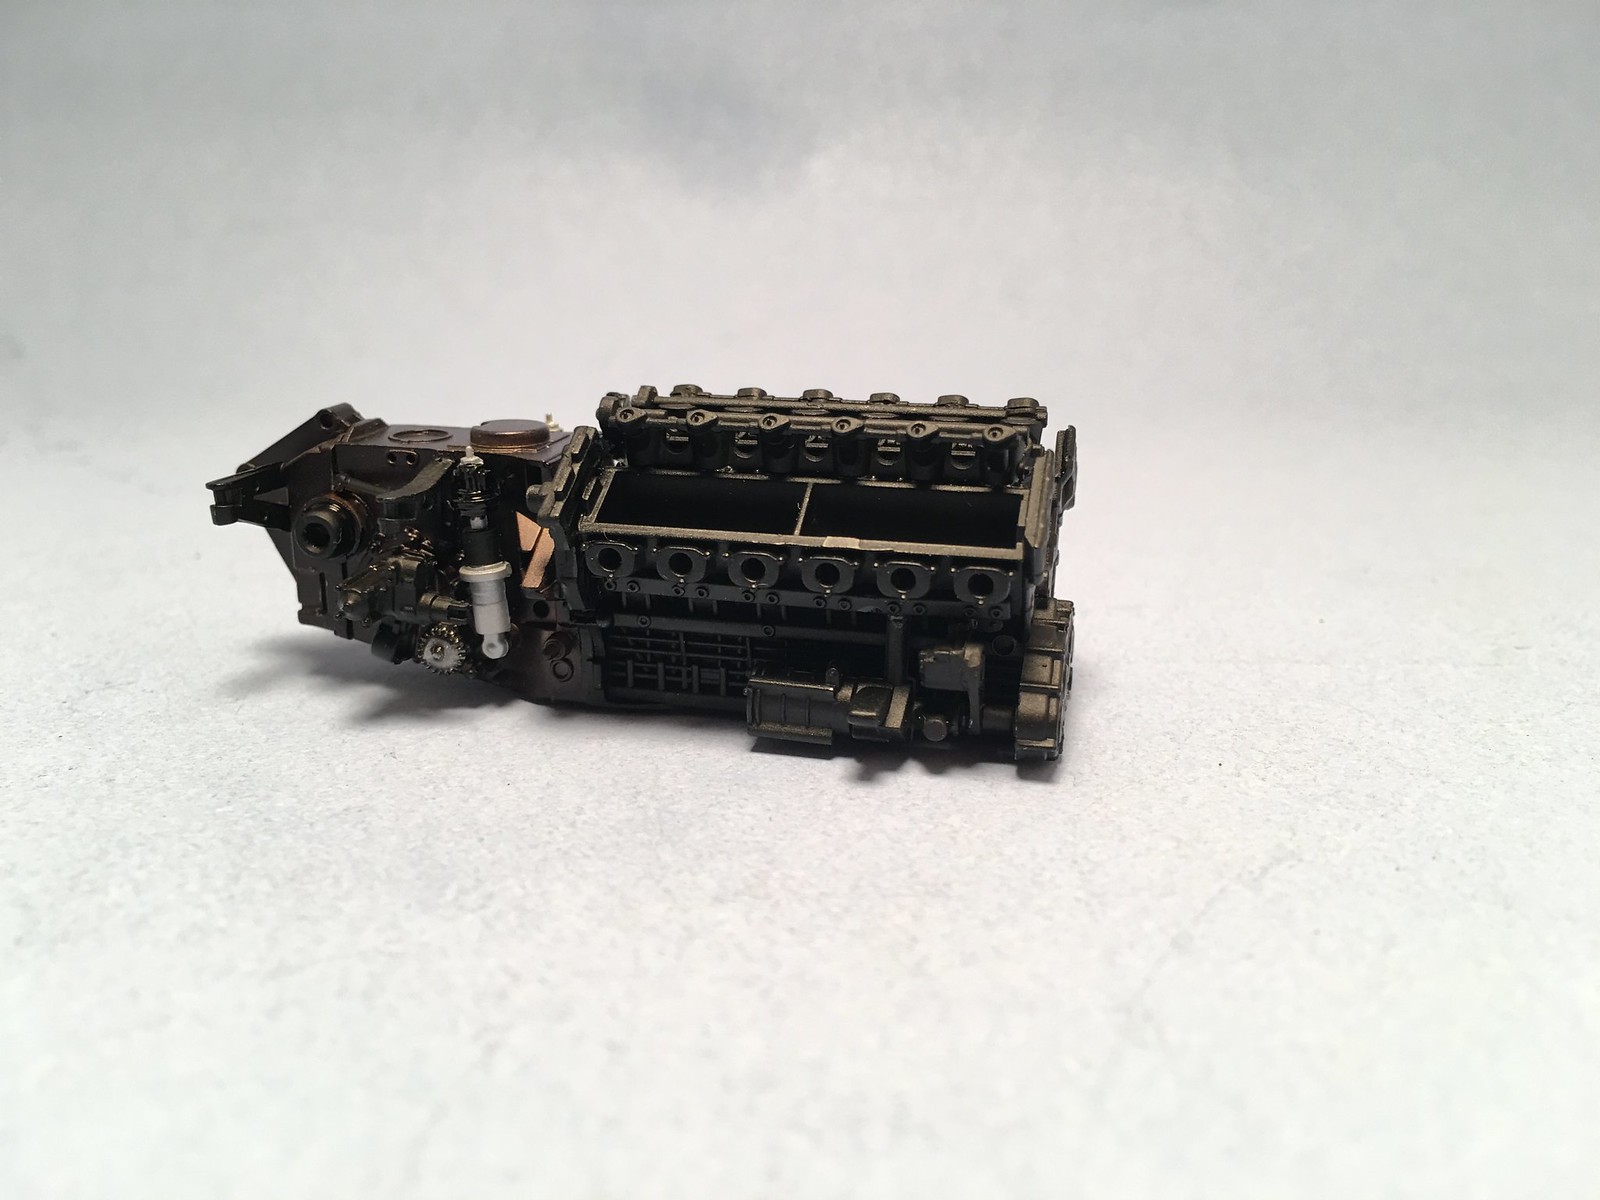
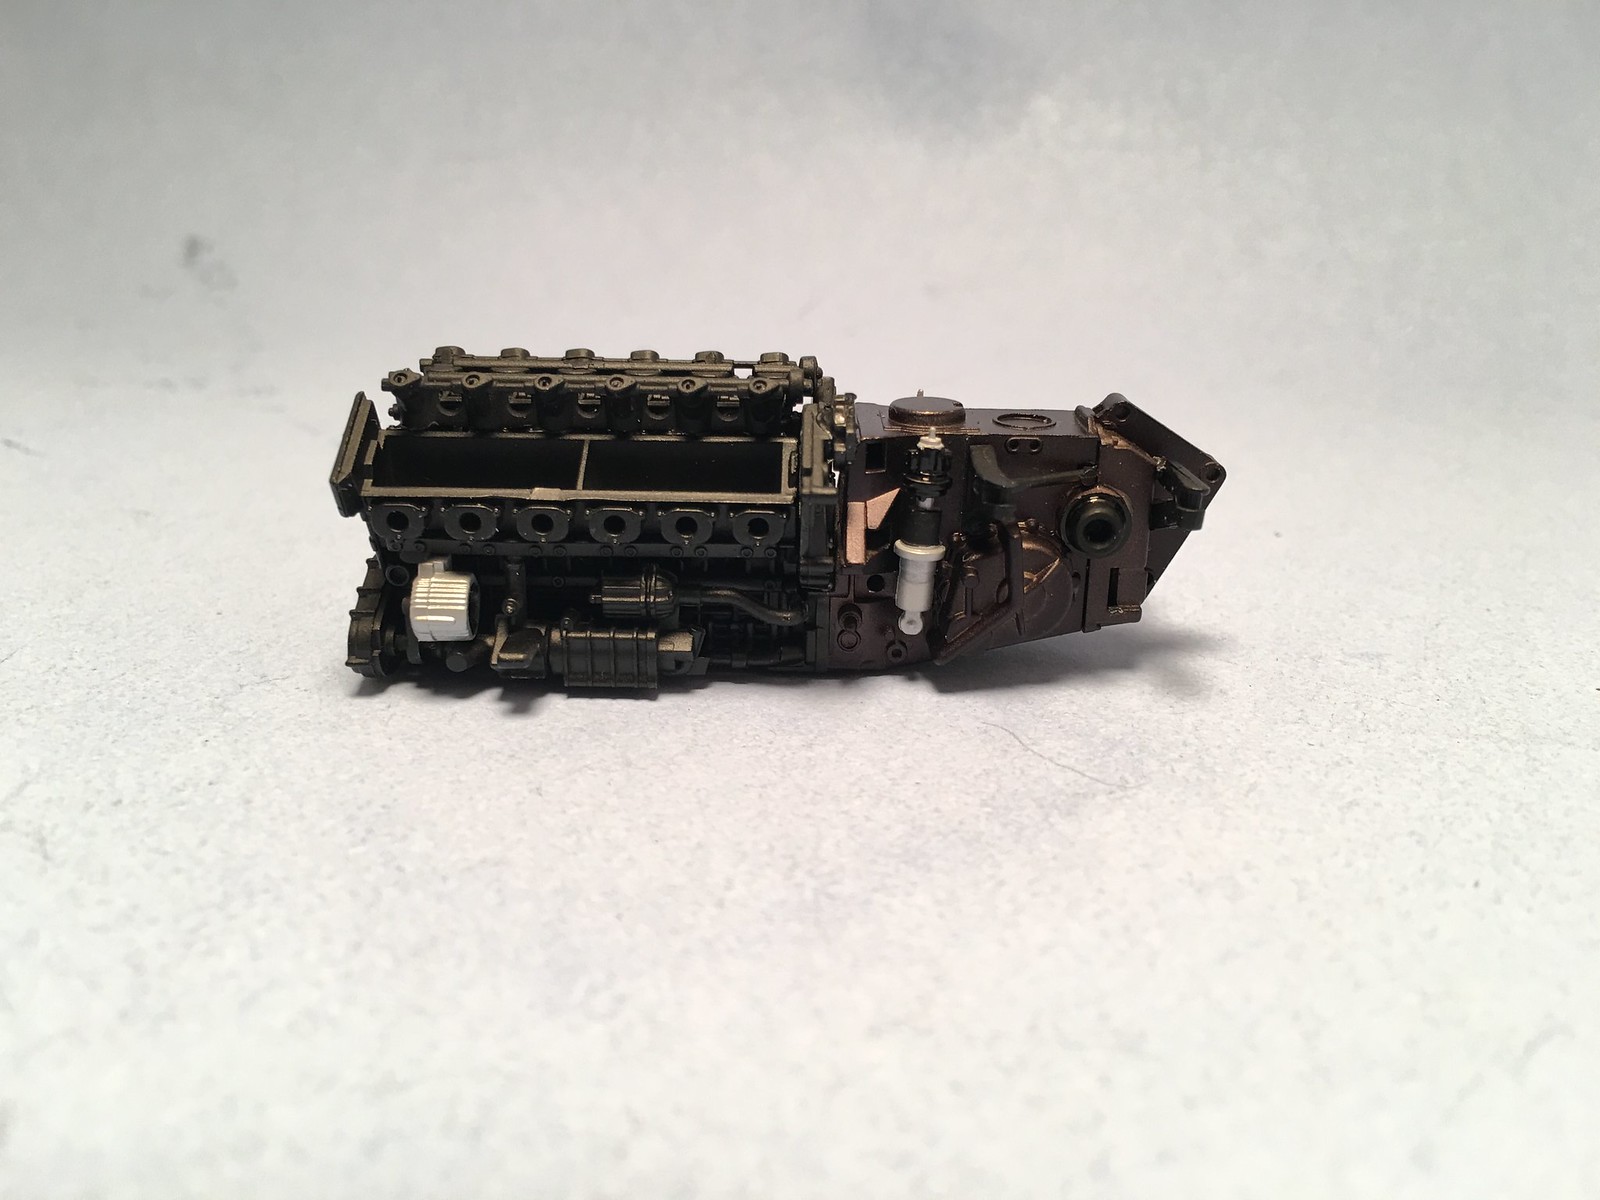
Small update. Brush painted some detail on suspension elements and started assembly steps. Engine/gearbox assembly first. I'm already frustrated a bit. It looked like a great, well detailed kit. Yet Fujimi engineering level lets it down again. They are still far from Tamiya in that. Again fit of the parts is not perfect. Many detail parts have quite small attachment surfaces and don't want to glue well with plastic glue. Alignment of suspension parts is not well fixed and there is real chance
I will end up with misaligned suspension arms. Of course all could be probably worked out with extra effort from builder, but it drives me a bit mad at times.


Sunday, November 22, 2015
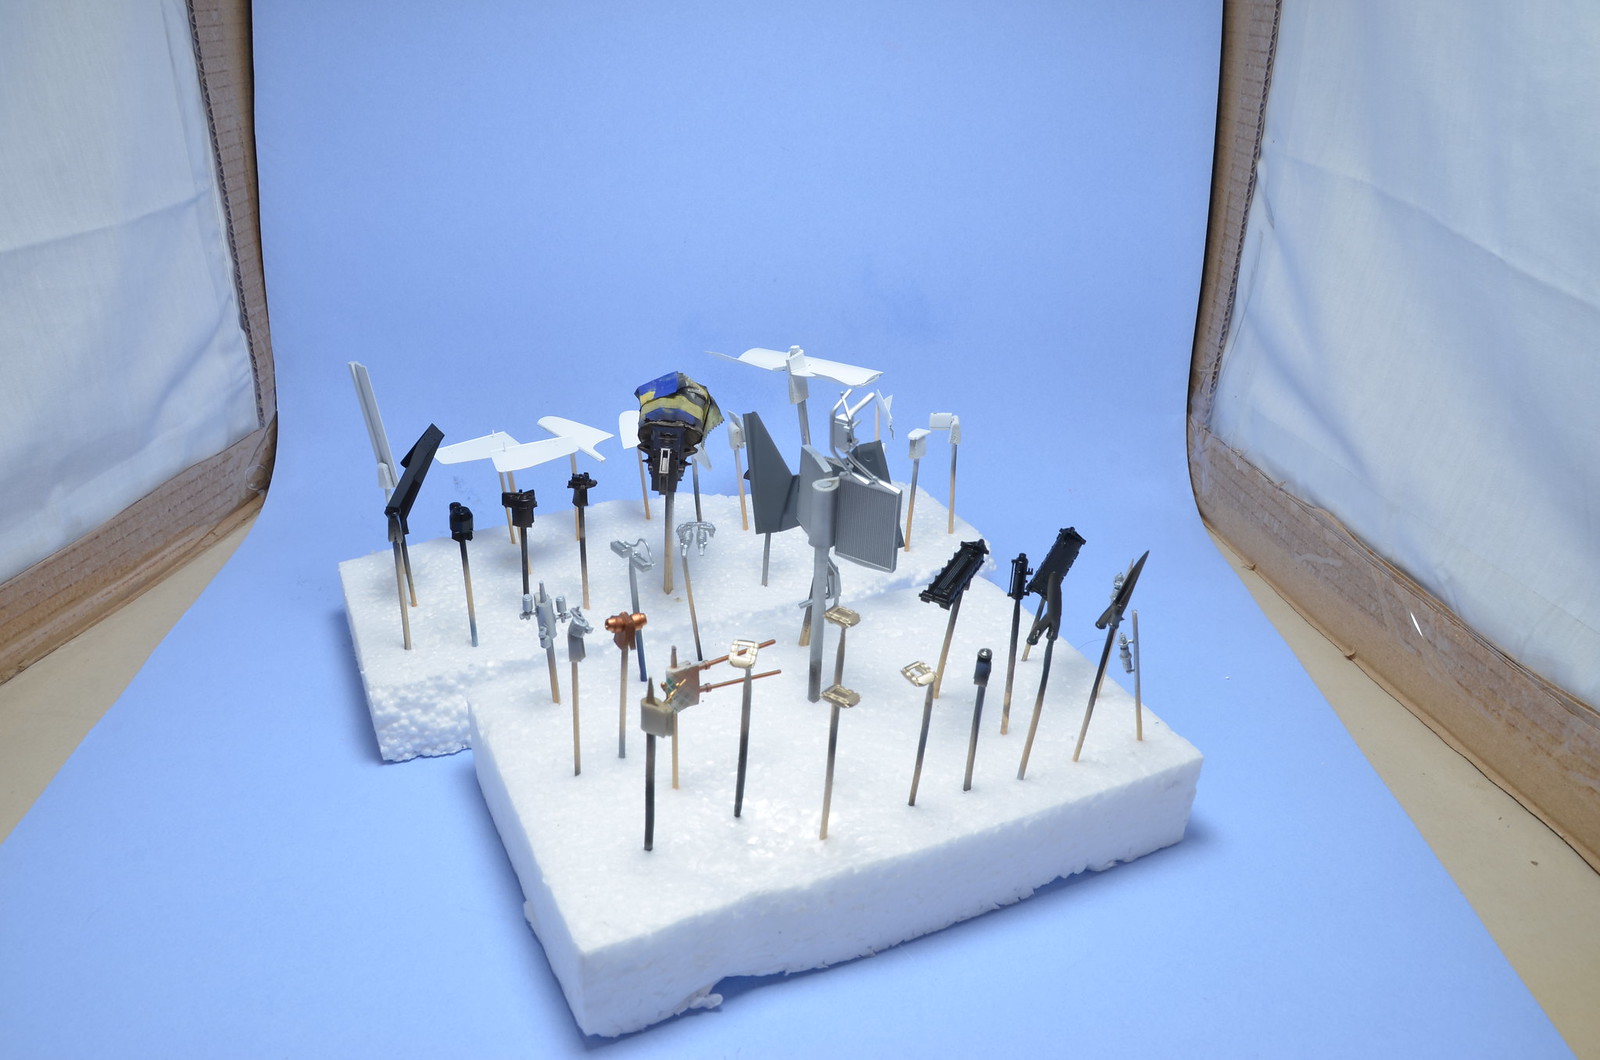
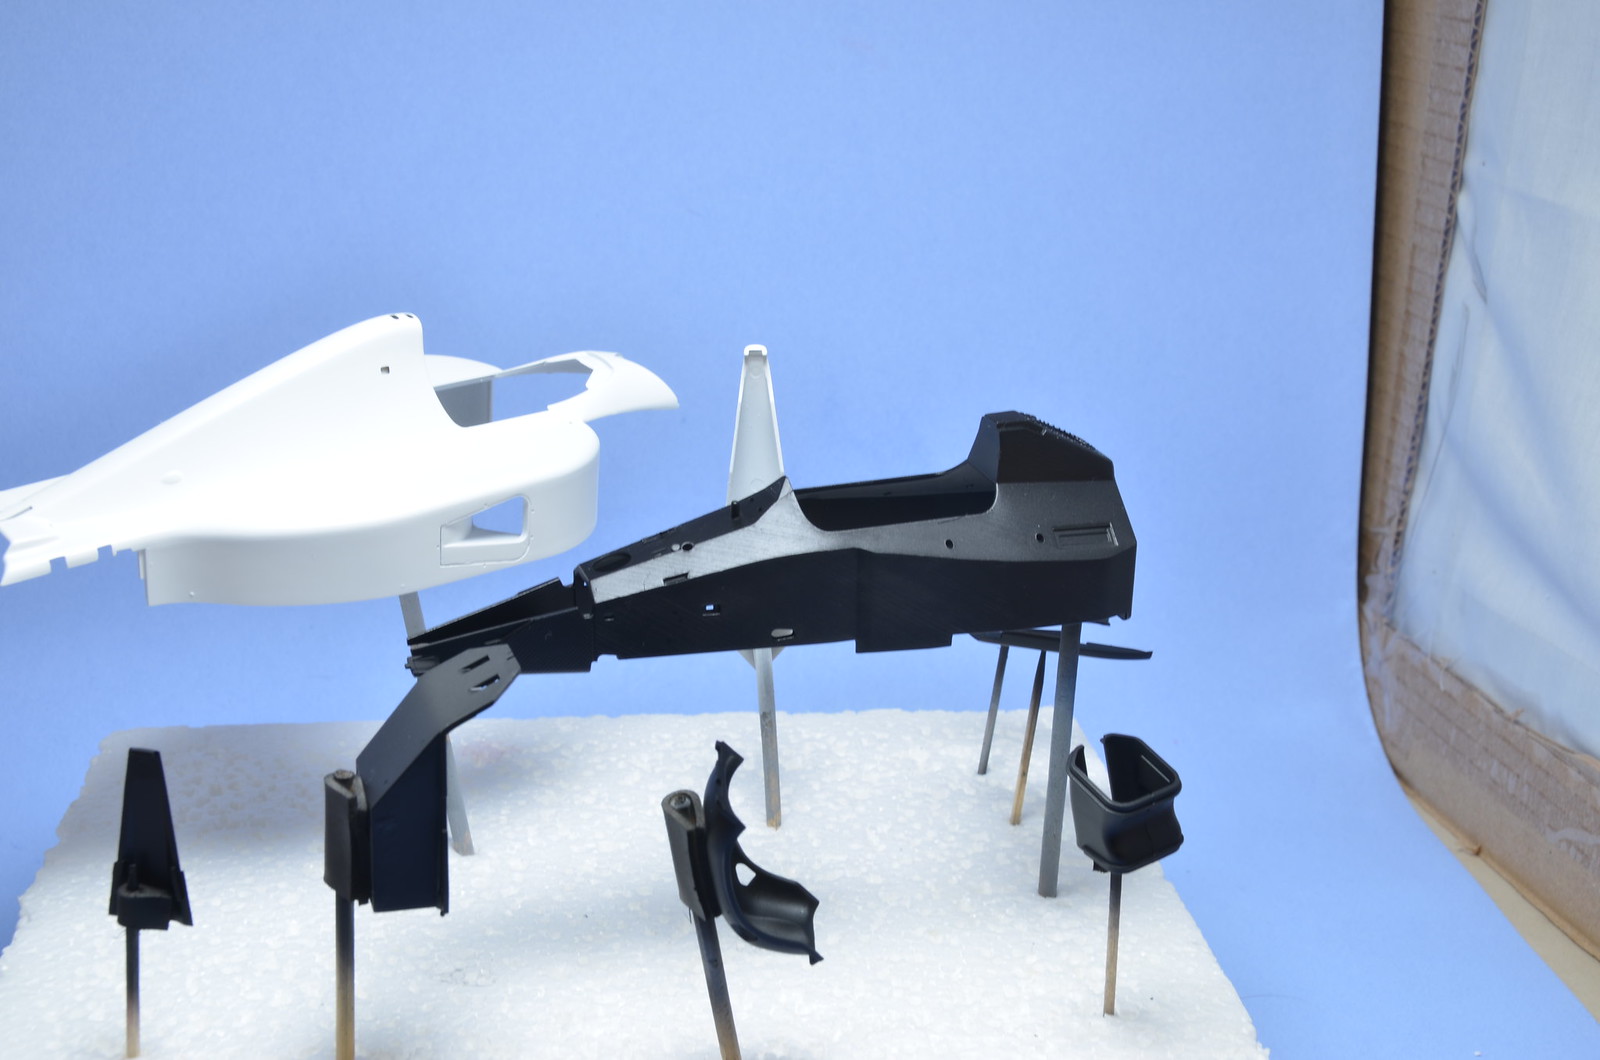
Started colour painting
Completed couple more painting sessions over the weekend. All parts that required semi-gloss black are painted - floor, monocoque, seat, engine and wing elements. Painted various Alclad colours on suspension and engine parts. Radiators, brake calipers, shocks and many other parts are painted as well. Body and wing parts received coats of white primer in preparation for base white and fluo red.


Wednesday, November 18, 2015
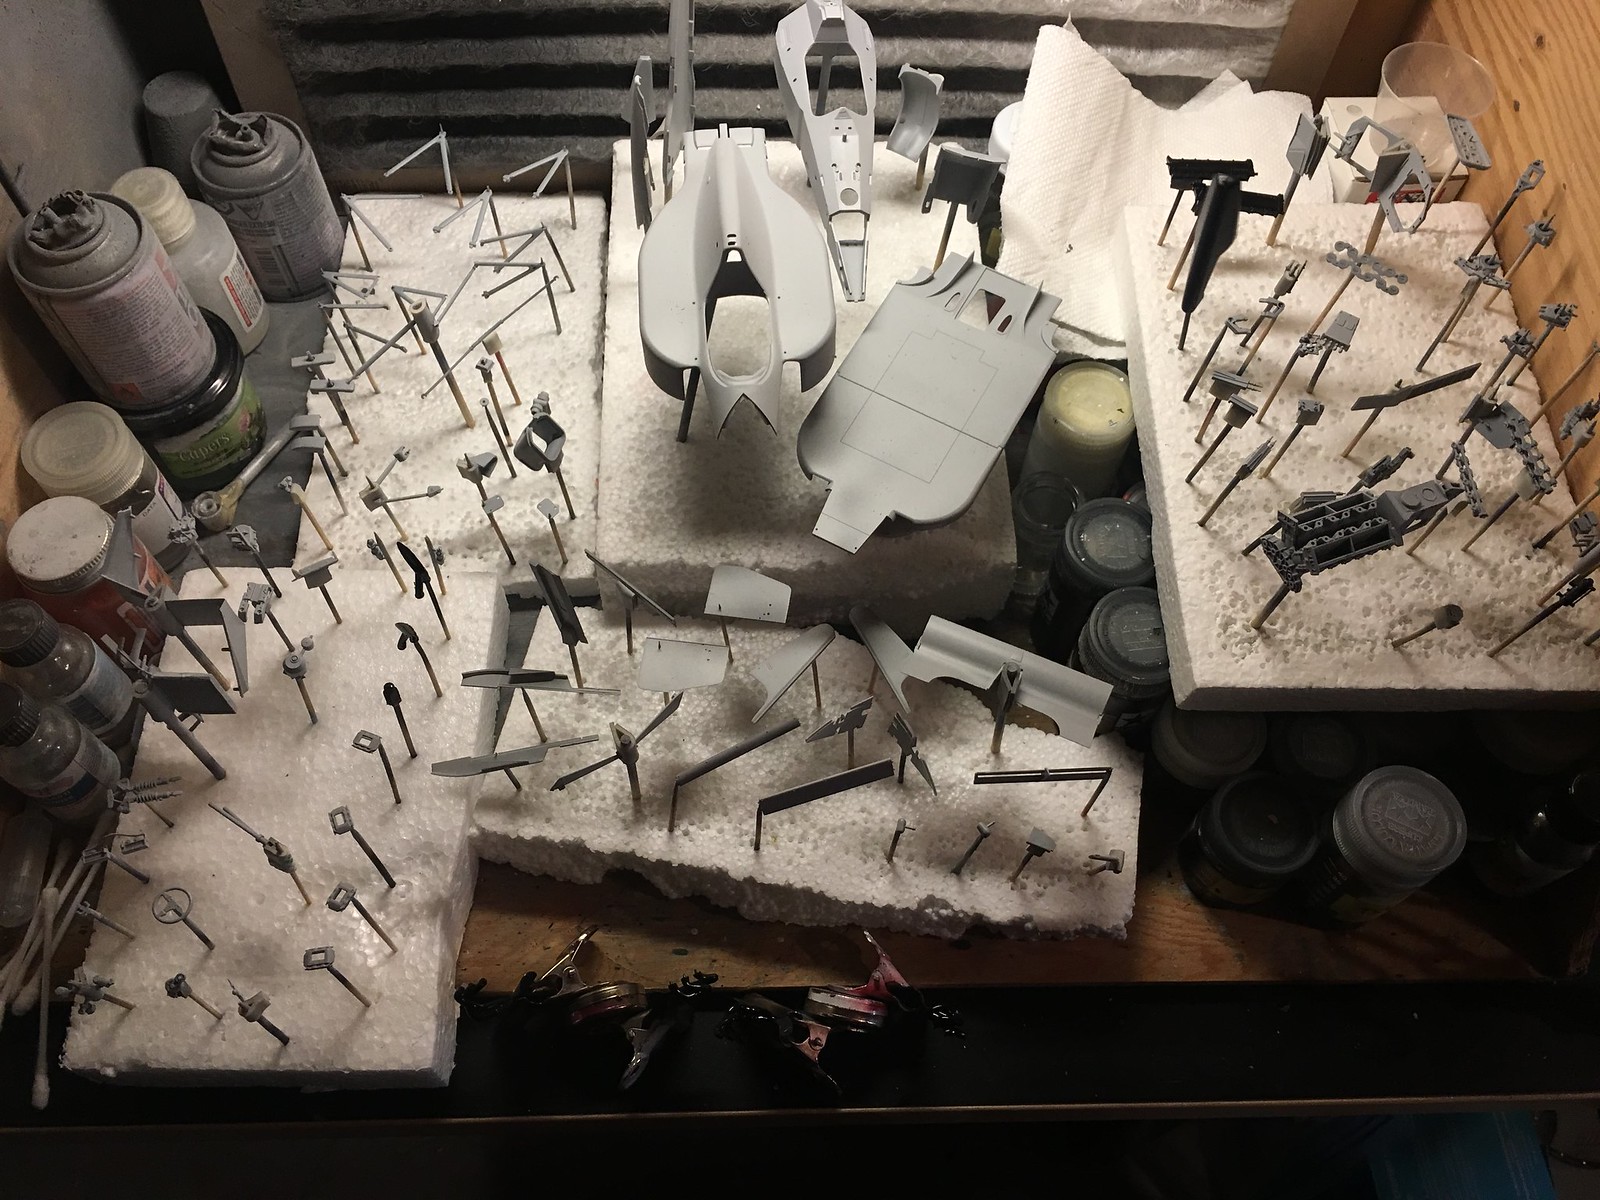
Primer is on
Had a long priming session last night. All parts, I was able to clean and mount, are primed. Some very small parts remains to do. Will let parts dry and then start painting on actual colors. Body will need more work around glued in headrest. Then body and wing parts will receive white primer coats, before base white color could be applied. Here is quick shot of parts drying.

Monday, November 16, 2015
Almost ready for primer
Spent weekend cleaning up and mounting parts on toothpicks and sticks. Almost all are mounted by now. Few wing parts just wouldn't glue to toothpicks for me. Before that I have attached part D3 to the rest of the body. Instructions say to mount it onto chassis as separate piece. But I saw it as part of main body on real car and glued and puttied it upfront. Look ok, but it might require more work after primer shows quality of seems.
There are some many parts in this kit, that even for out of the box build it takes a long time to prepare, mount and paint all of them.
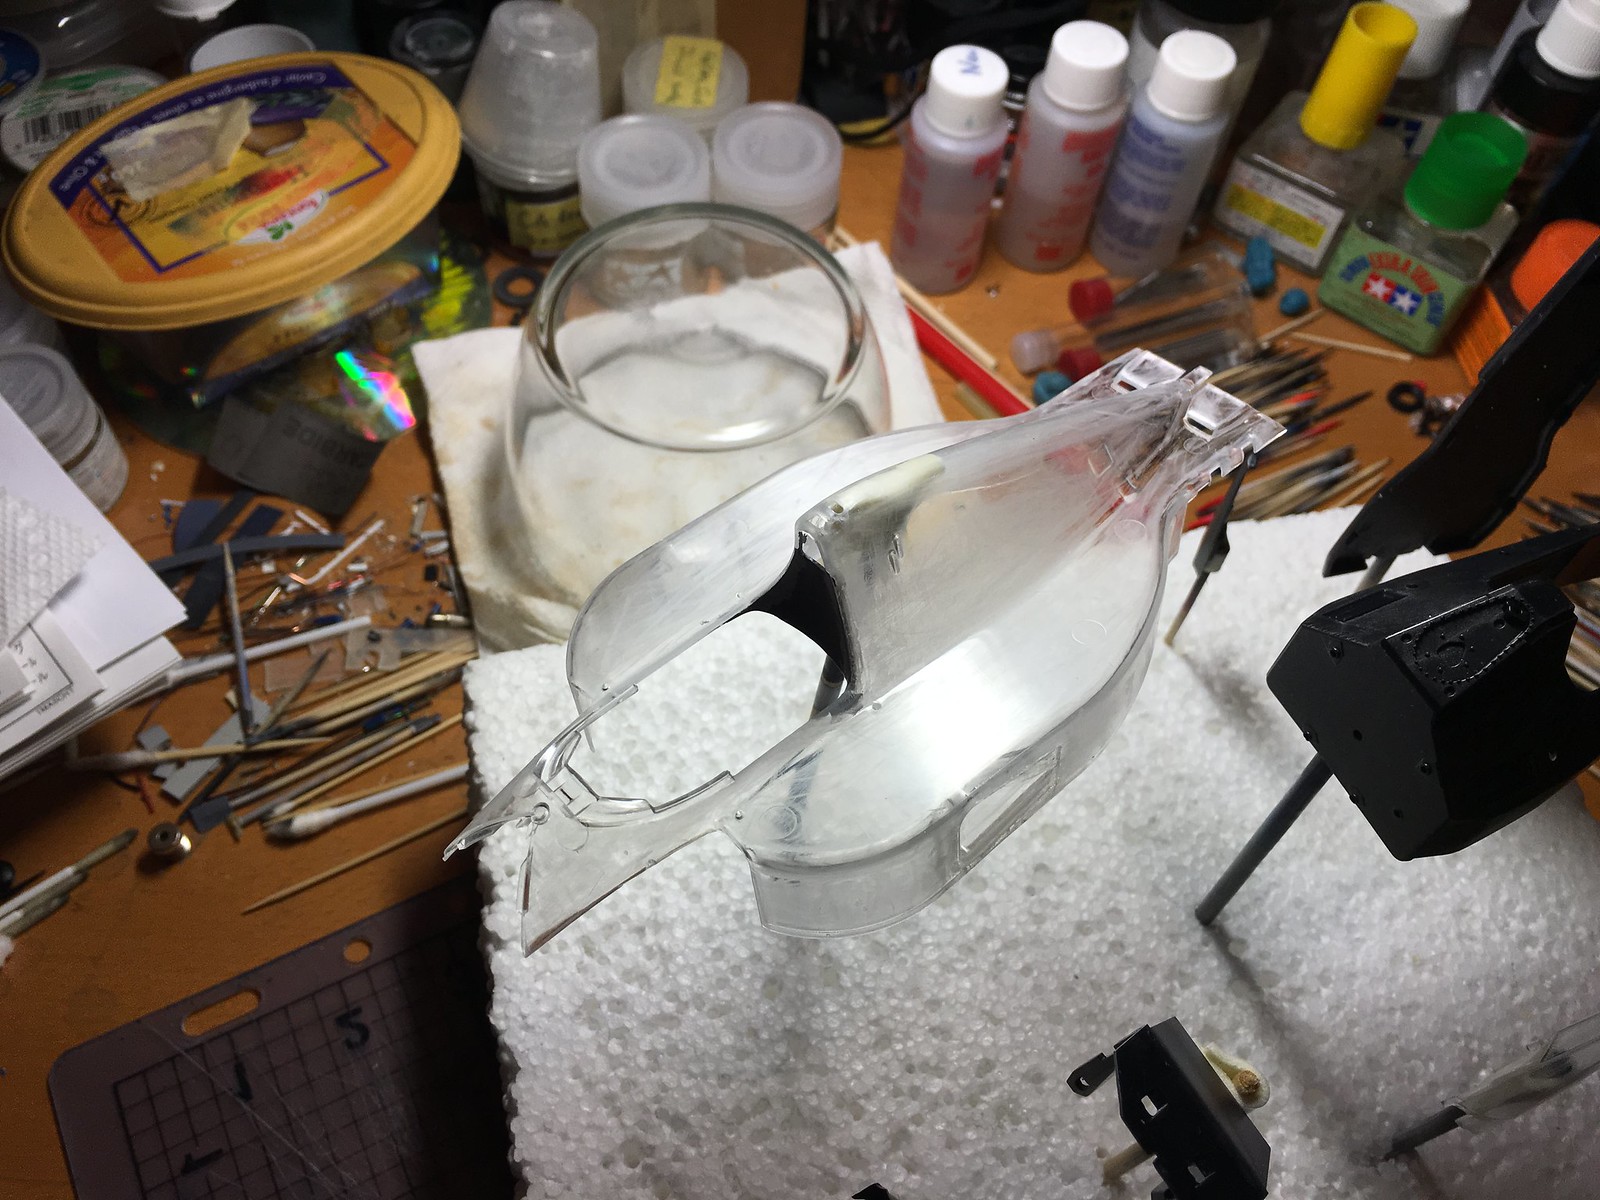
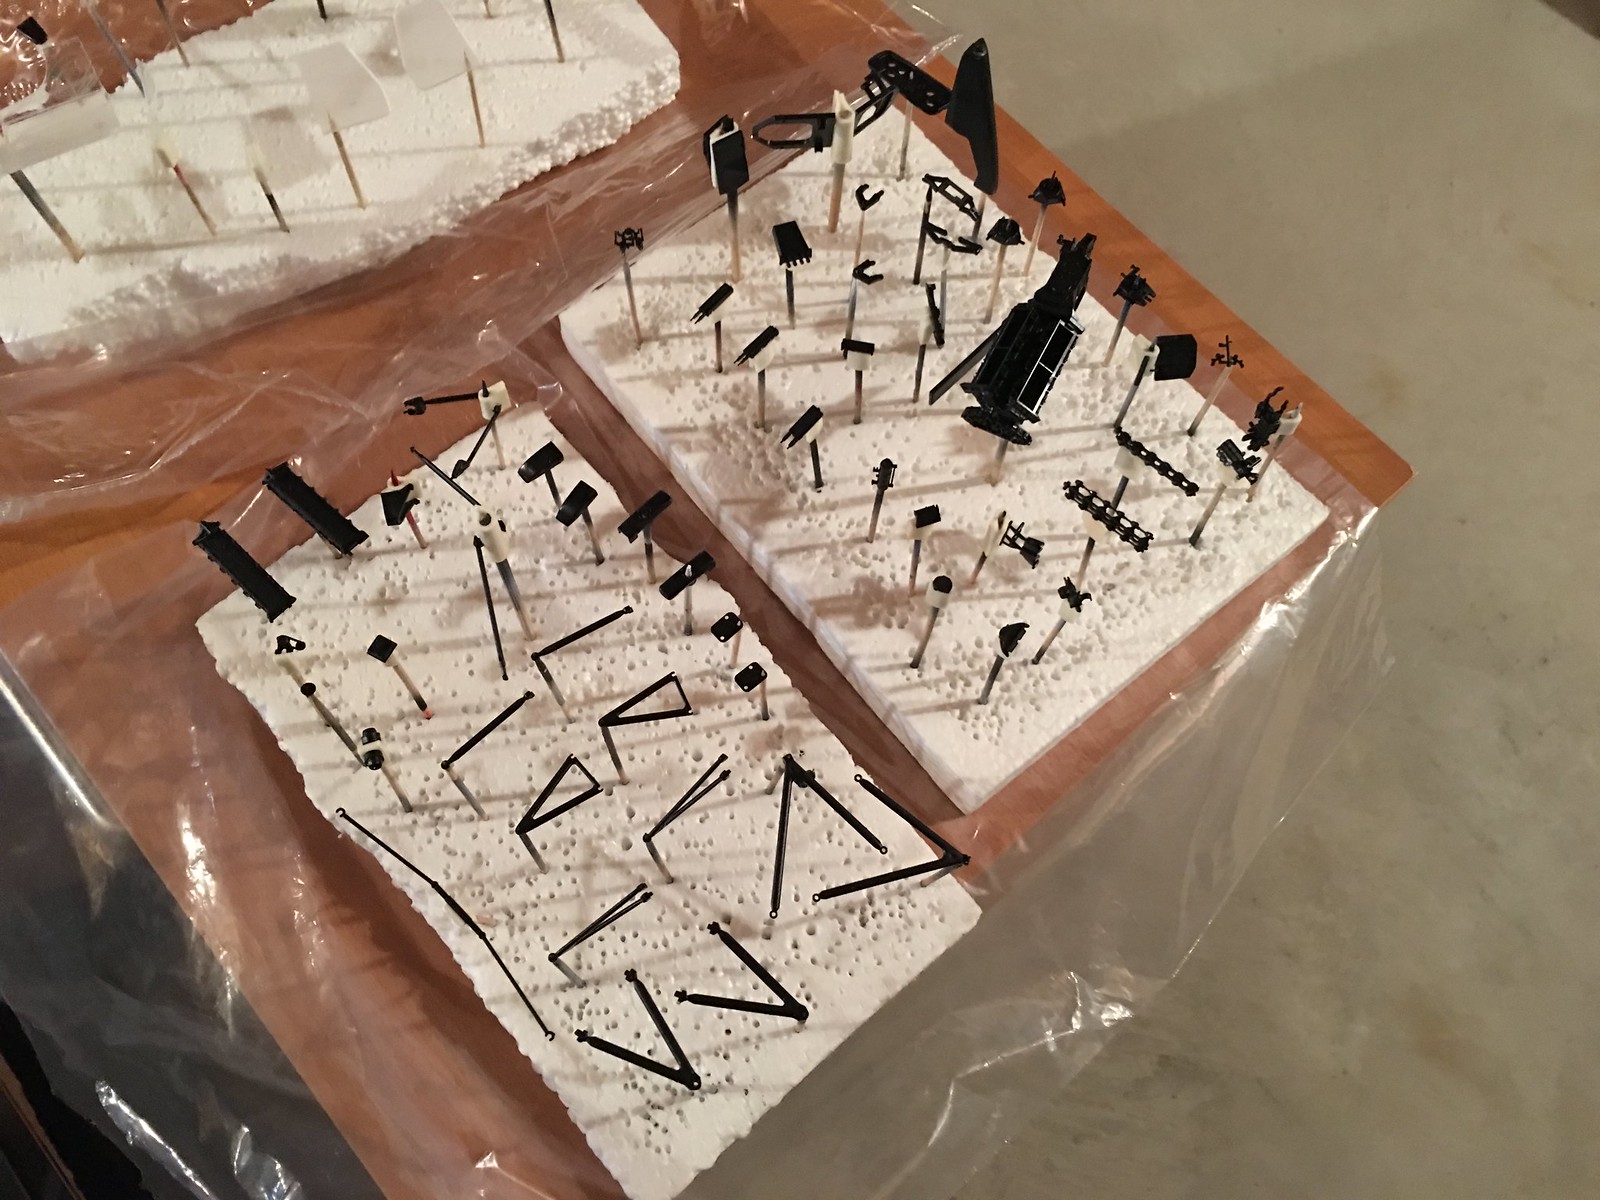
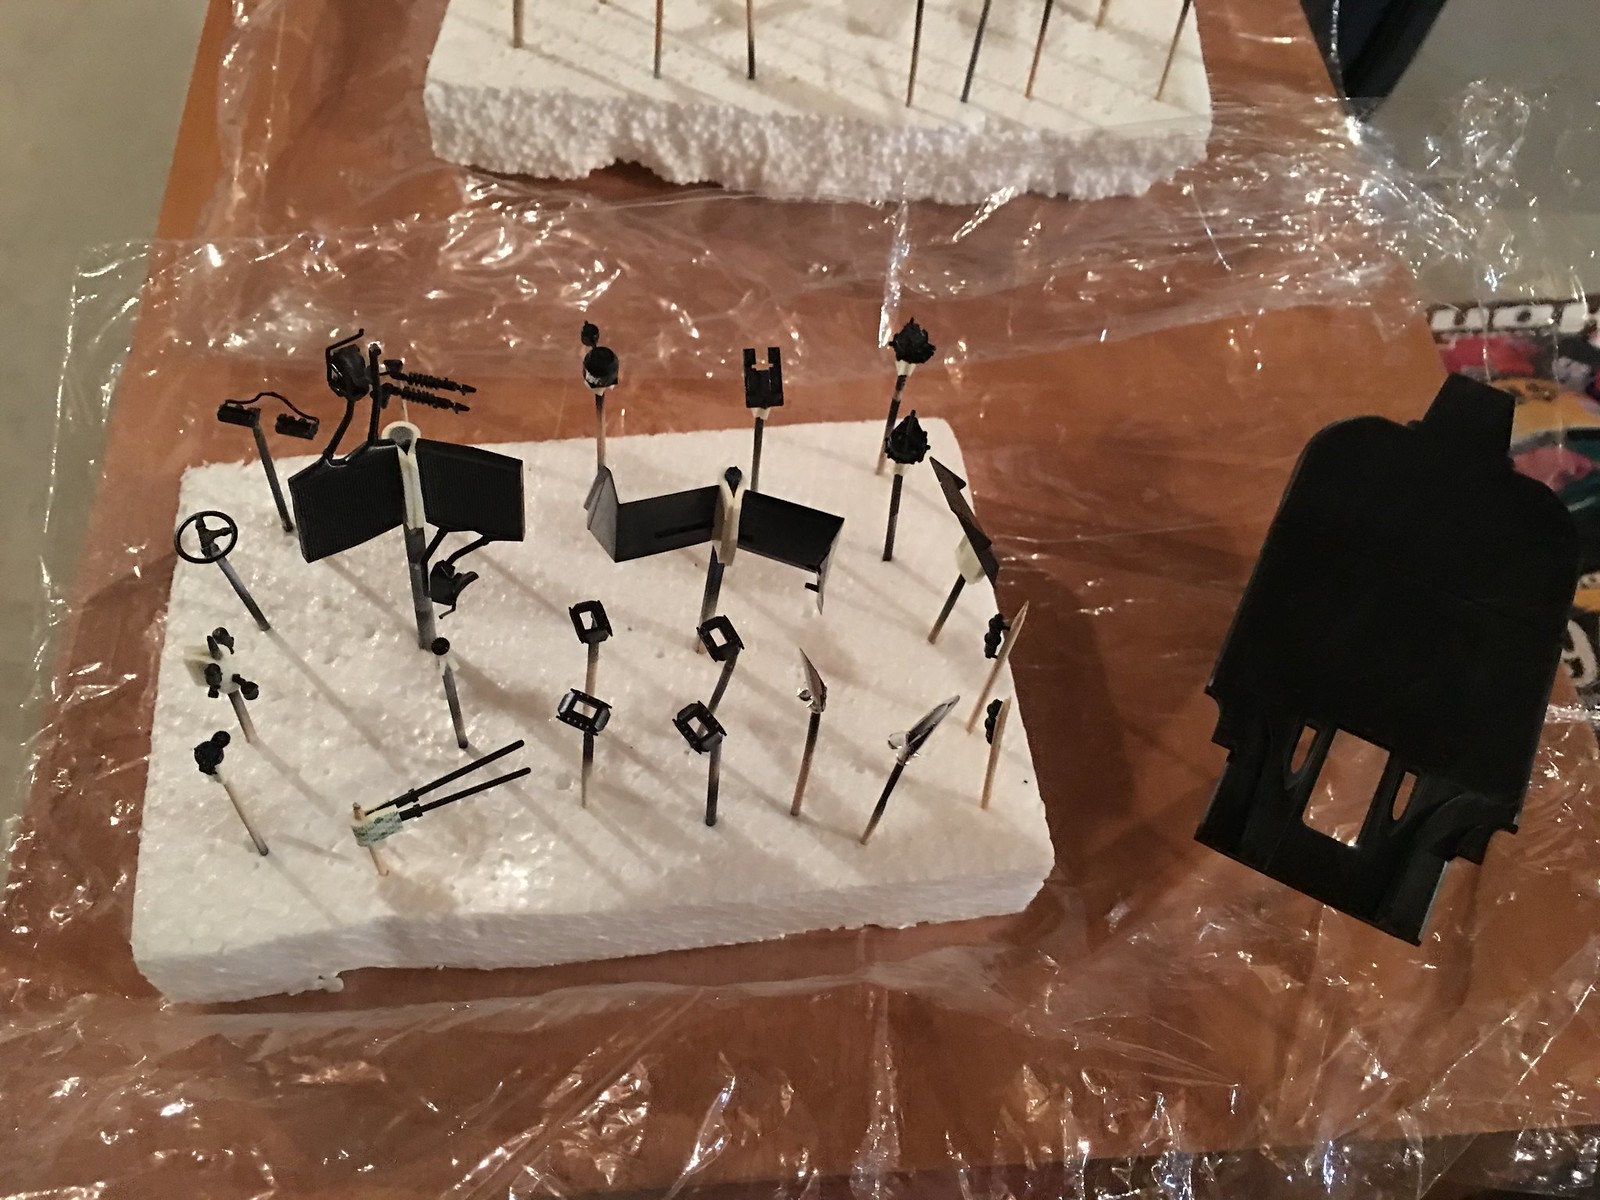
There are some many parts in this kit, that even for out of the box build it takes a long time to prepare, mount and paint all of them.


Thursday, September 17, 2015
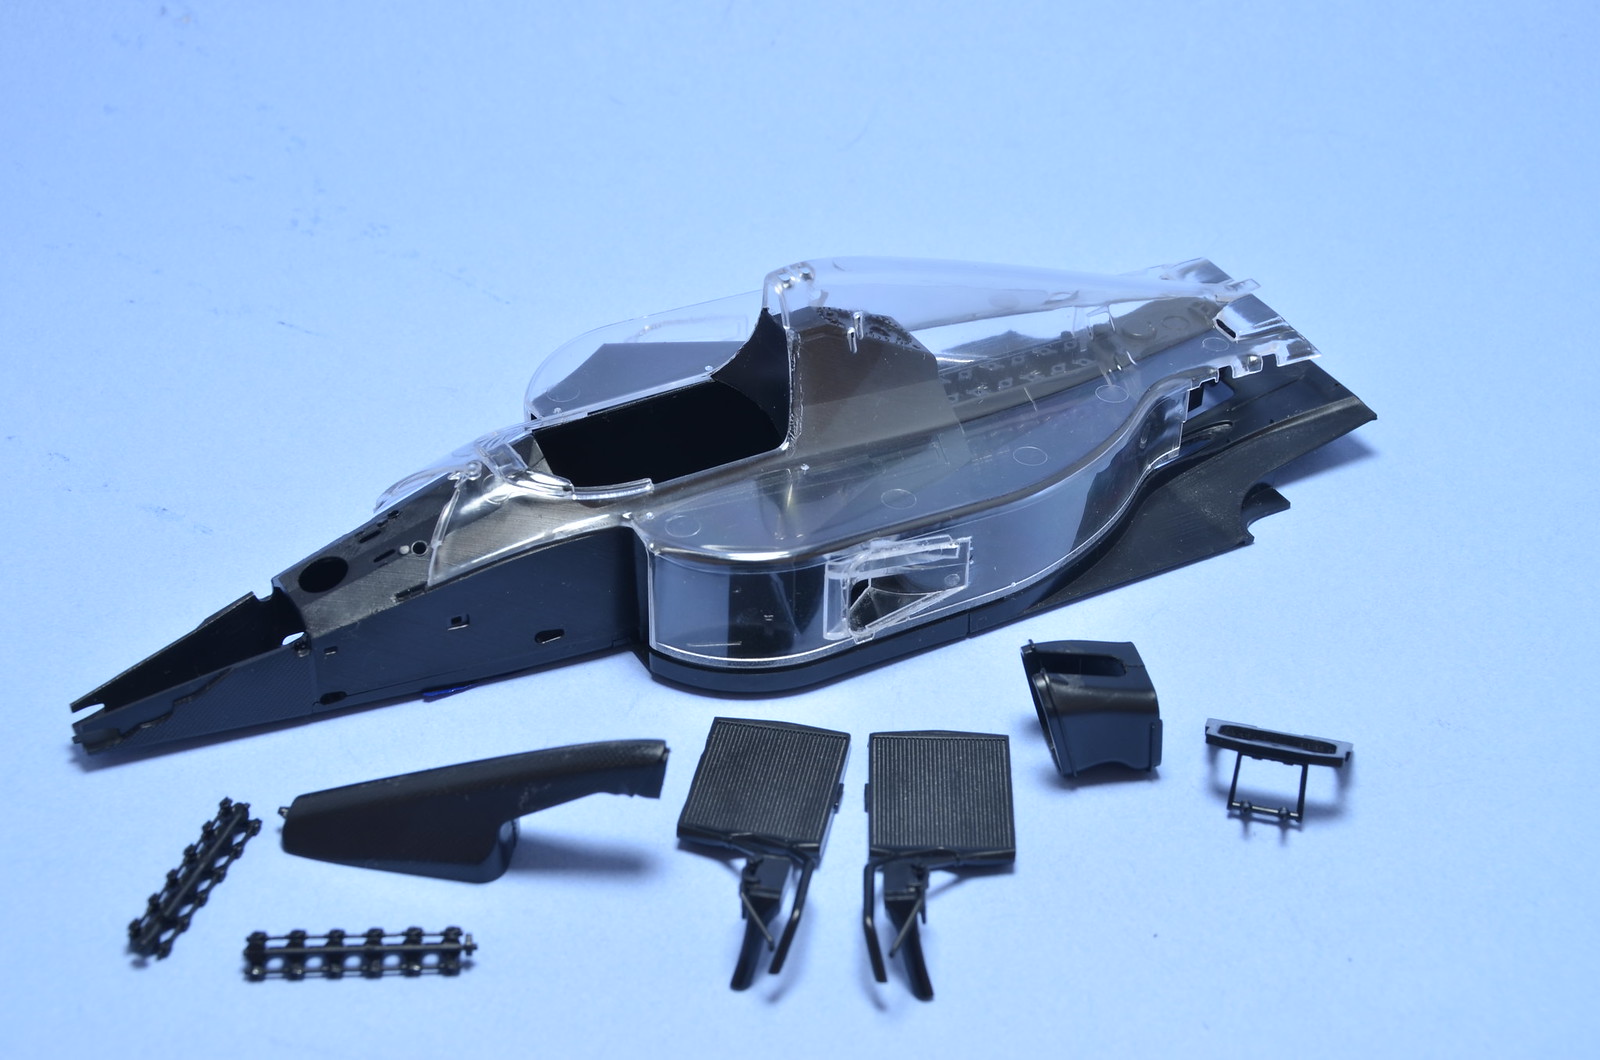
Started Fujimi MP4/6
With FW16B in sort of limbo state, because of paint issues. I've decided to put F12 build on hold as well and start new Formula 1 build instead. I've wanted to build Fujimi MP4/6 kit since a while back. I think main reason is that this kit is a scaled down version of 1/12 Tamiya kit and is a great subject to model. I've actually been working on it for a couple of weeks now, but there isn't much to show. It is in stage of preparation steps. Detached parts from trees and performed test assembly. Also started gluing some parts together before primer. My kit is full view version, however I decided to not have any parts left transparent on my model. Want to build it mostly OOB with addition of some Studio27 PE parts and brake detail set by Hobby Design. With all other projects on the go this one will be slow moving.

Subscribe to:
Posts (Atom)


