Received my printer and have done first test prints. My prints look to have lower quality compare to what my friend has produced. I guess I will have to go through my own trial and error process and gain more experience before I could produce better prints. There is also chance that something is wrong with my unit. But I somehow doubt it. It's not a very sophisticated machine.
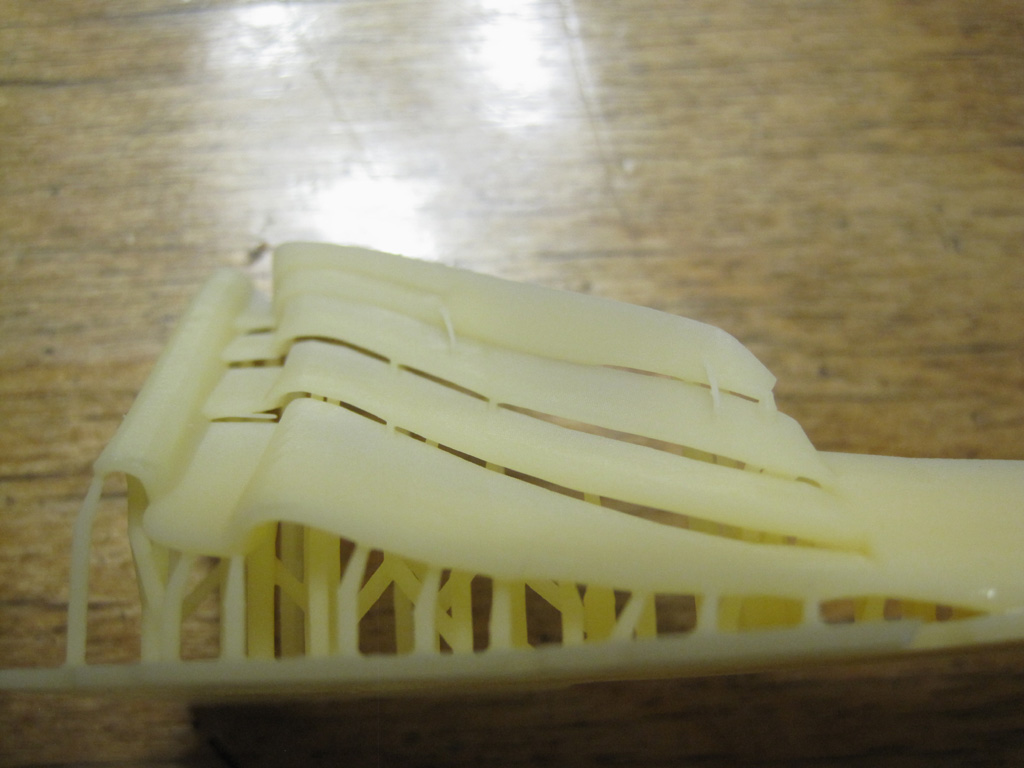
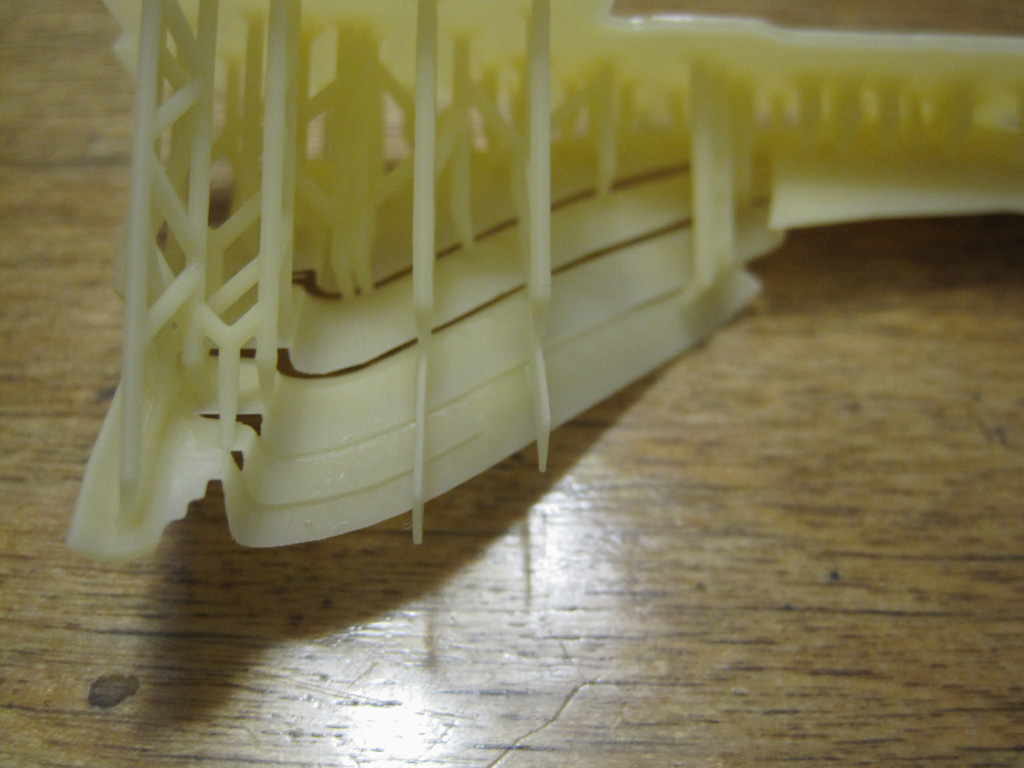
Layers, even at 50 micron Z resolution, are still visible. I will play with rotation of parts to see if my horizontal placement is the problem. Also details on steering wheel and button box aren't as good as I've expected. I might split those parts into separate batch and print them at 35 micron, the highest resolution my printer is claimed to be capable of.
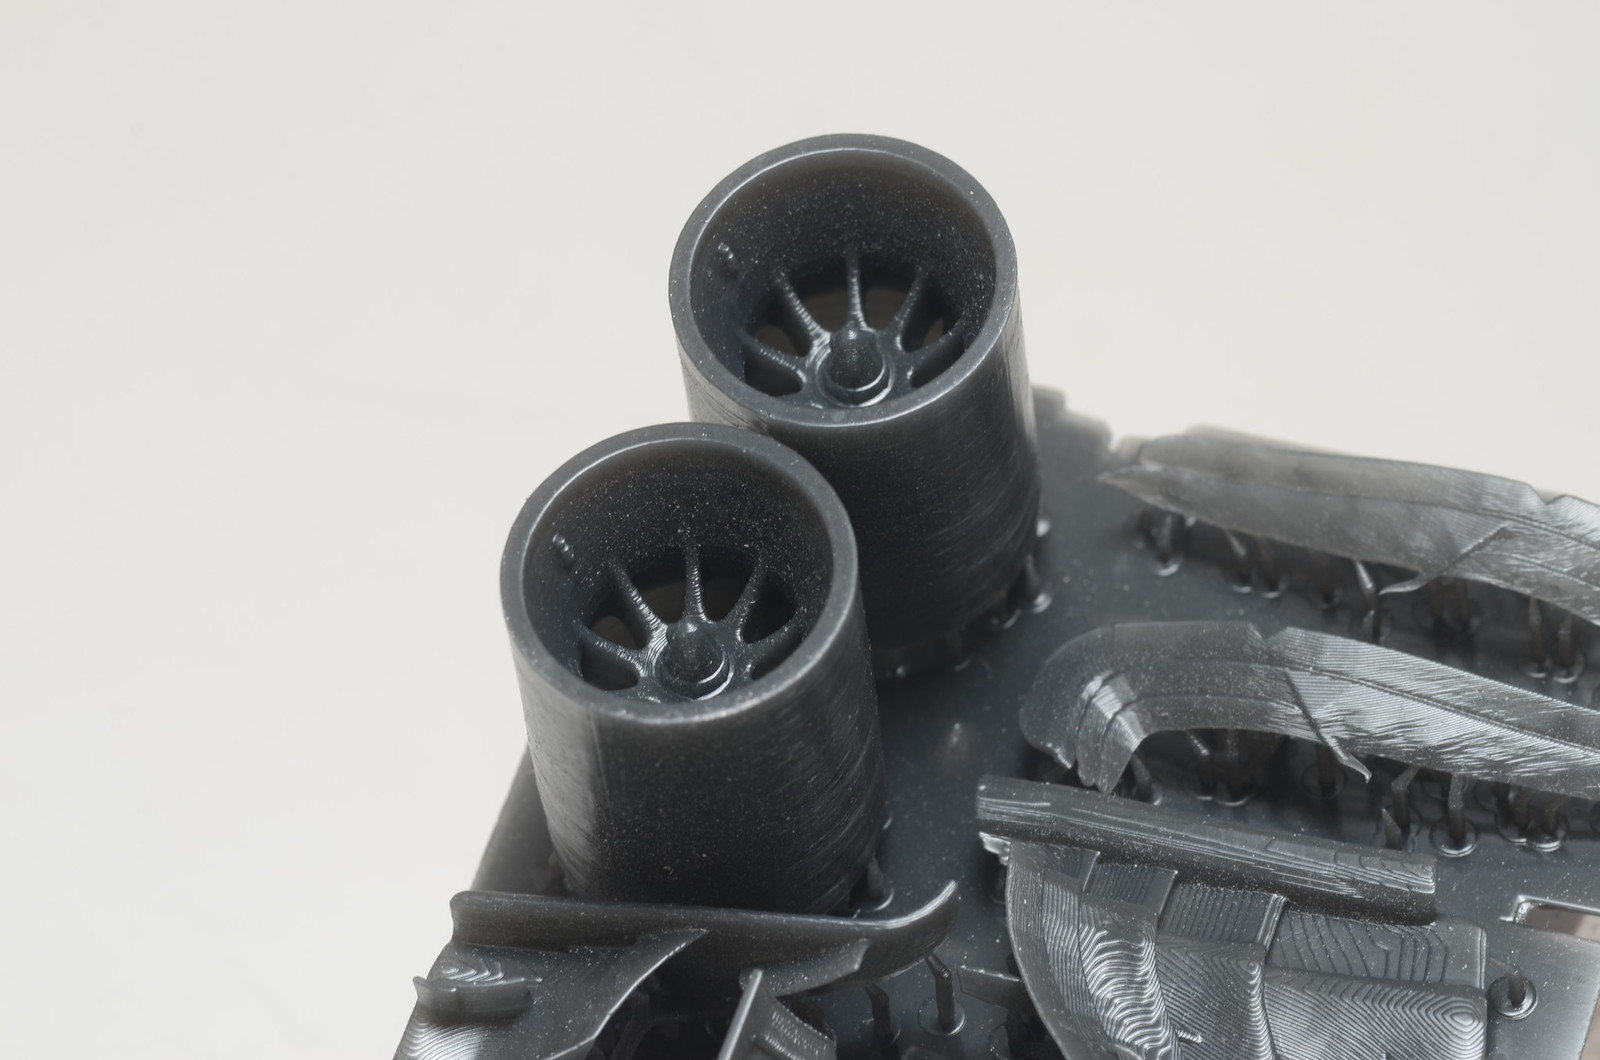
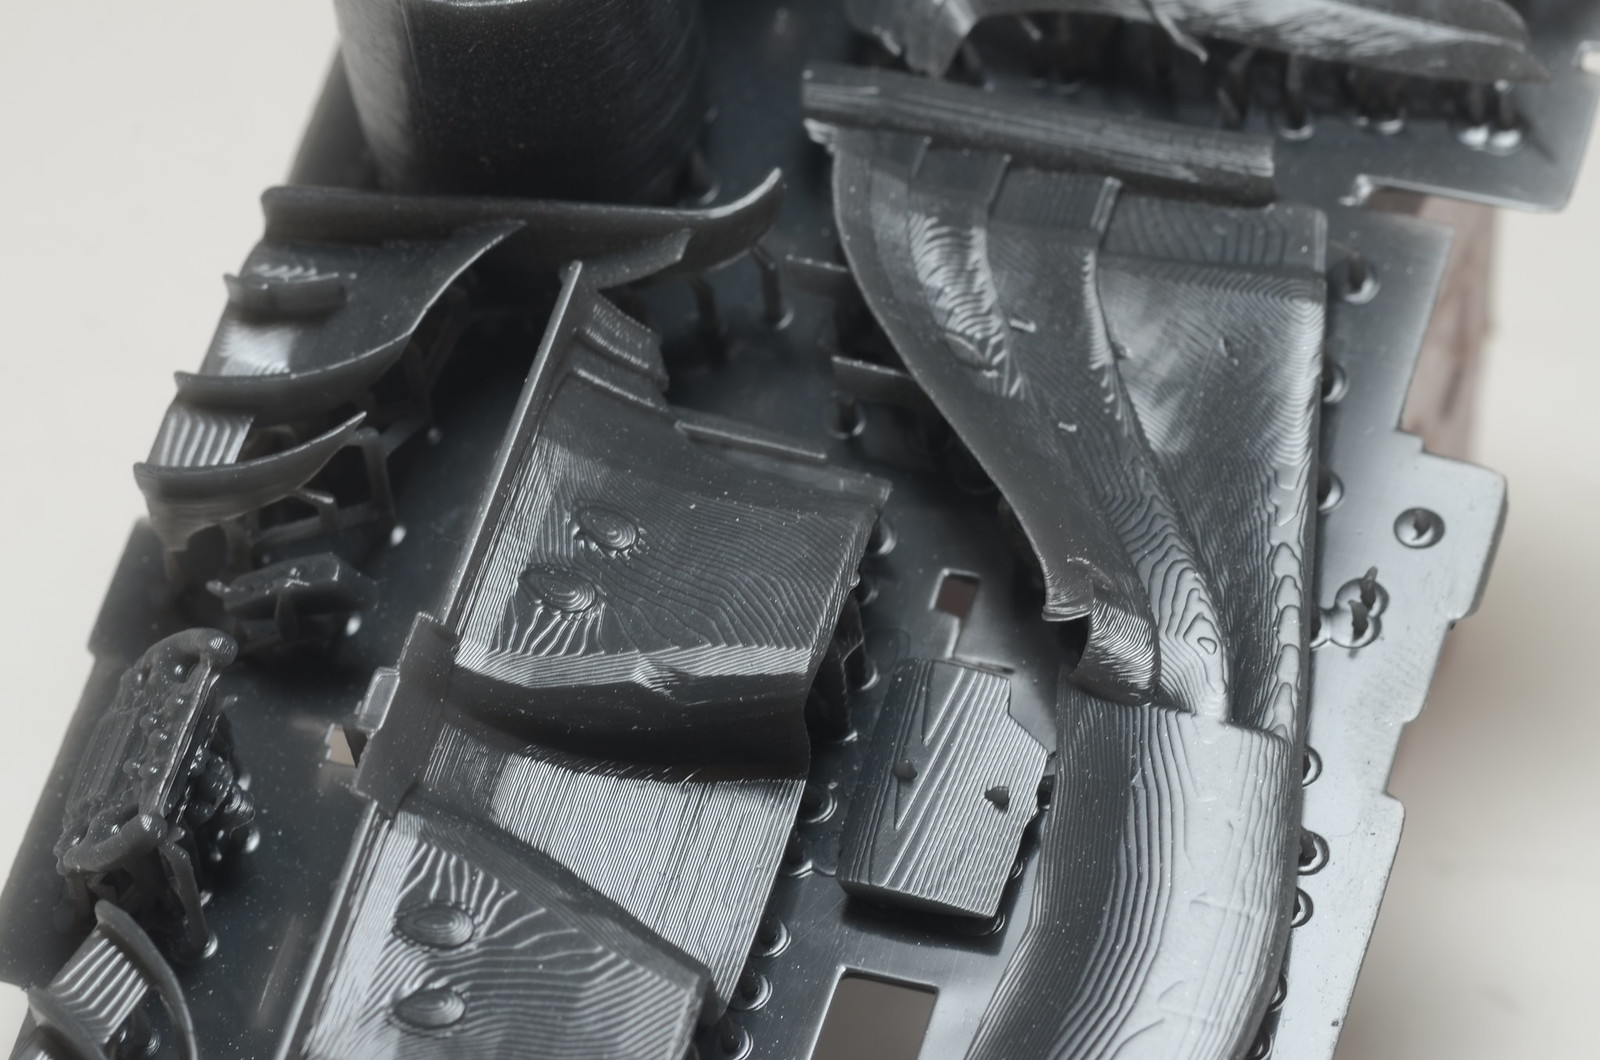
Biggest hindrance at present is the time it takes to print even small batch of parts. Batch shown on photos took almost 3 and half hours to print. And that's the lower height parts batched together. Software estimates over 15 hours to print floor of this model. While height of the printing area is decent, XY dimensions are quite small. First photo, basically represent whole printer bed filled with parts. And because print time only depends on number of layers (height) or parts, bigger printer bed would help with productivity of printer a lot. Here is where 4K screens could help, when they make their way into consumer grade SLA/DLP printers.
I am running another test with white resin and slightly different settings. Will post results later, if parts come out any different.


Layers, even at 50 micron Z resolution, are still visible. I will play with rotation of parts to see if my horizontal placement is the problem. Also details on steering wheel and button box aren't as good as I've expected. I might split those parts into separate batch and print them at 35 micron, the highest resolution my printer is claimed to be capable of.
Biggest hindrance at present is the time it takes to print even small batch of parts. Batch shown on photos took almost 3 and half hours to print. And that's the lower height parts batched together. Software estimates over 15 hours to print floor of this model. While height of the printing area is decent, XY dimensions are quite small. First photo, basically represent whole printer bed filled with parts. And because print time only depends on number of layers (height) or parts, bigger printer bed would help with productivity of printer a lot. Here is where 4K screens could help, when they make their way into consumer grade SLA/DLP printers.
I am running another test with white resin and slightly different settings. Will post results later, if parts come out any different.