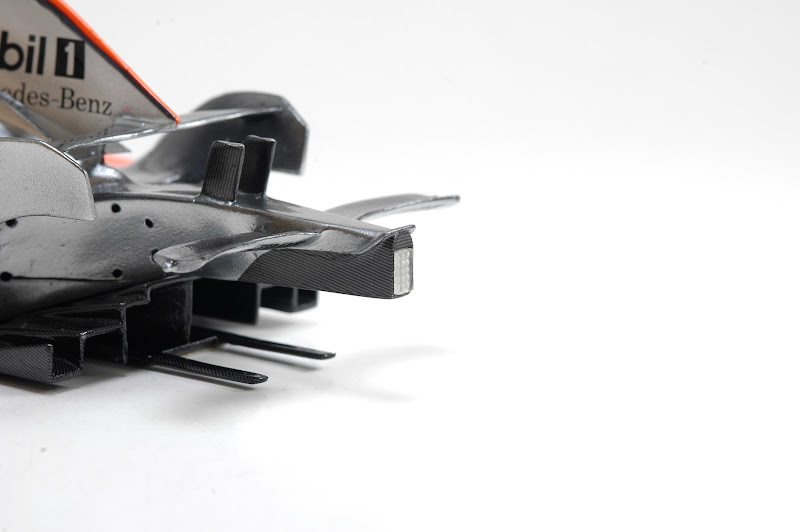
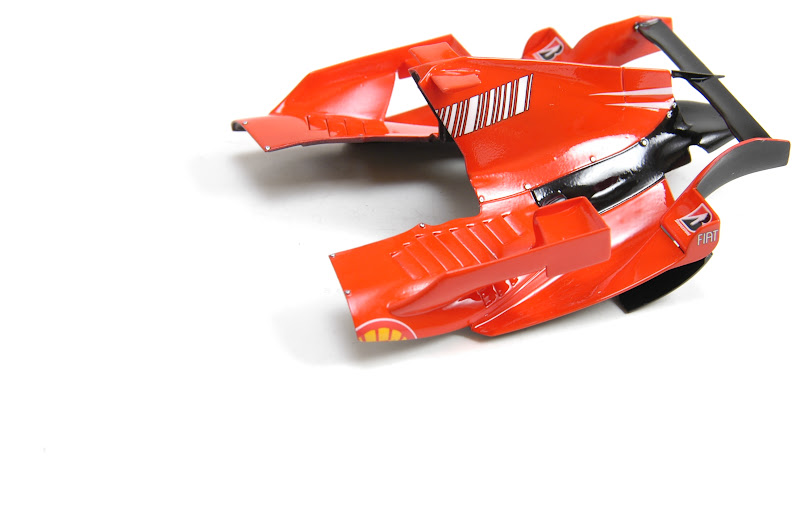
Work continues on this model. Glue on front wing dried and it is almost ready. Just need to install PE bridge from lower plane to middle one. I've worked to seat belts next. Pretty much finished. Colour of belts looks weird under artificial lights. In reality it's much closer to black. Decals are from the kit.
Saturday, September 1, 2012
Thursday, August 30, 2012
MP4/22 rescue build
I've been thinking for a while about how to tackle front wing assembly. There are 5 items which I would have to hold, apply glue over and then put together and align properly. I've come up with a simple jig from Lego block and some blue sticky tack. And it worked. Lego blocks help wing end plates to align. Sticky tack held planes in place while I was applying glue and attaching end plates. Here are some photos, before glue was applied.
Wednesday, August 22, 2012
MP4/22 rescue build
Both front and rear suspension were test fitted, modified as required and main component assembled with epoxy glue. It went together much better then I expected, having done almost no test fitting upfront, before paint. Not perfect and wheels will probably not have caster and toe-in angles I would like, but will most likely be acceptable. I plan to use epoxy again when I get to attach wheels and try to do some final adjustments then. Uprights aren't fixed and just mocked up for photos. They need re-paint, before final assembly.
Monday, August 13, 2012
MP4/22 rescue build
More small things done. Installed rear stop light, rear mirrors' PE faces and bottom plank. I use wood like material from KA-Models. Good stuff.
MP4/22 rescue build
Yes, it's like "back from the dead" for this model. After being on hold for about 9 month, I've finally turned my attention to it and made some progress. Not much, but took quite a bit of time. Painted exhaust pipe tips and axles, fitted exhaust covers and tips. And last but not least (about 3 hours in total) fitted engine cover PE winglets. It was quite a pita to attach them. I've used epoxy glue for this. Epoxy is kind of becoming my most used glue. Z-poxy one I use dries clear and it's a big help for places where excess glue could be very visible. Besides 5 minute set time leavs good room to do adjustments if needed, while glue sets.
Wednesday, August 1, 2012
F2007 is ready for assembly
I've finally get my motivation back and returned to Fujimi F2007 build. Hiatus of this build was mostly caused by my fear of rear wing assembly. I subconsciously knew it's not going to end happily. After glue settled and all weights removed it still remained a bit skewed and not 100% straight. Overall better then I've feared though. Then I've applied all remaining decals. Used decals from F60 kit to represent body fasteners. They look acceptable, imho.
Well, it's not going to win any contest, but there is always next model and a hope that next one will be better.
First side view before final assembly push.
Next, engine cover with fasteners simulated by decals and attached winglets.
Nose cone and top camera with decals applied
Finally different angles of rear wing. Last pictures clearly shows tilt to the right.
Well, it's not going to win any contest, but there is always next model and a hope that next one will be better.
First side view before final assembly push.
Next, engine cover with fasteners simulated by decals and attached winglets.
Nose cone and top camera with decals applied
Finally different angles of rear wing. Last pictures clearly shows tilt to the right.
Thursday, June 14, 2012
SimilR kits
Received my first 2 SimilR kits. It's probably only 3rd time over many years when package box was crashed during shipping, but only 2nd time when kit parts were actually damaged. From the look of the package I've expected the worst. However Pescarolo kit pretty much escaped any damage, except slightly bent decals and instructions. Ford GT1 is the one which suffered quite a bit more. Beside bent decals, instructions and PE fret, there are number of broken parts and 4 out of 6 part trees are slightly bent as well. But overall considering the look of crashed boxes, it's amazing how little actual damage was sustained. Loose packaging of plastic kits and the fact that SimilR's plastic is somewhat soft and less brittle are probably the factors that helped kits survive such abuse. I expect those kits to be buildable pretty much as normal, but parts will have to be repaired and fit will most likely be quite a bit worse compare to undamaged copies. While it helped against the crash forces, soft nature of plastic SimilR is using could lead to fit issues but itself. In my case it'll be compounded by damage from the crash. Well ... nothing I could do except attempt to fix whatever issues arise in process of building these.
Subscribe to:
Posts (Atom)