Tuesday, April 22, 2014

Primer is on

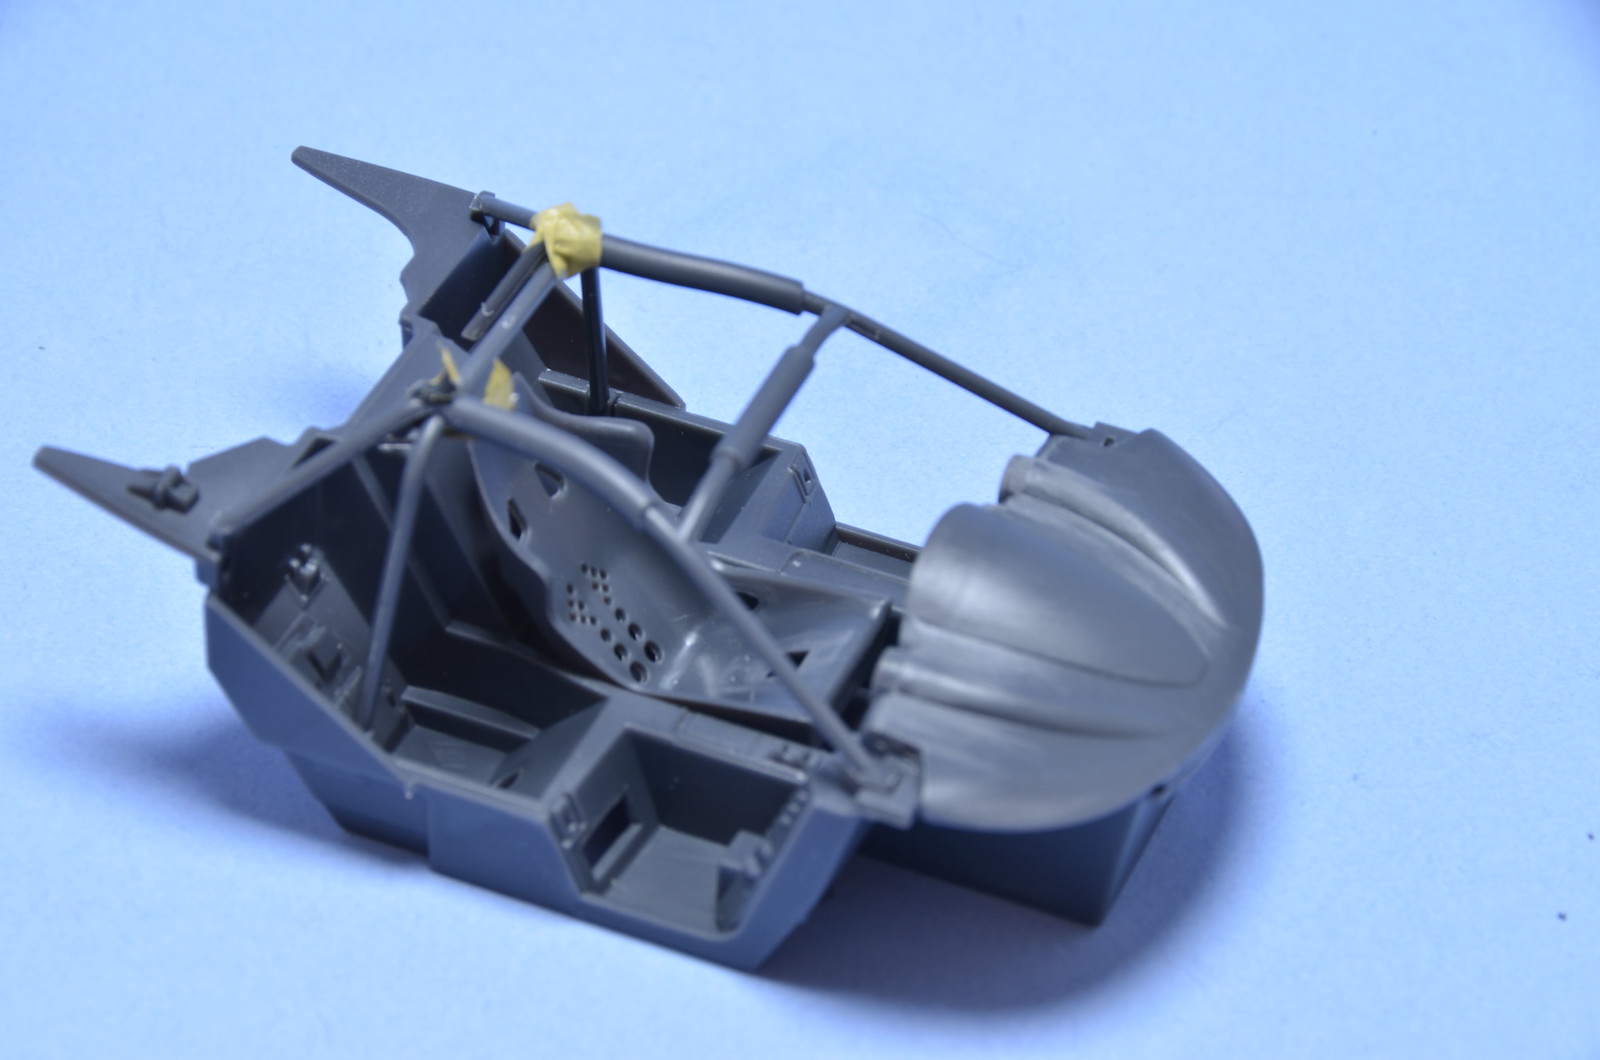
Completed parts preparations and mounted then on sticks and toothpicks. Then sprayed Tamiya grey primer. Gone through almost a full can of primer for this model. As soon as primer dries I will start painting other parts beside body panels. Still need to get matching paints.


Friday, April 18, 2014

Preparations work in progress

There is some progress, but not much to show. I'm stuck in preparations stage. Glued some parts before priming and filled in seams and injection marks. Aoshima designers managed to put most of those marks out of sight, which is great. But some still need to be filled. Fit is great all over the kit and I'm pretty happy with that. Next will be primer.


Saturday, April 5, 2014

Dry fit test assembly continues

More progress on test fit assembly. Nothing is glued on or permanently attached yet. I'm very impressed with the fit of parts overall. Doors do not fit 100% likely because of thin plastic at their tops. But rest fits very well together. Body just clicks in place and leaves to visible seems. Fit of windows is really amazing and they are quite thin for a plastic kit. Beside error with front gills and weak brakes, I have no other issues to point my finger to. Aoshima has done really great job.


Aoshima F1-GTR Long Tail started

Couldn't wait any longer and started my first build of new Aoshima kit. Plan is to build it pretty much OOB with addition of PE set and after market livery decals. FIA 1997 Gulf livery car is the target.

Just started my usual dry fit assembly. Overall impressions are very positive. I'm quite impressed by the level of engineering and detail level. Especially engine detail. It looks very good and pretty accurate. Cockpit has great level of detail as well. Casting quality is very good and very little clean up, beside removal of usual mold seam lines is needed. Injection pin marks are generally placed in hidden areas and only small number of them will need a fill ins. Brakes are a weak point and suspension is a bit compromised, but they won't be very prominent on completed model.

Fit is very good and in some instances I couldn't immediately understand why parts just click into their places and align properly. Design is very clever. Most of the parts hold together well on dry fit just by virtue of tabs and pins on parts. Haven't gotten to body parts yet, but I expect fit will great there as well. That will be next step.

I think in terms of engineering level, fit level and detail level this kit is very close to best Tamiya 1/24 scale kits. Don't know about over all accuracy yet, but it has been good fun assembling it so far.

Besides mentioned weak brakes, one of the things bothering me a bit is the quality of plastic. It feels different from those types used by Tamiya and Fujimi. Seems to be lower quality. Hopefully it won't affect end result.

PE set is a bit unusual and is more like extra detail set. Beside actual PE items, it contains small number of CF decals, wires to simulate electrical cables and seat belt fabric. Not too many PE parts are included, but they are still a good addition to what is already a well detailed kit, imho.

Here are some photos to show progress so far.


Sunday, March 23, 2014

More CF work

Another 5 hours spent on CF decals. All I've done is finish sides and internals of cockpit and worked on external surface of the roof. Gaps will not be visible when body panels are attached in place. So much effort and work is needed for those CF decals. Hope it will make some difference in the end.


Monday, March 17, 2014

Main livery decals completed

Applied many more main livery decals over weekend. Good news is that I've completed most challenging ones and only few small decals are left to add. Had to do some mock assembly to be able to align doors and side body panels, so I could apply those big overlapping "FINA" decals. Also almost finished front hood. I had to do quite a bit of patching for decals over complex shapes. Luckily MFH included some spare colour stripes and I had left over white decals from F248 kit. Overall I'm happy with result.

MFH decals are very good quality, but even MFH provides flat decals, which supposed to cover curved surfaces. I had issues on those red stripes of American flag. Decals just wouldn't lay flat over curved fender's surfaces. It's not that visible from a distance and hopefully clear coat will mask those wrinkles a bit more. However I can never understand why kit makes keep making flat decals for highly curved surfaces. Not amount of Micro-Sol can solve my issues. I've seen only one kit - Studio27 MP4/27, where they actually changed shape of flat red decals to conform better to highly curved side pods.


Wednesday, March 12, 2014

CF work and start of main livery

Finally an update after almost a month. I hadn't had much time available for modeling during that period, only about 4 hours per week. Most if that time was spent on applying CF decals to monocoque and front structures. I've used SMS transparent CF decals, twill weave and pain weave. Transparent CF for front structures and brake ducts. Most of the monocoque is covered in plain weave, except for the floor. I've decided on use plain weave on floor panels, as seen on some references. Besides that gives a bit of a variety too.

Past weekend I've decided to take a break from CF and apply some livery decals instead. Started with rear and side panels. Only in about 4 hours I've completed almost a third of whole livery. That gives out an idea on how much effort goes into those CF application jobs. But in the end CF decals make model look quite a bit better and provide enough satisfaction to justify whole ordeal. Decals job for the small central roof piece, front bonnet and doors is more challenging. Between doors and lower side panels I have to align and split big white "FINA" decals, which also must conform to ridges on doors. On the front bonnet couple of decals actually overlap onto front lamp covers and that posses a requirement to finish front lights first. So, next update could take longer to appear because I will need to solve these challenges first.

One more challenge is represented by internal door panels. I've attempted to cover them with one piece of CF and failed. Even SMS CF decals aren't flexible and stretchable enough to conform to complex shape. I plan to use multiple pieces for my next attempt.

Here are some photos of current state of things.