Sunday, October 25, 2015

First decals on for FW16B

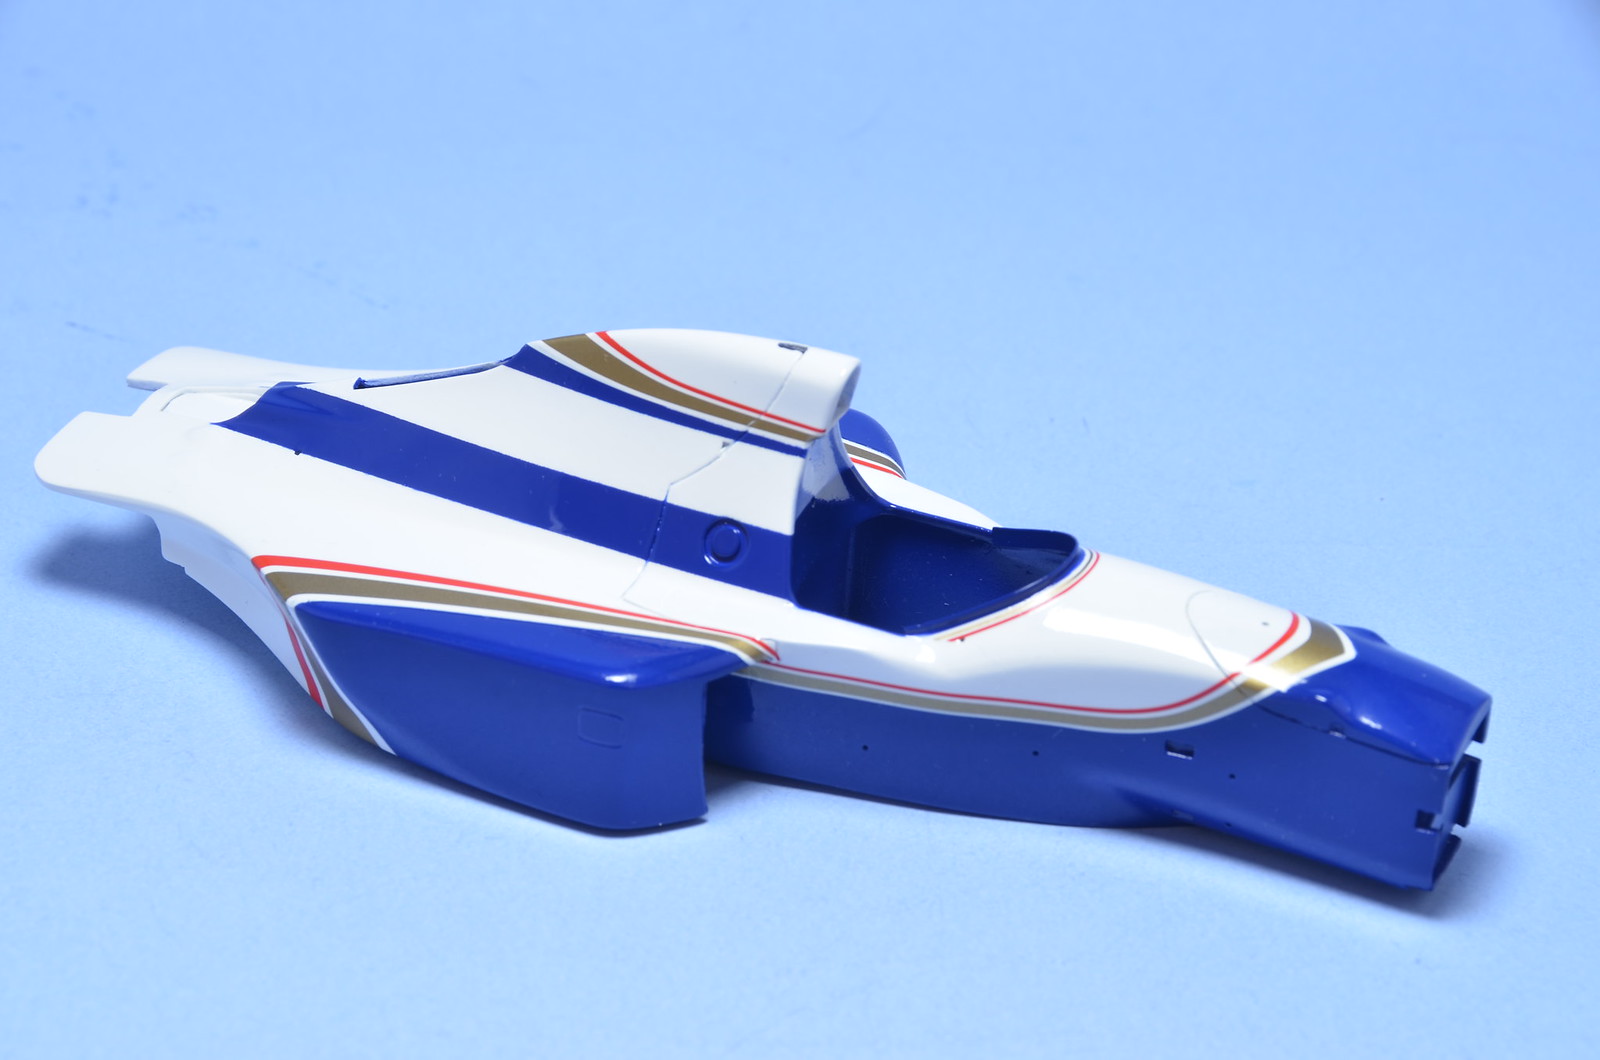
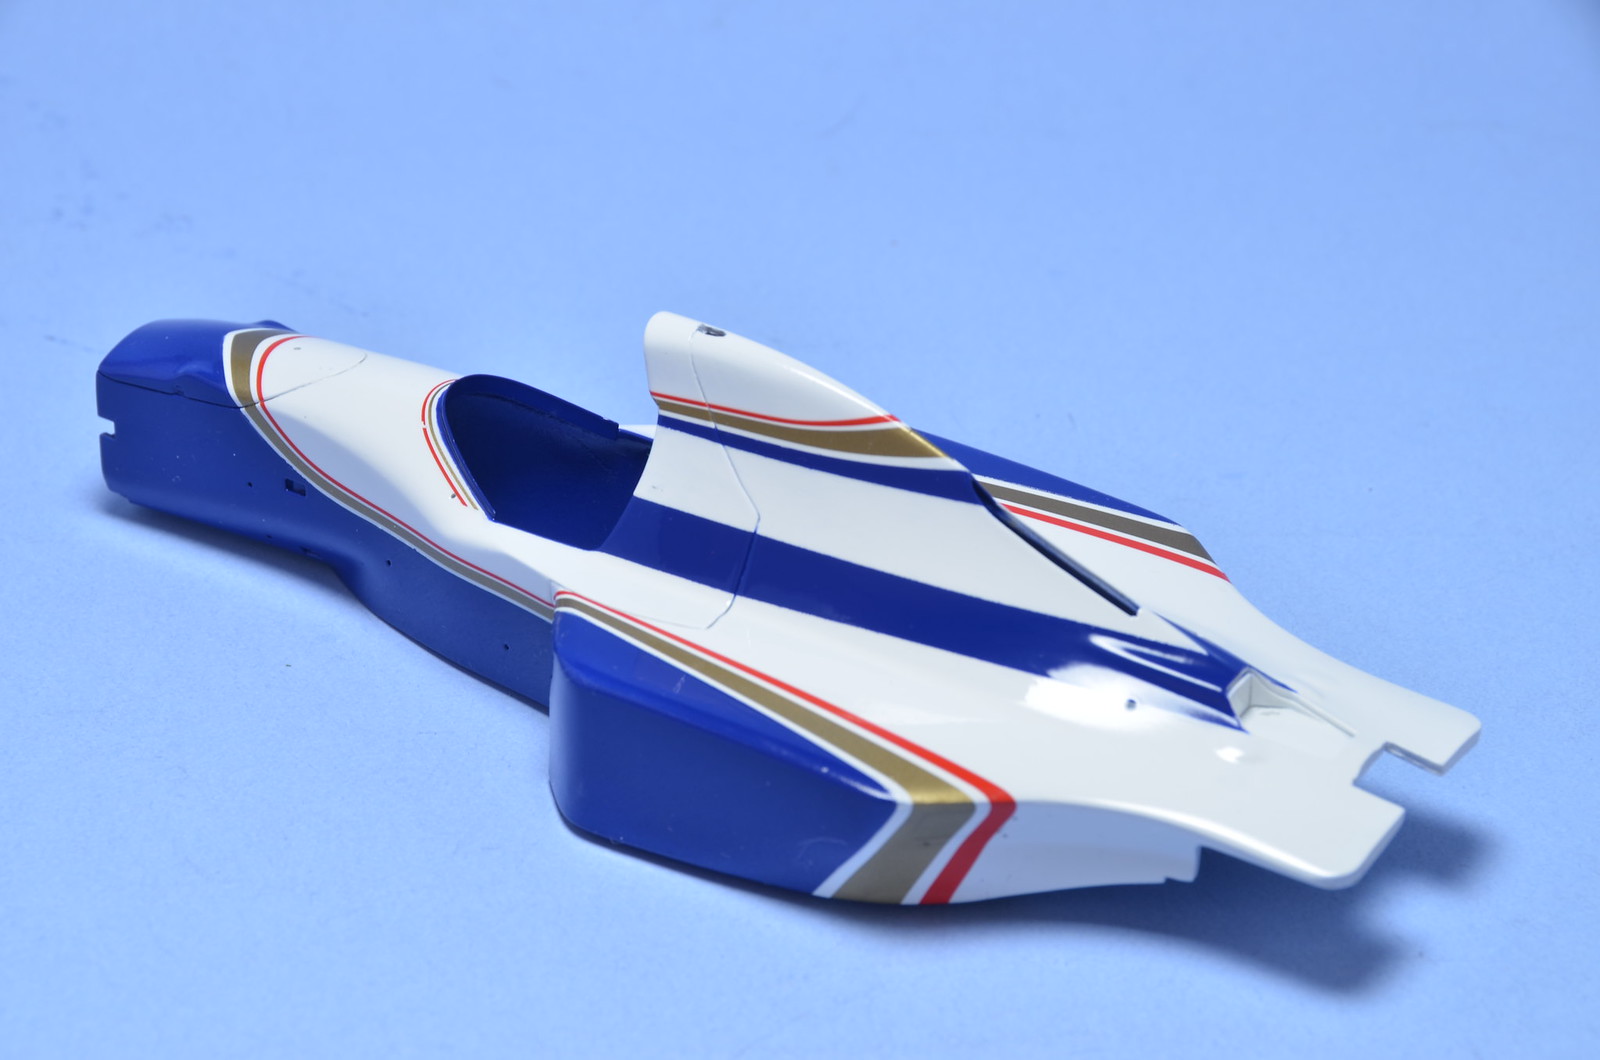
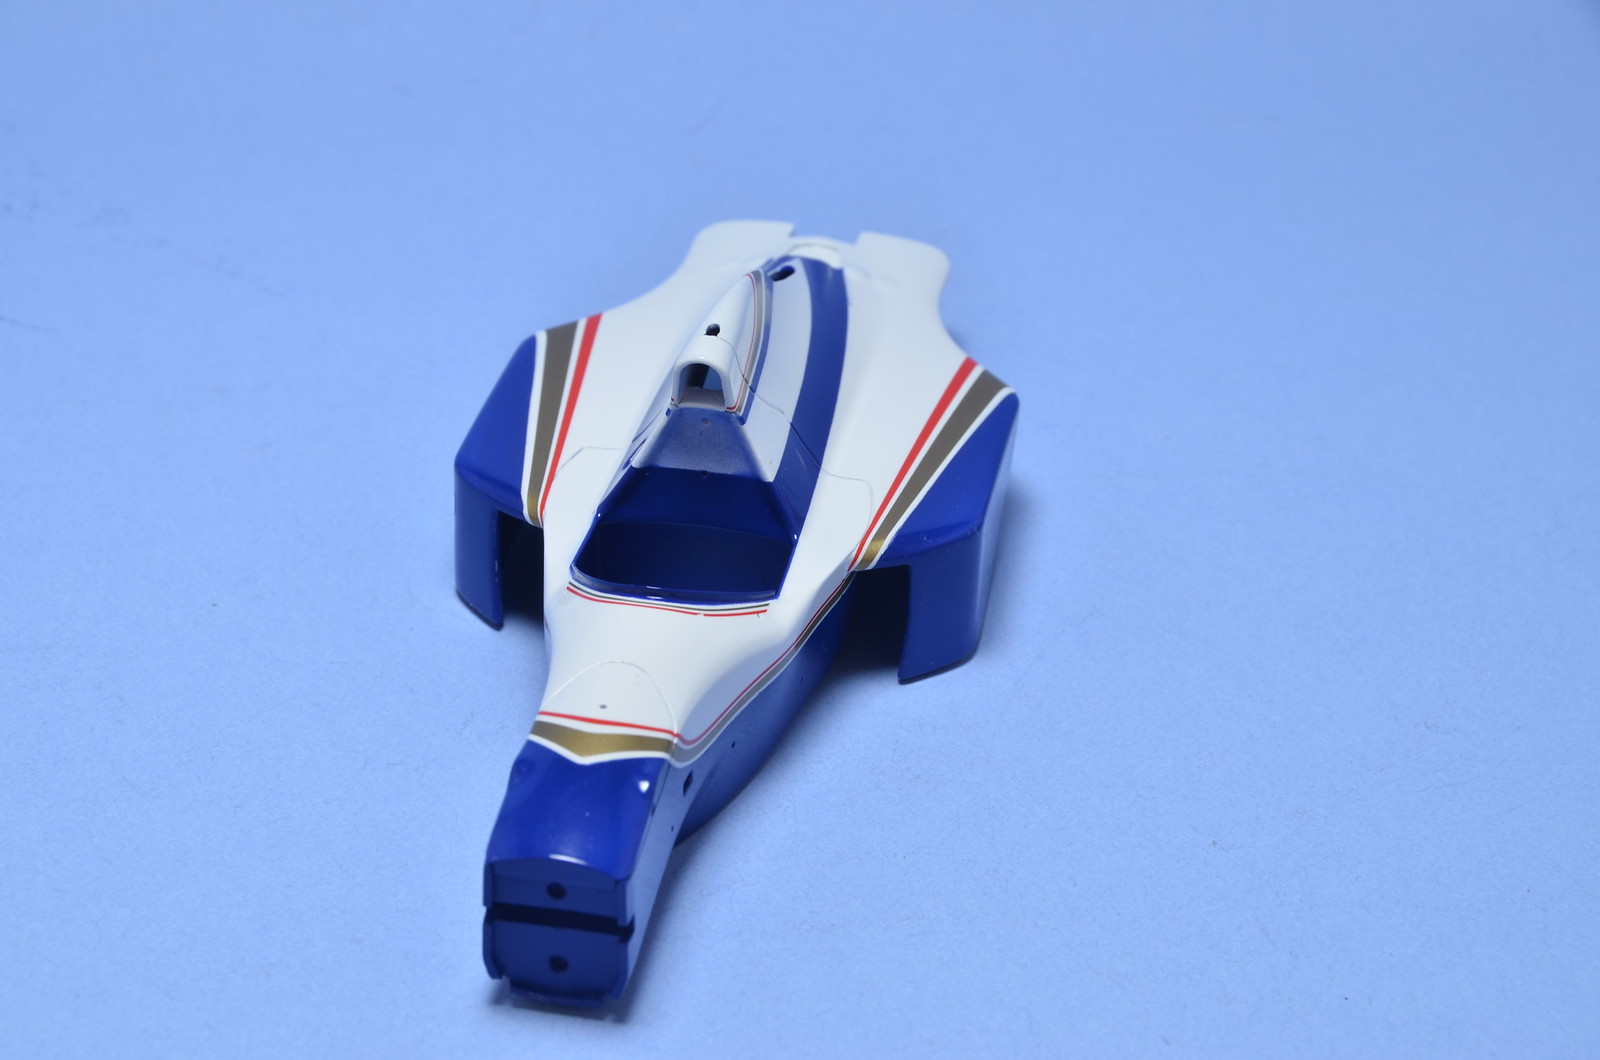
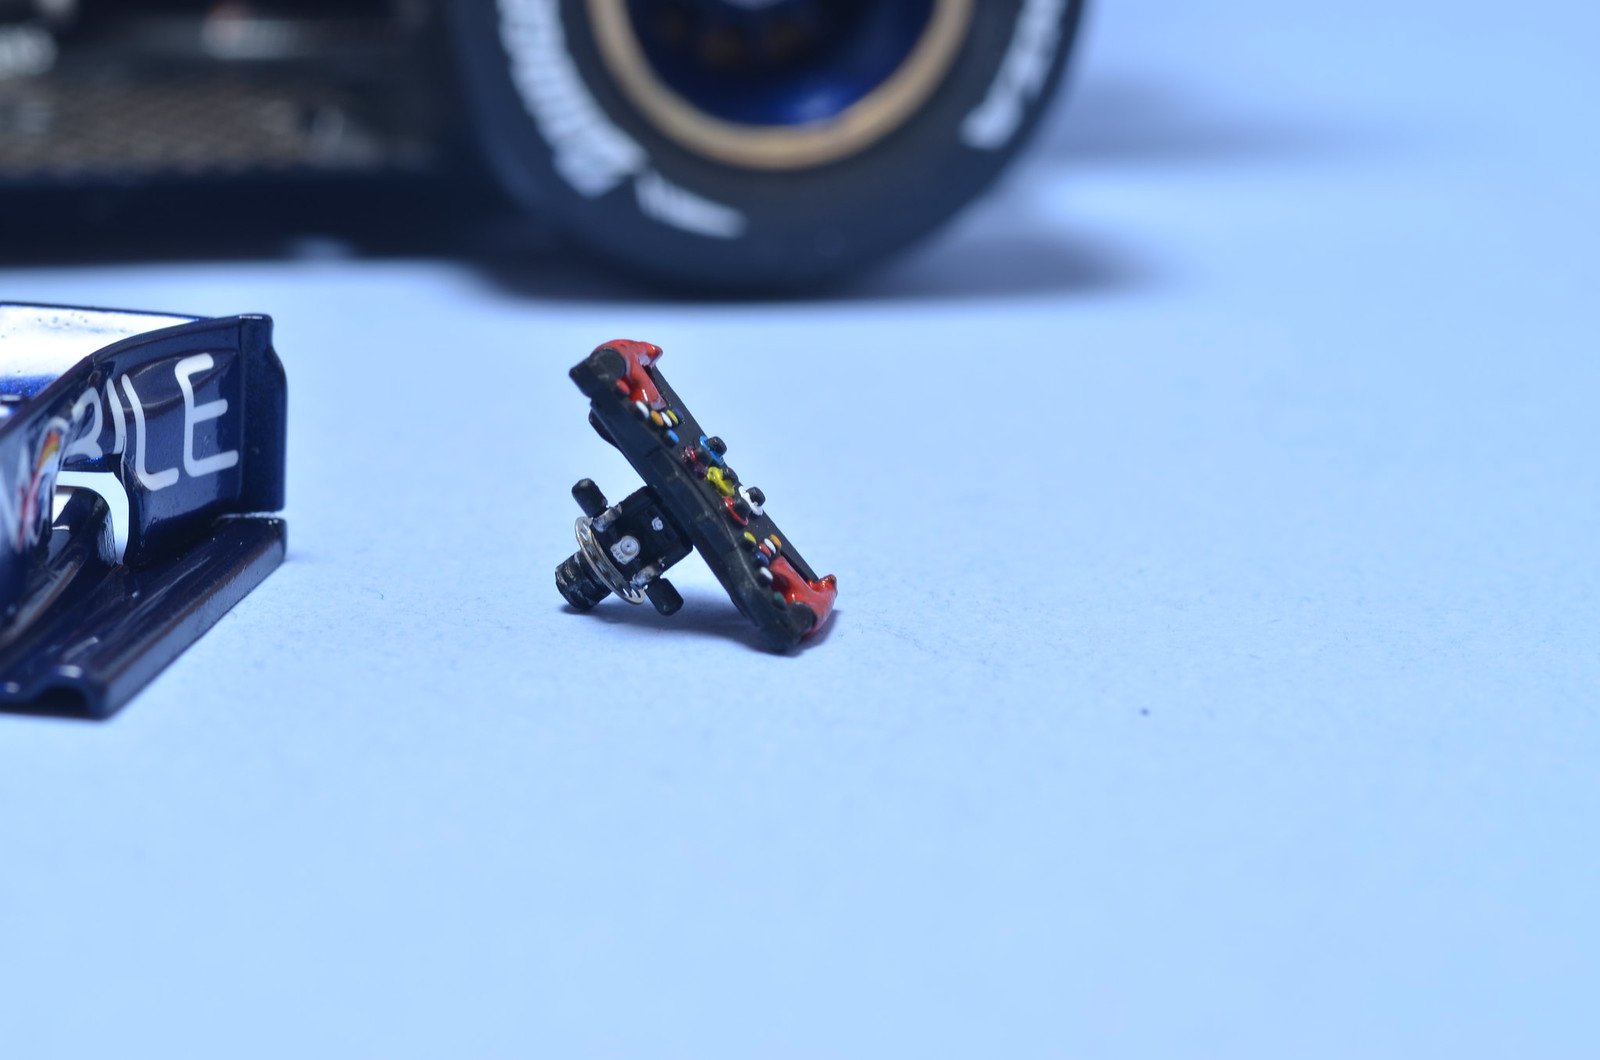
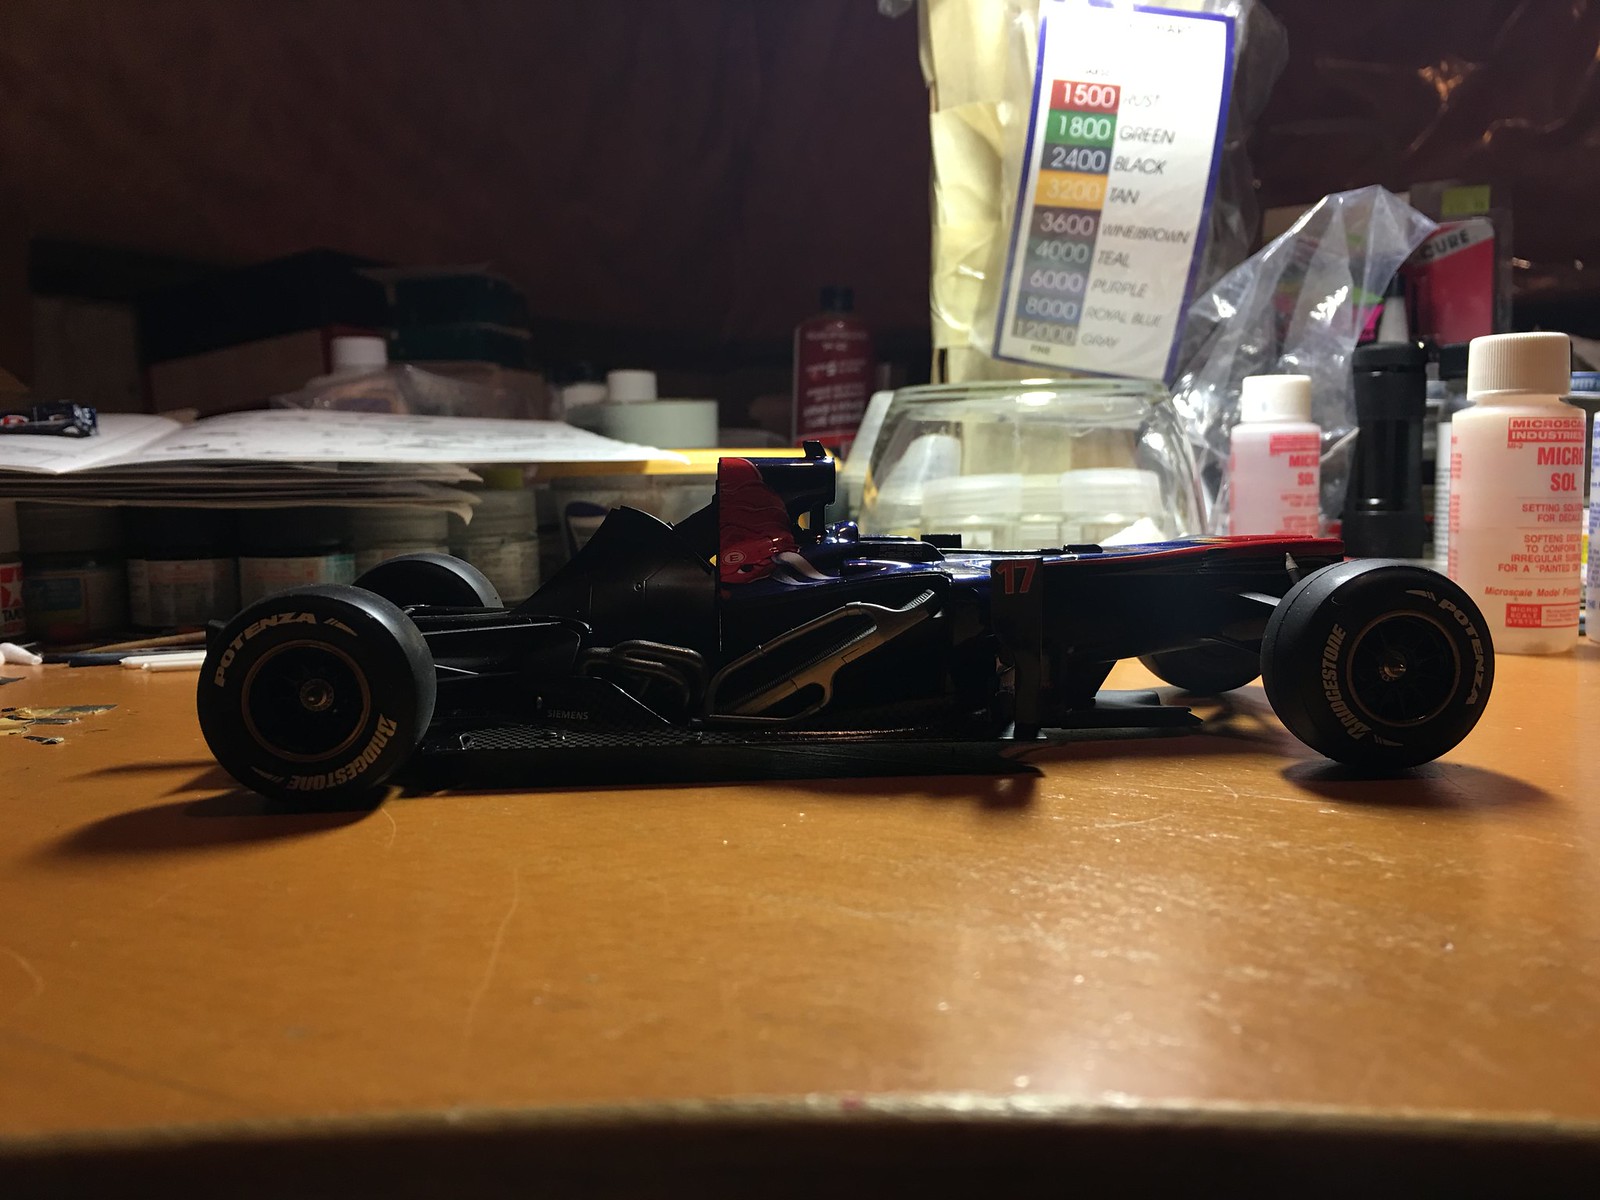
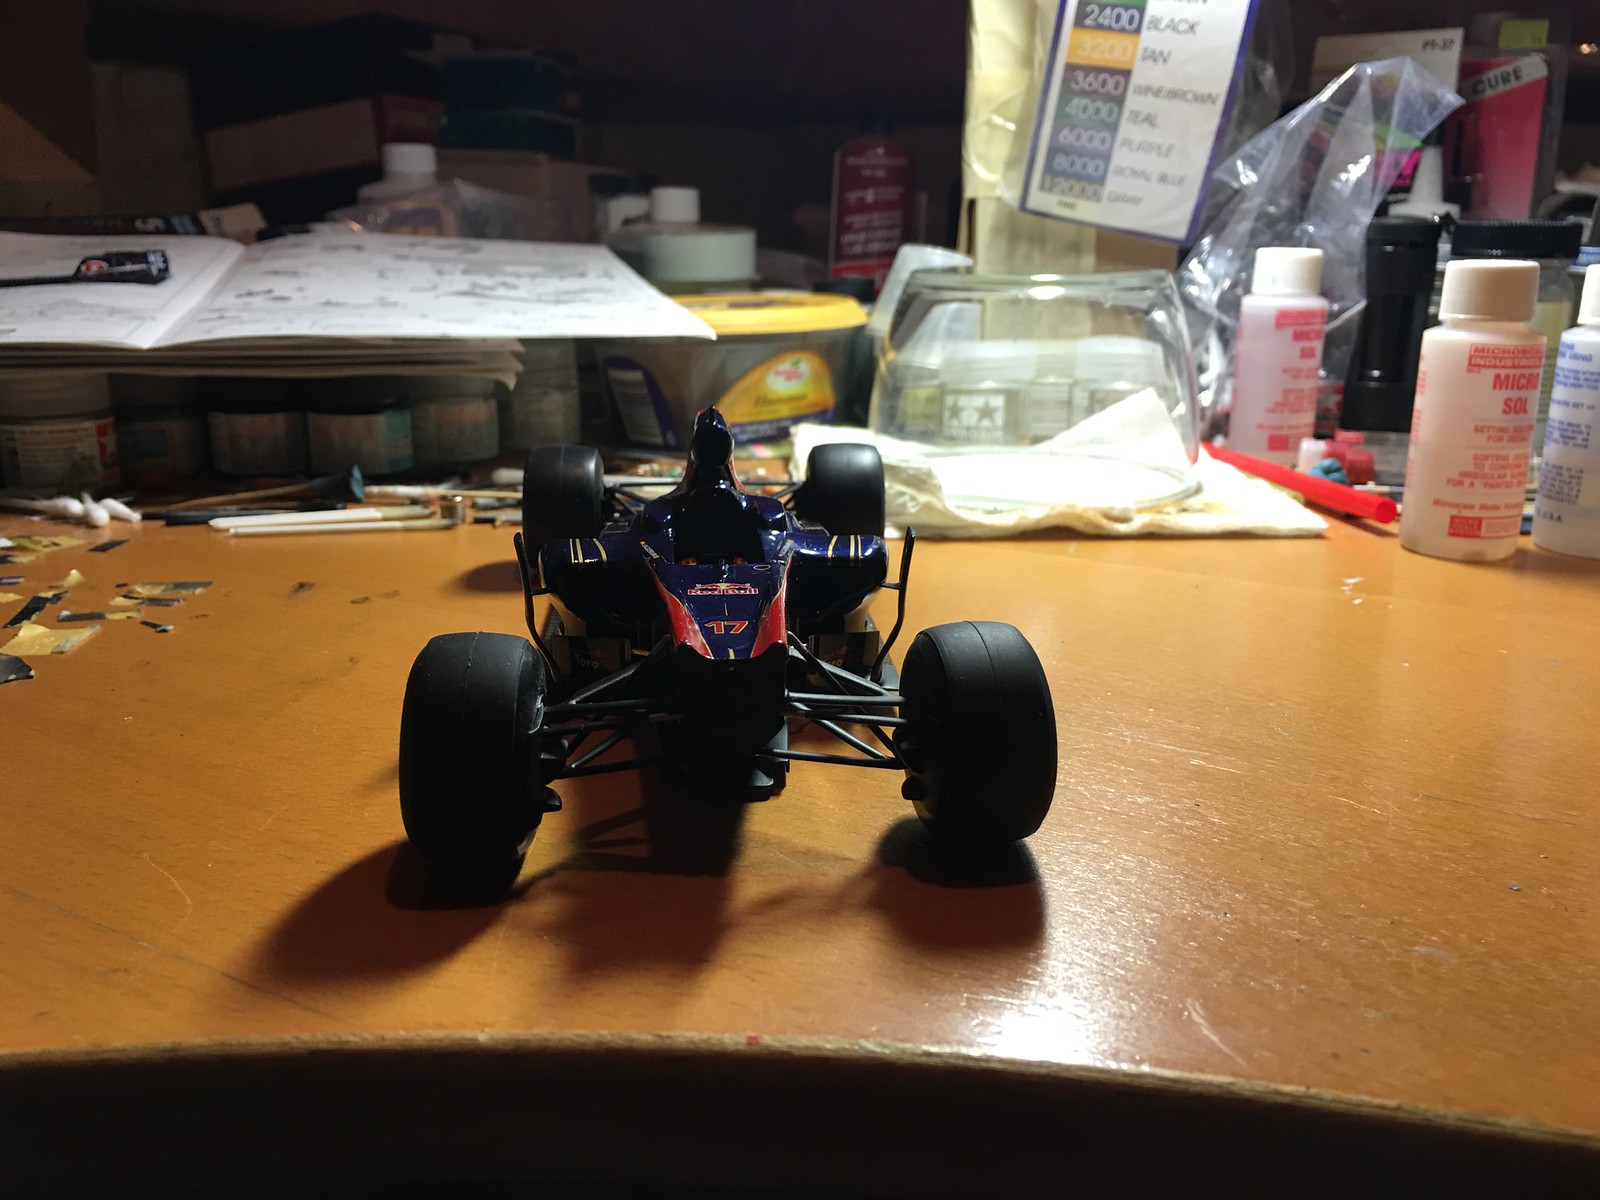
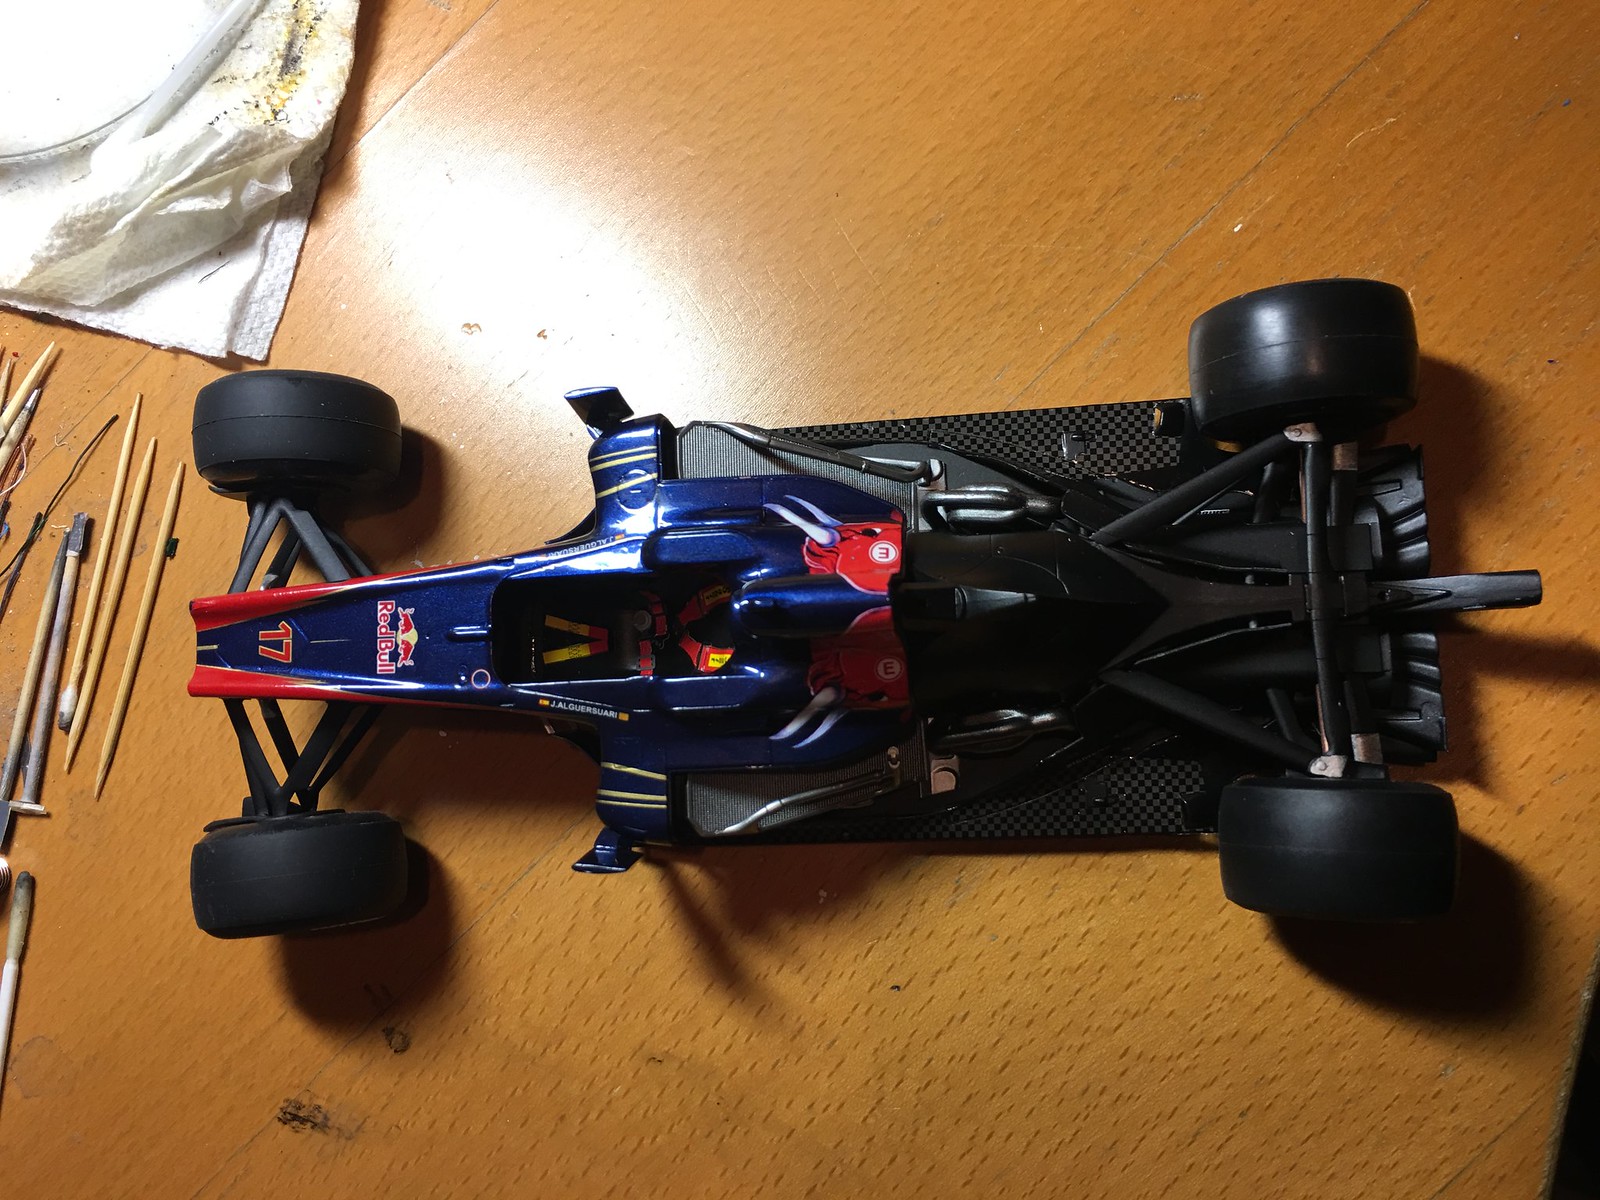
in the mean time I went ahead and clear coated body after all touch ups were done. It seemed to hold up well. So, after couple of weeks waiting on it, I've started decals last night. Started with more difficult stripes. Mirco-Set/Sol worked well on Studio27 decals. Overall fit was reasonable and I am happy to get them on and out of my way. Remaining sponsor decals will be easier. It should look great with Rothmans decals on.


STR5 conversion completed

I call this one done. Few small parts, which will not be very visible left out for now. As always far from perfect, but I'm happy to have it out of my pipeline. Back to FW16B next.


Here are macro shots of some extra details.


STR5 first time on its wheels

Put it on the wheels during the week. Detail painted steering wheel and other cockpit items.


Monday, October 19, 2015

Assembly continued for STR5

Continued with final assembly steps. When all parts are ready for final assembly it all start to come together rather quickly. Finished rear suspension and attached whole rear end to the floor. Then attached radiators and monocoque. Next I have assembled rear wing. It came together somewhat easy. No real issues so far. It is a joy to build Tamiya kits. Fit is fantastic.


Final assembly started

Some progress to report. This time with photos. In mean time since last update decals were done and 2K clear coat was put on. Also applied CF decals provided in the kit to floor parts. Not sure why Tamiya decided to use brown together with black to represent CF patterns. However I have no other alternative CF decals, so I just used them. Don't look correct to me, but will do for this build. Started early stages of final assembly. As this was supposed to be simple OOB build, I've cheated on seat belts and used ones provided in RB6 kit. Not my favourite part of model building, so I just took easiest route. They look half decent, but how often would one look even inside cockpit. Pretty much finished front suspension assembly and progressed quite a bit on rear as well. Monocoque and engine are just mocked up for photos. More steps to complete before rear suspension is done. Next I will attach everything to the floor and work on wings