Monday, December 18, 2017

Couple of painting sessions completed

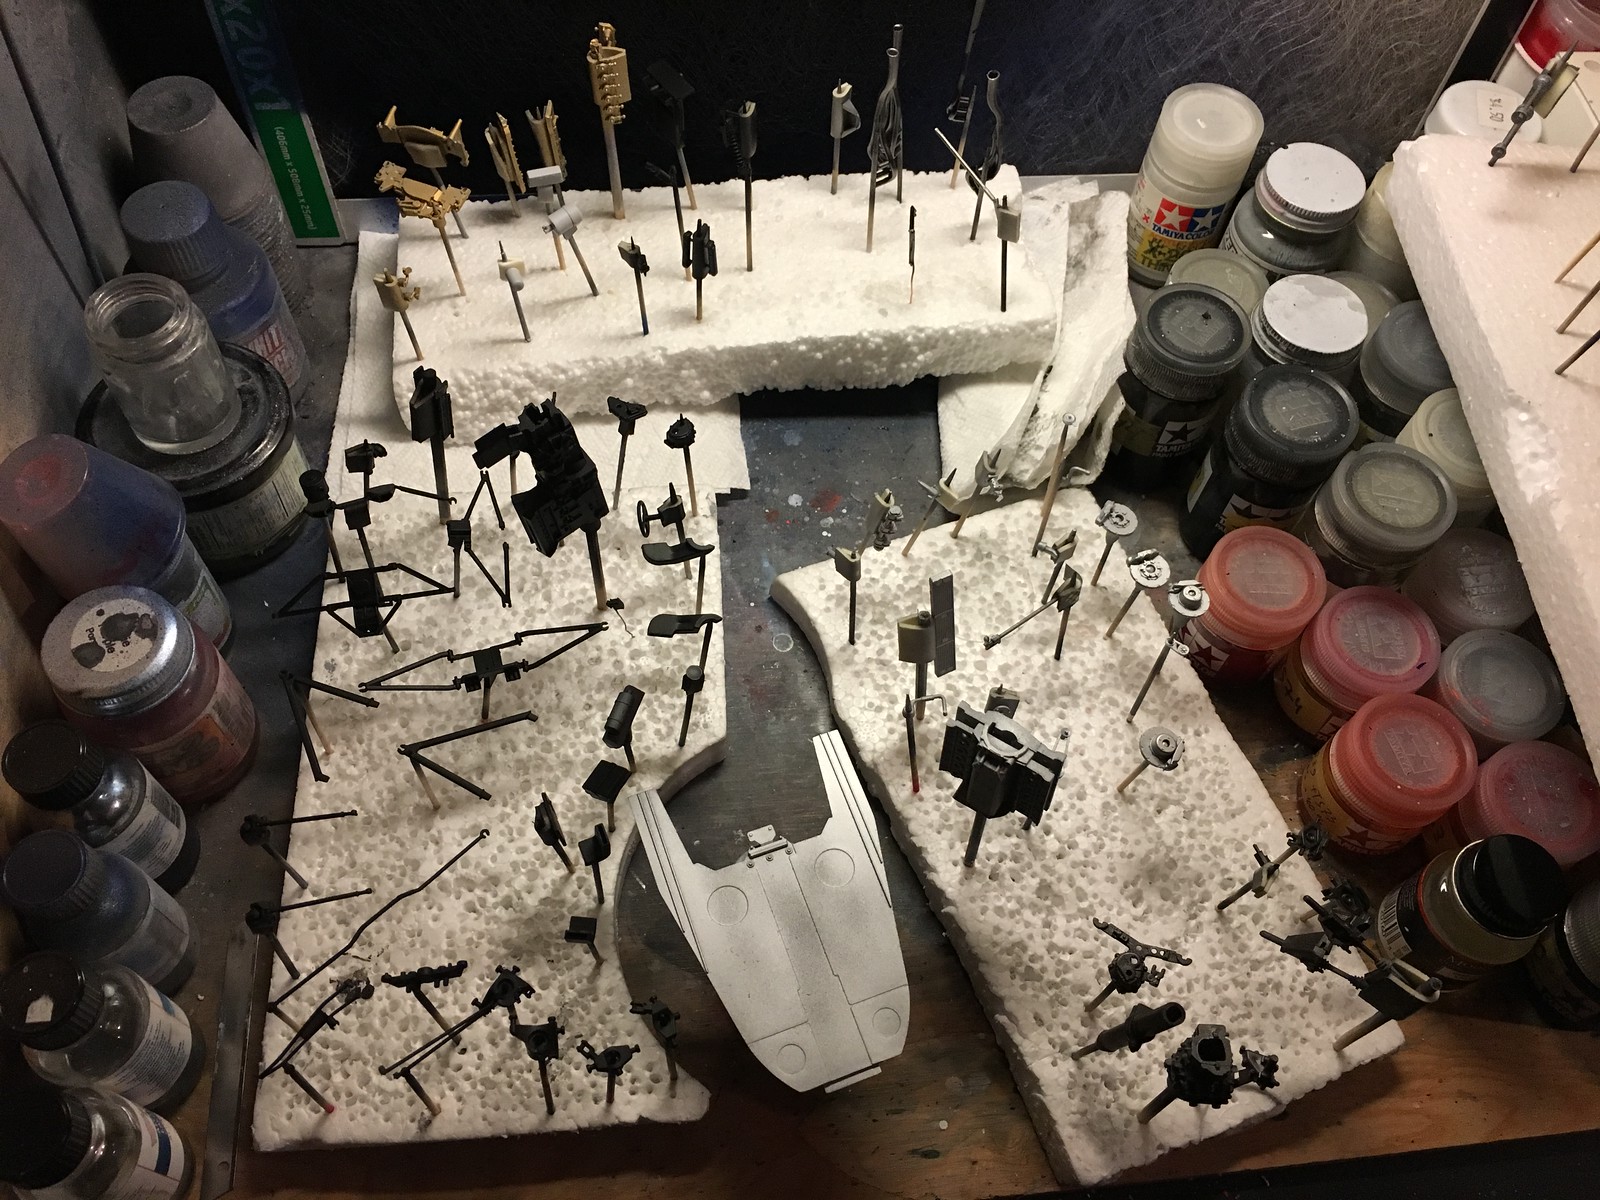
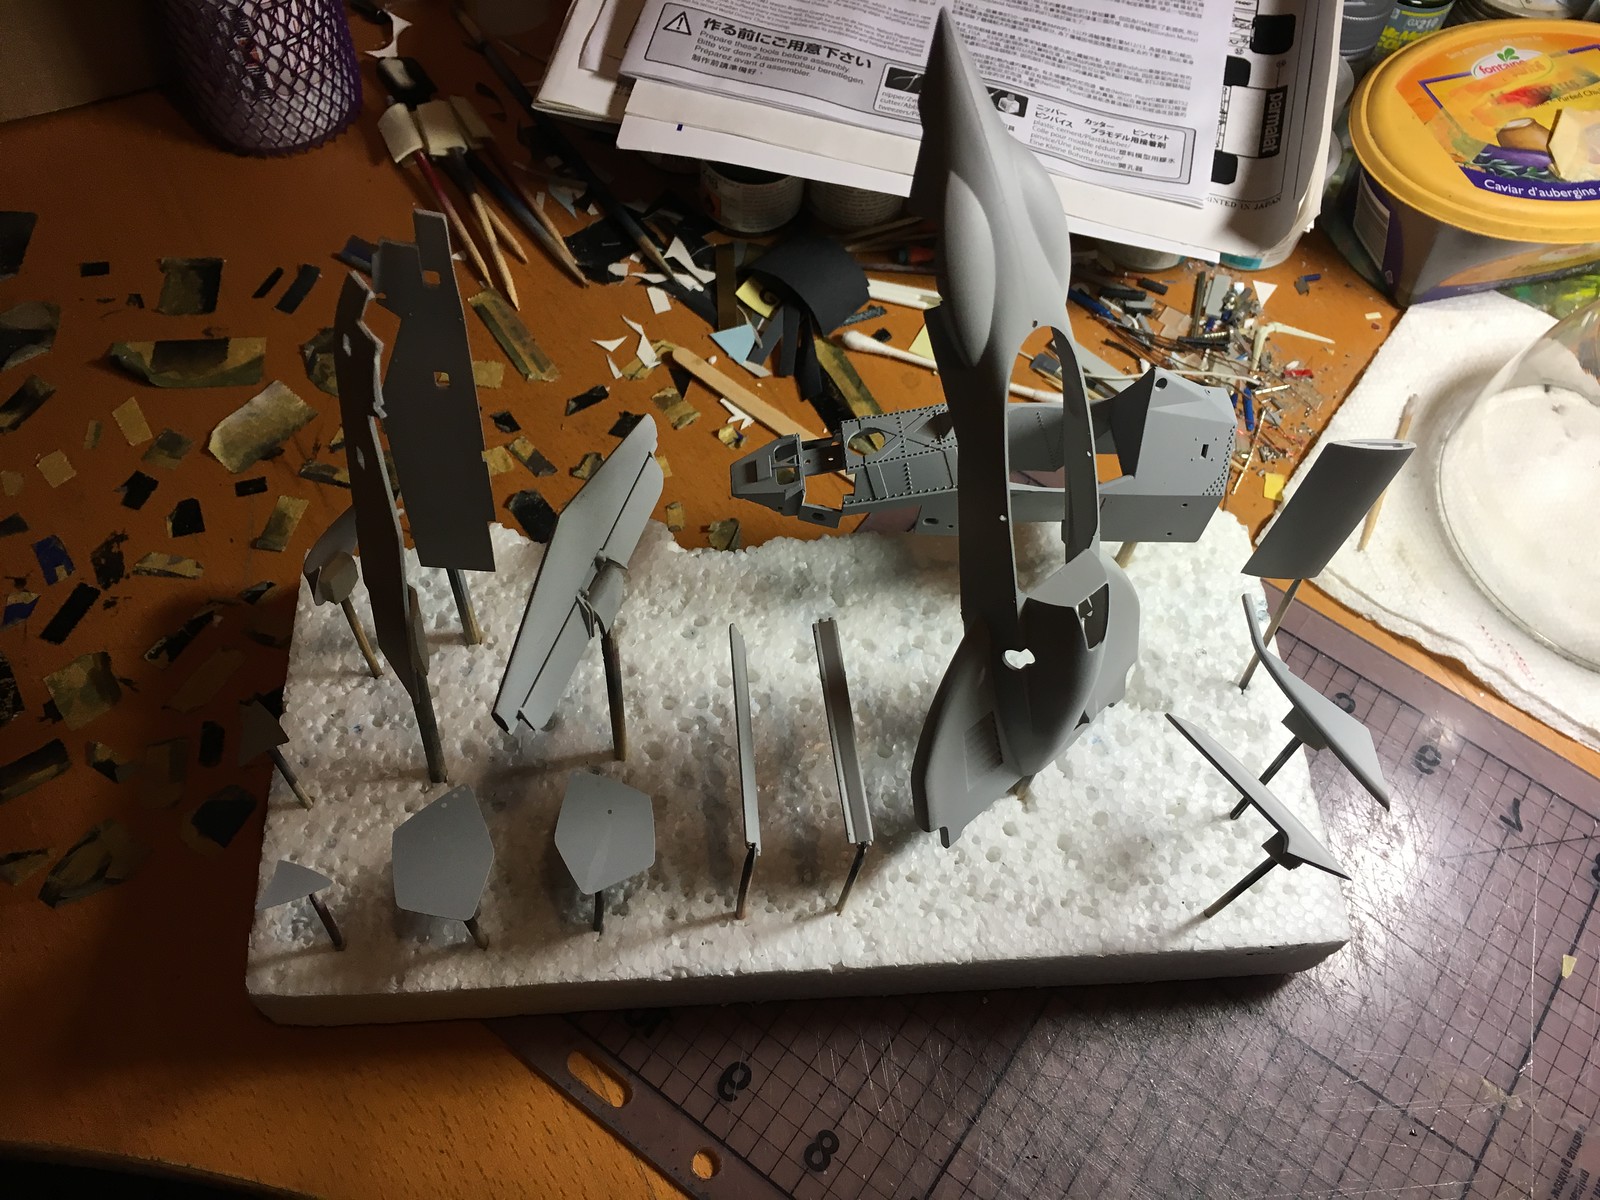
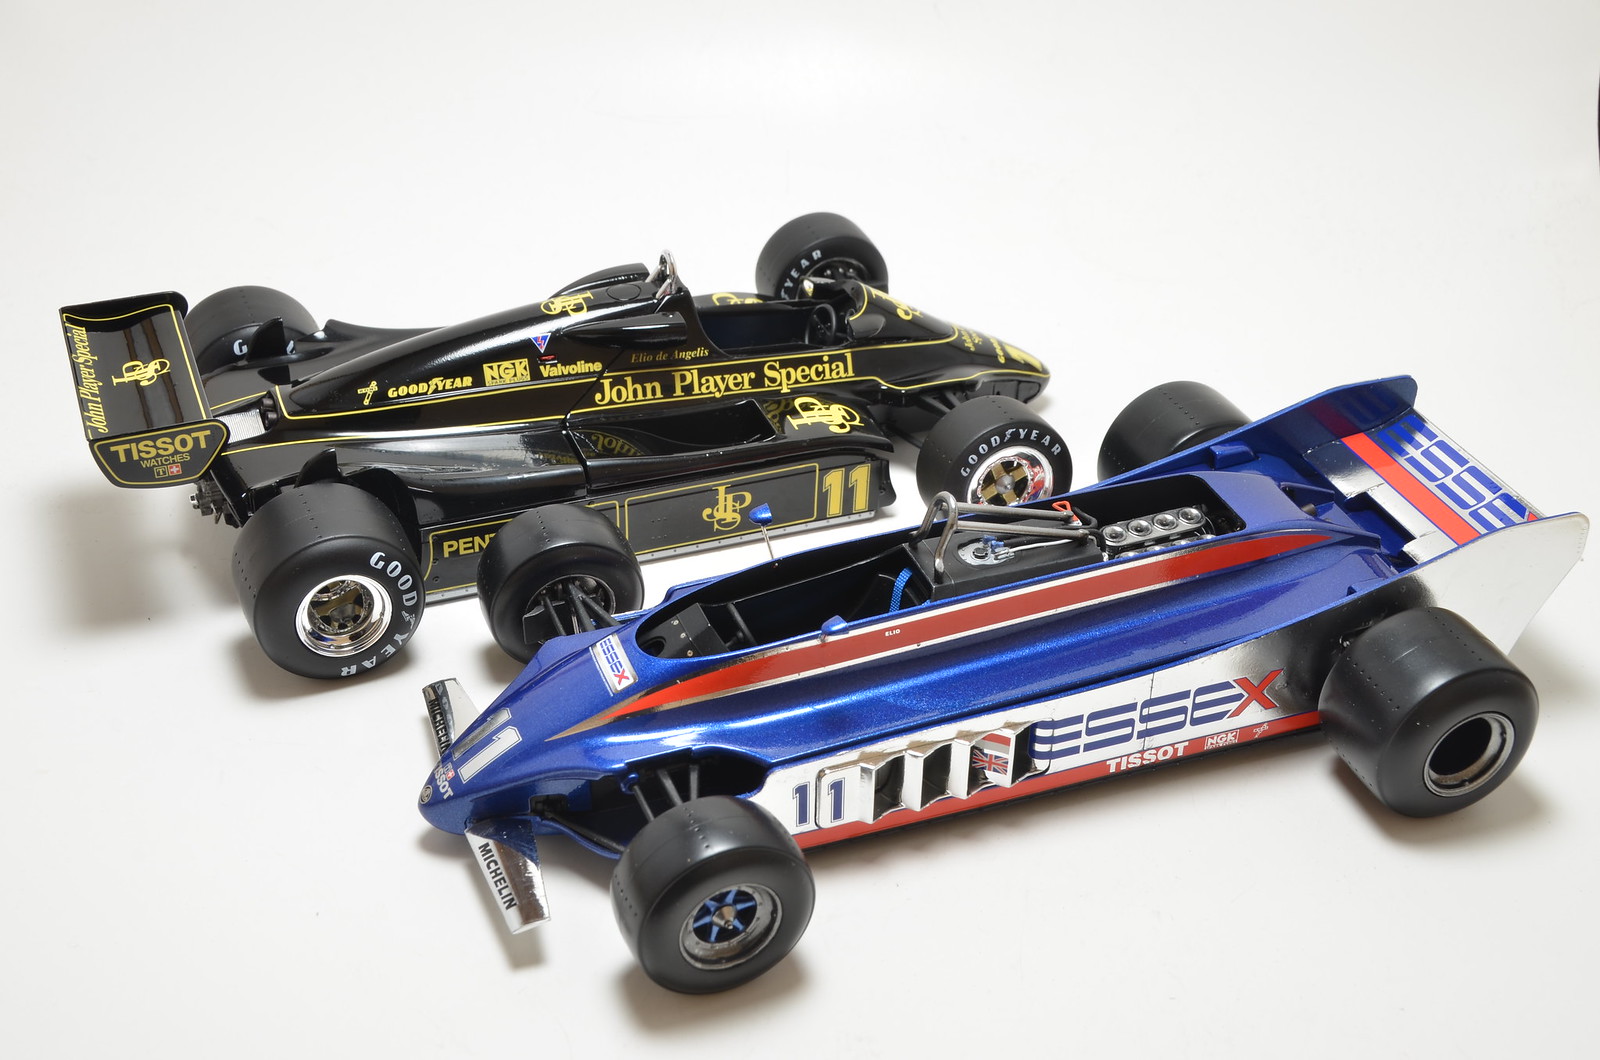
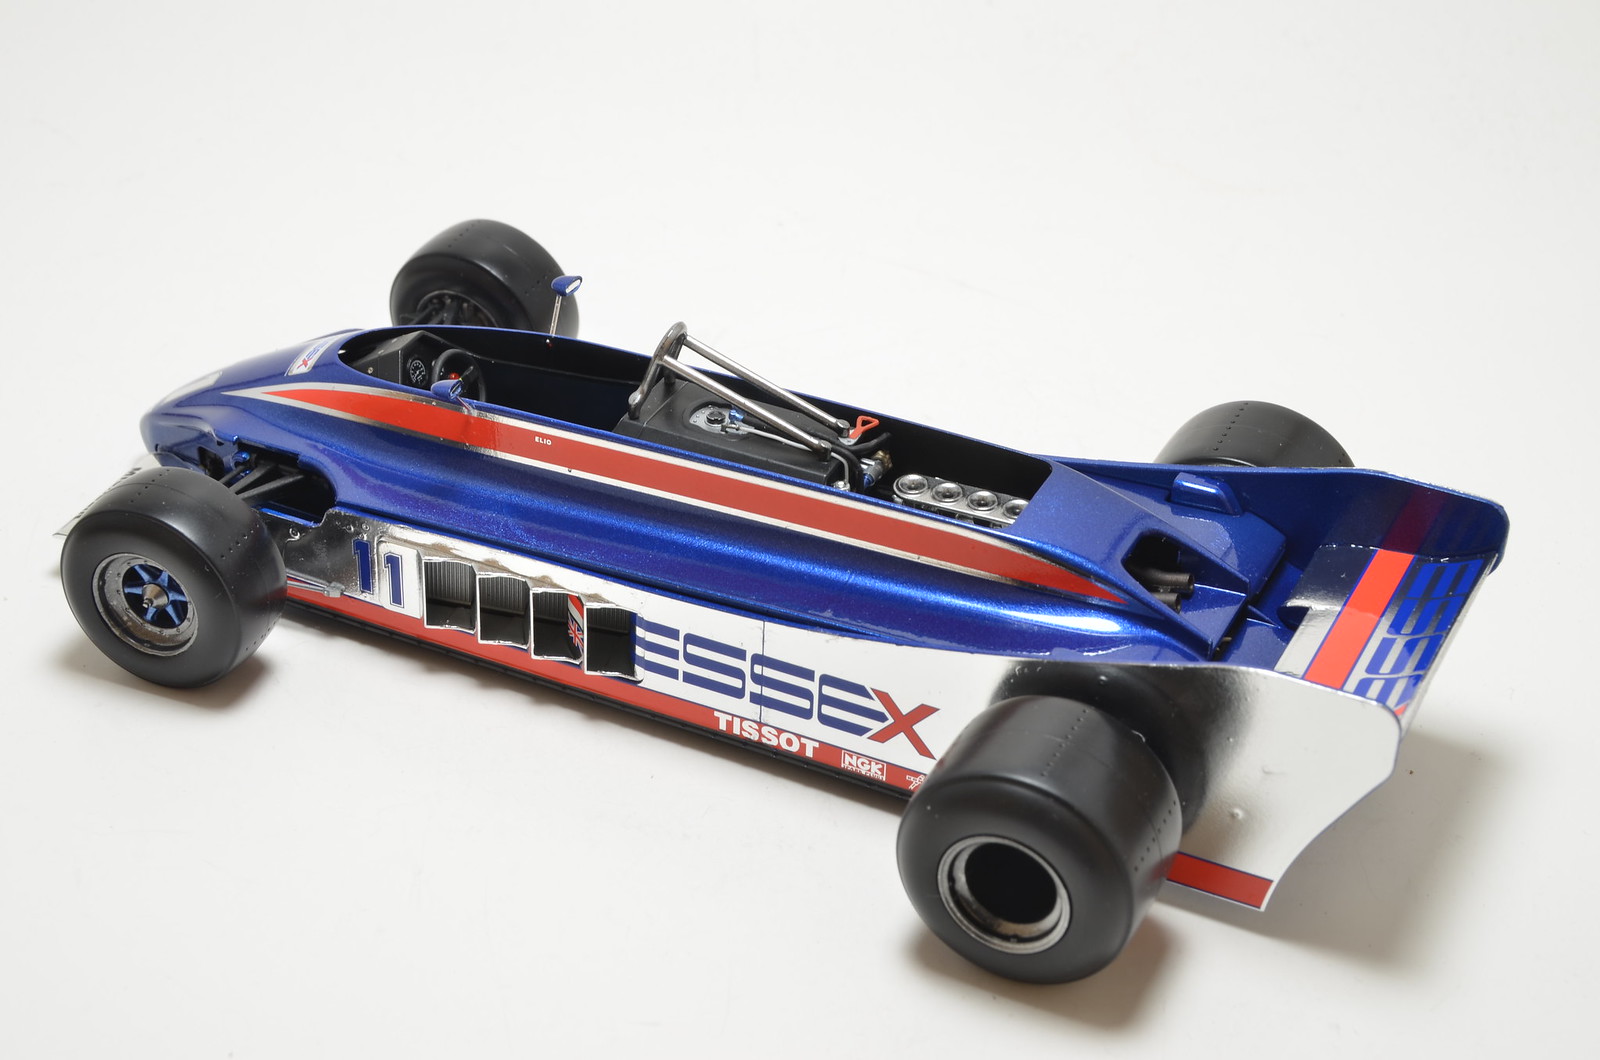
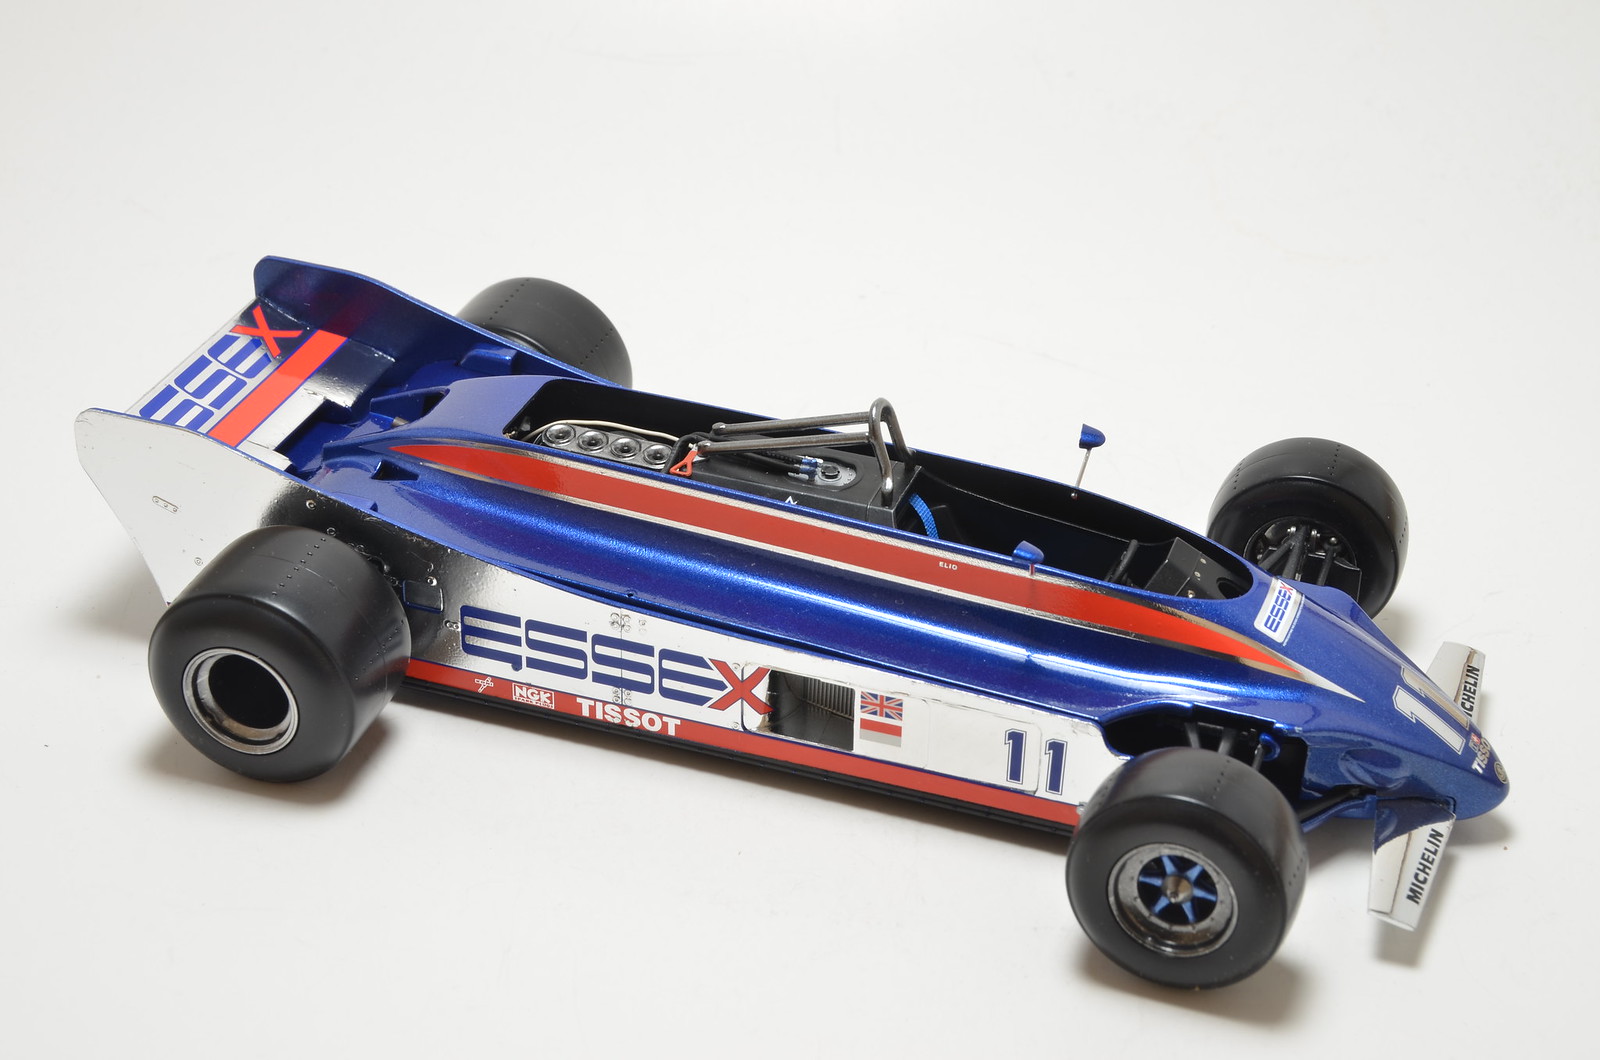
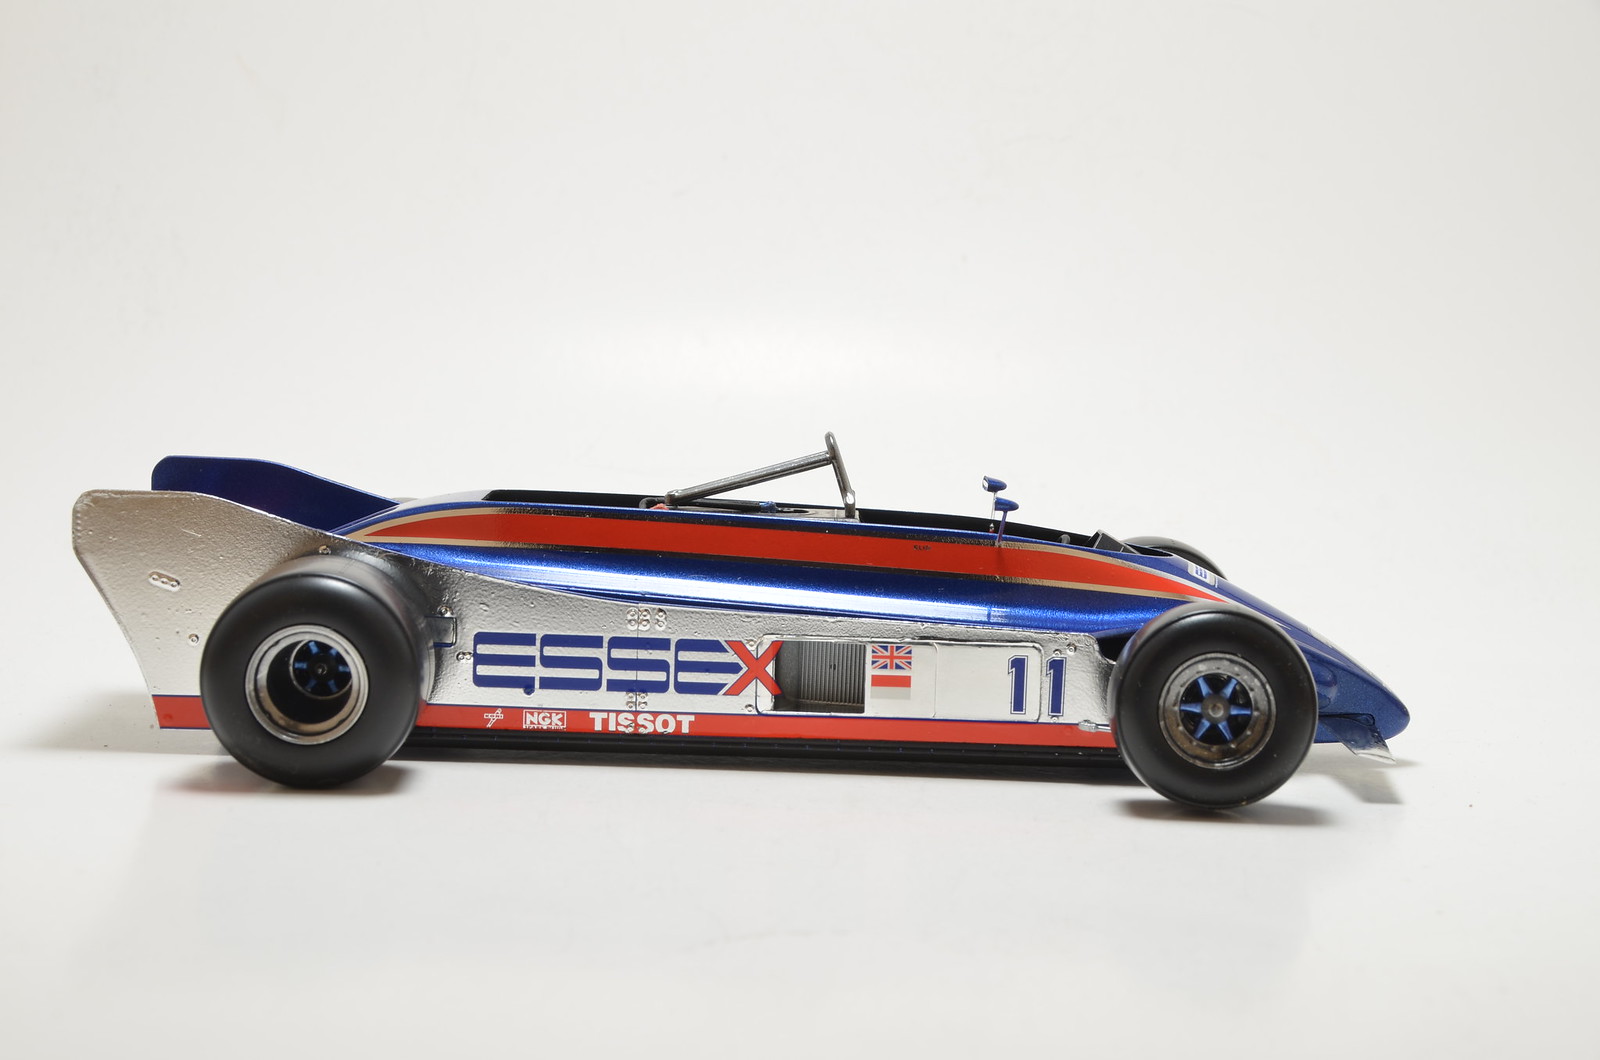
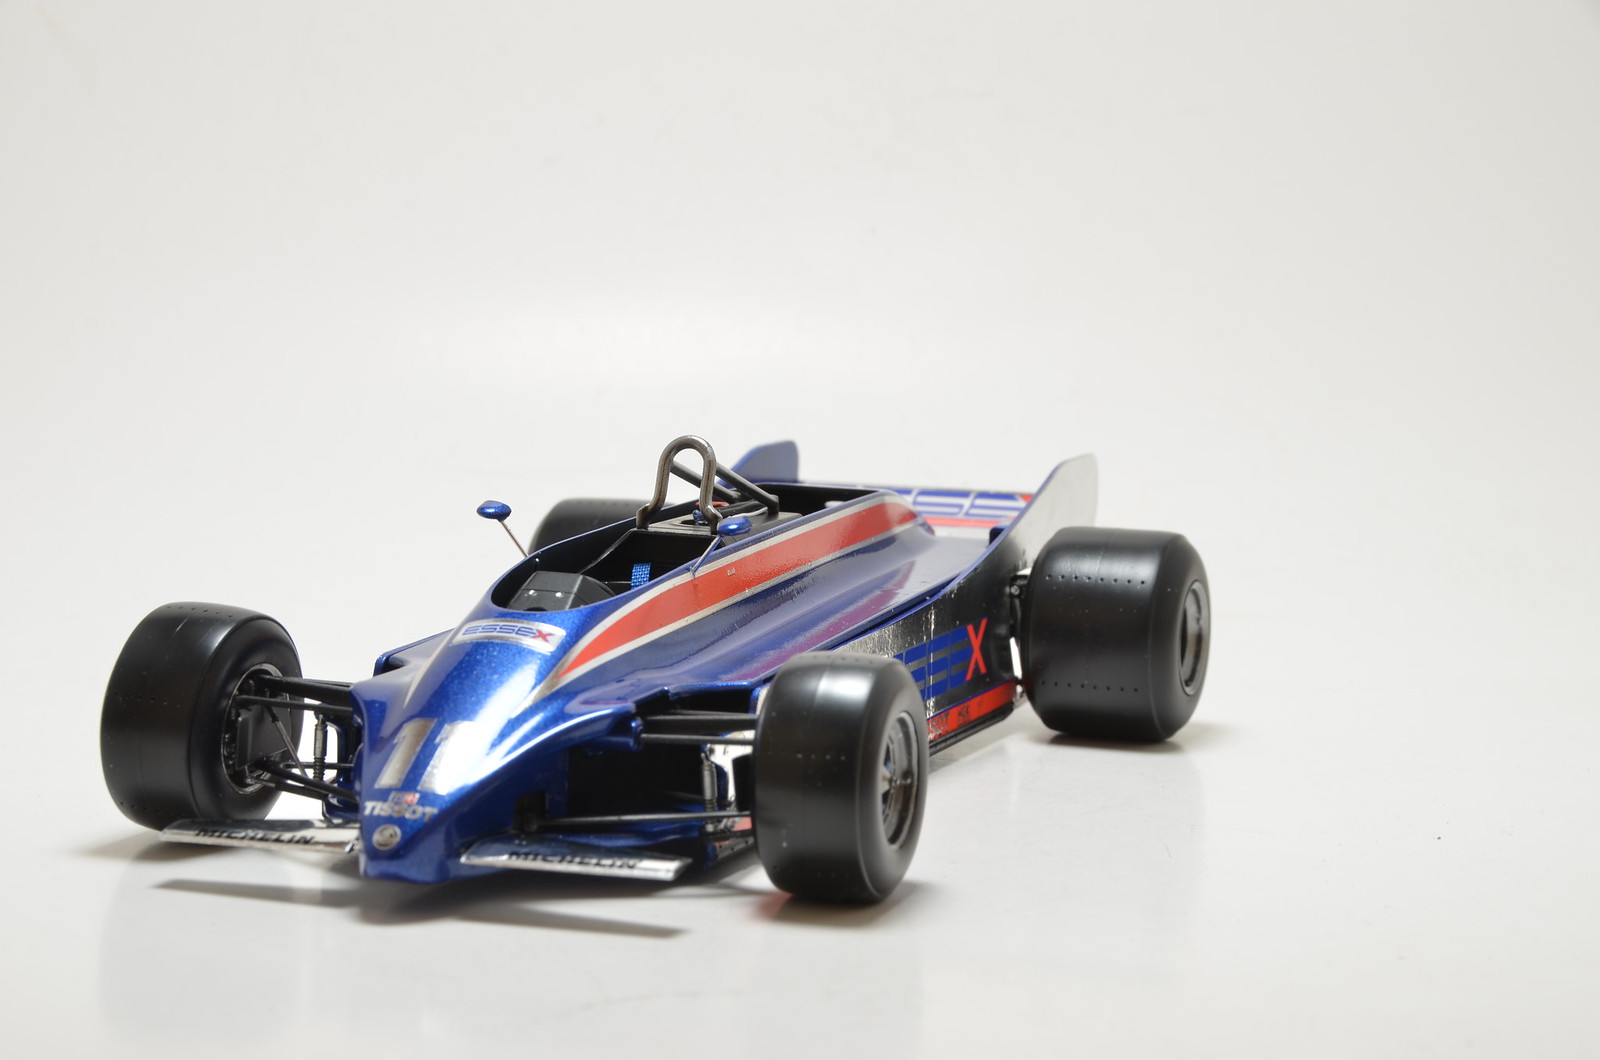
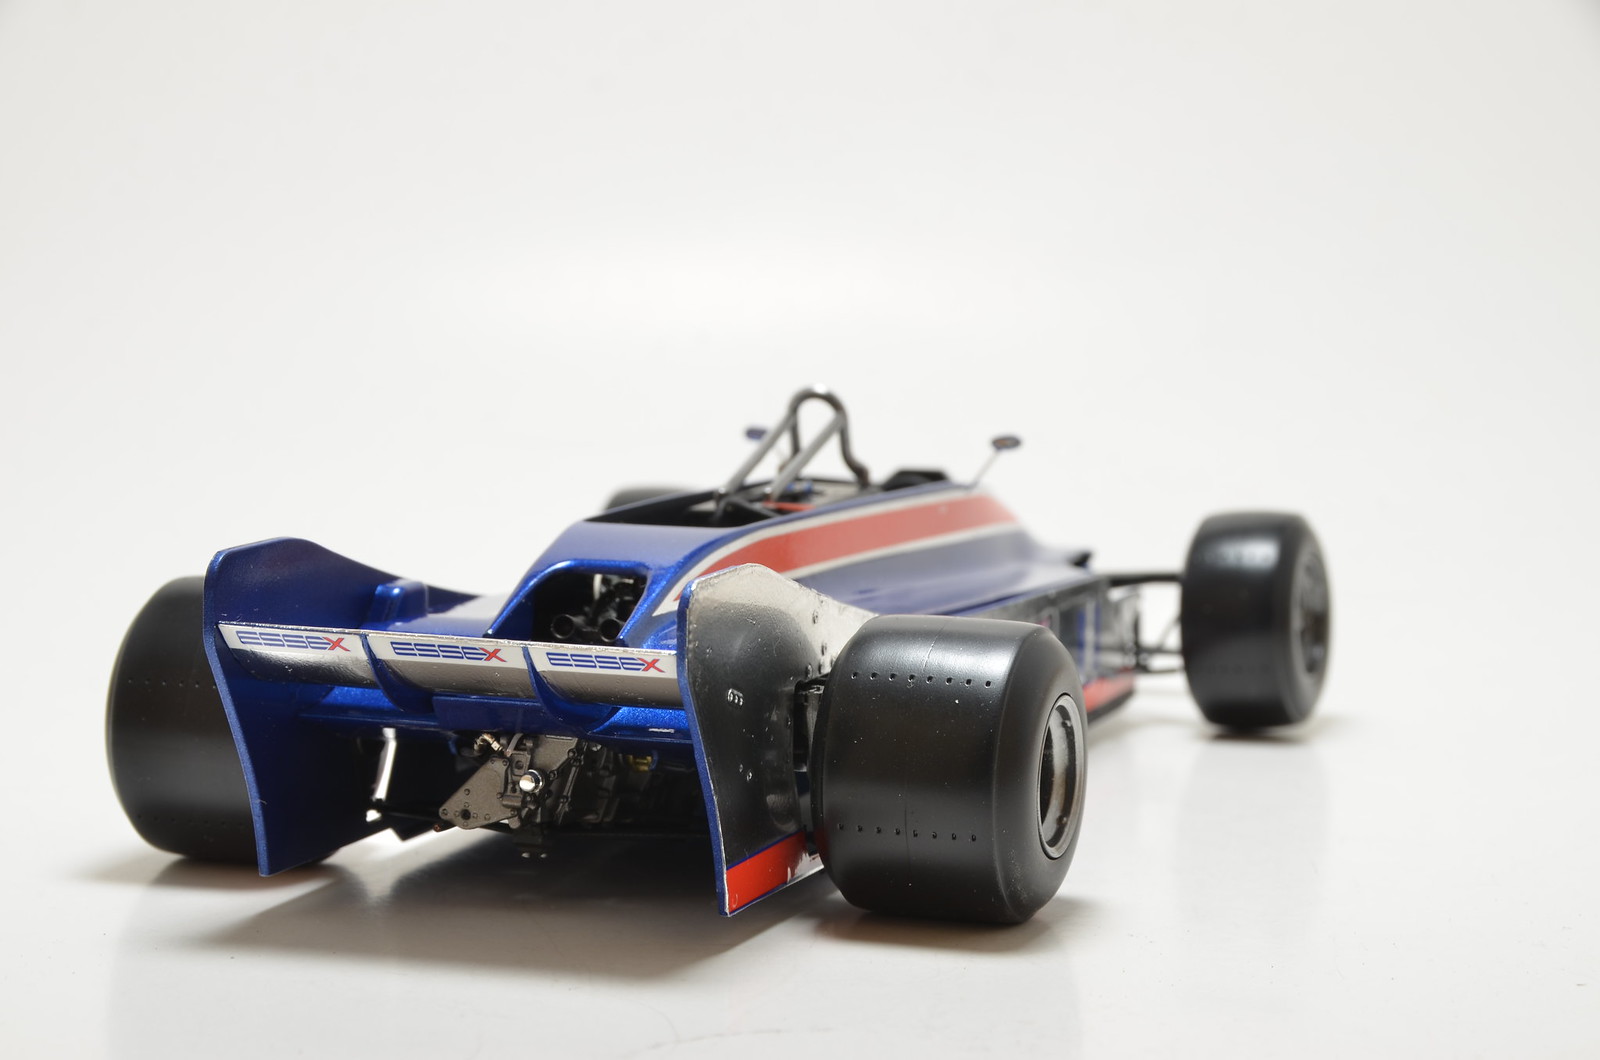
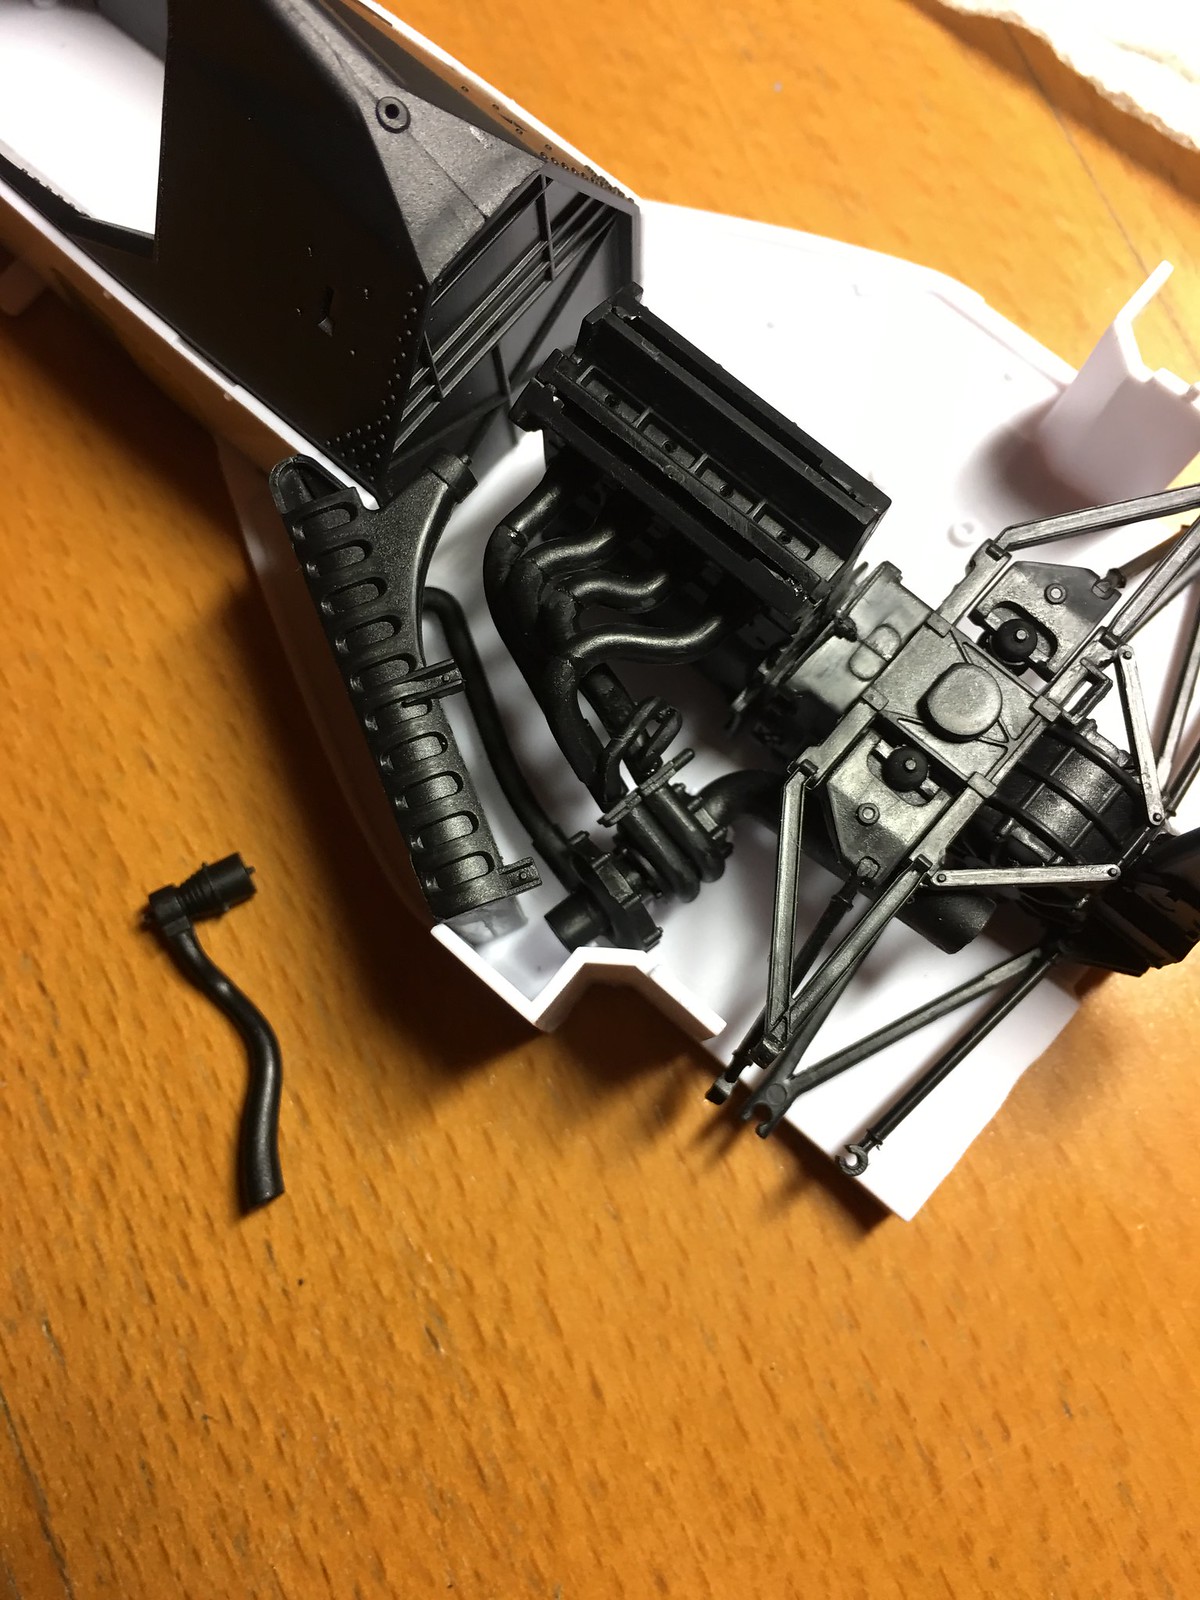
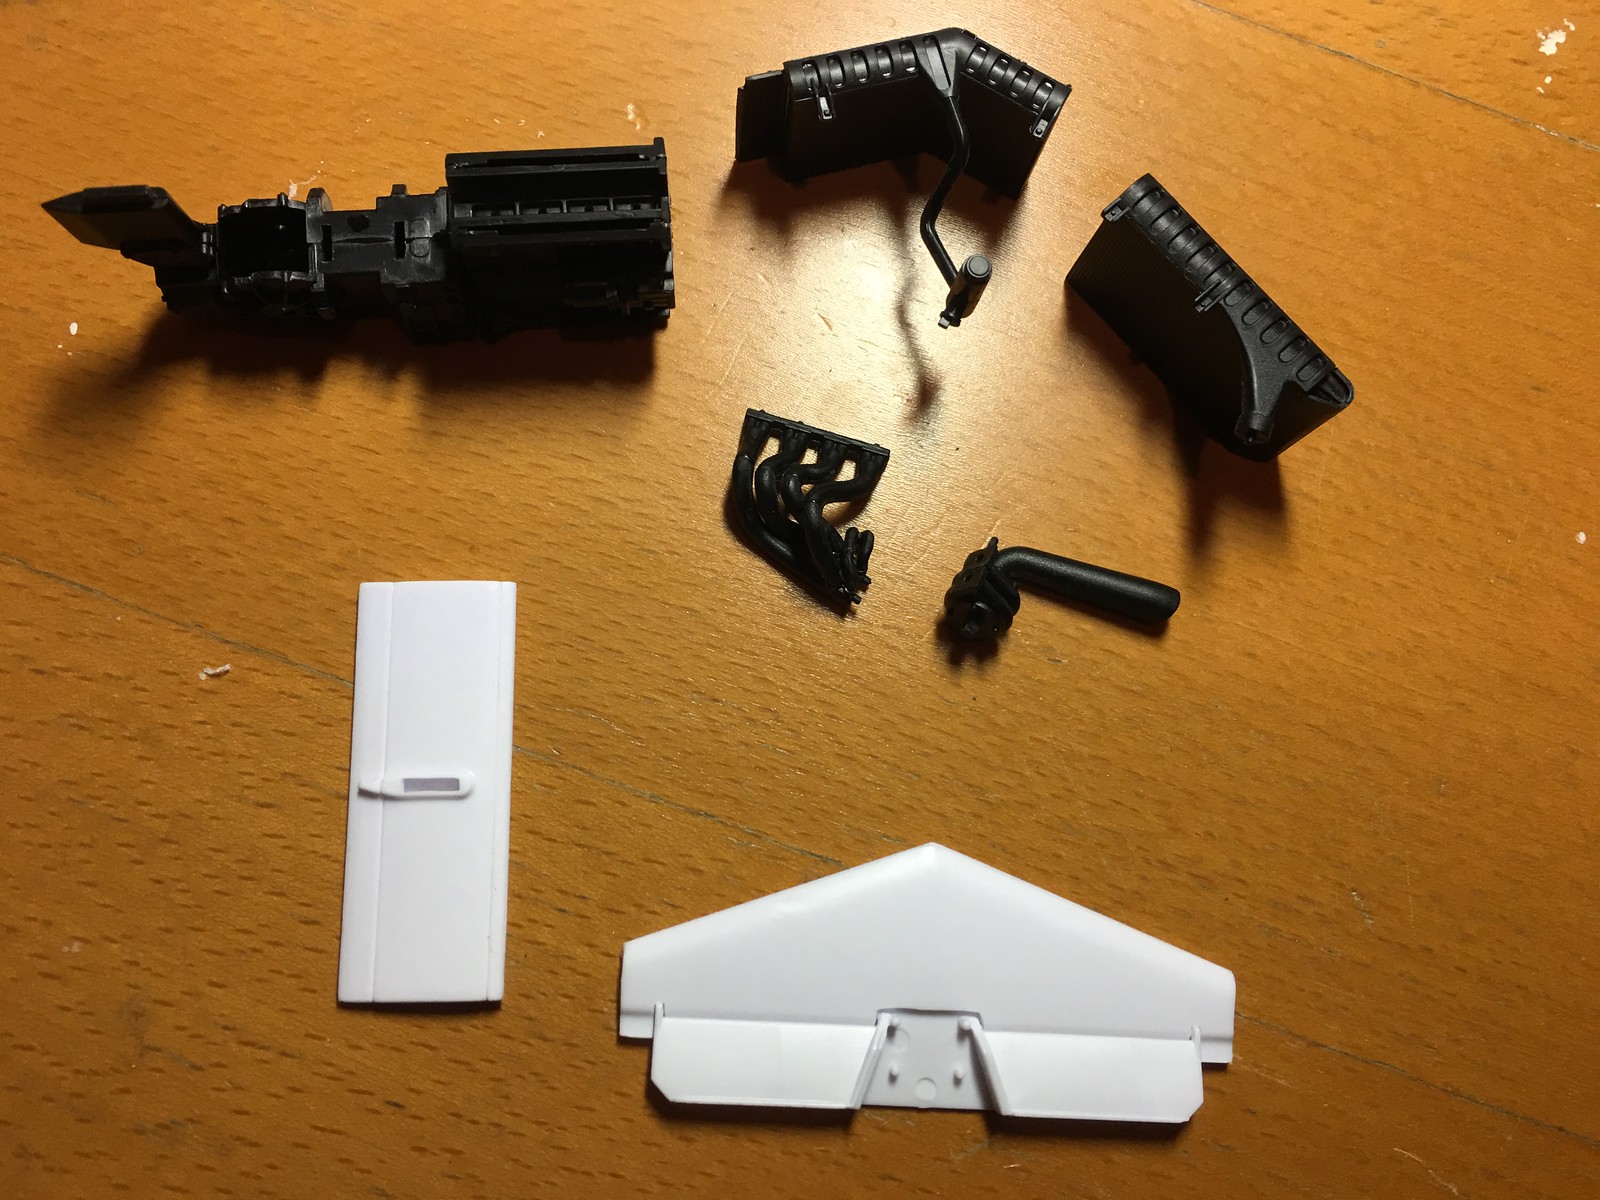
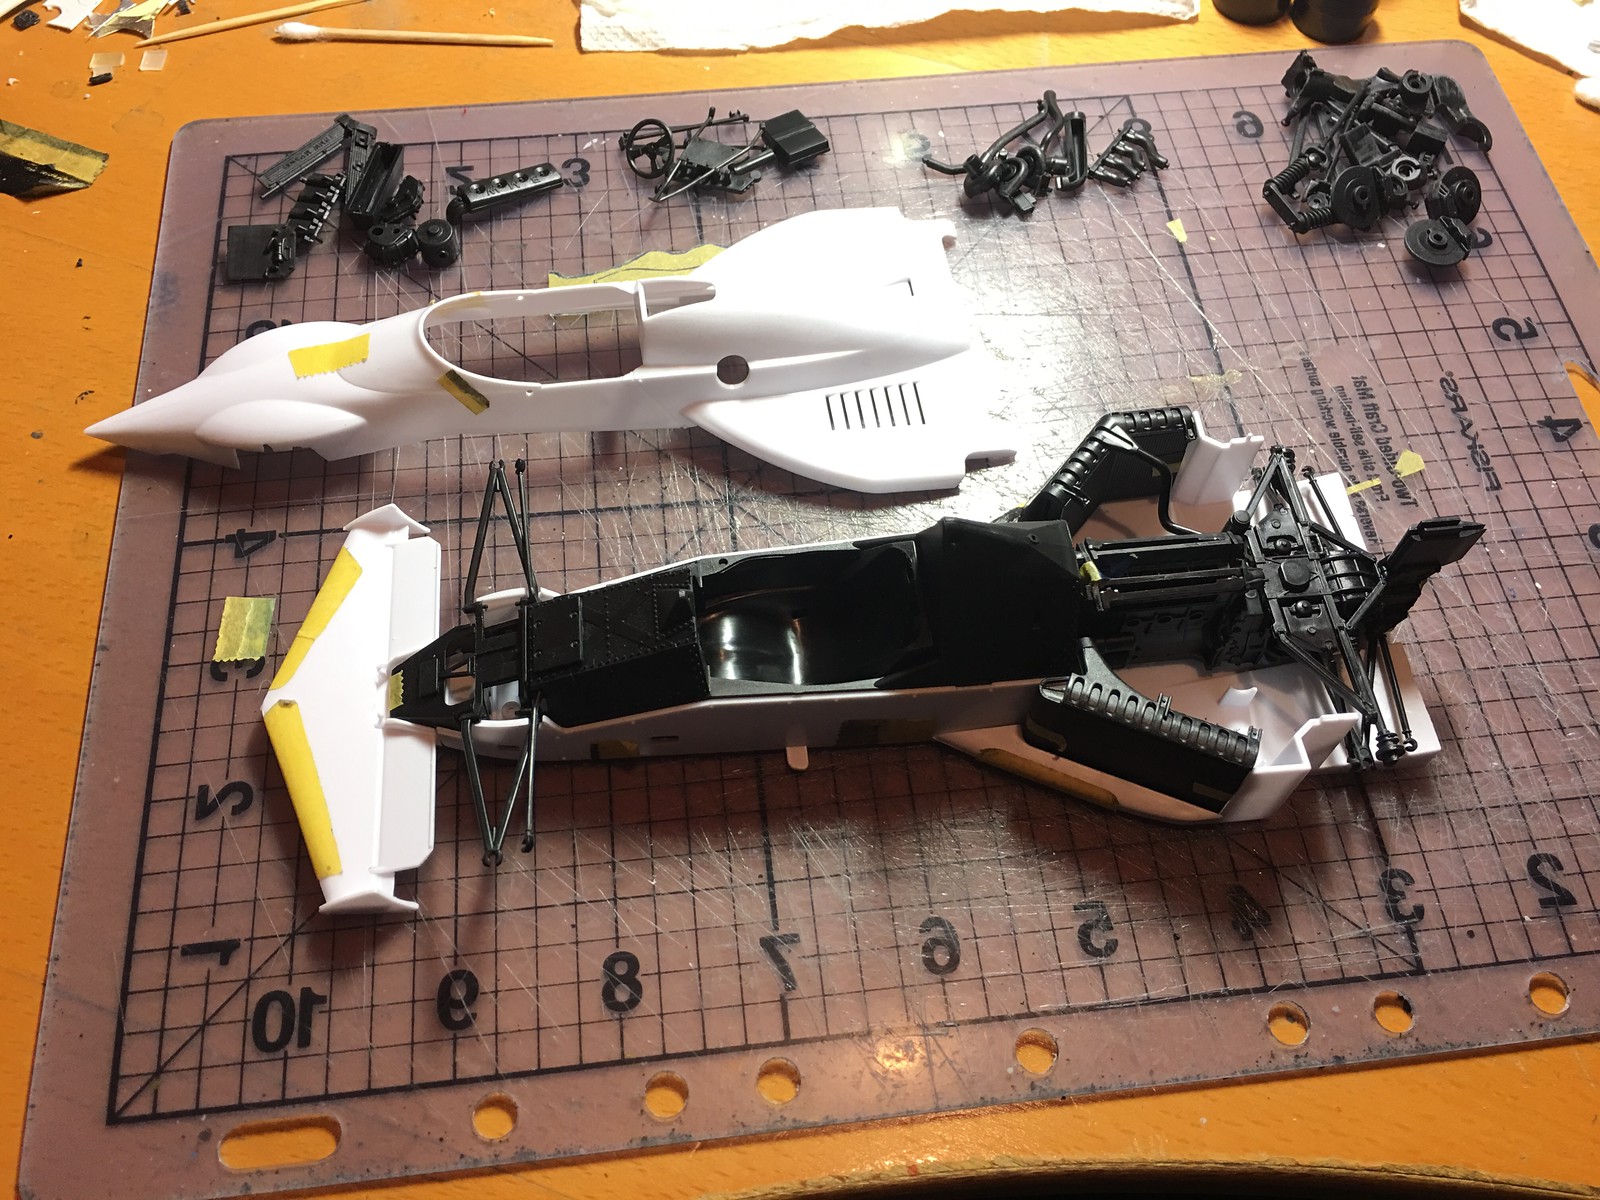
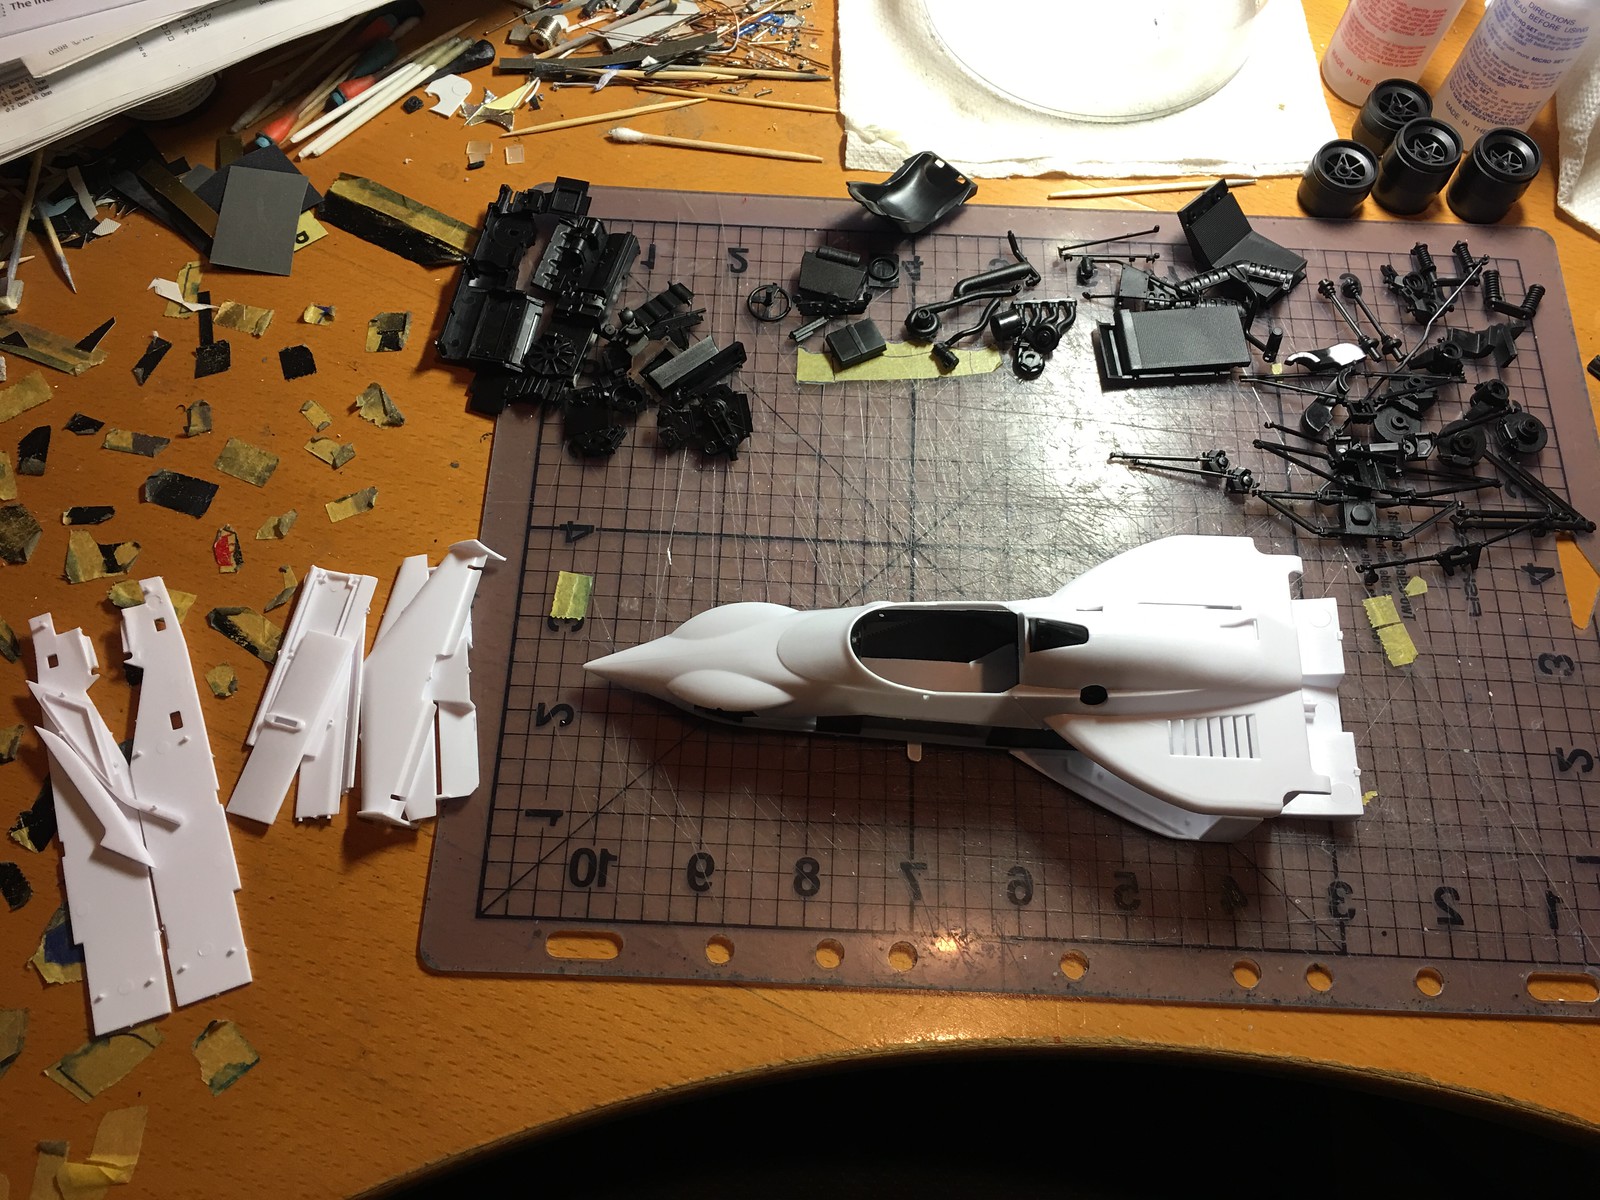
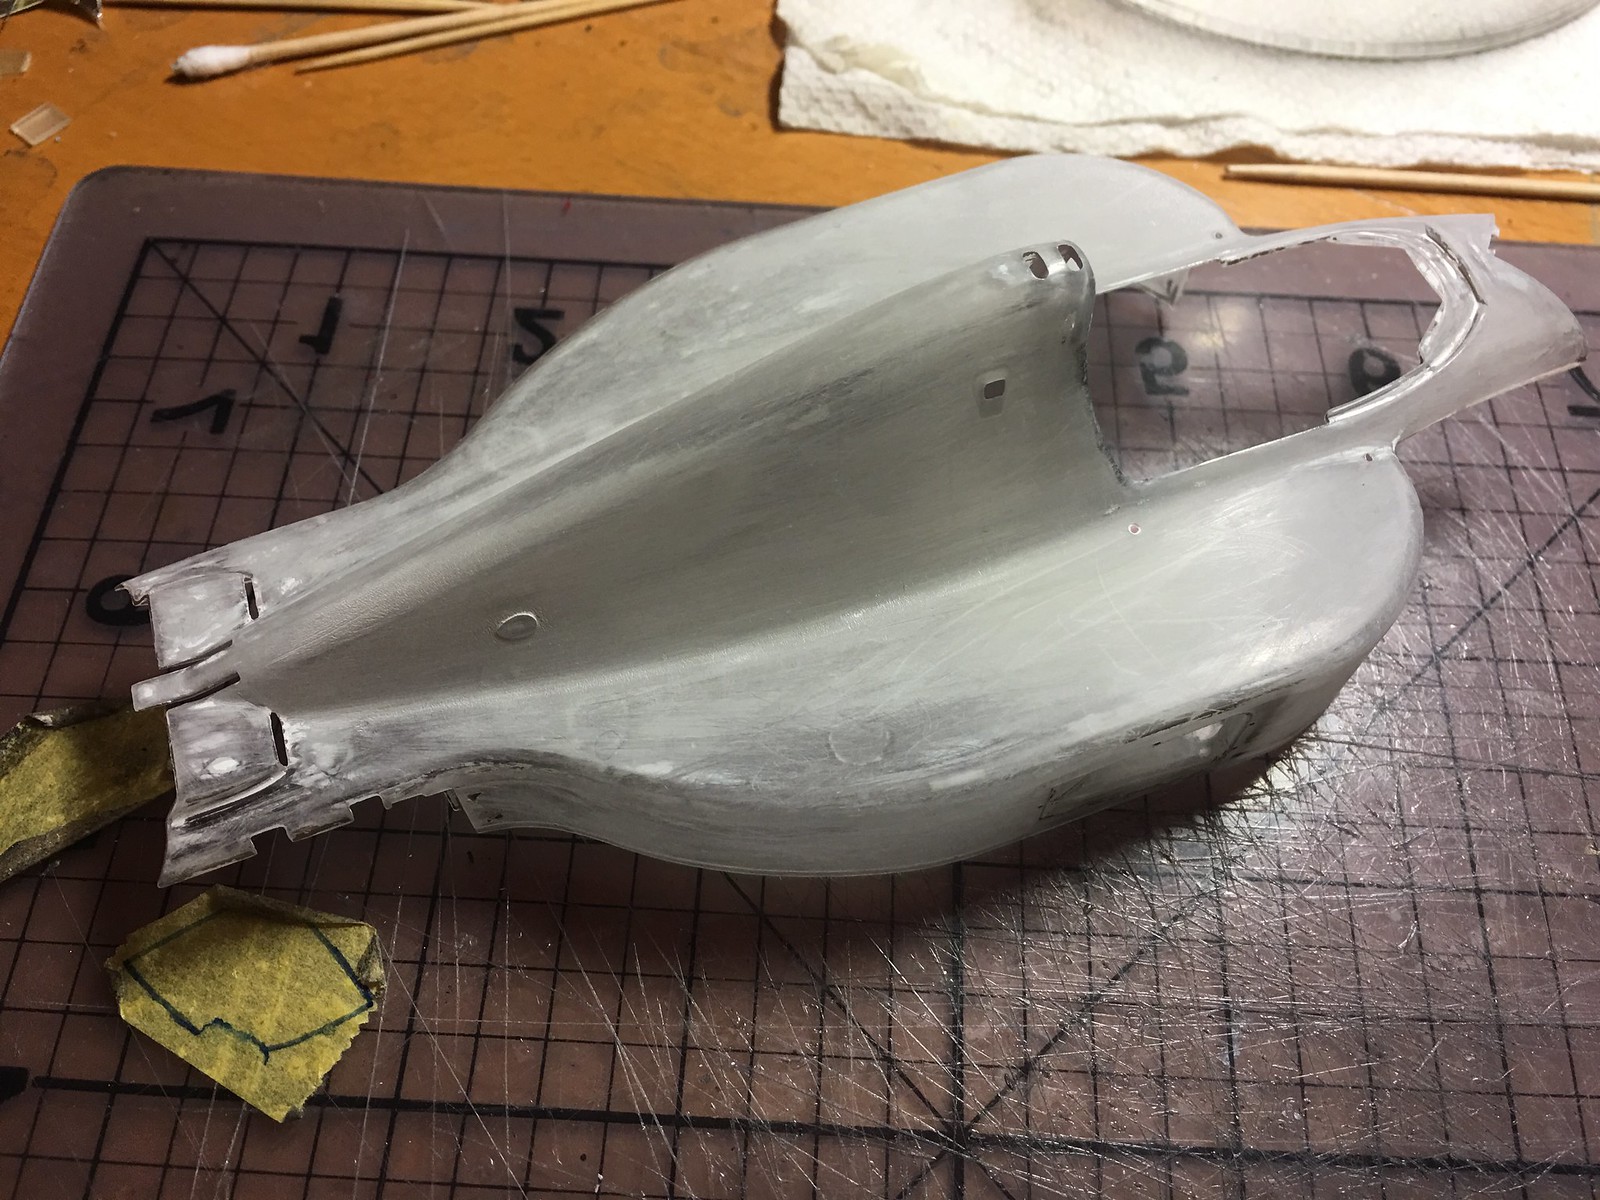
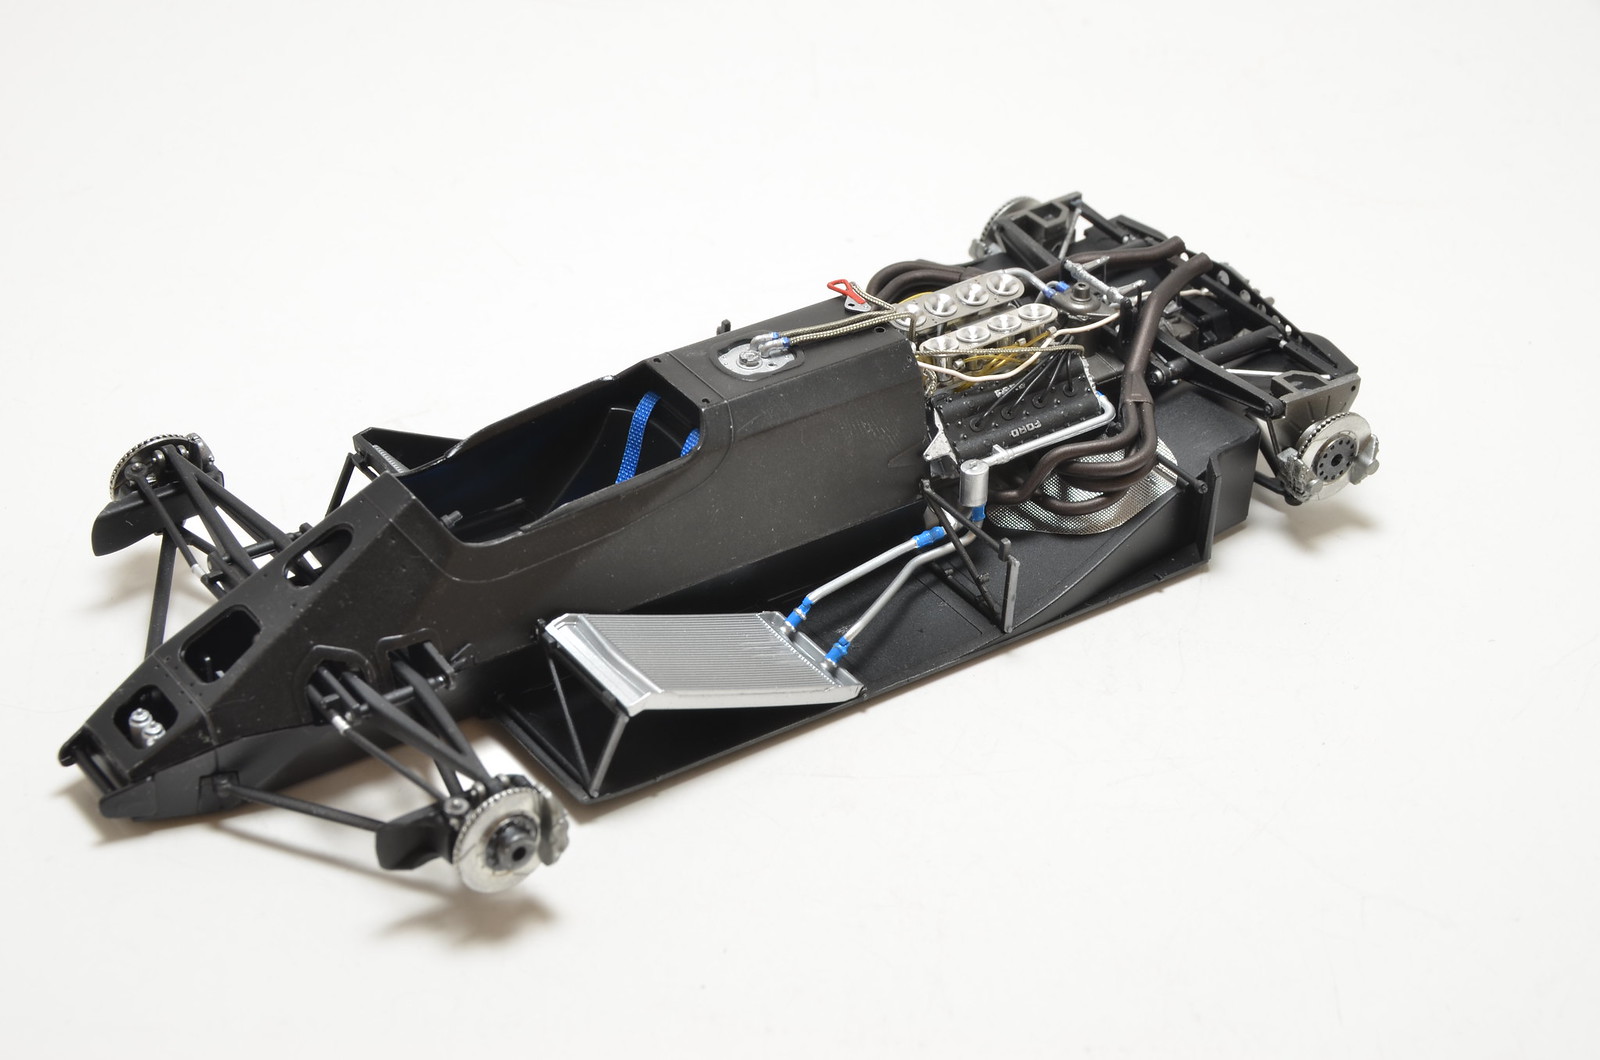
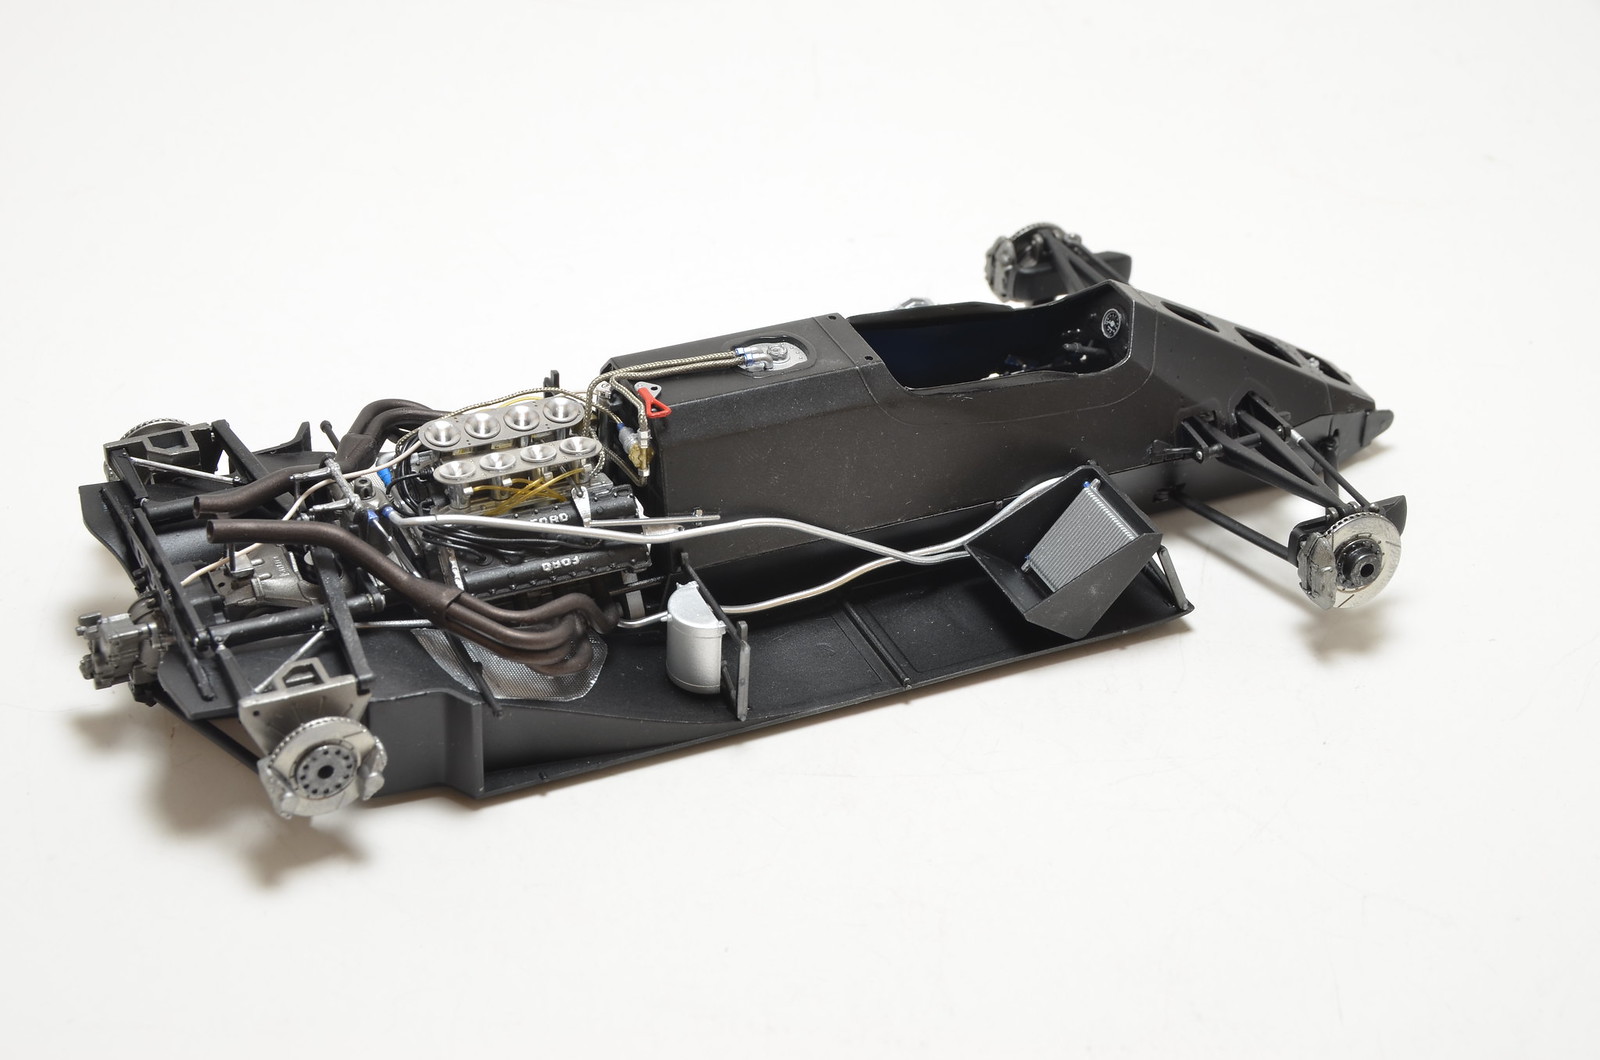
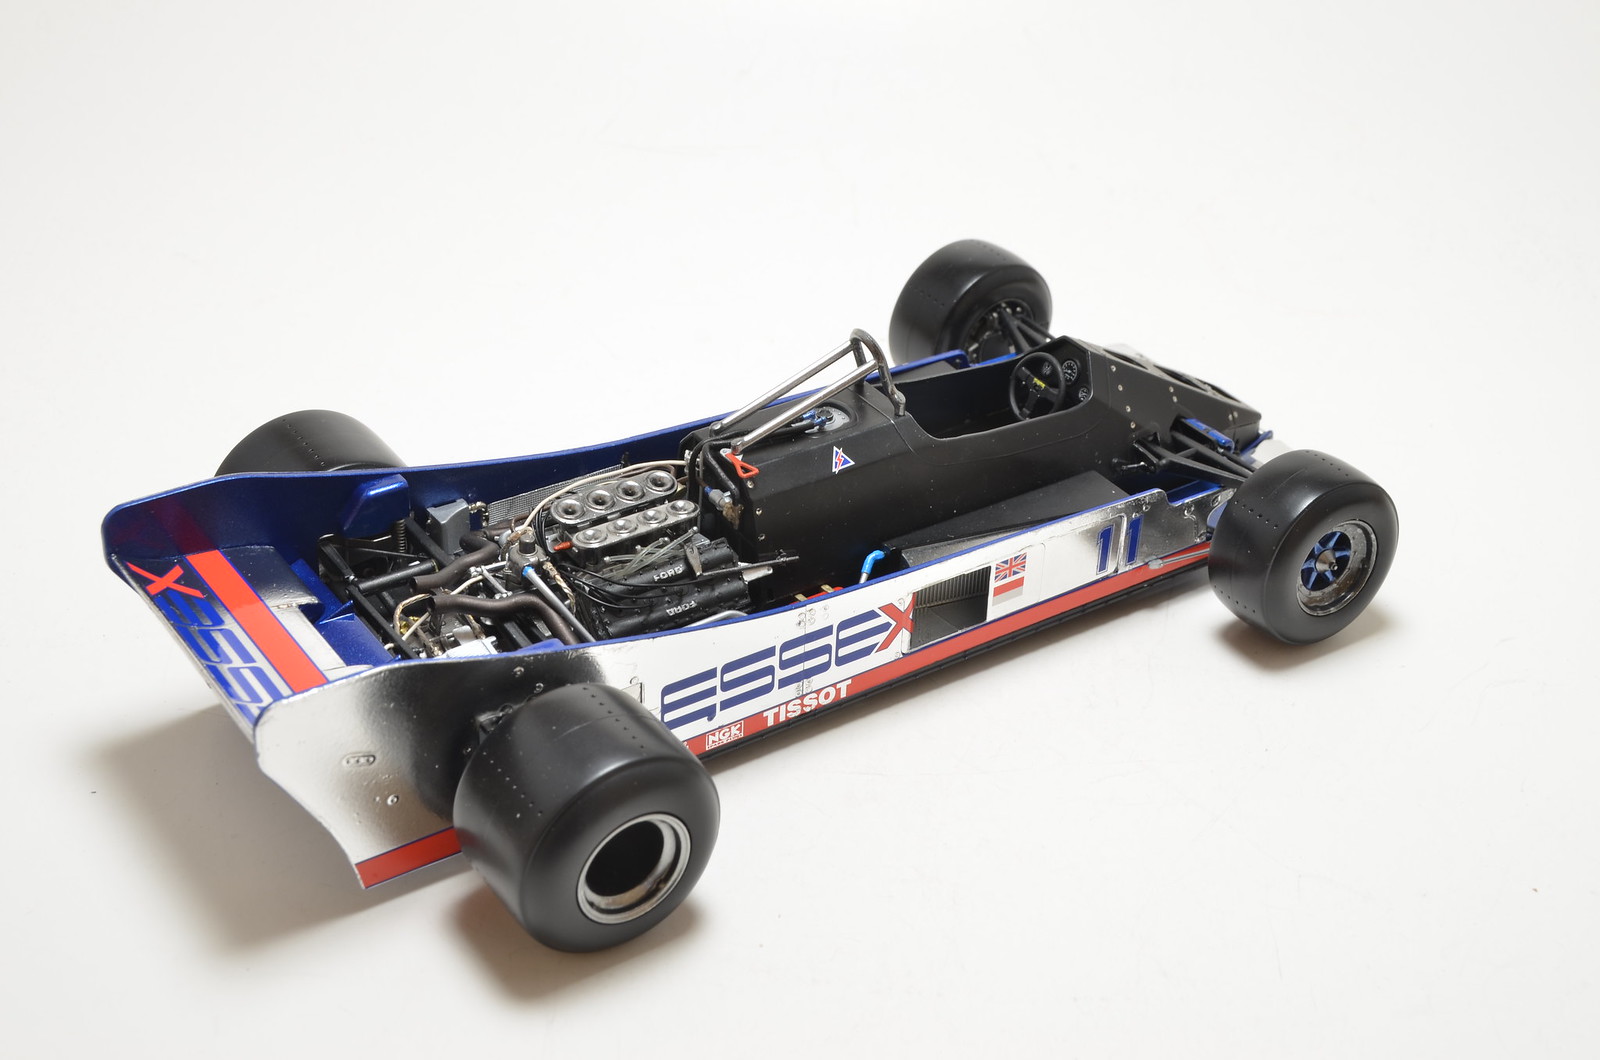
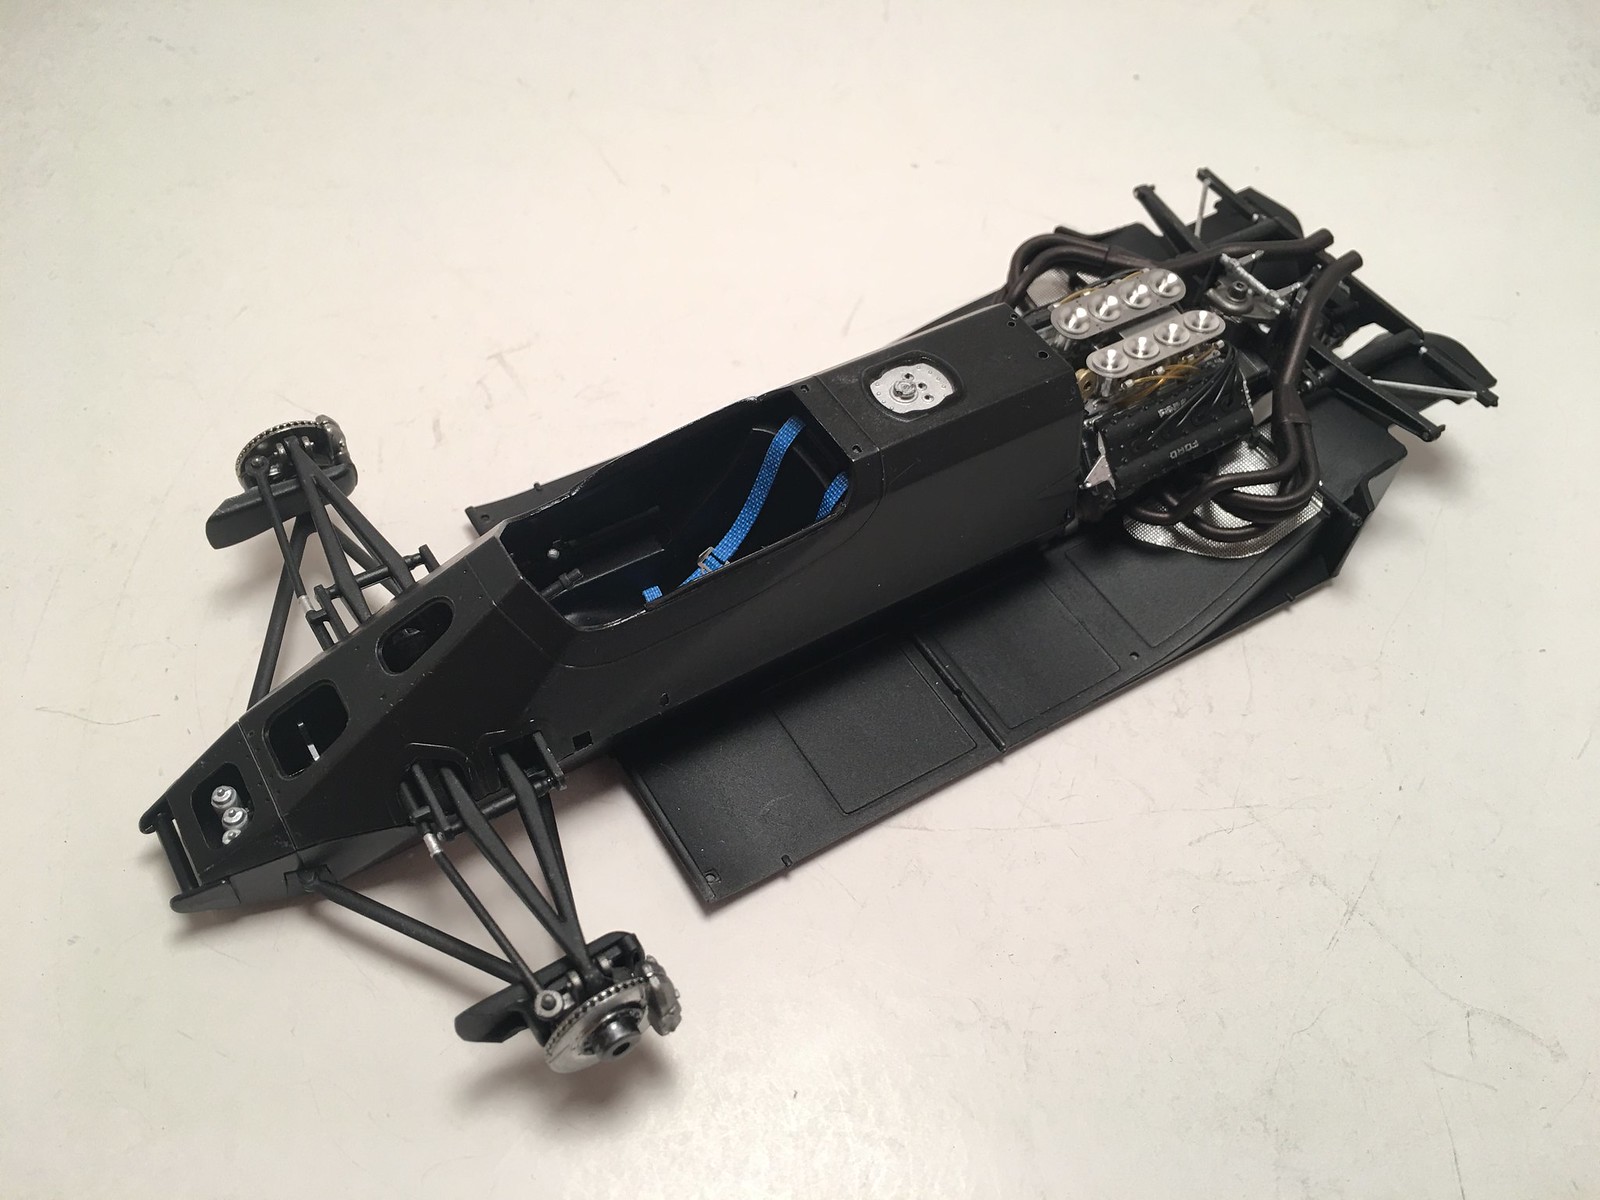
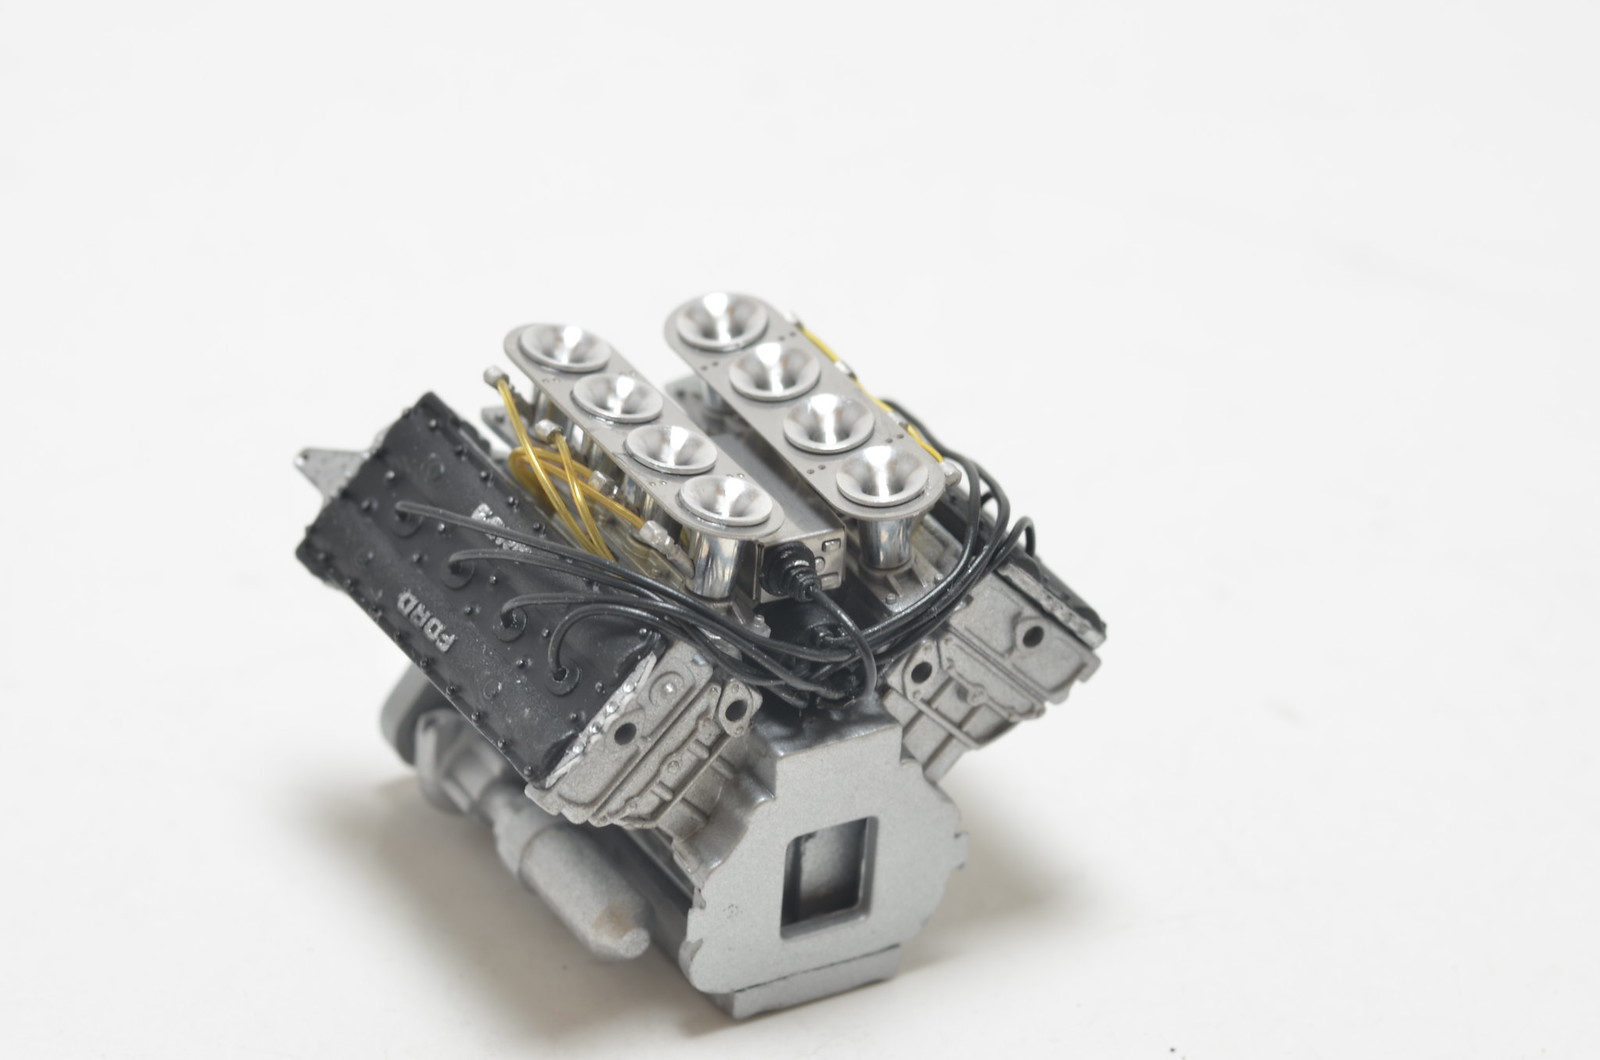
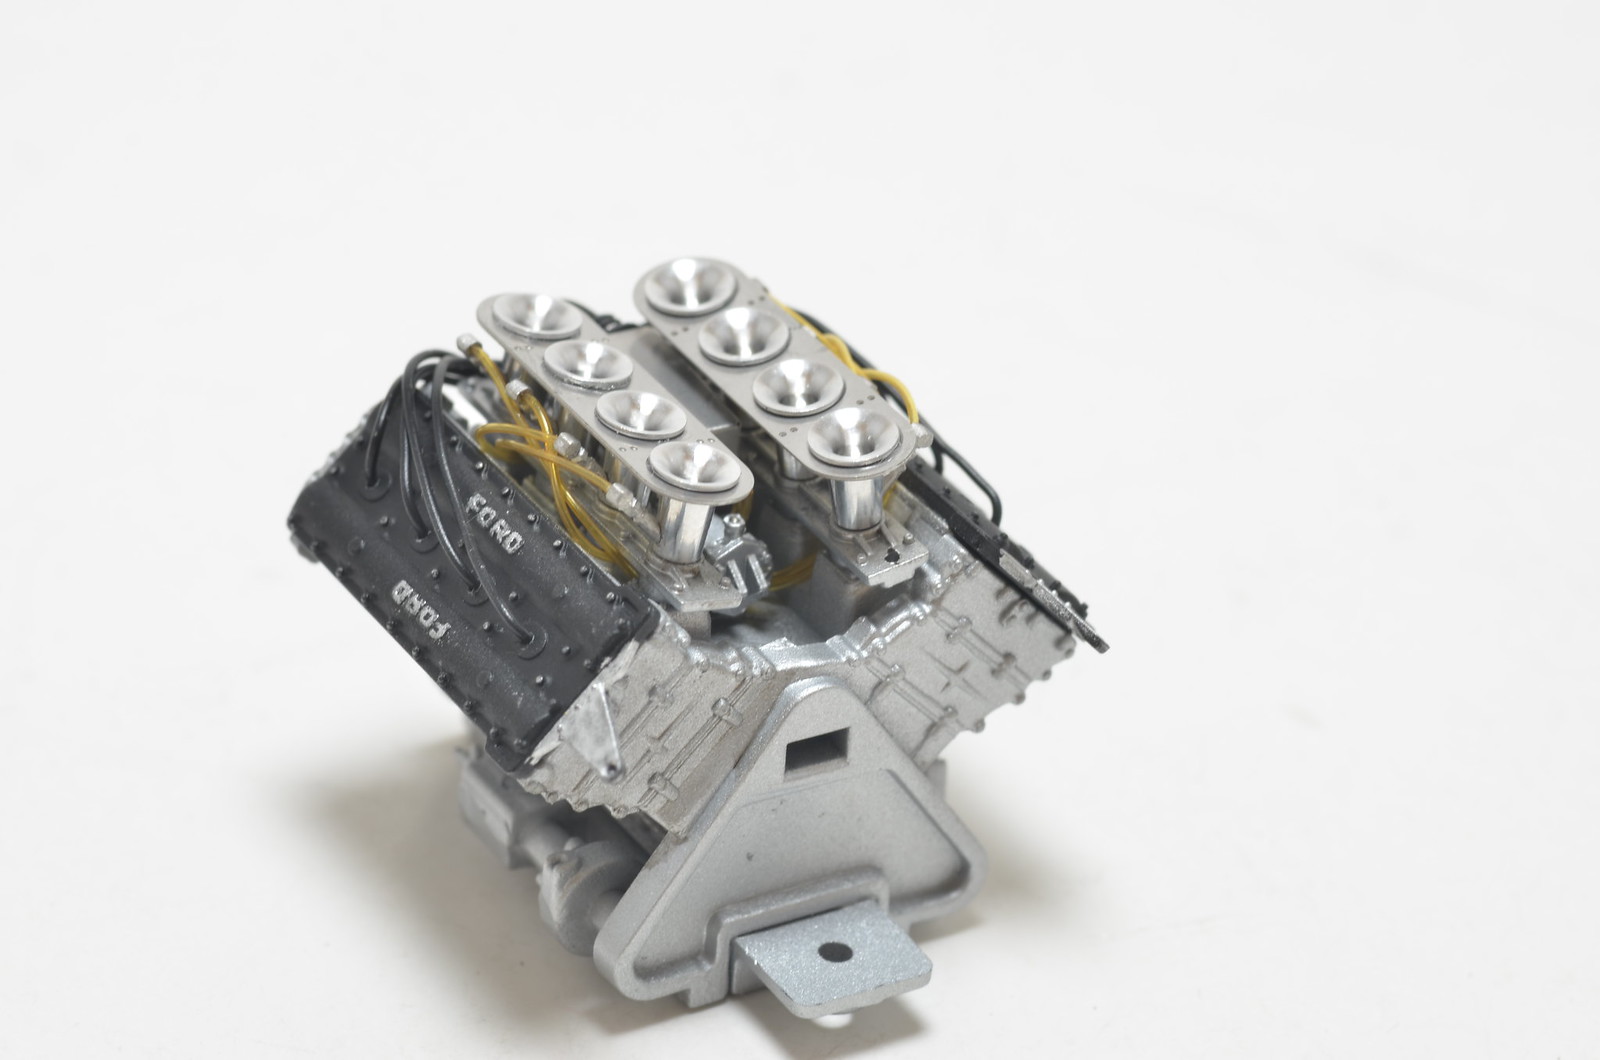
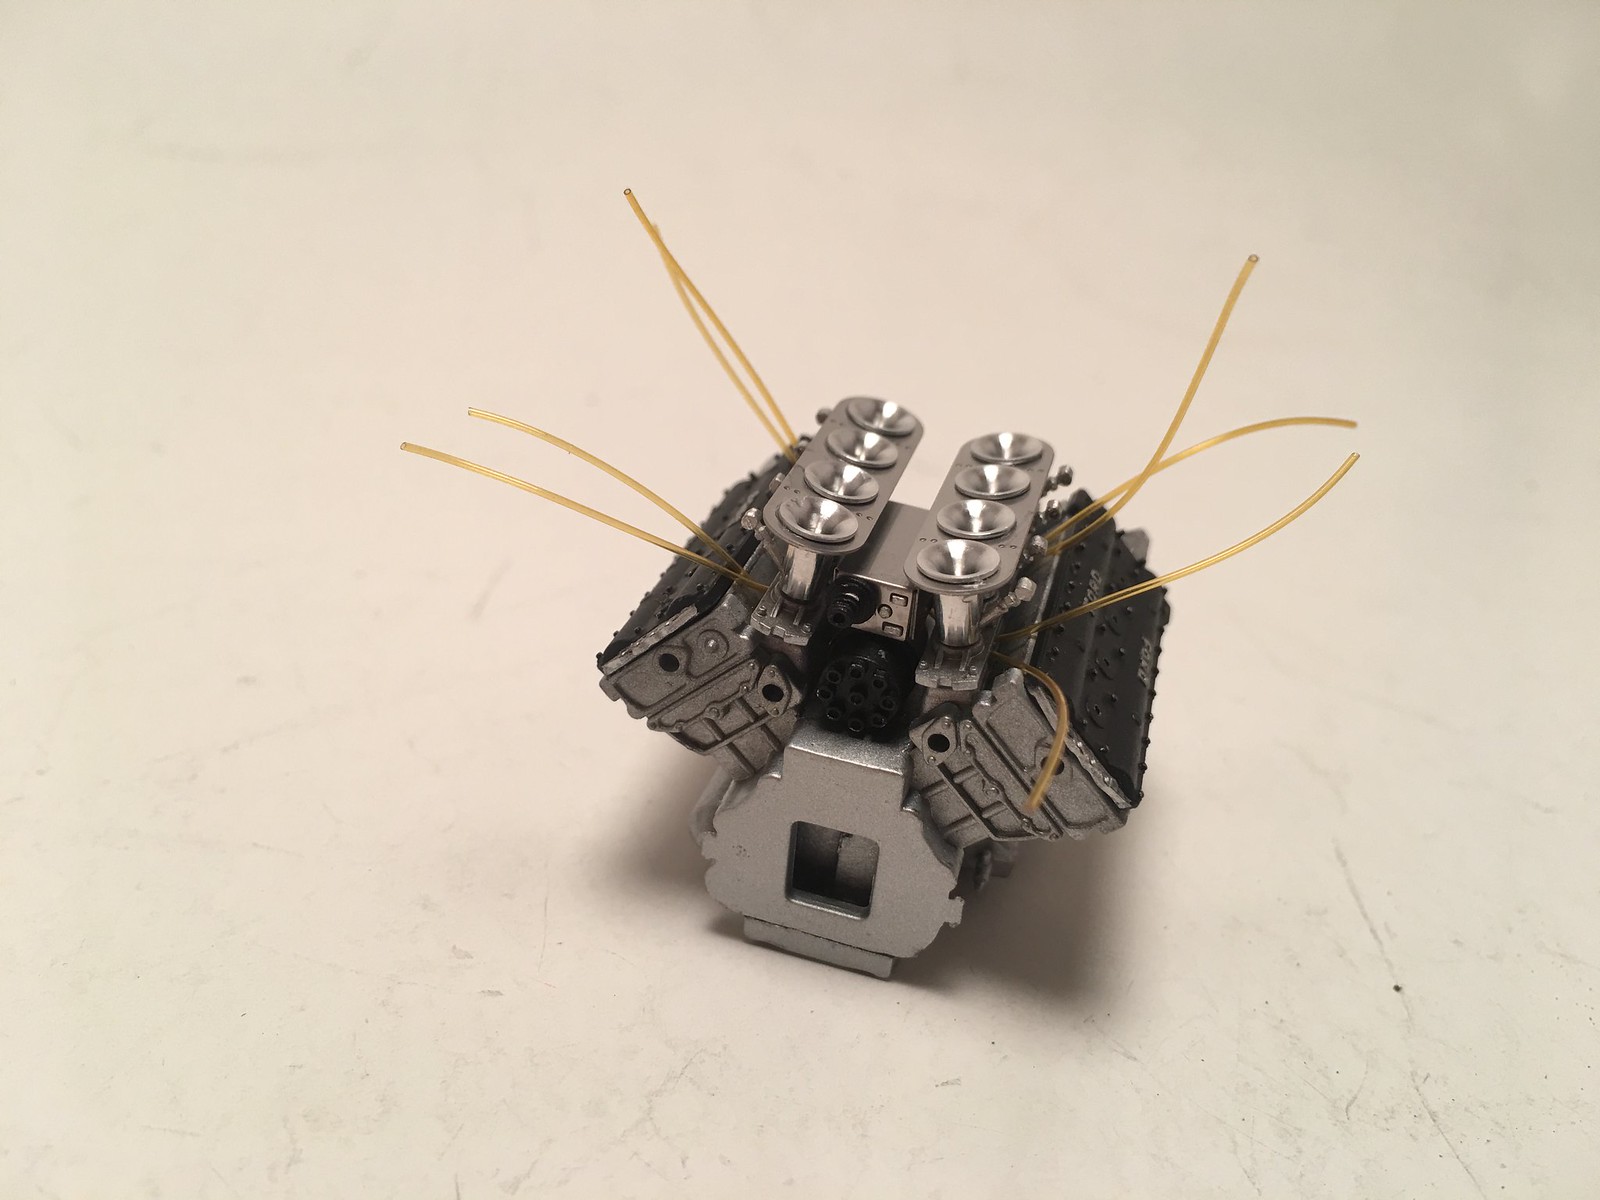
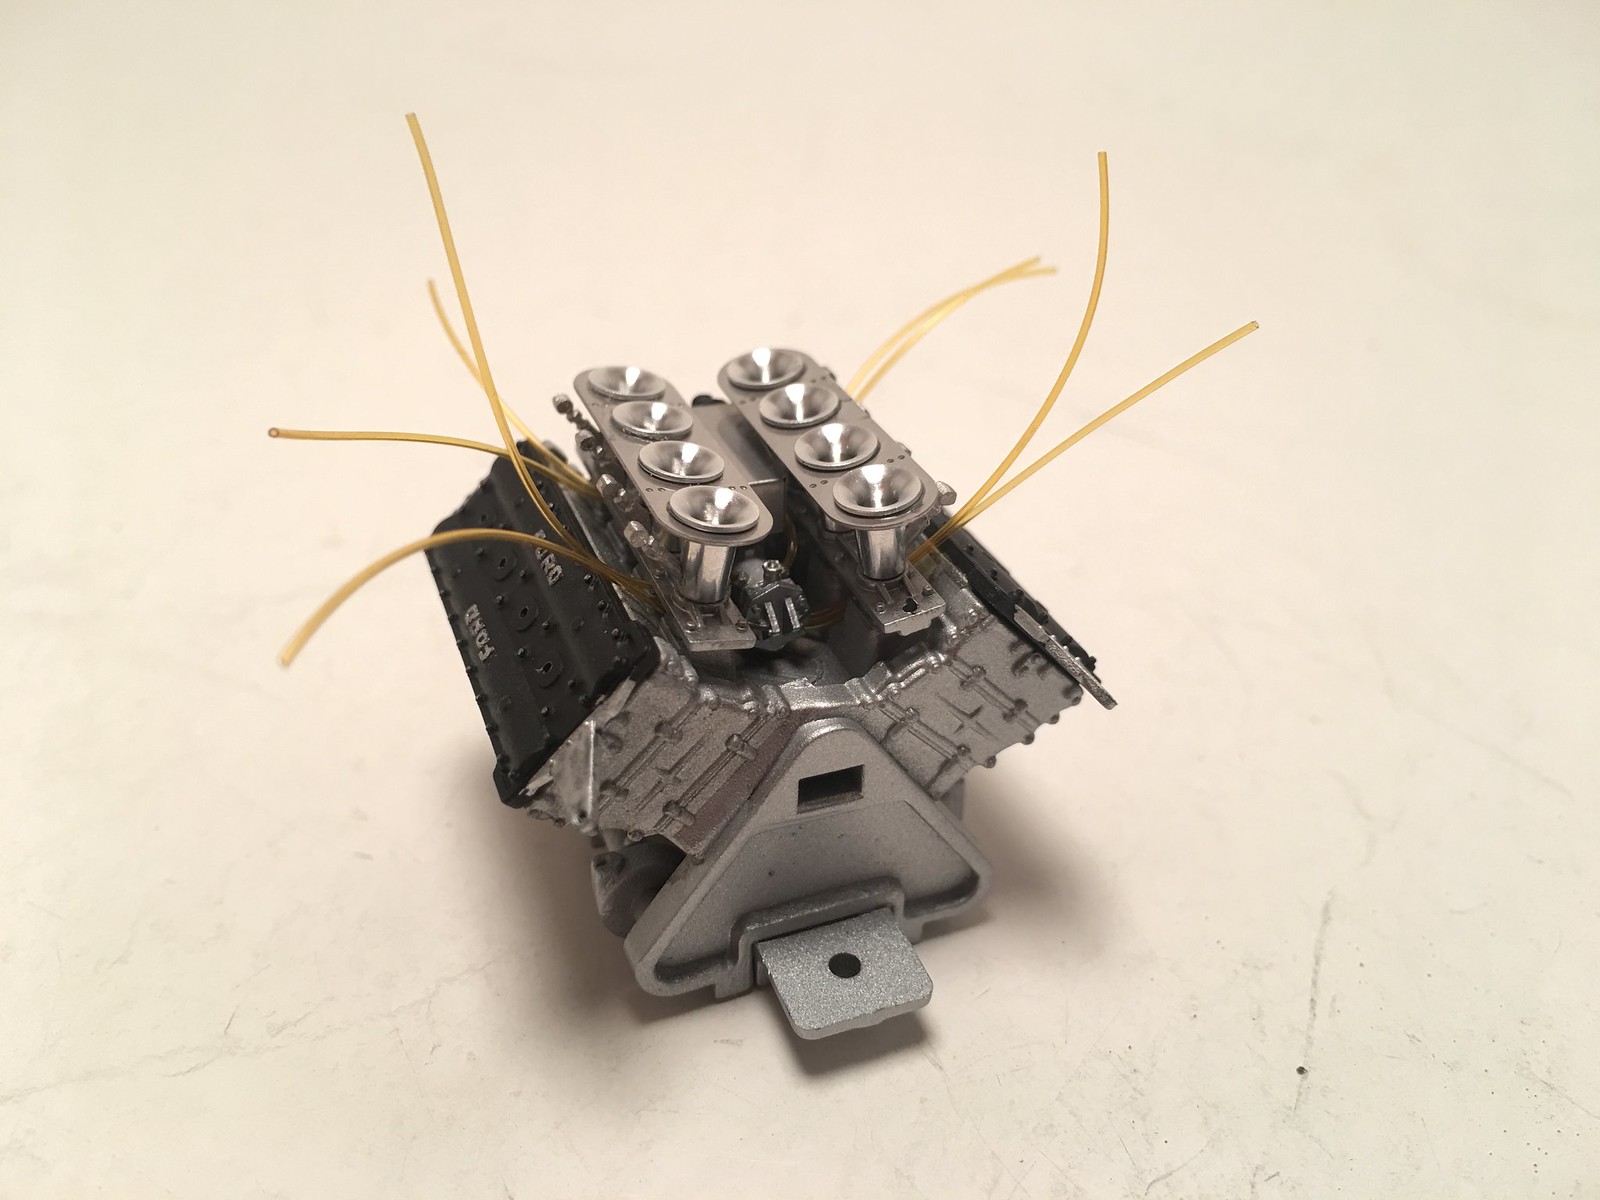
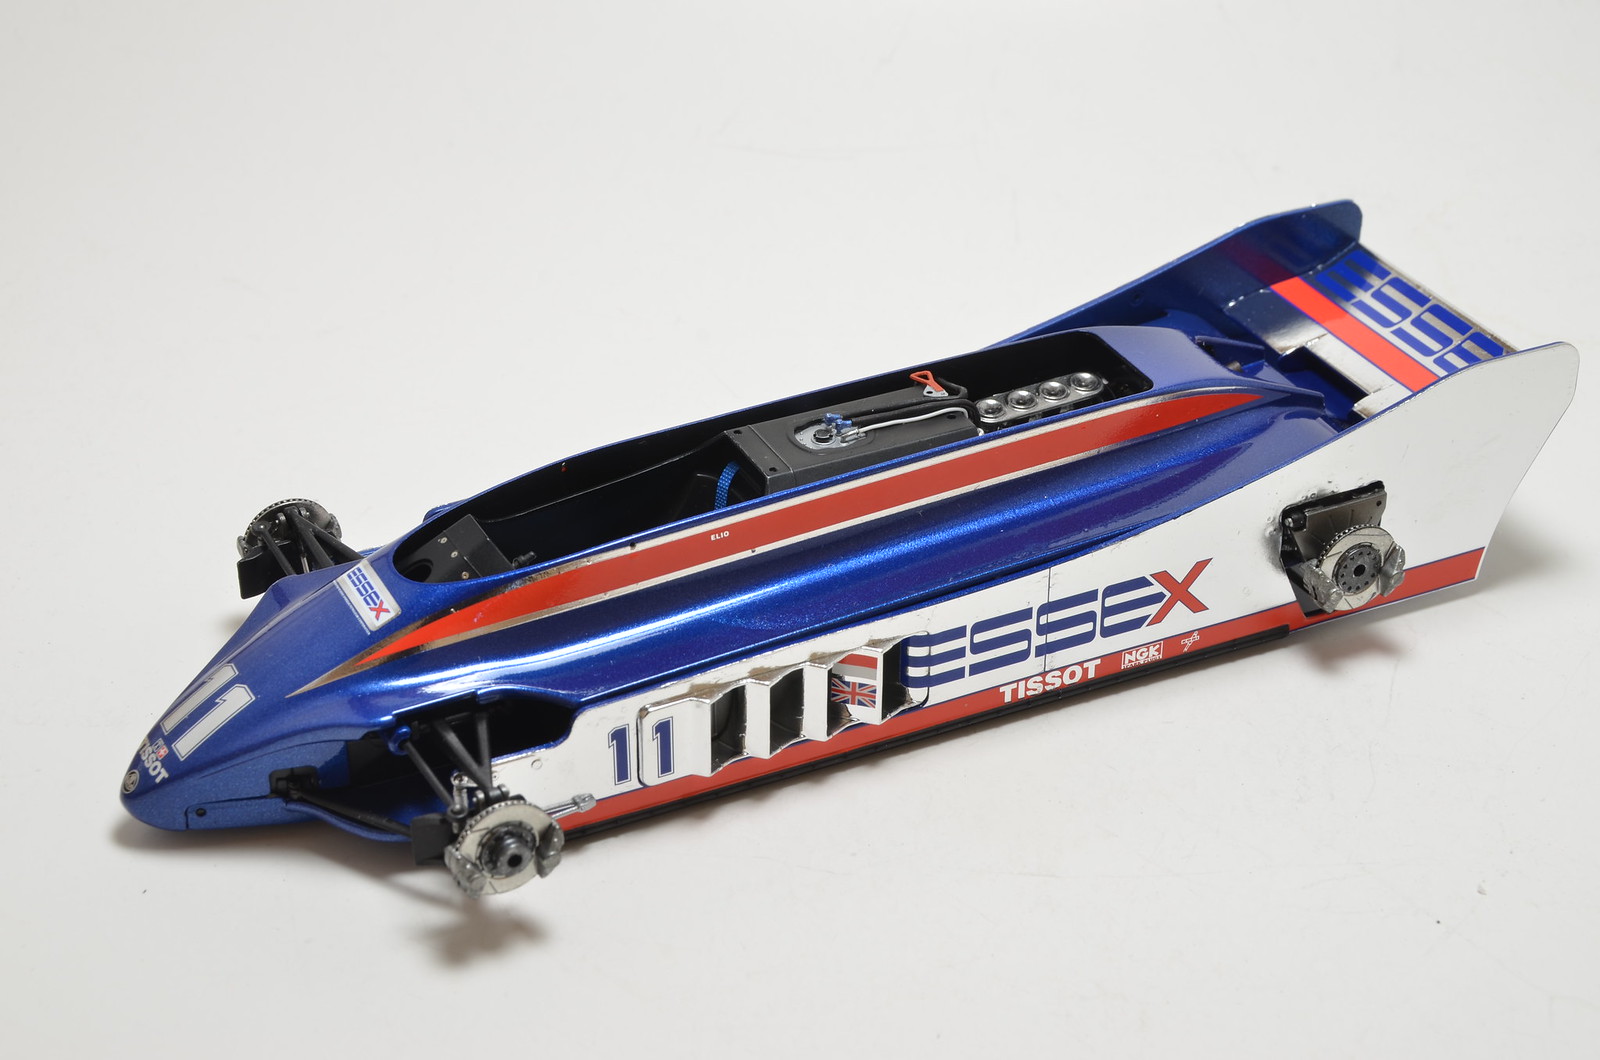
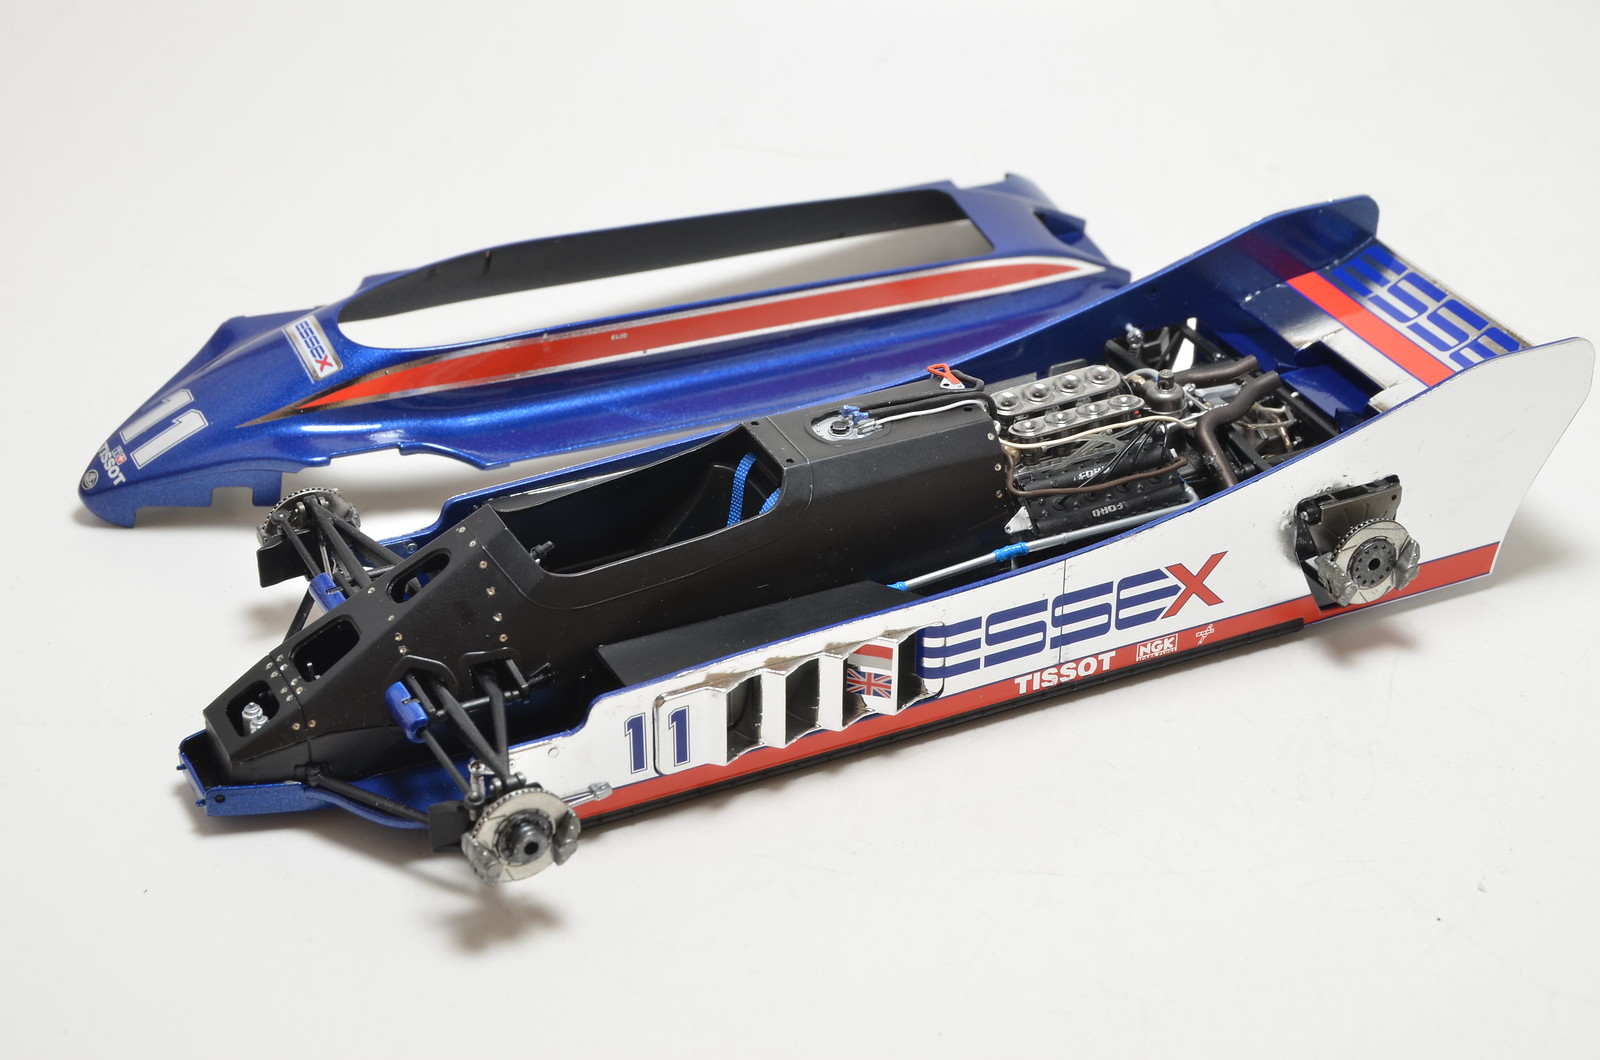
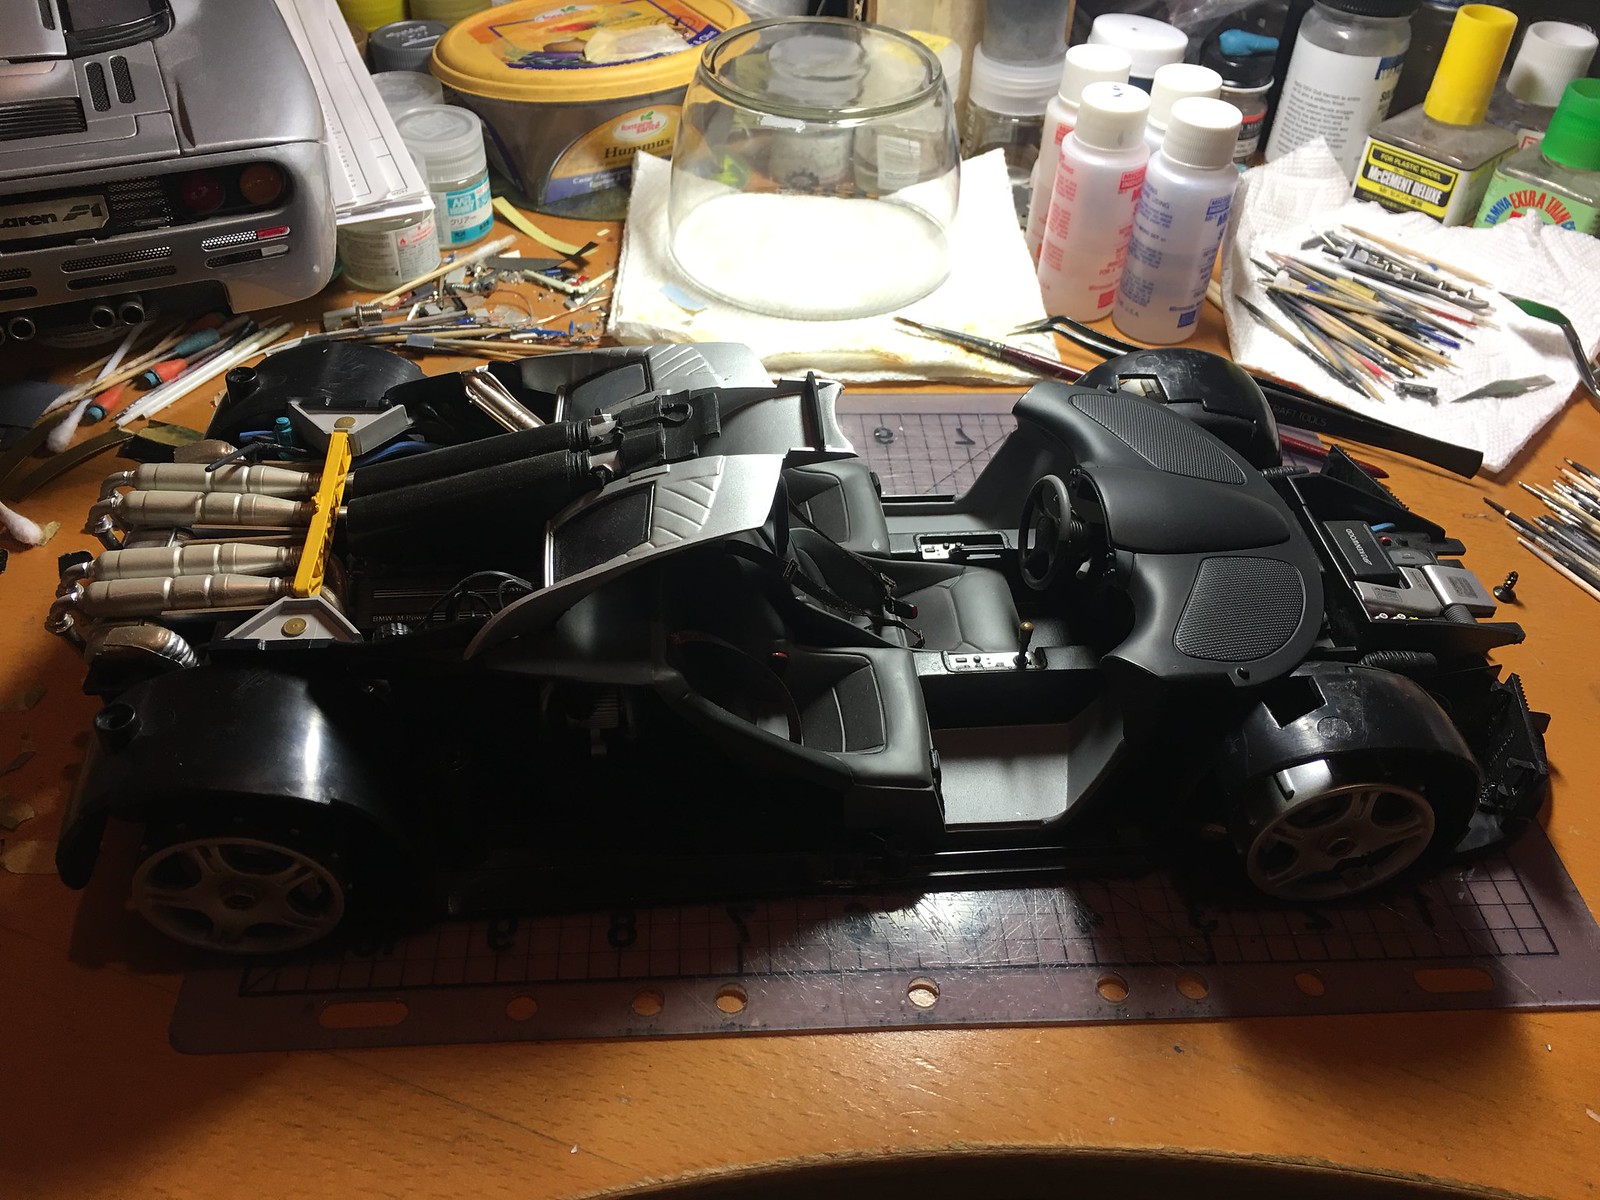
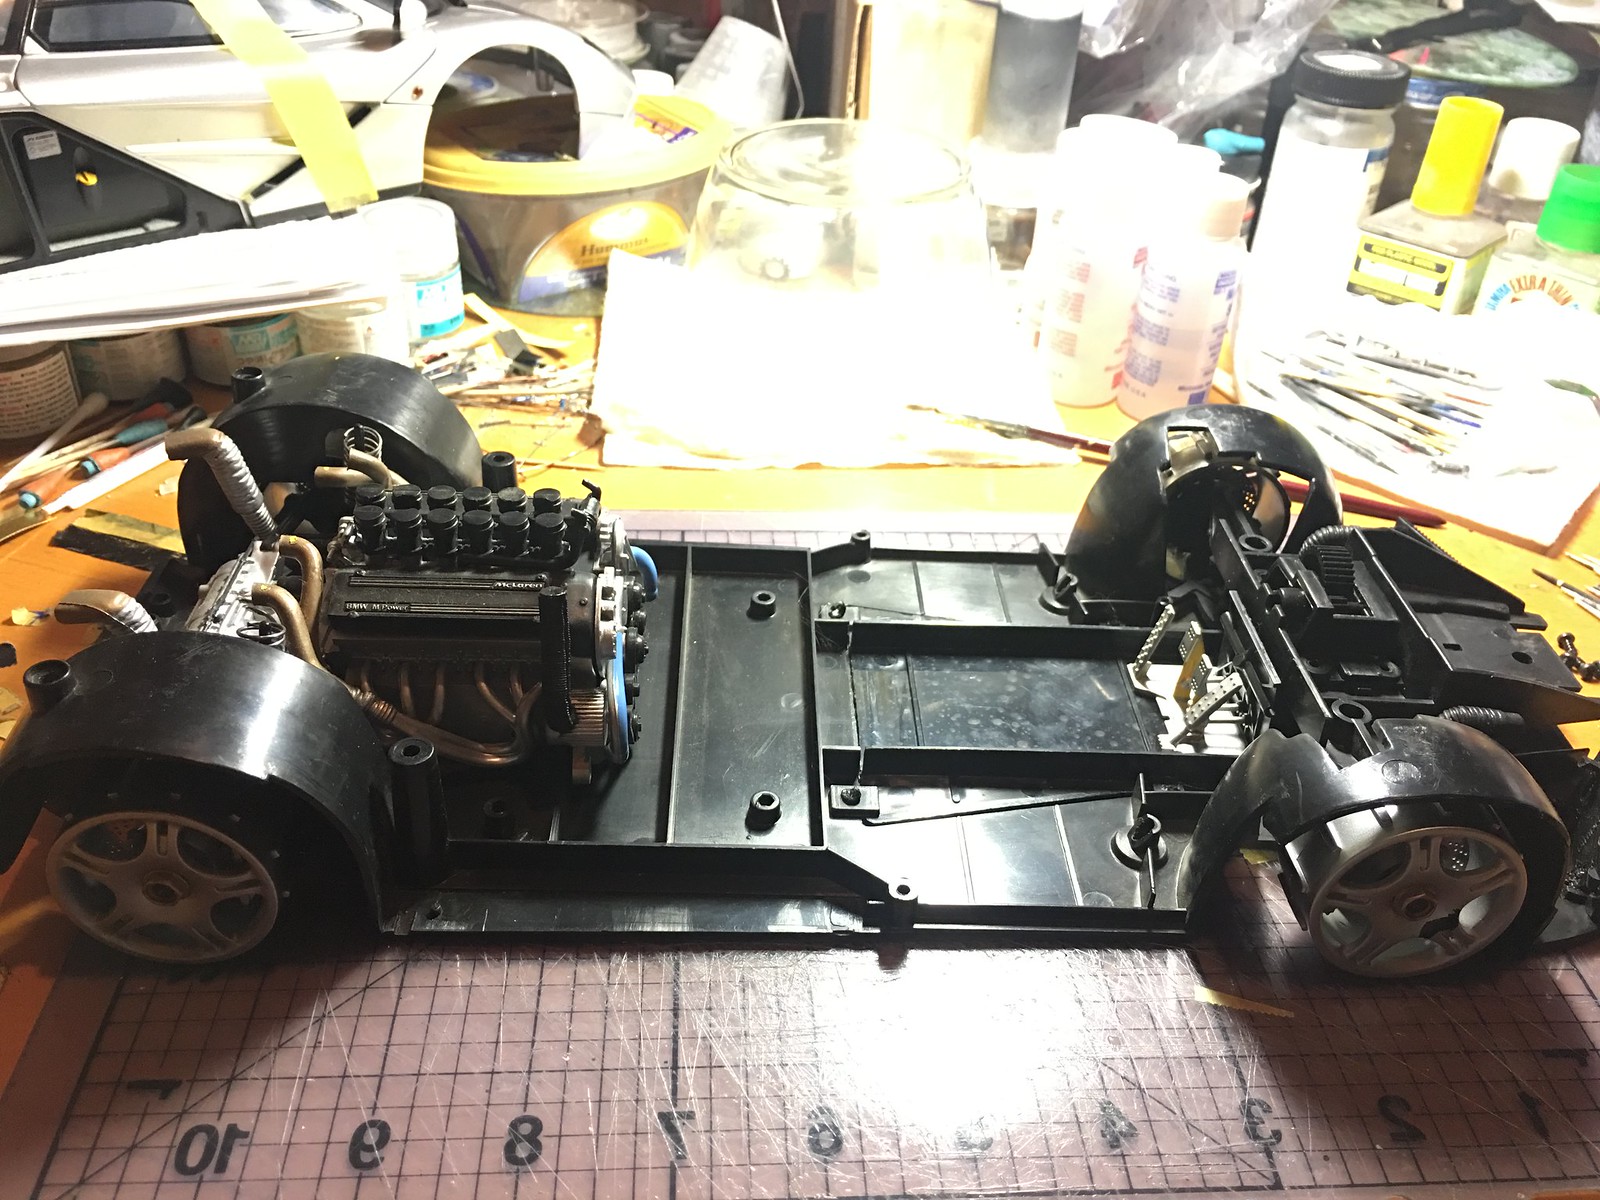
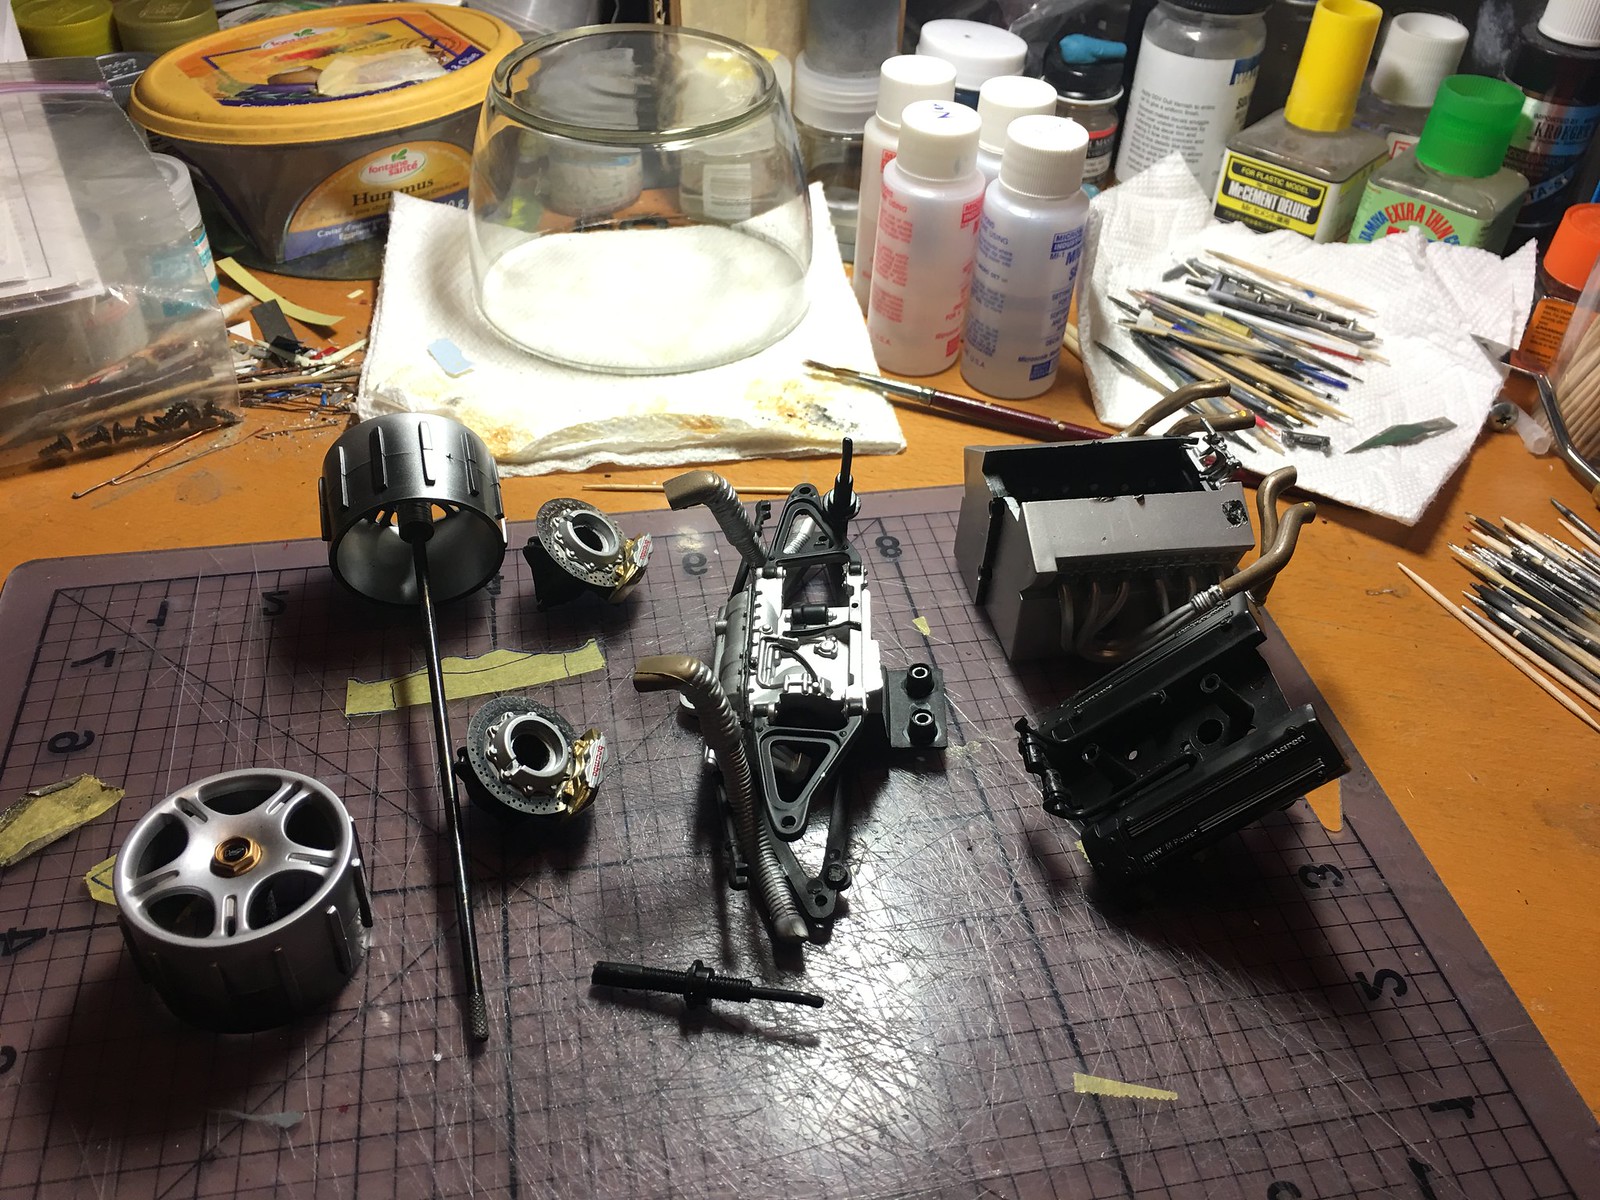
Completed couple of long painting sessions over last two weeks. Got almost all parts of BT46 and BT52 models primed. Then started applying metallic colors. Mostly Alclad shades sprayed onto engine and accessories and SG black for suspension parts. Body parts require some more prep work before paint could be applied. There will also be quite a bit of hand brushing needed to highlight details. Couple of quick in progress shots.


Sunday, November 12, 2017

Completing prep work

Finishing up prep work. Studio27 PE set, I have for this model, provides PE covers for engine air intakes. I've decided to open up holes in engine cover for those. However while cutting trough plastic, I've managed to make holes quite a bit bigger then required. To fix the issue and to give PE bits something to rest on, I've decided to attach strips of plastic inside, just below cover surface. This way PE covers will not stick out and there should be enough space to add filter paper underneath them to simulate filtering material used on real car. Worked out ok, I think. Also attached real firewall (not shown on photos). Prior to that, I've drilled bunch of holes for future detailing with aftermarket A/N fittings, braided lines, hoses and wires. Wire and tube lines I have, are too thick for this model. So, order for MFH's 0.4mm tubes and 0.28mm wires was placed and it is on the way to me. Next I have to wash parts and get the mounted for priming. Hopefully we will see parts in primer relatively soon.


Saturday, November 4, 2017

Prep work ongoing

Continued to do basic prep work. Started puttying seams.


Wednesday, October 25, 2017

Yet another build started - BT46

With multiple challenging builds in progress, I felt I needed something that would go together rather well. I've looked at my line up of completed and in progress models and all I could see were pretty much Lotus, McLaren, Red Bull and Ferrari cars. Then I looked through my pile of kits and realized that I have 3 models of Brabham BT46 car variations and I thought Tamiya BT46 would fit the bill perfectly. Having instructions from 1/12 MFH kit as a reference is a big asset for this new build. I also have PE set from Studio27, which looks to be quite useful. I actually managed to get myself hyped about this model quit a bit. First it is different from my usual subjects. Second - it's Tamiya engeniring and should go together well. Third - it's surprisingly detailed and gives a great base for moderately detailed project, which is perfect for my current skill level. Spent last few days gathering references, studding them and MFH's 1/12 kit instructions, and doing my usual build plan. And finally last night I was able to start it. Not much to show at present, just a bunch of parts separated from trees. Going to prep parts and do test assembly next.


Saturday, October 14, 2017

CLK-GTR completed

Added seat bets, rear view mirrors and other small exterior/interior items. It's finished as far as I am concerned. May even leave it without tire decals.


Now the photo I had in mind as main reason when I've started CLK-GTR kit. It's the view of 2 leading competitors from FIA 1997 championship.


Tuesday, October 10, 2017

Significant progress on CLK-GTR

Finally found motivation to get this model back on my modeling table. Trying to finish it before local contest on Saturday. Basically just seat belts, tire decals, windshield wiper, antenna and rear view mirrors are left. Over last week and weekend - painted wheels and windows, brush painted rear lights, added last few items to engine bay, fitted windows and light covers to body, assembled and installed rear wing, attached other body items. Hopefully I will be able to finish it on time and get it out of my pipeline.


Sunday, October 8, 2017

Pretty much completed.

Almost finished. Installed side panels, rear view mirrors, rear light. Assembled and installed rear wing and finally added small oil radiator at the rear. Body panels don't fit very well. I'm starting to think it is my painting process that deforms parts. Don't see any other obvious reason. It is missing JPS decals on the monocoque and throttle linkage in front, but it's out of my pipeline for now.


And couple of group photos with its older sister.


Lotus 88 completed

This one is out of my pipeline, as far as I am concerned. Was a fun build and result is not bad.


Thursday, October 5, 2017

Started pre-assemblies

I've got to exhaust assembly last night. Parts D1 and D2 should swap places. D4 fits properly into D1, not D2. And D9 was fitted onto D2, after I cut a bit on material from D2's protrusion, which D9 fits over. Beside that D1 has small diameter protrusion near its top, which D3 fits over. So, definitely a small mistake in instructions. However, it shouldn't be that difficult to figure out, if you do test pre-assembly. I've learned to do it for plastic kits almost as must as i do for multi-media ones.

Test fit of exhaust and turbo parts the way I managed to put them together.


Started doing pre-assemblies before primer and painting. Next I will have to do quite a bit of putty and prep work before I could primer parts.


Wednesday, October 4, 2017

Clean up and test pre-assembly continue

Continued with parts clean up and test fit assembly. I can already see upper body not seating well in front. Looks like floor is bent a bit upwards in the middle. But upper body also seems to be bent downward in about middle. So, either nose section or rear section have to be pushed down to close gap. Not sure what to do about it. Never tried to bend plastic parts before.


Tuesday, October 3, 2017

Brabham BT52 Monaco 1983 Nelson Piquet build started

After 4 weeks waiting for it to arrive, finally received my kit yesterday and started it last night. Plan is to build it OOB with additions from detail set and some extra wiring and piping based on MFH's 1/12 instructions.

Just started detaching parts from plastic trees. removing panel lines and cleaning them. Will do test fit pre-assembly next, while glueing some parts together and puttying seems before paint.

Quick shot of current state.


Monday, September 25, 2017

Back to bare plastic for the body shell

I've lost the fight with MP4/6's body shell. Just could not get white on it properly. It's second time in my building history that I have had plastic crazed by Zero paints. My own fault likely. Probably went too heavy on paint. After number of attempts to fix white coats, I've finally decided to strip it. Just another small set back. I've got used to them by now.


Sunday, September 17, 2017

Plumbing almost done

Added almost all the plumbing and radiators. Only small gearbox oil radiator left to add. That pretty much completes chassis. It will now wait until I get clear coat onto body parts. When body parts are ready, I will add wheels and other small accessories and it will be done.


On its wheels

Getting close to completion. Assembled and installed wheels. Added front wing and steering wheel. Also added couple of last oil lines. Basically only rear view mirrors are left to add. After I added cooling duct inlets for rear brakes to side body panels, top body cover does not fit any more. Instructions suggest to add then after body cover is in place. But that would mean it will not be removable any more. Gotta think about it. Don't want to hide internals forever. I think I will just let top cover to seat loose. As expected this one stands on only 3 tires. Front right is about 1mm off the ground. Nothing I can do about that now. Will put it on the shelf and forget about it.


Tuesday, September 12, 2017

Further progress on Lotus 91

Results from past weekend work. Attached gearbox to engine and installed exhausts. Make and installed seat belts. Installed seat, dashboard and various other components into cockpit. Closed monocoque with attaching top part. Photos show a mock up. Note, that CF decals are missing now from top of monocoque. Some masking take I've use to hold it together temporarily pulled off decals and I had to choice but to remove rest of it. Did not want to restart that work. So, will have to leave with it in base semi-gloss black.


Wednesday, September 6, 2017

Engine basically done

Completed routing of fuel lines and ignition wires. Only fuel filter and throttle linkage are left to add.


Monday, September 4, 2017

My best DFV so far

I've built 3 DFV in 1/20 to date and Lotus 91's is my 4th. It shaping up as best one so far. It has a lot to do with MFH's detail set. I think it looks much more realistic then previous ones. There is always room for more details. But at my current skill level, I think it's good. One missing detail item from MFH set is throttle linkage. My DFV would have benefitted from more accurate one. Hopefully I will be able to scratch build it in the future.


Sunday, September 3, 2017

Work of engine detailing started

Last night started detailing work. I am using DFV detail set from MFH. Nice turned trumpets, fuel lines and detailed ignition box. However I have not expected that assembly would be complex and will take that much time. Spent more then 2 hours assigning and glueing trumpets and fuel injection leads together. Adding fuel lines to the distributor as well. Next will have to attach trumpets to engine and then route fuel and ignition lines. I am starting to enjoying detailing work more and more. Kind of looking forward to adding more detail items to engine and gearbox. By now I have accumulated enough AN fittings and braided lines to do this type of detailing with ease. It will probably not be 100% accurate, but will look better then OOB. Quick shot of current state attached.


More progress on chassis assembly

Since decals were completed few months ago, I have put clear coat over them. Then masked and painted skirts black. This weekend I've got to the point when I could put chassis together. Attached side panels to the floor and put rear wings in place. Over all result is not bad. Not 100% square, because of warper floor, but kind of ok visually. It is my first Ebbro kit to build and I am pleased with quality and detail level. Fit was pretty good. Only low point is warped floor, which causes suspension and body panel's alignment to be off. Something is in the of body cowling, so it does not seat properly. But unless you look at the rear, it's not that apparent. Some photos of current state are below. Number of accessories and some wirings are left to complete. Then only wheels would be left to finish it all off.


Saturday, July 1, 2017

Breakthrough in F1-GTR MeLans 1995 1/12 scale conversion project

This is my "dream" project. I wanted to convert Minichamp's die-cast McLaren F1 road car into winner of Le Mans 1995 race. It has been on the back of my mind for many years. I have event started it few years back, but got stuck on the first step. Bottom part of the chassis just didn't want to separate, even though I took out all the screws I could see. Apparently there were 2 more screws at the top of rear wheel arches. Following an advice from automotive forums' F1 forum, I've removed rear tires from the wheels and that opened access to those hidden screws. After that block was removed I was able to dis-assemble the rest of it with pretty much no issues.

It turned out a decent models with high level and accuracy of detail for a die-cast. There will be a lot of things that would have to be improved and converted to specs of racing car. But it provides a decent starting platform, imho.

Here are some photos of the process.