Wednesday, December 30, 2015

MP4/30 mid season build started

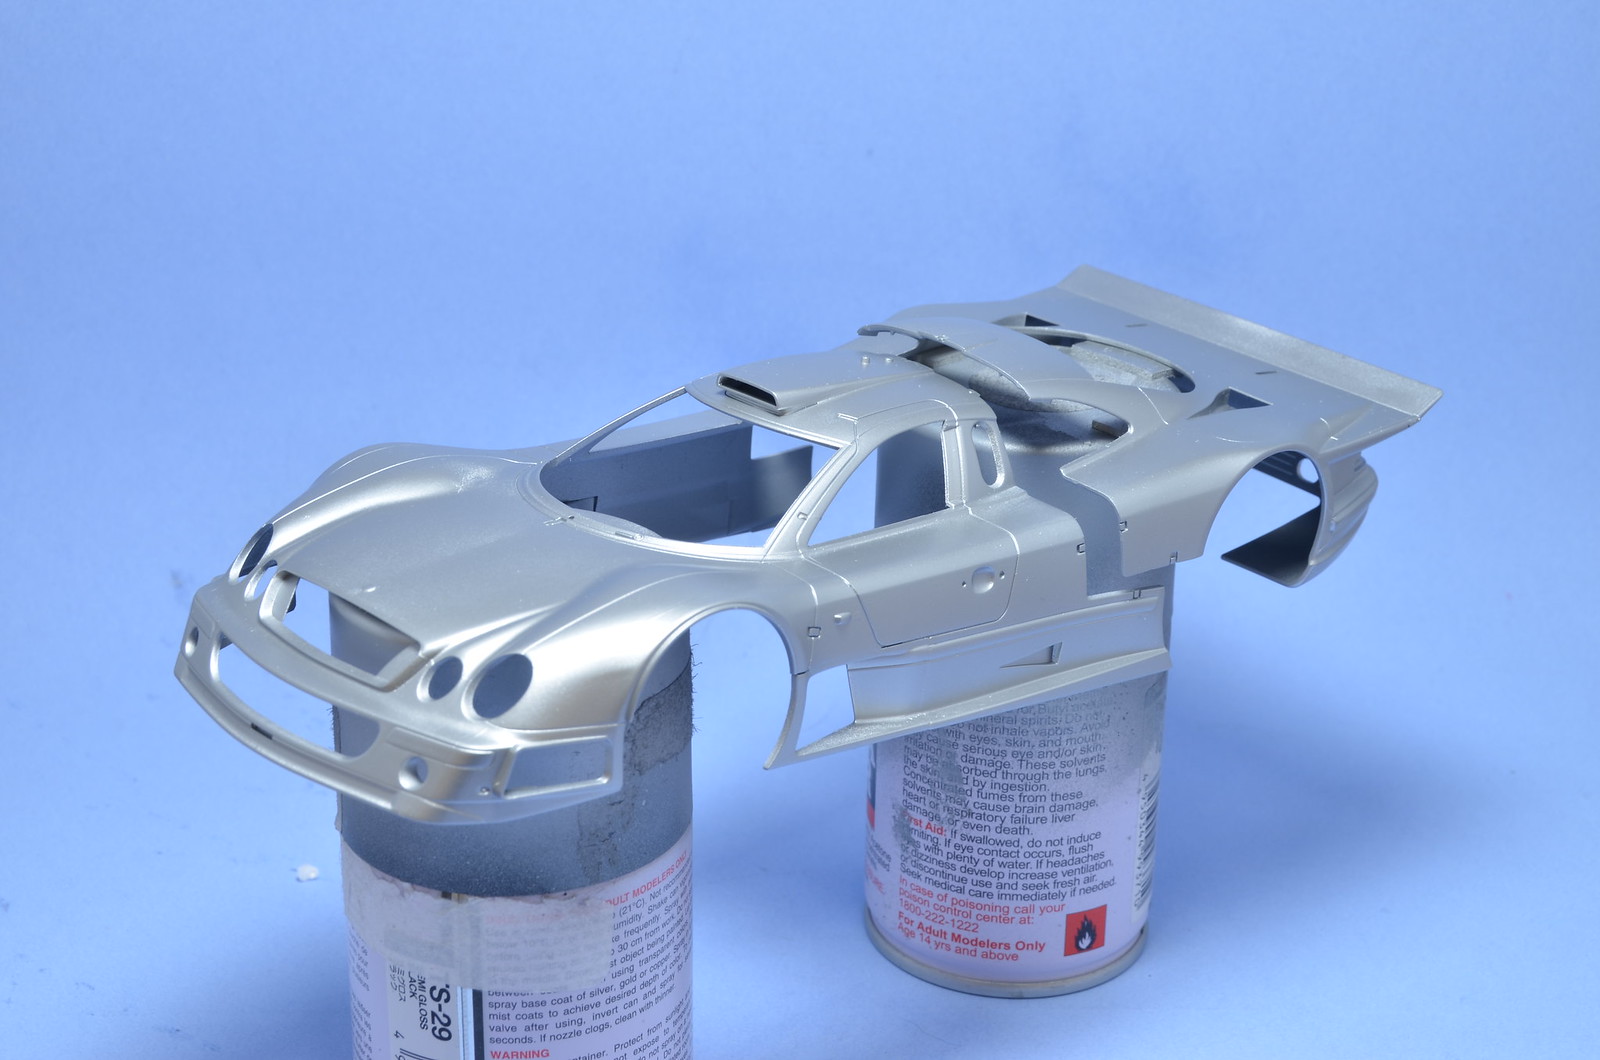
Received my copy on Ebbro MP4/30 kit and could not resist starting it. Kit is very basic and simple. I anticipate no issues with kit and hopefully can get it done relatively fast. Only 2 concerns to address. First is missing brake detail - no rotors, no calipers and no covers. I'll have to scratch build covers and use resin copies of rotors and calipers from another kit. Second is the choice of proper colour. Neither TS40 or TS14 seems to be correct. If I cannot find better match in my own stock, I will probably go with recommended TS40.

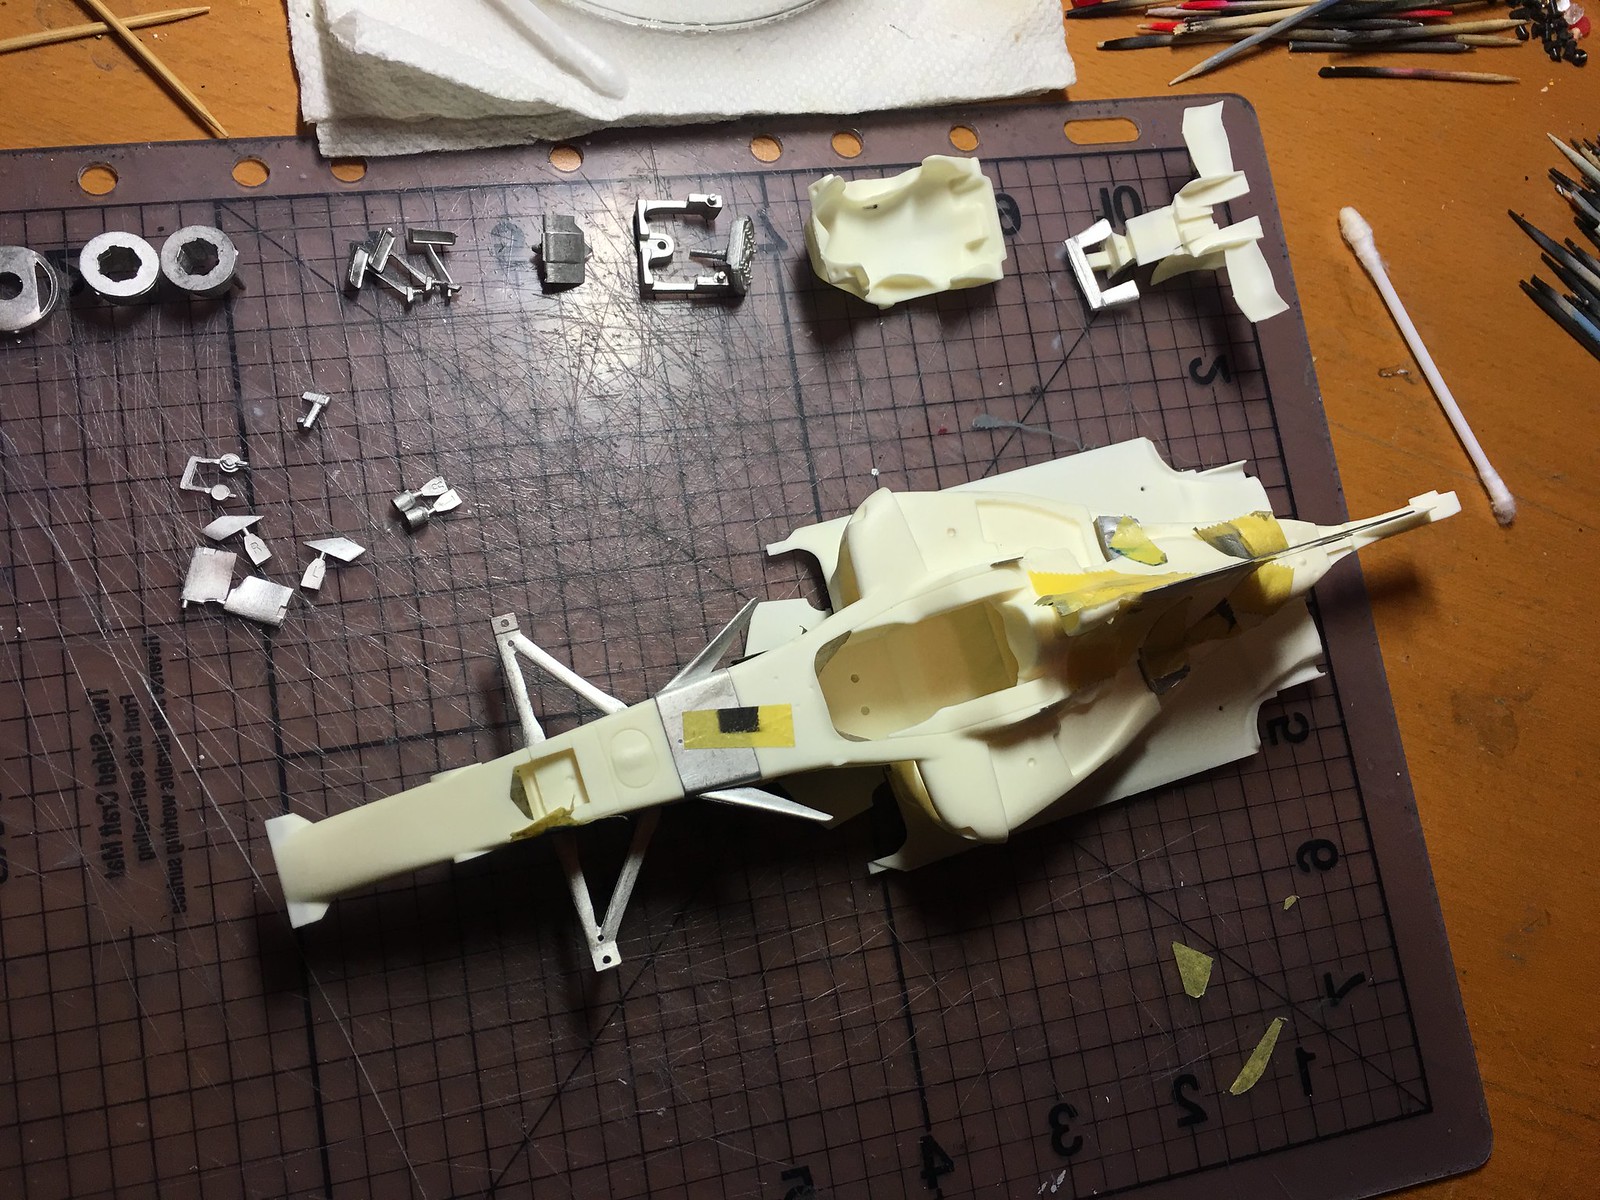
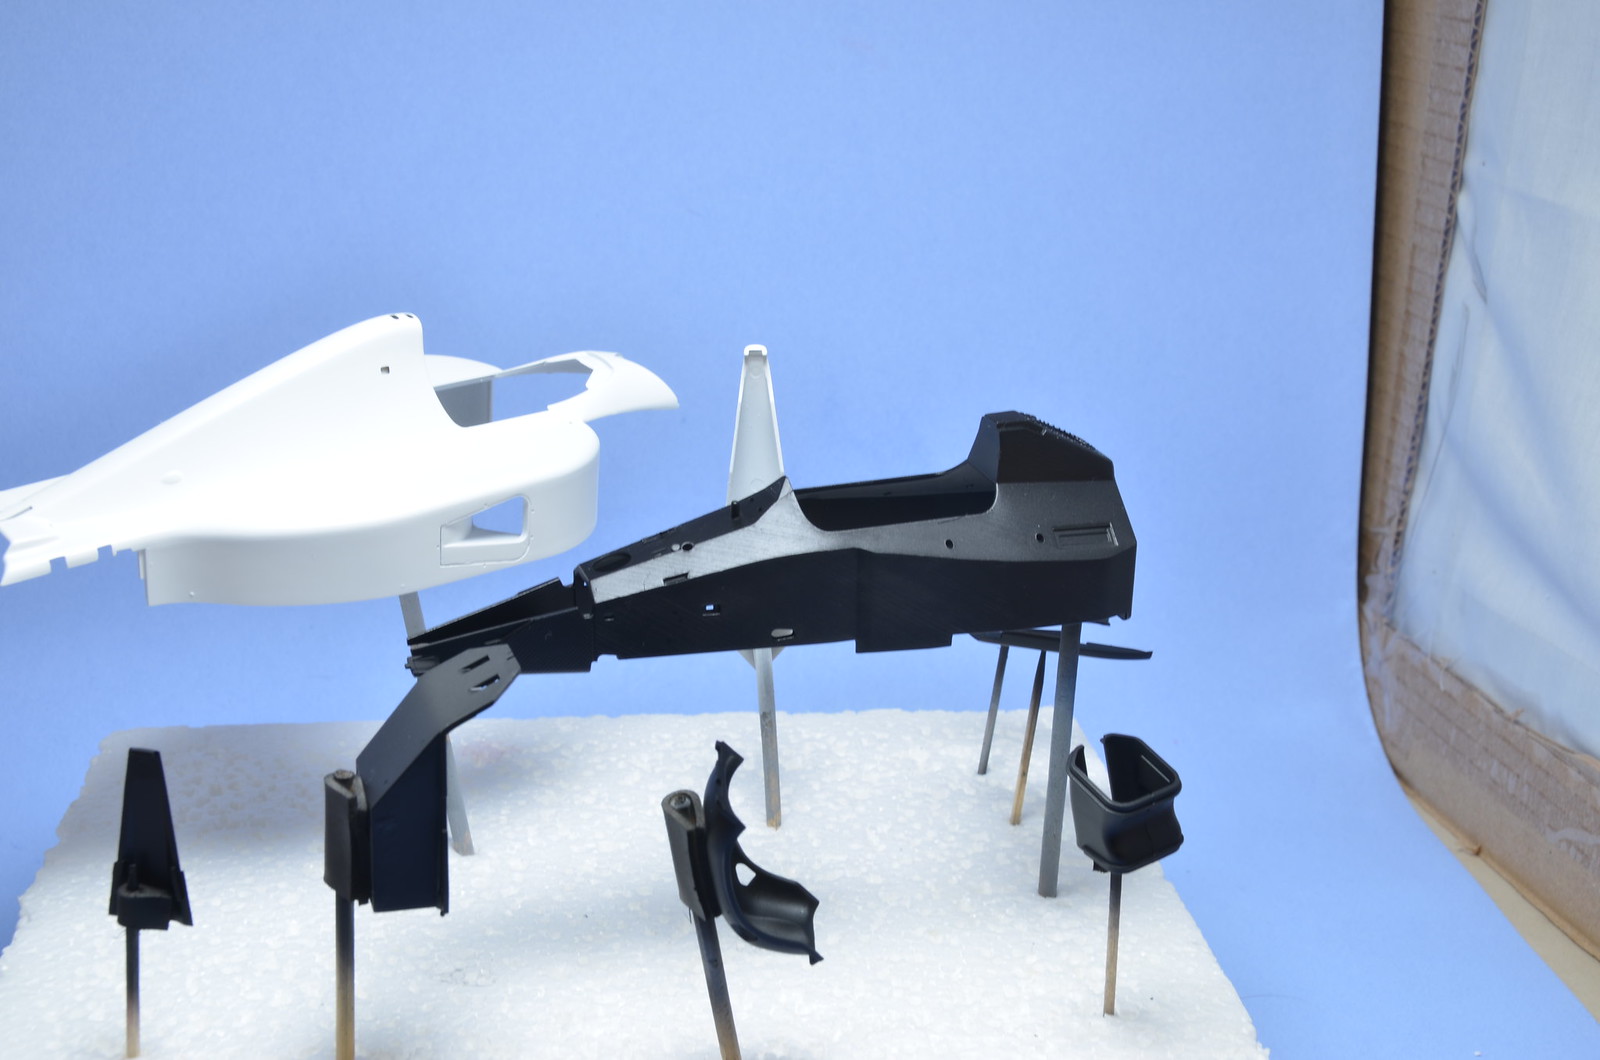
First step is traditional test fit assembly. Fit is very good on this kit.


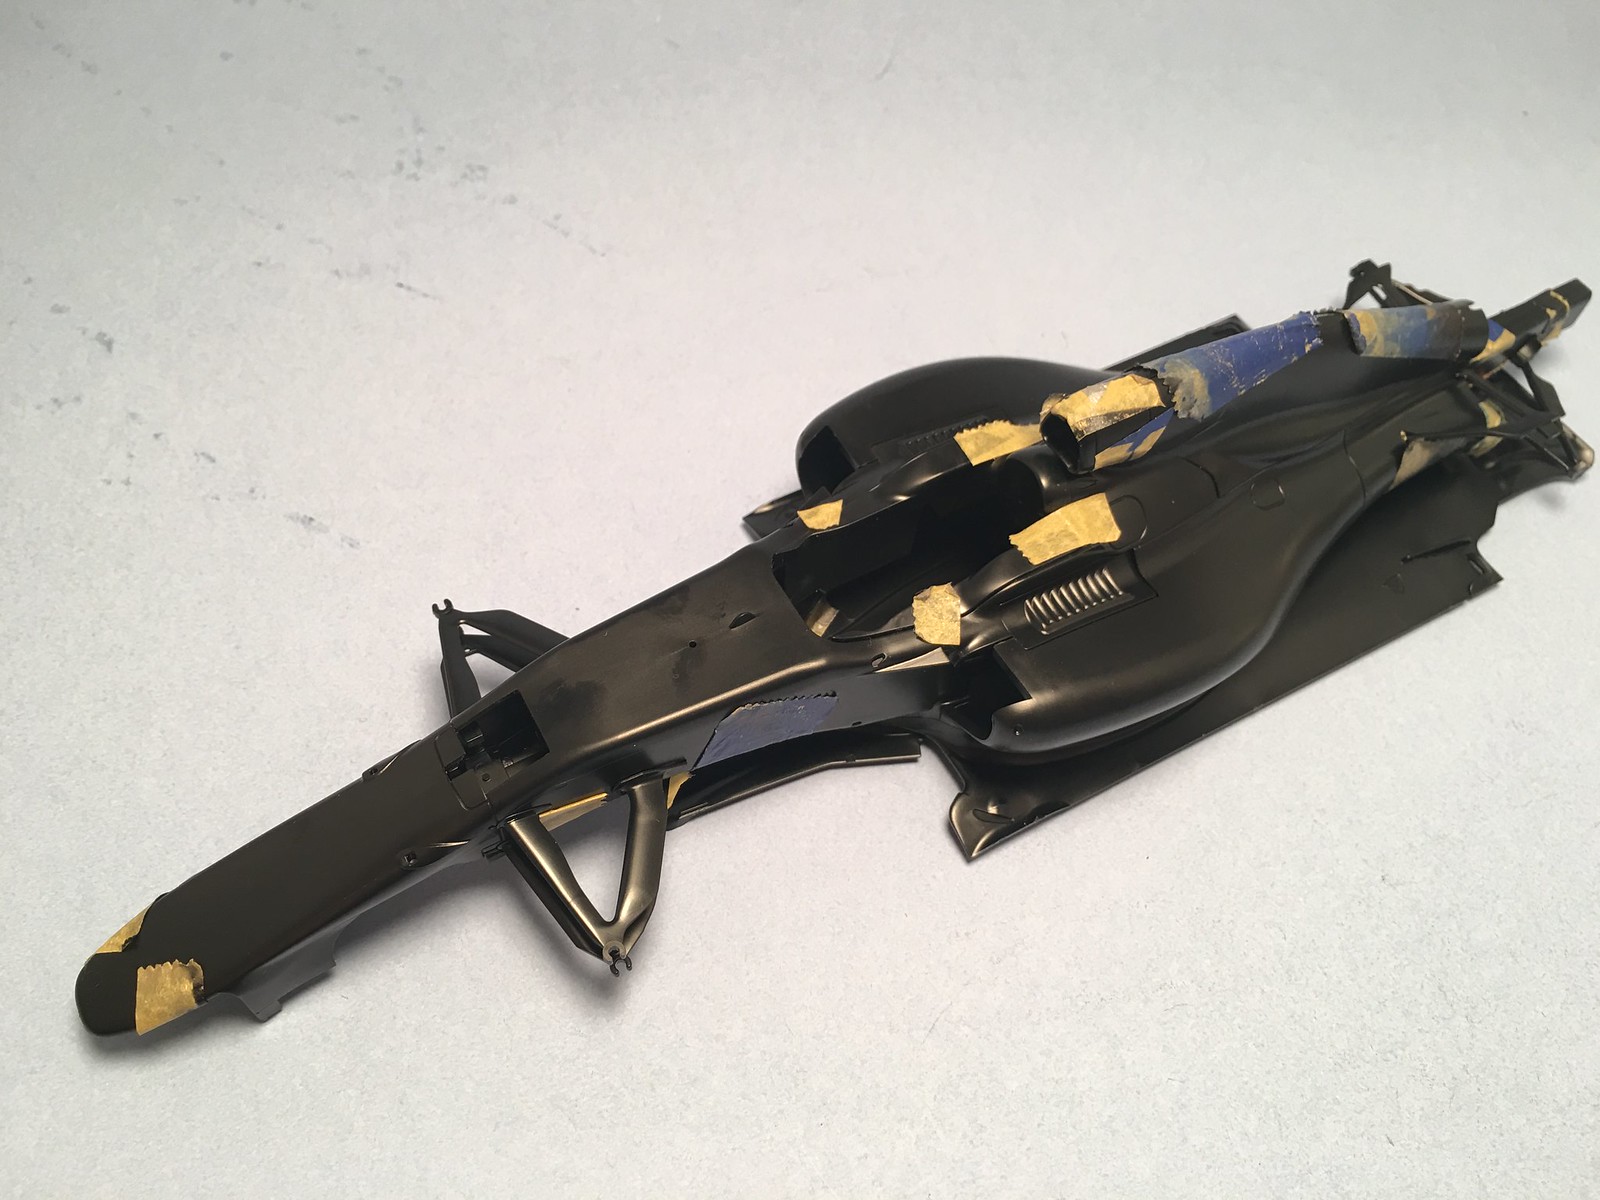
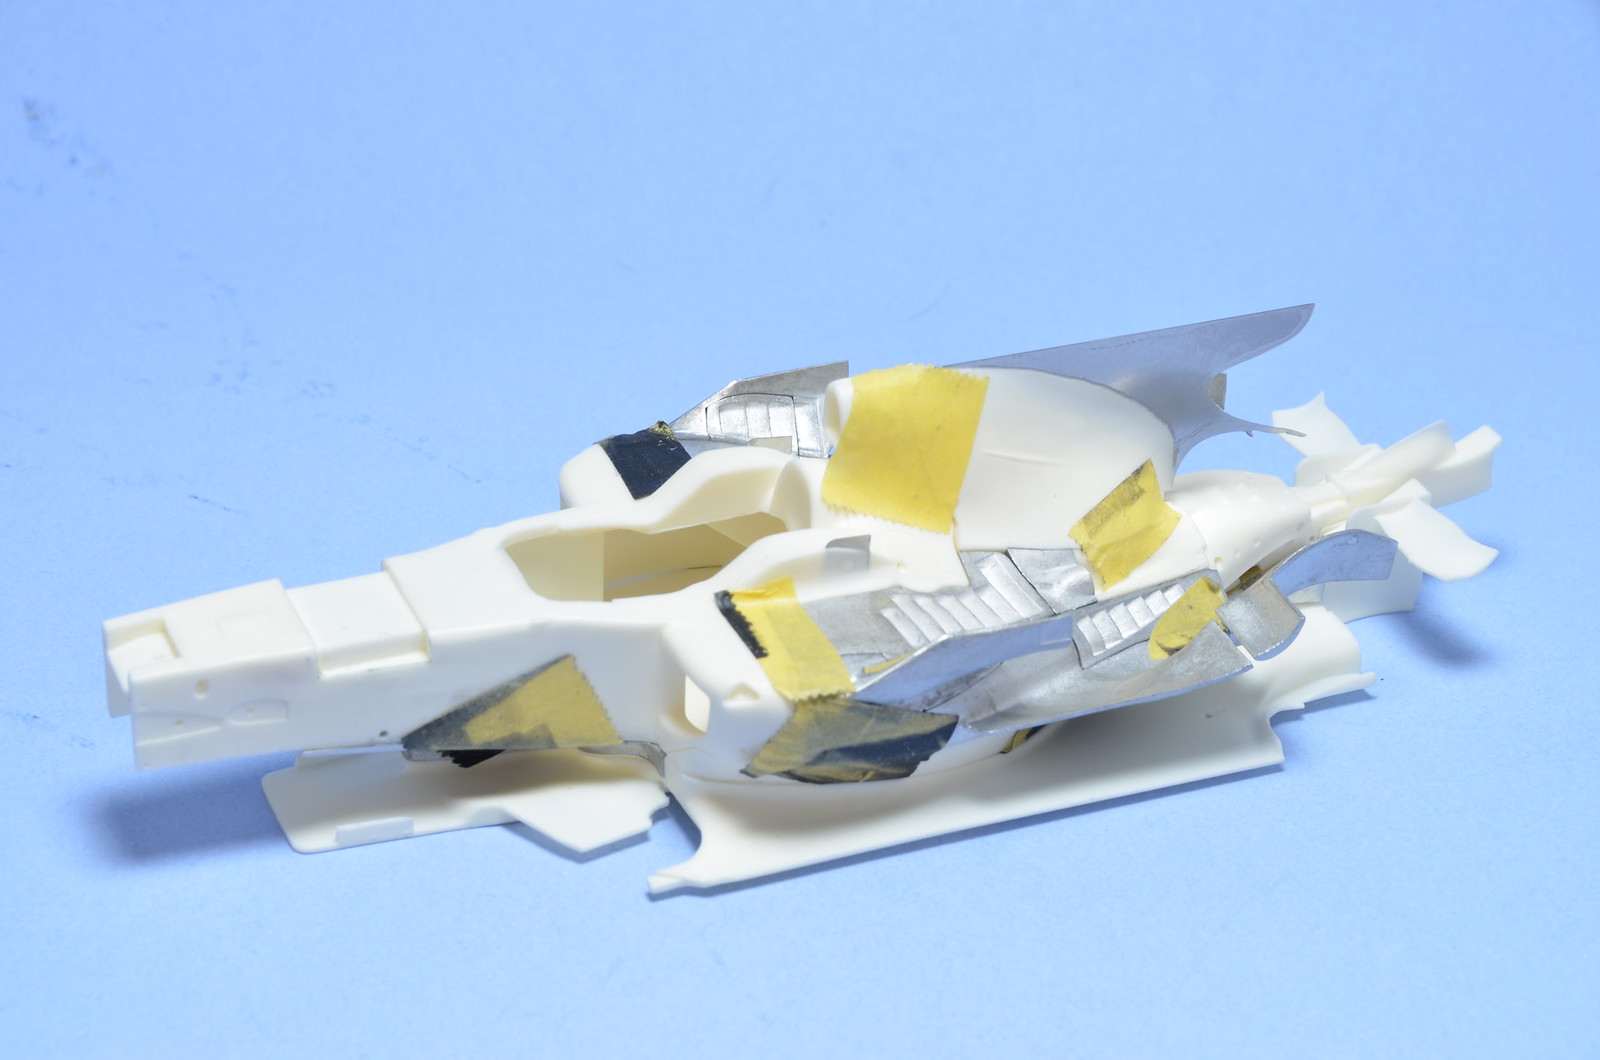
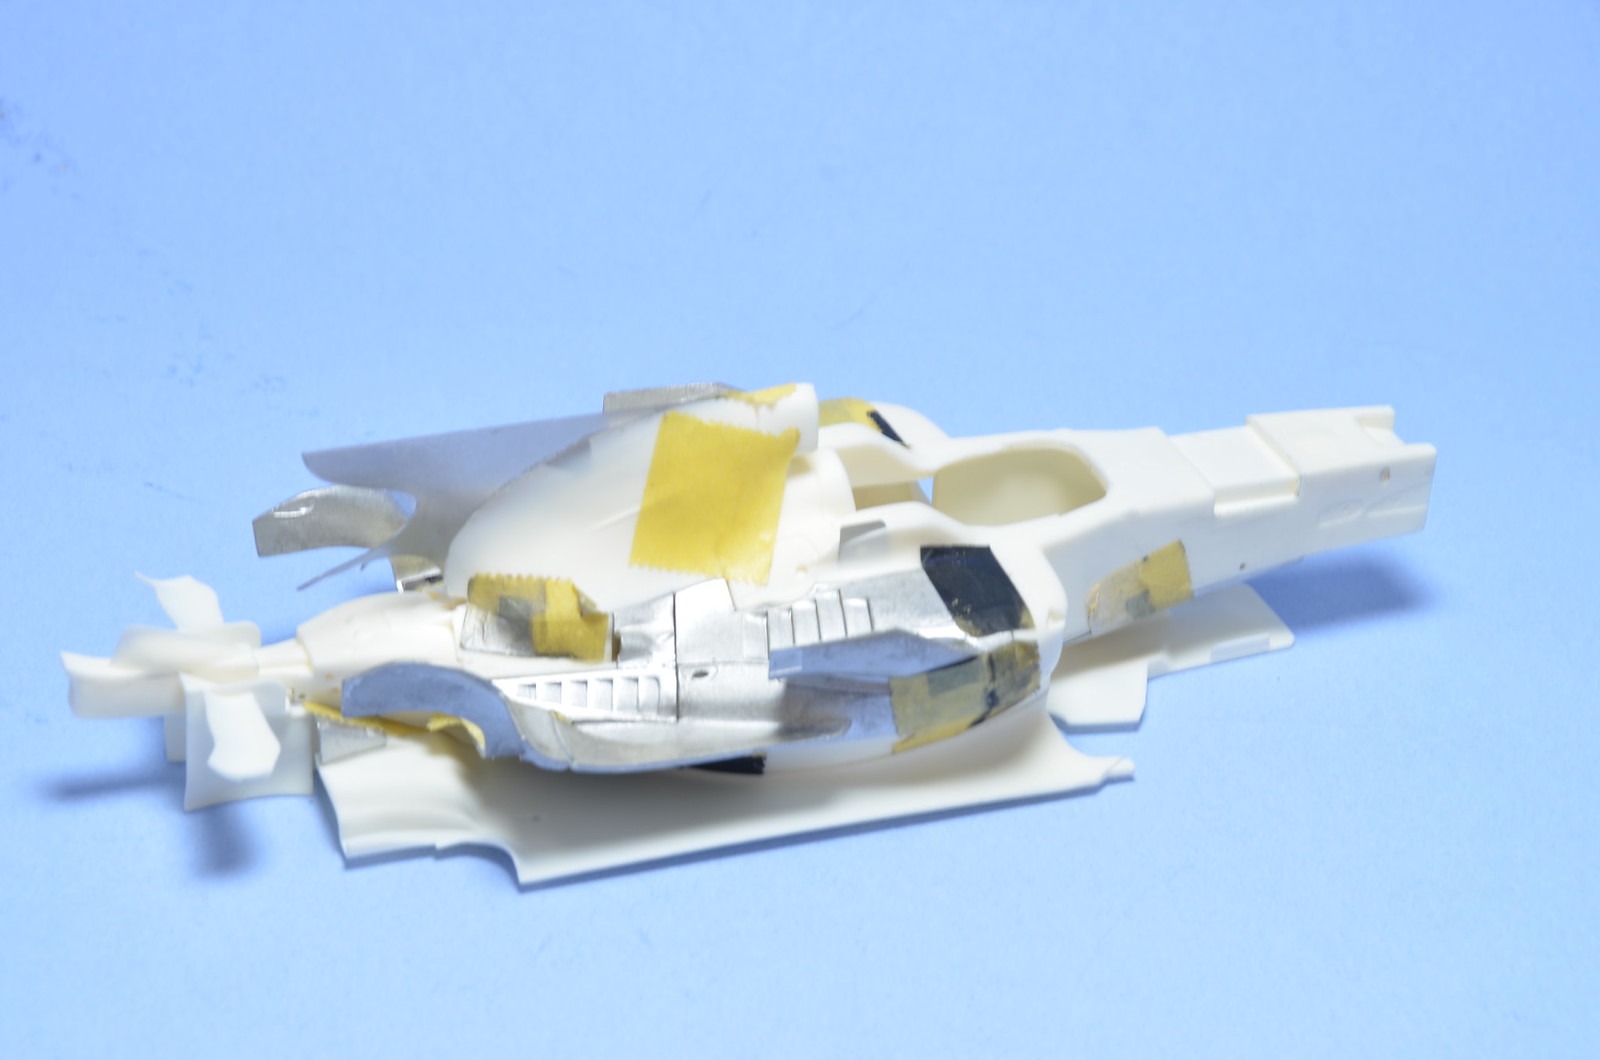
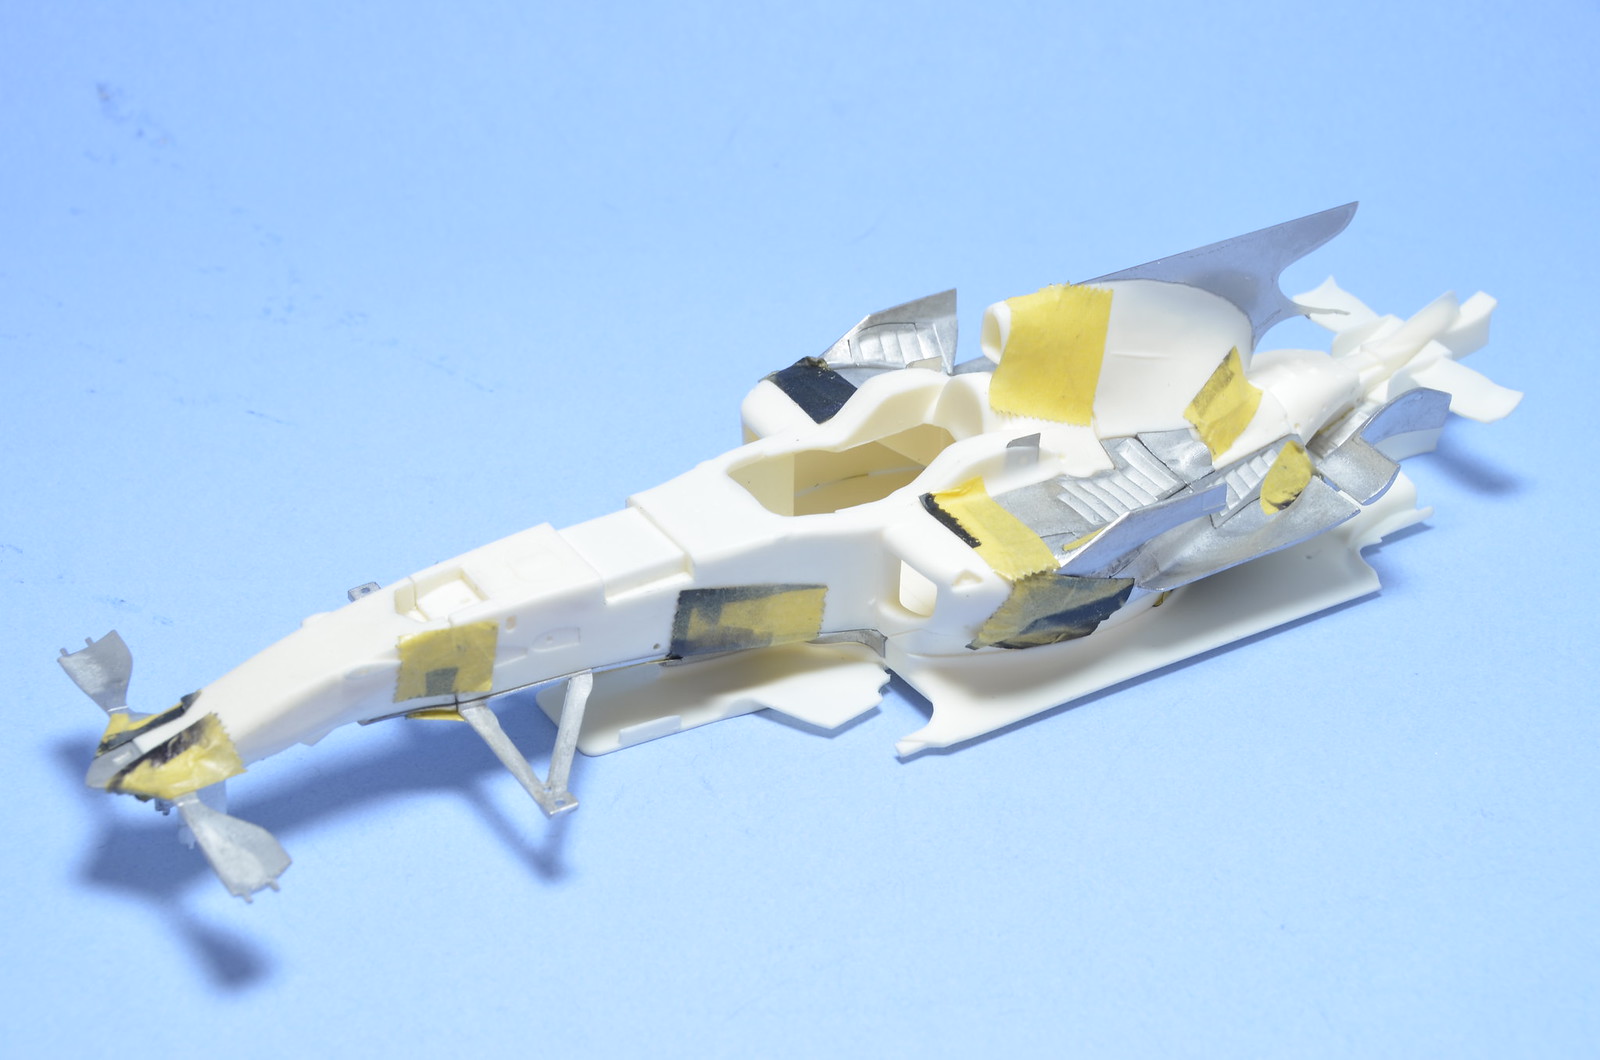
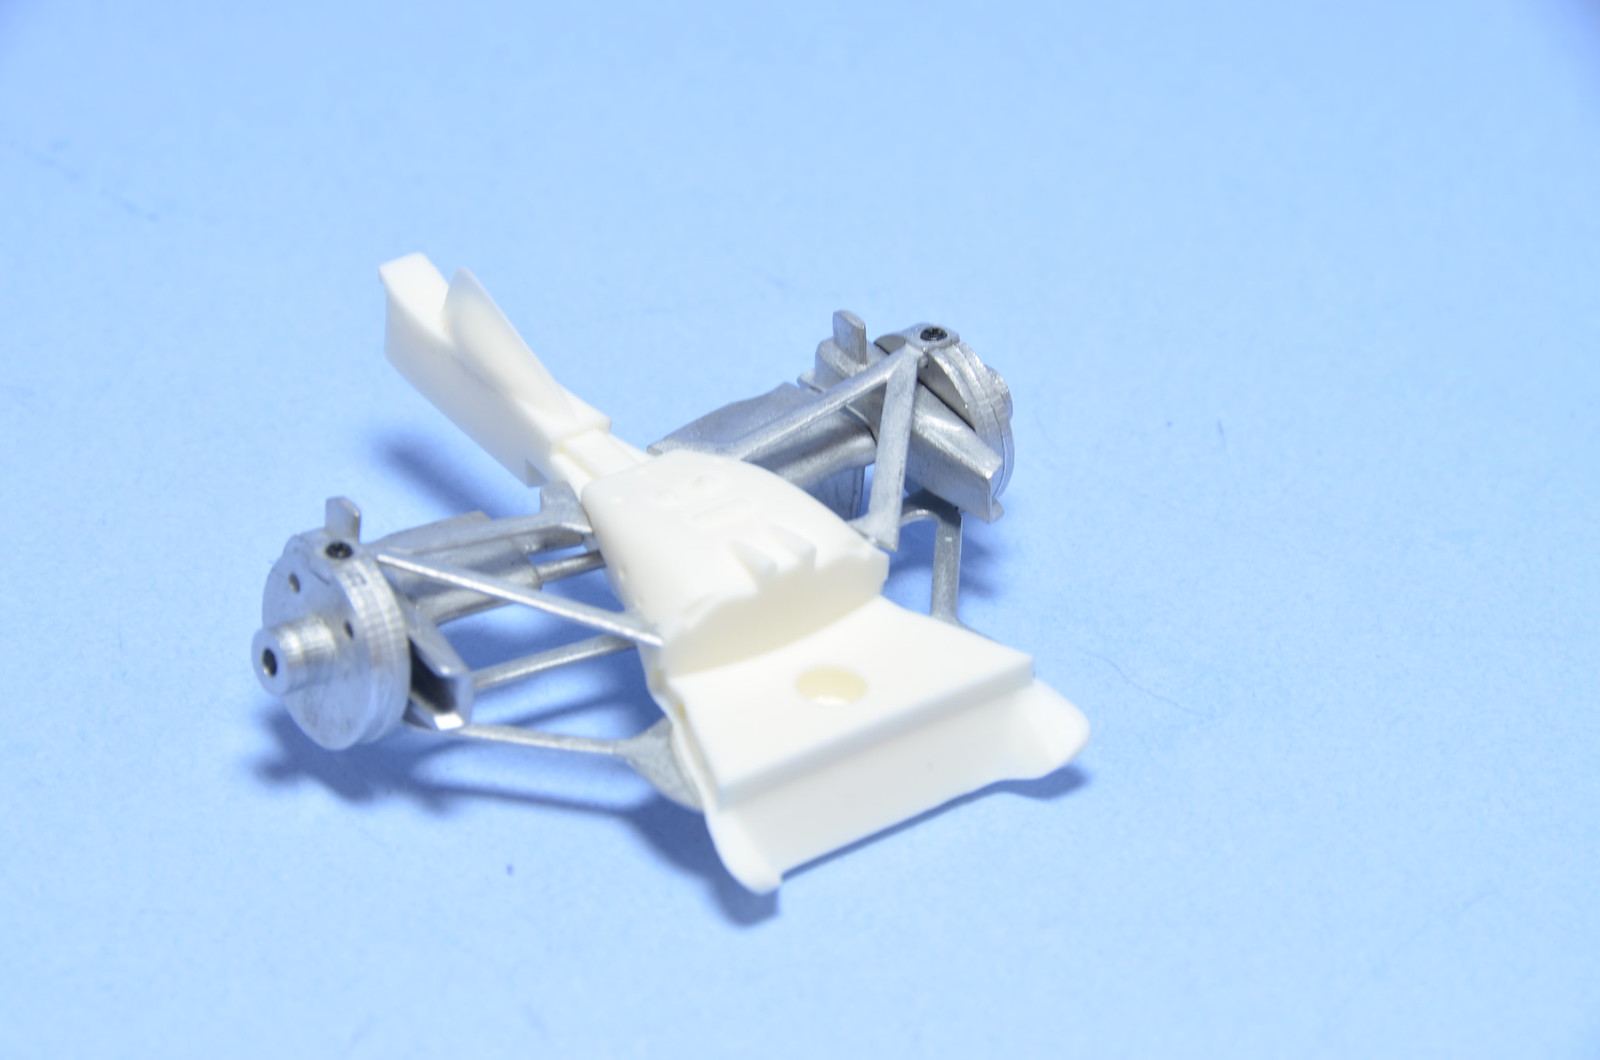
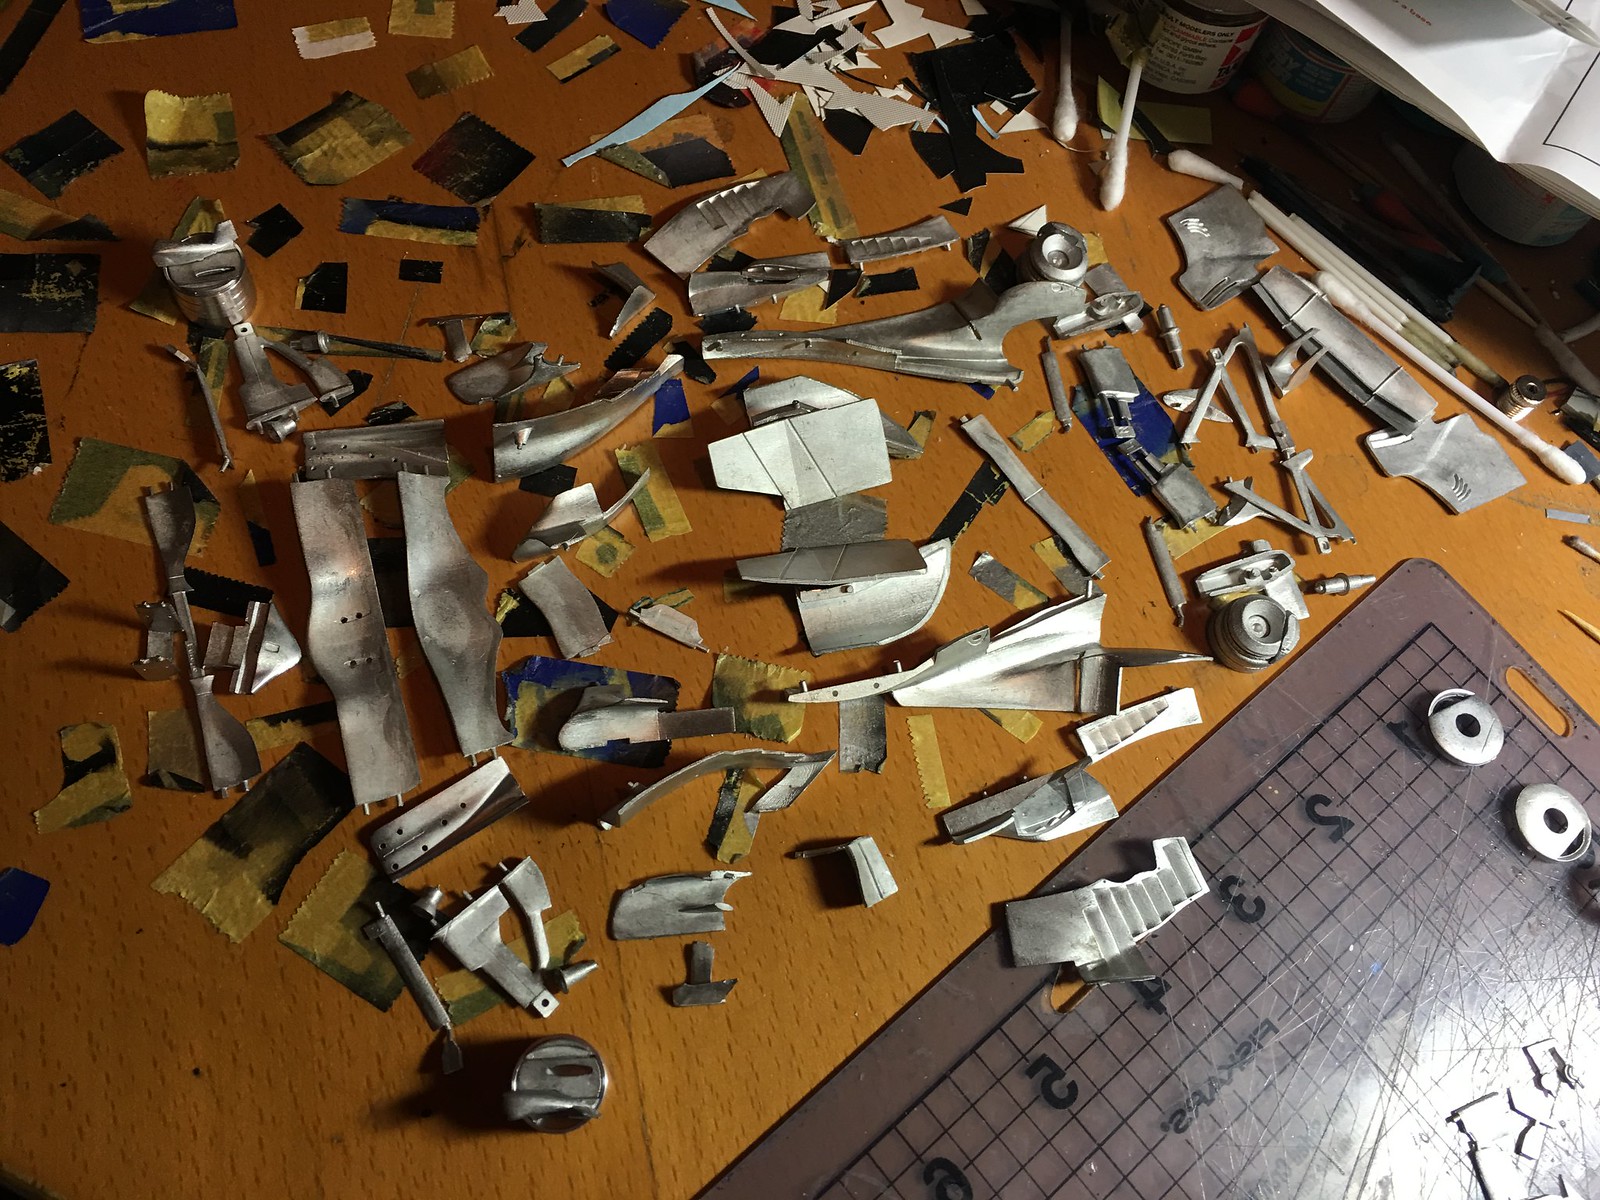
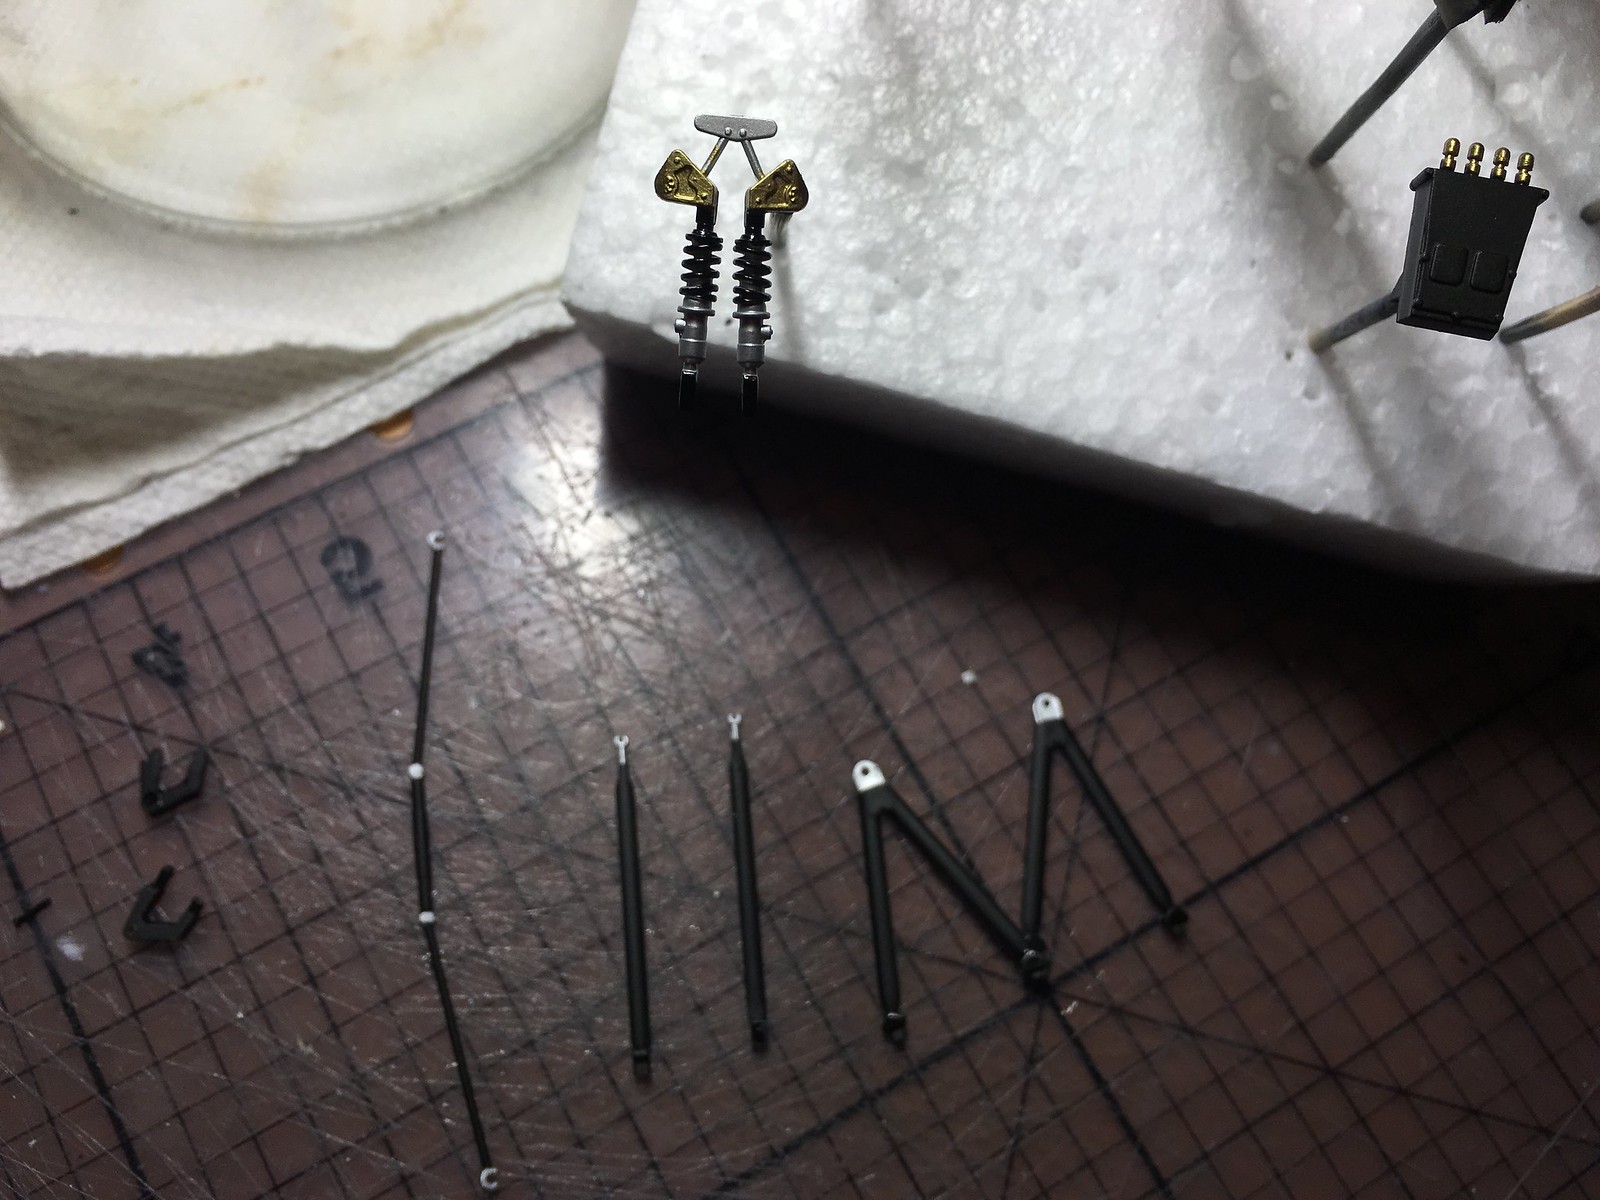
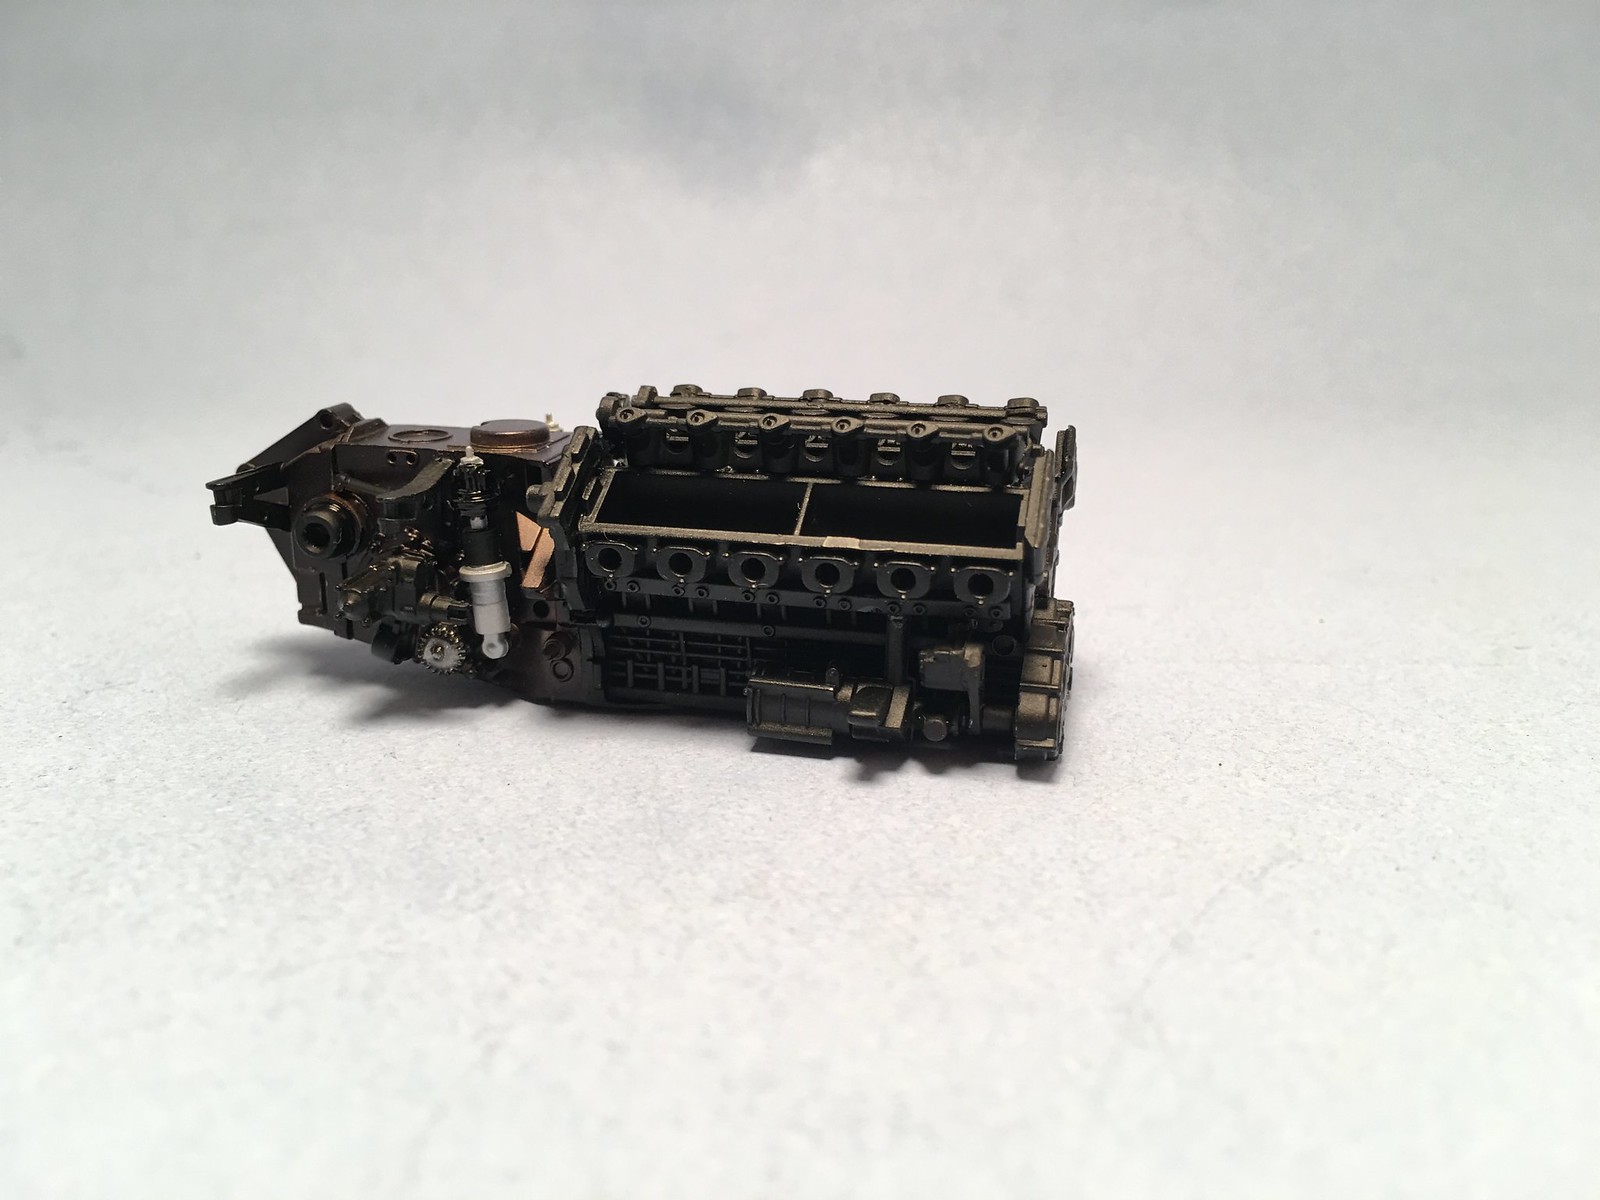
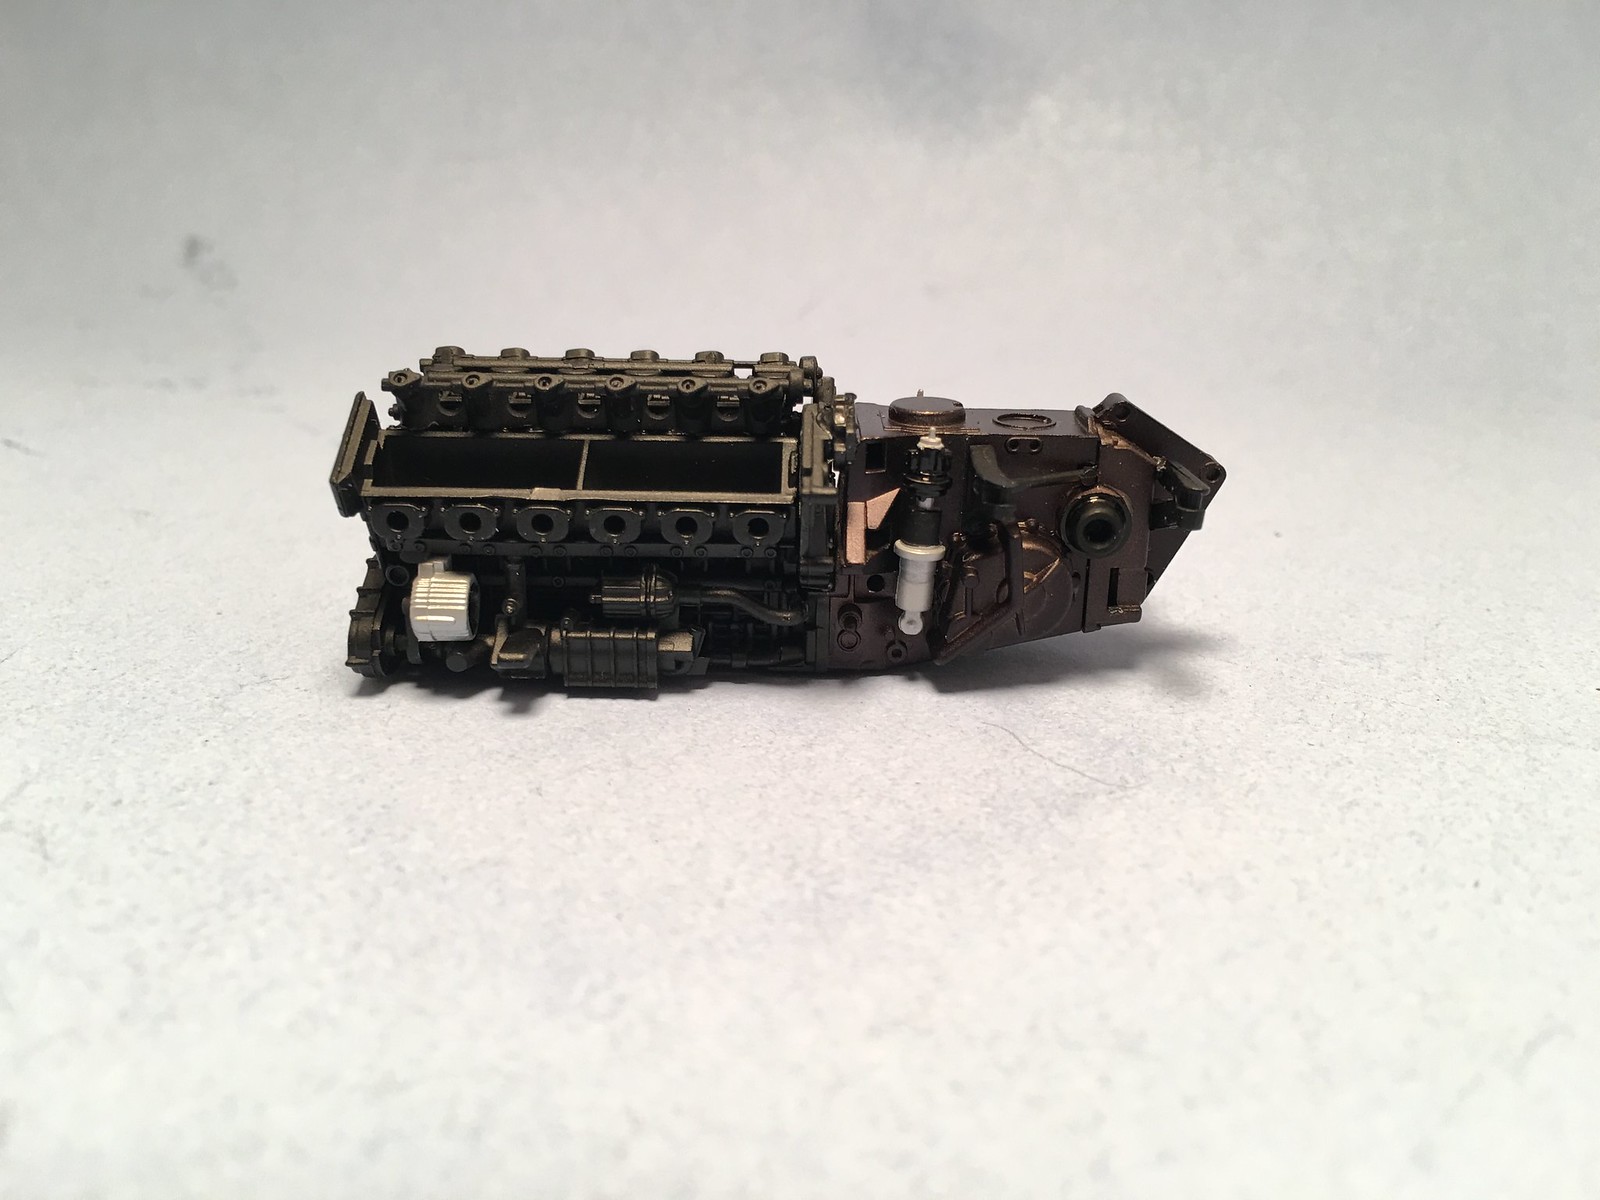
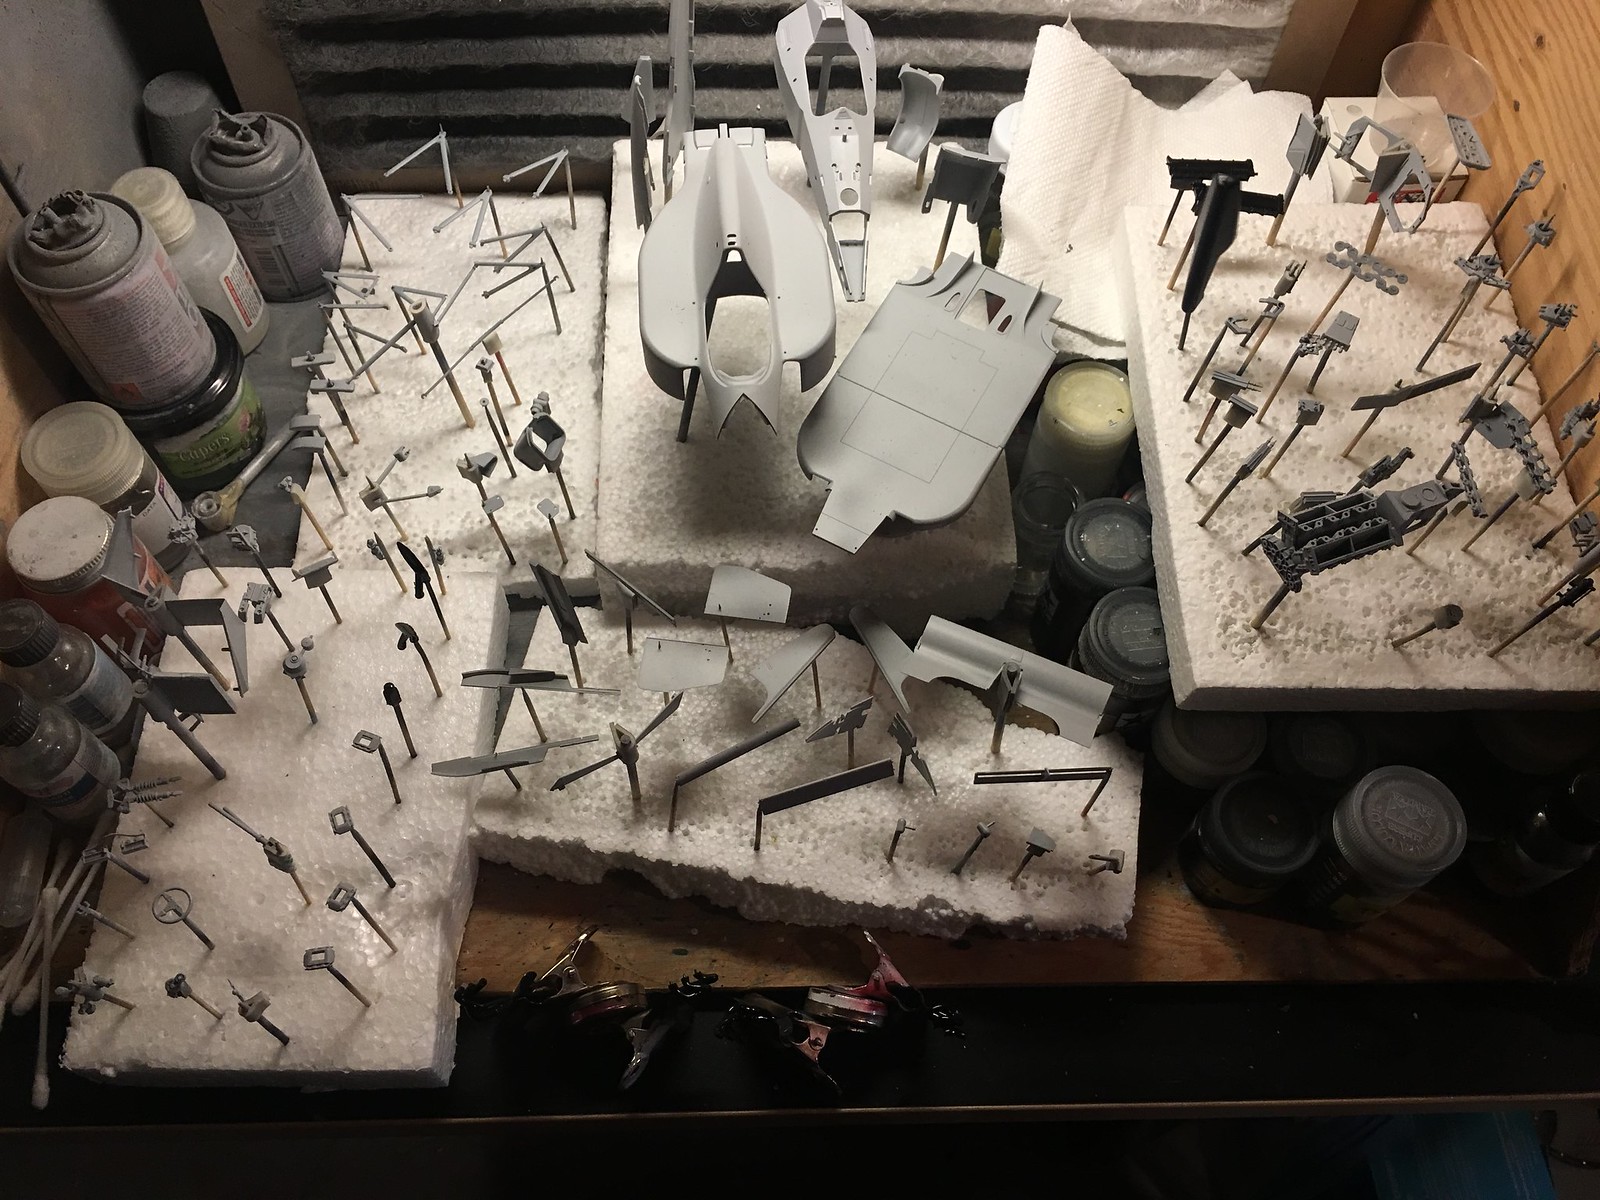
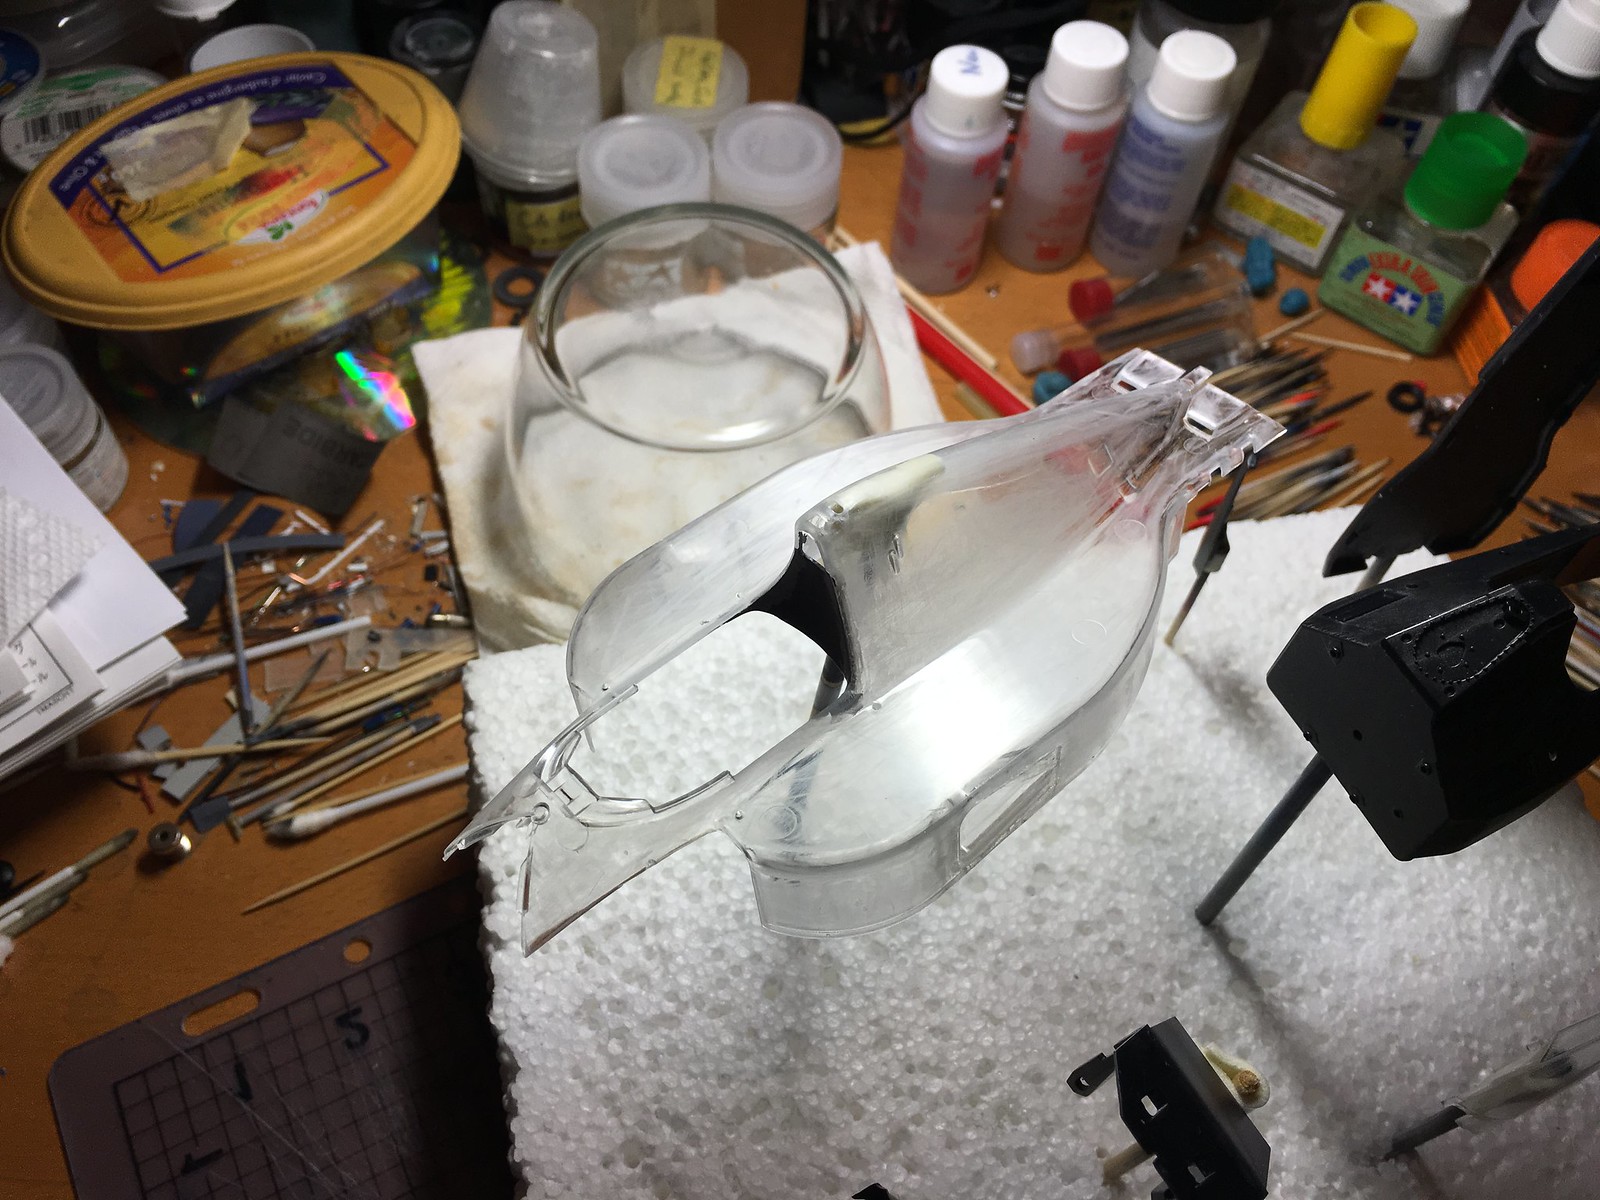
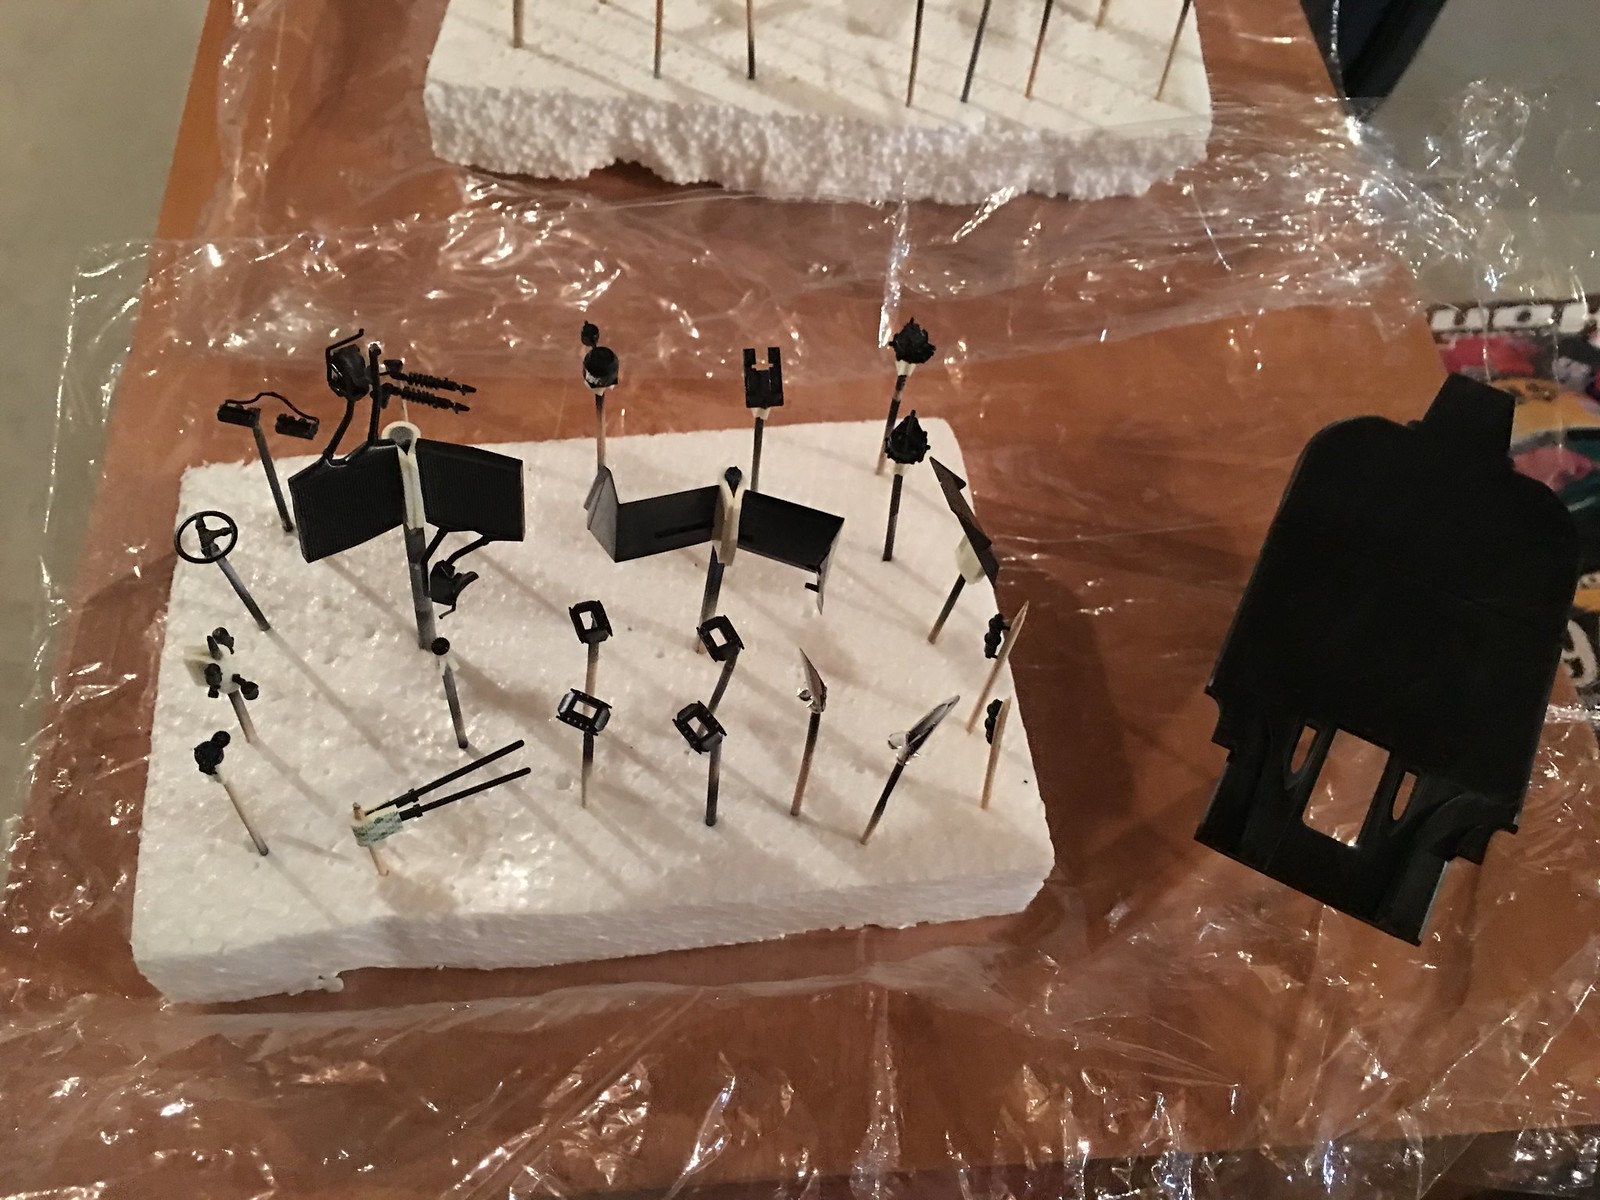
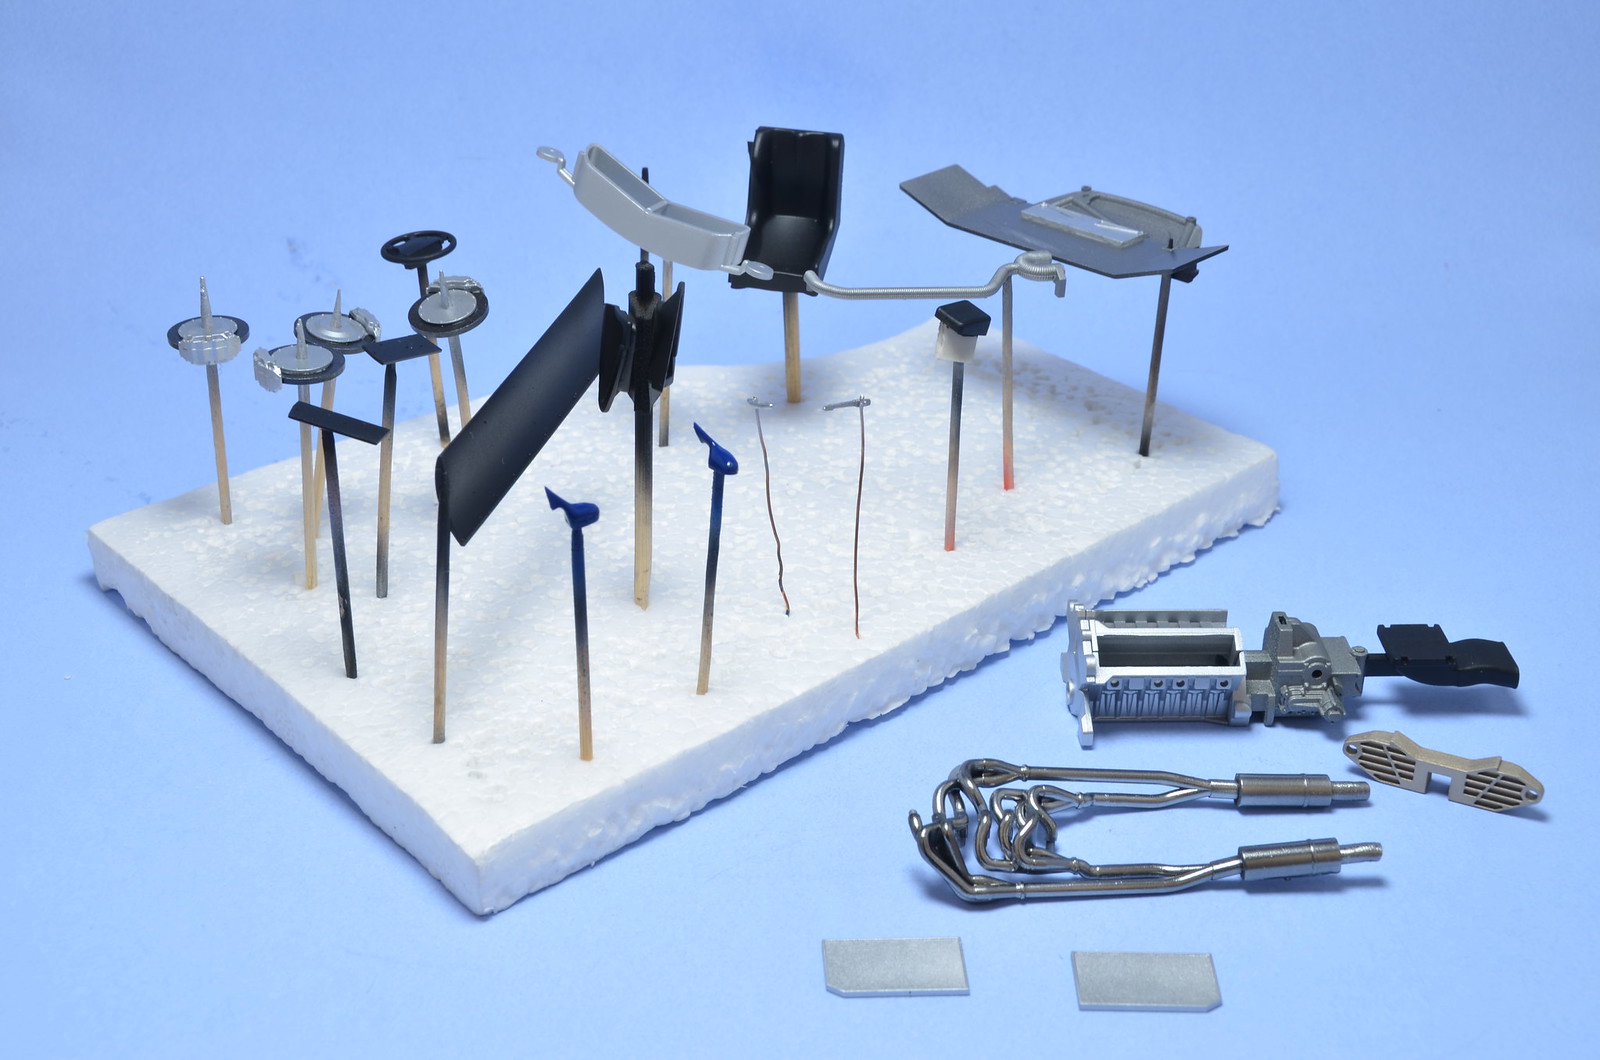
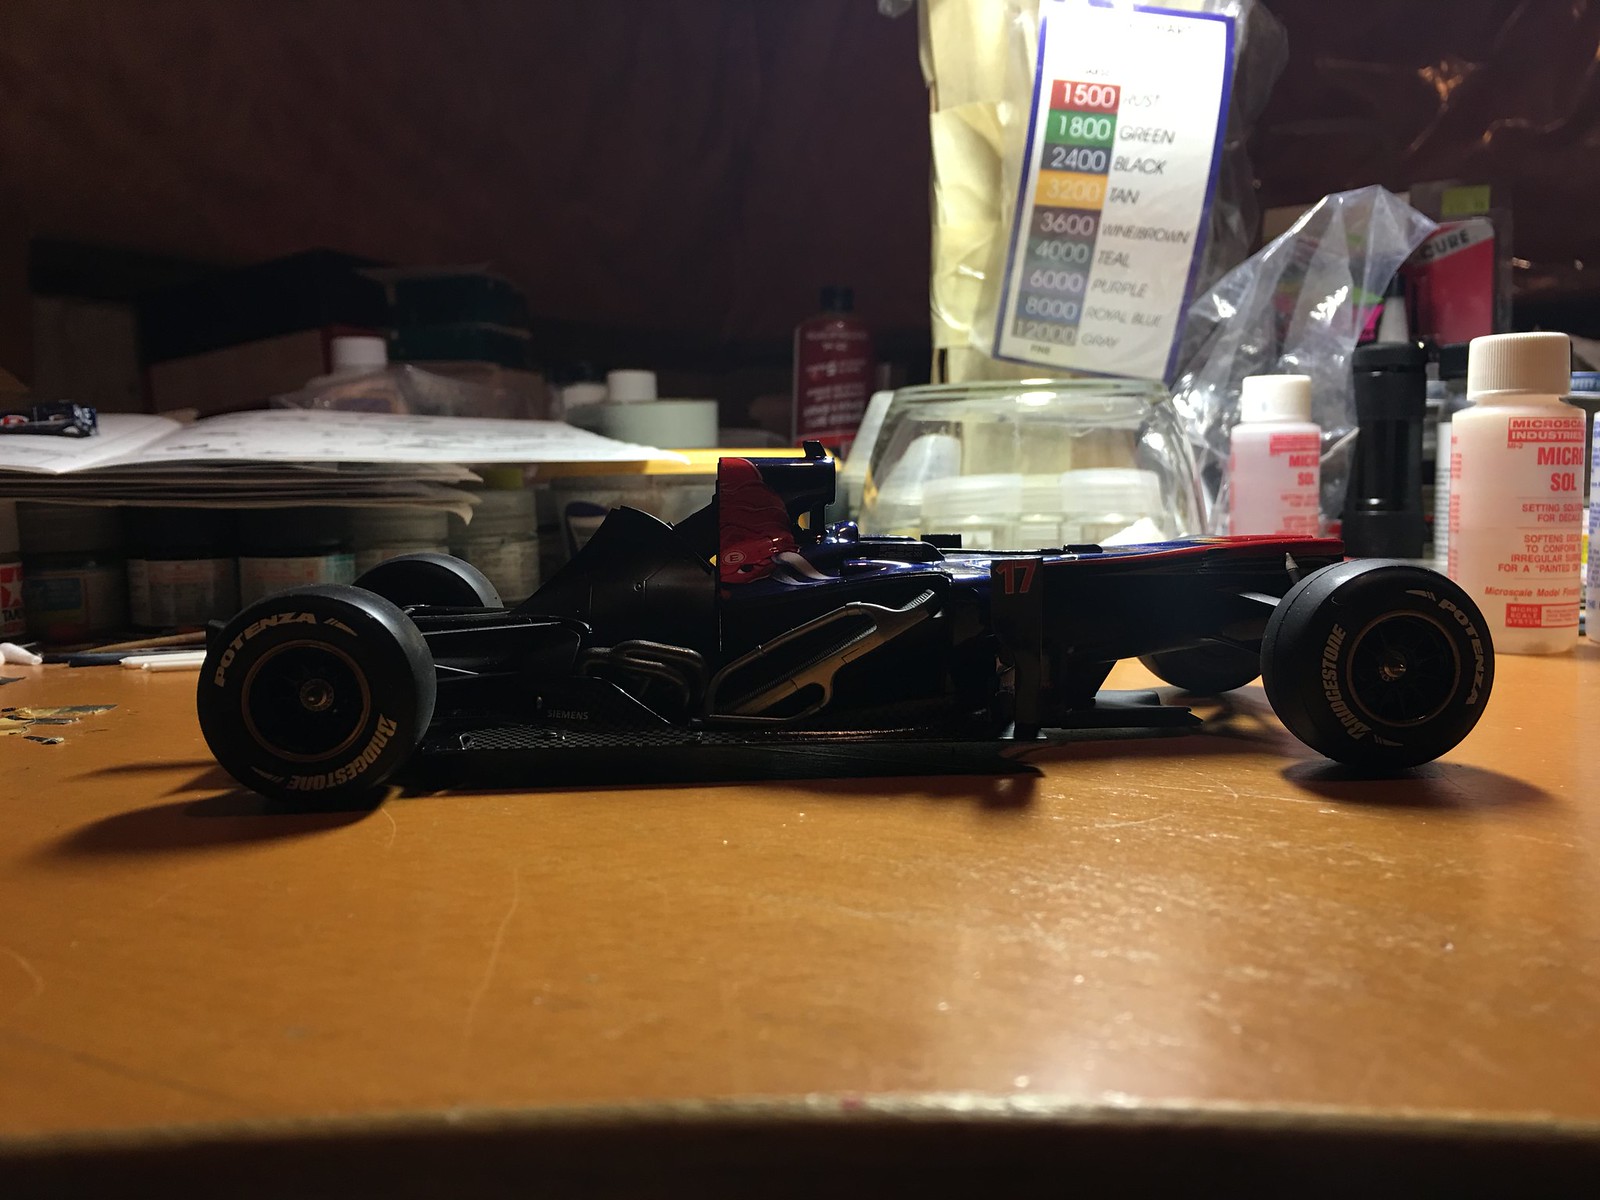
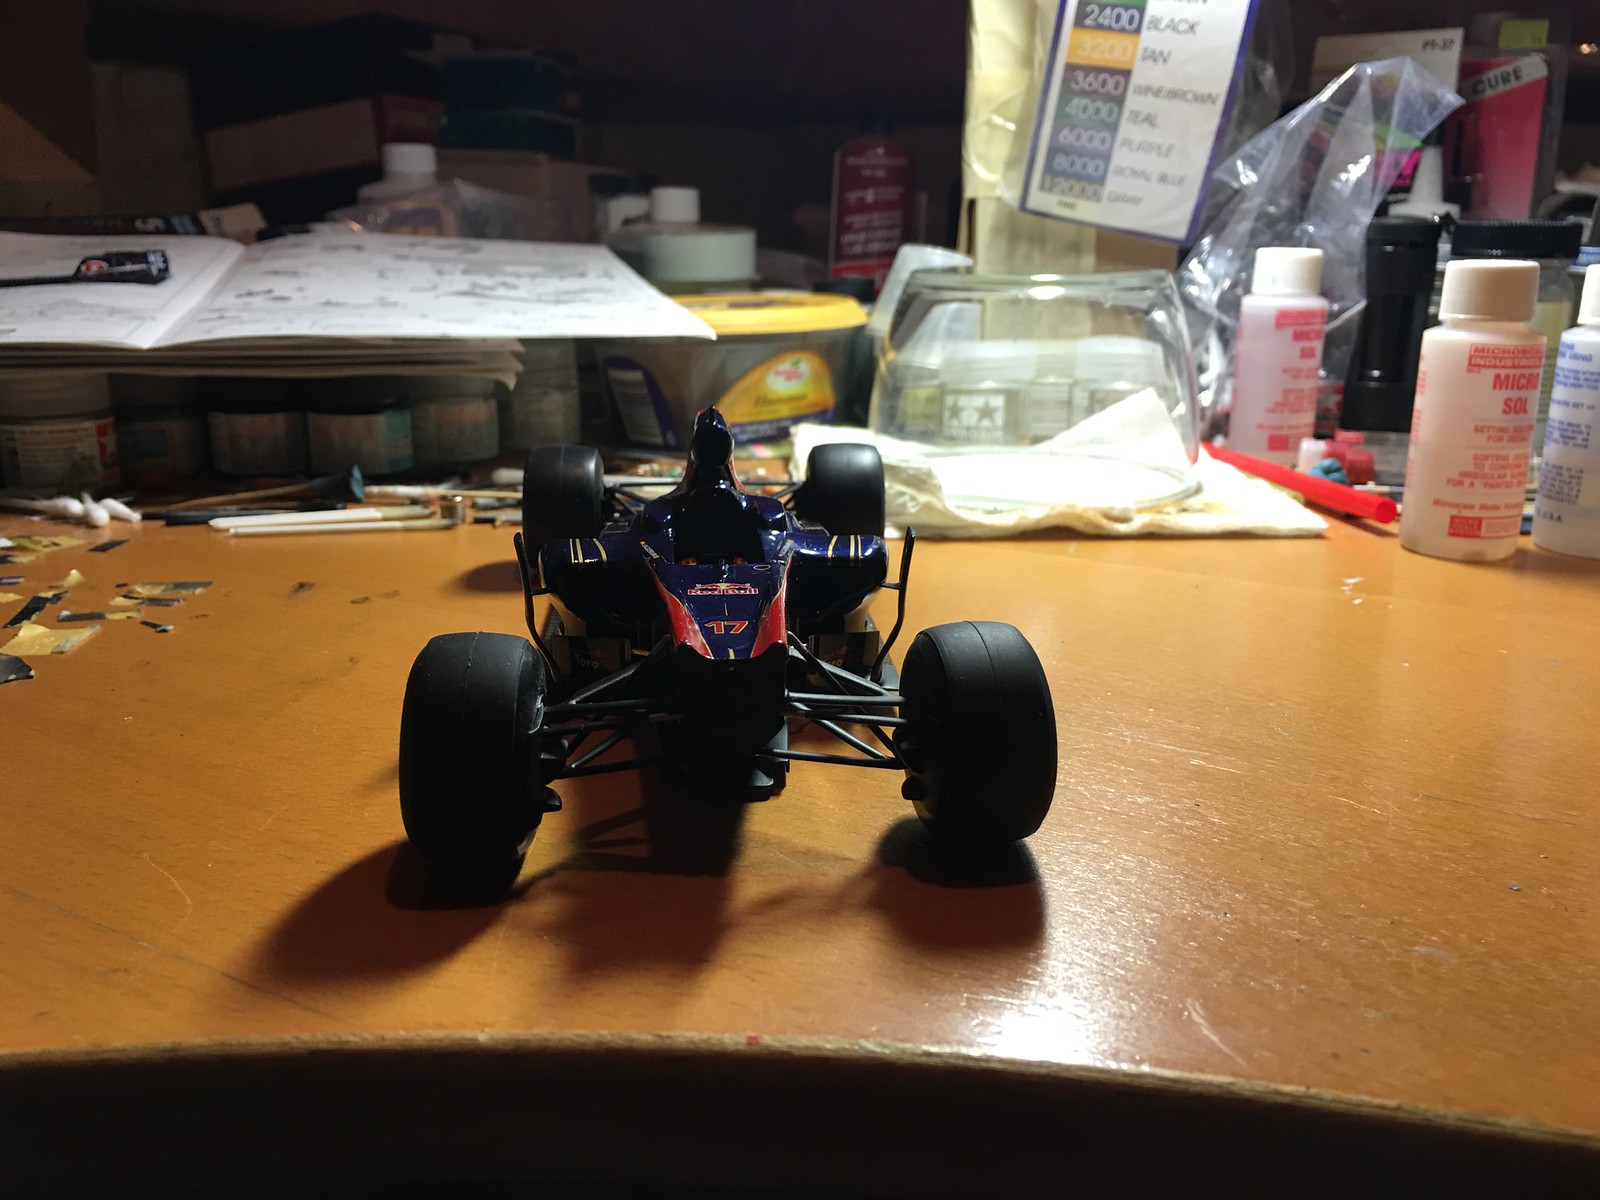
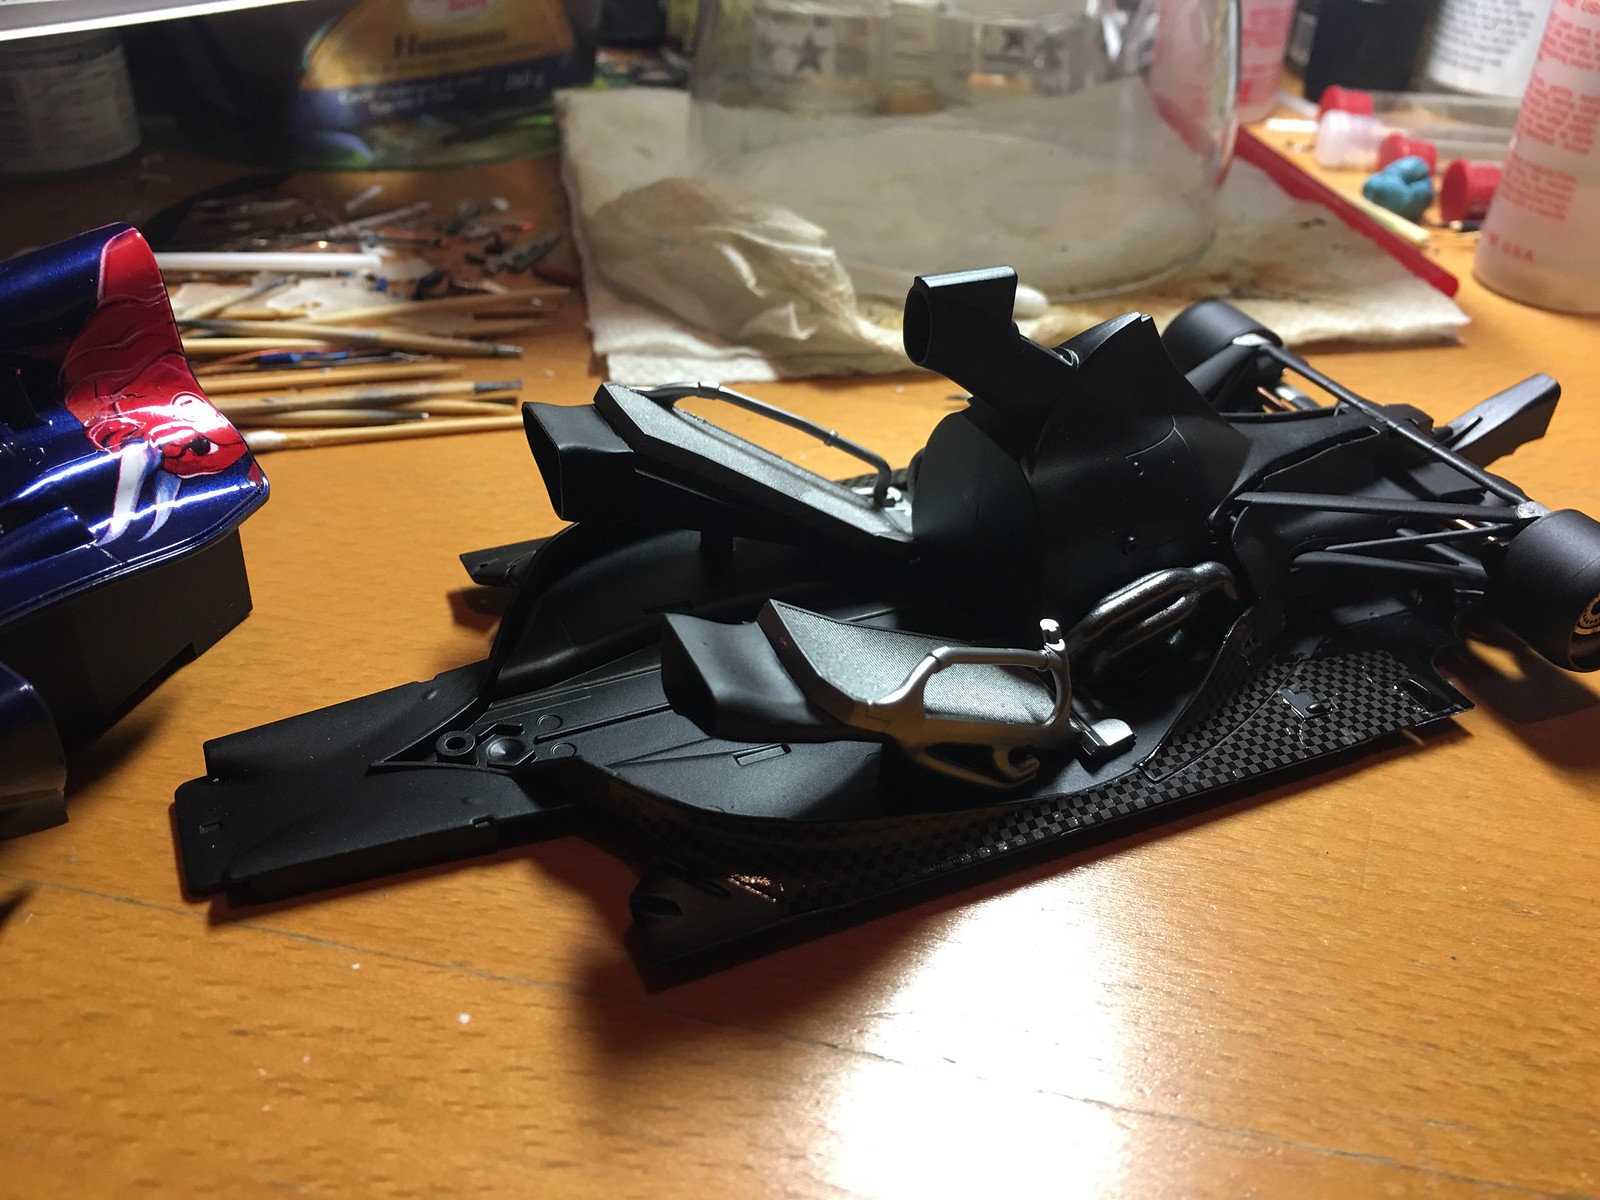
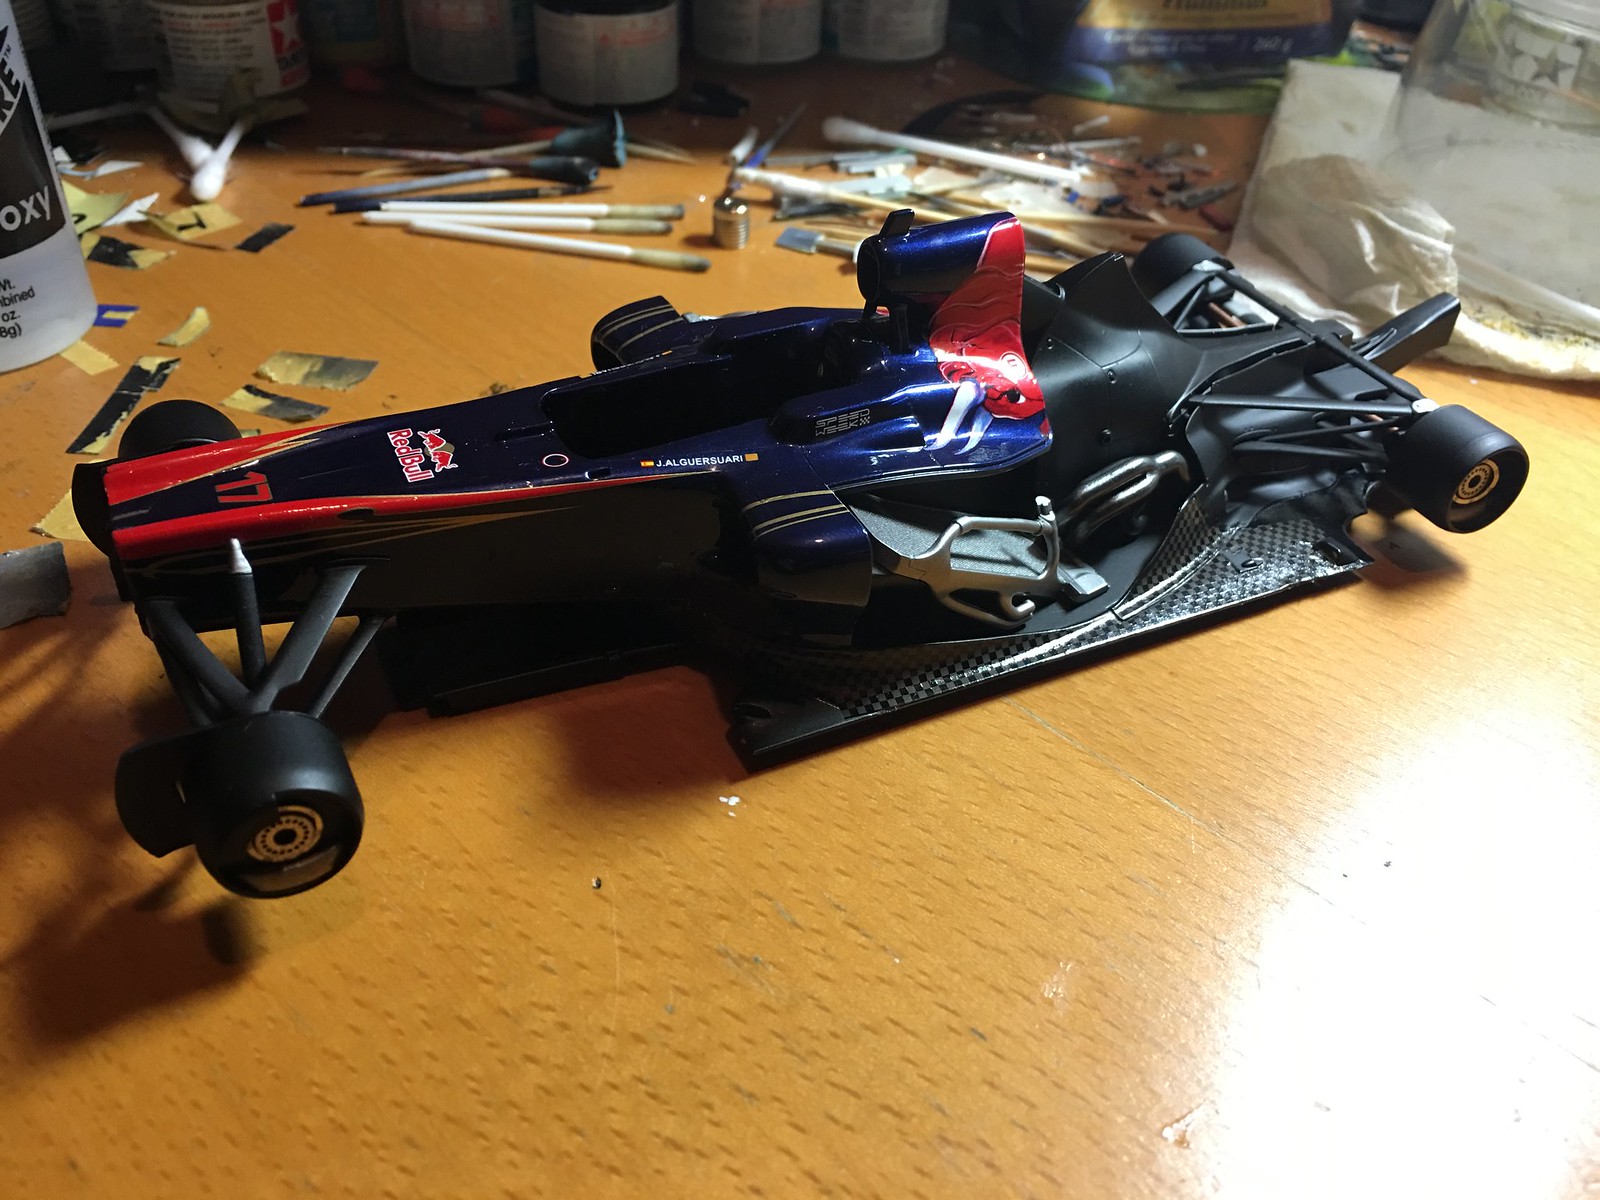
Next step was to glue together as much parts as possible before paint. Assembled floor parts, upright details, gearbox and exhaust pipe. Then assembled all body parts into curbside shell. Kit does not have any engine at all. Next step will be putting seams and injection marks and preparing surfaces for primer.
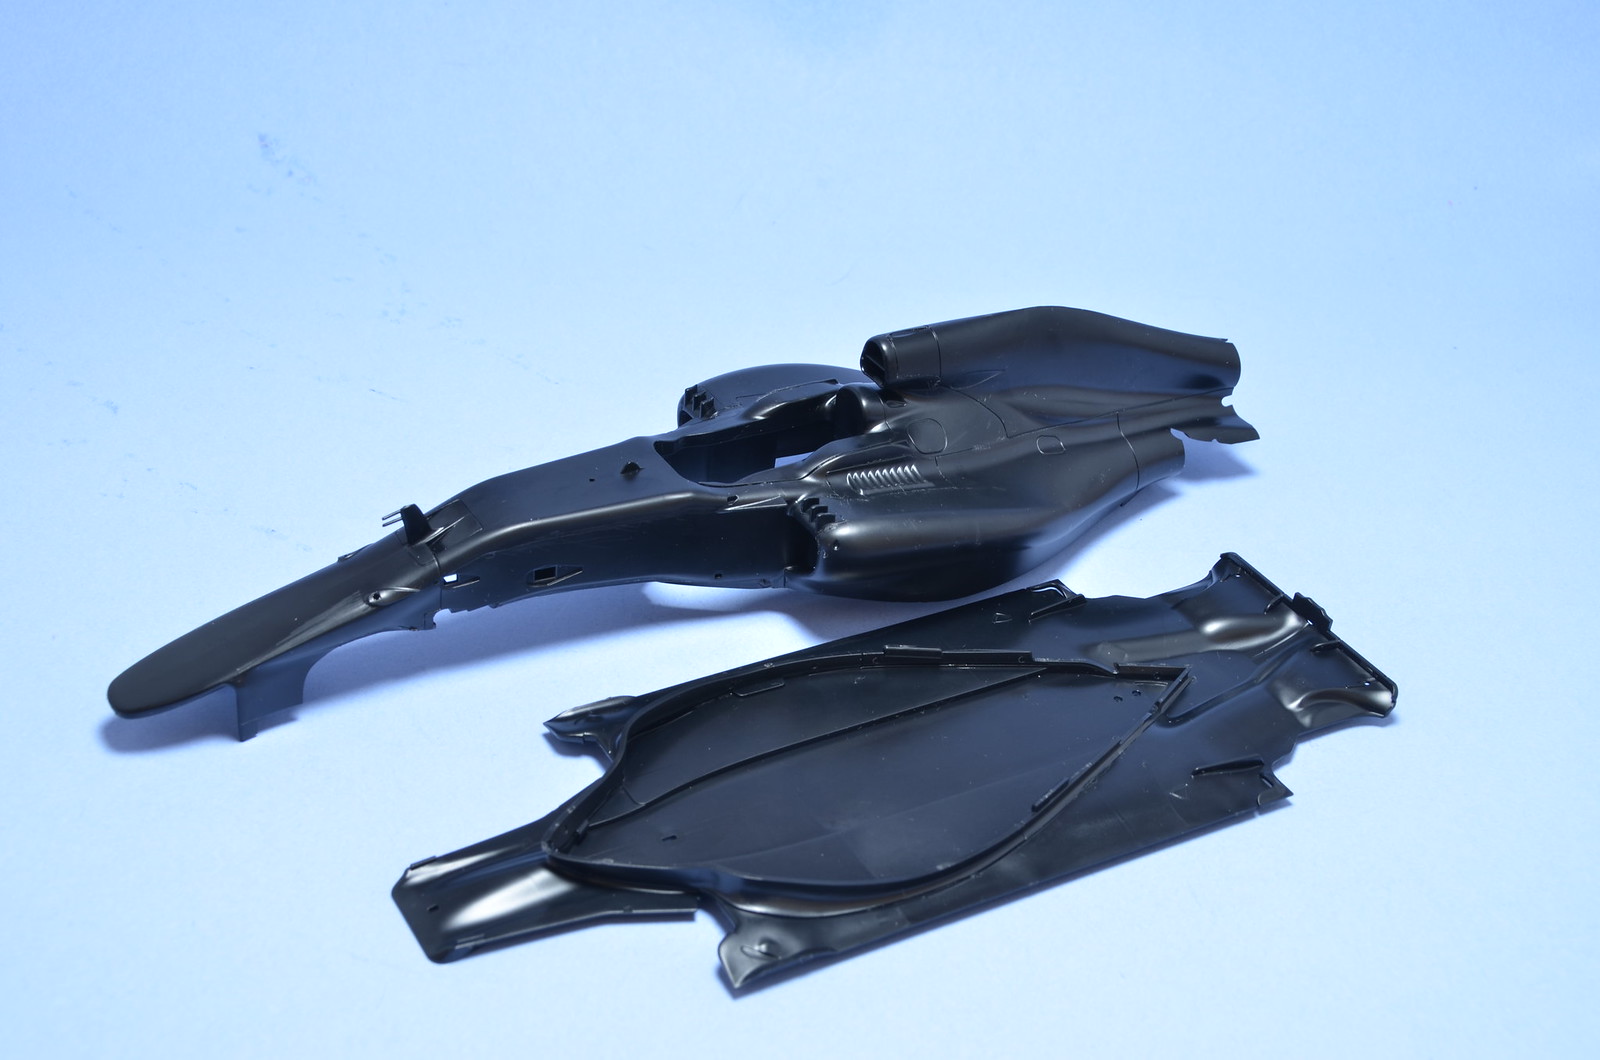

Wednesday, December 16, 2015

More test assembly steps

Continued test assembly last night. Tested wings and then turned to suspension. Alignment seems to be reasonable out of the box, however adjustments will be required. It is kind of back to MM land territory, where fit is not ideal. I am a bit puzzled with approach to rear wing assembly. While there are small tabs to help align parts, there are no pins to guide them. Also it looks like side flaps will have to be adjusted to allow a winglet at the rear of engine cover seat properly. As I've said - back to MM world where things don't fit and align that well.

For ride height check I've used Fujimi tires. Didn't want to risk destroying nicely printed logos on MFH tires. Fujimi tires are not 100% correct, but gave me ability to get rough ideas about suspension alignment and ride height.

One thing that bothers me a bit is the narrower track width at the front. From my past experience of building models of modern cars, usually track width at the front was the same or wider then that on the back. I wonder if it was something specific for that year or for this car.


Sunday, December 13, 2015

Test fit assembly continues

After fit of diffuser parts and rear crash structure was improved best I could do it, I continued with body panels. Fit is not perfect and I intend to improve it a bit, but it is actually pretty good. I was a bit surprised on how well engineered kit is, but it is MFH kit, so somewhat expected. After Studio27's kits, this one feels much better. Next area I've tackled was nose. Again after a bit of sanding and trimming, parts fitted well. I will have to sand more to eliminate small steps, but it'll be done after I glue parts together. Also worked on fit of the middle bottom section. Some trimming helped there as well. For the moment nothing is glued yet, all is mocked up with use of Tamiya masking tape. It looks a bit weird with all different materials and tape on the parts. When primer will go on, its beautiful (imho) shape will start to show.

PS: I happened to have F60 model seating beside my photo booth and when I glanced over, it looked like there is some family resemblance. But another strange thought crossed my mind - why Tamiya decided to do not very successful F60 and passed on quite successful and imho more beautiful F2008. Go figure.


Test fit assembly started for F2008

Started first test assembly and clean up steps. Rear suspension came together pretty well. But very next step - mating rear parts of diffuser with floor and rear crash structure immediately provided first challenge. Have to work quite a bit on parts to get better fit. Some sanding and scribing was needed to improve it. There will be many more, I'm sure, but it is a labour of love for me, because I have so much passion for the car.


Friday, December 11, 2015

F2008 Brazil Kimi started

Started my discovery pre-test fit assembly for recently acquired MFH F2008 kit. Because of the complexity of this kit, I need to do an extra pre-test fit assembly, basically to figure out where parts go and how kit goes together in general. Next I will start actual test fit assembly, when I'd be drilling holes, cleaning up parts and even gluing some together as needed. Main concern at present is to work out an assembly sequence that will allow me to glue as much parts together as possible before painting. I also need to figure out where there are actual seems on real car and where I need to putty in seems non existent on real car.

Real car was very sophisticated and refined and model reflects it. It has quite a high number of parts for curbside kit and assembly looks quite complex. Interconnection of different parts is tricky as well.


Sunday, December 6, 2015

Small progress

Didn't have much time this weekend, only small update. Continued assembly of engine/gearbox accessories and started assembly of cockpit items. Fit is better for cockpit parts. Also test fitted HD brakes and modified wheels to accept them. Detail painted steering wheel and switches on side panel for cockpit. And attached electronics boxes to side pod panels


Monday, November 30, 2015

Assembly started

Small update. Brush painted some detail on suspension elements and started assembly steps. Engine/gearbox assembly first. I'm already frustrated a bit. It looked like a great, well detailed kit. Yet Fujimi engineering level lets it down again. They are still far from Tamiya in that. Again fit of the parts is not perfect. Many detail parts have quite small attachment surfaces and don't want to glue well with plastic glue. Alignment of suspension parts is not well fixed and there is real chance I will end up with misaligned suspension arms. Of course all could be probably worked out with extra effort from builder, but it drives me a bit mad at times.


Sunday, November 22, 2015

Started colour painting

Completed couple more painting sessions over the weekend. All parts that required semi-gloss black are painted - floor, monocoque, seat, engine and wing elements. Painted various Alclad colours on suspension and engine parts. Radiators, brake calipers, shocks and many other parts are painted as well. Body and wing parts received coats of white primer in preparation for base white and fluo red.


Wednesday, November 18, 2015

Primer is on

Had a long priming session last night. All parts, I was able to clean and mount, are primed. Some very small parts remains to do. Will let parts dry and then start painting on actual colors. Body will need more work around glued in headrest. Then body and wing parts will receive white primer coats, before base white color could be applied. Here is quick shot of parts drying.


Monday, November 16, 2015

Almost ready for primer

Spent weekend cleaning up and mounting parts on toothpicks and sticks. Almost all are mounted by now. Few wing parts just wouldn't glue to toothpicks for me. Before that I have attached part D3 to the rest of the body. Instructions say to mount it onto chassis as separate piece. But I saw it as part of main body on real car and glued and puttied it upfront. Look ok, but it might require more work after primer shows quality of seems.

There are some many parts in this kit, that even for out of the box build it takes a long time to prepare, mount and paint all of them.


Sunday, November 1, 2015

Most of the parts painted

Work continued on this model in the background. Have not put updates, but advanced quite a bit. All parts were prepared and primed. Then I have sanded smooth rough surfaces and went ahead with painting. Most parts received coats of semi-gloss black or various metallic paints. Body was painted in special Mercedes silver by Gravity Colours. Gravity paint worked nicely and I think body looks great. I just need to somehow preserve that shine while applying clear coats. Experience with 917LH's silver shows that clear could affect silver paint. I plan to use 2K clear and hope that it would work ok with Gravity paint. After all 2K clear seems to be recommended by Gravity Colours.


Body decals finished

Not a big update - just finished decals on the main body and the nose. All wing elements, wheels and the rest are still left to do.


Sunday, October 25, 2015

First decals on for FW16B

in the mean time I went ahead and clear coated body after all touch ups were done. It seemed to hold up well. So, after couple of weeks waiting on it, I've started decals last night. Started with more difficult stripes. Mirco-Set/Sol worked well on Studio27 decals. Overall fit was reasonable and I am happy to get them on and out of my way. Remaining sponsor decals will be easier. It should look great with Rothmans decals on.


STR5 conversion completed

I call this one done. Few small parts, which will not be very visible left out for now. As always far from perfect, but I'm happy to have it out of my pipeline. Back to FW16B next.


Here are macro shots of some extra details.


STR5 first time on its wheels

Put it on the wheels during the week. Detail painted steering wheel and other cockpit items.


Monday, October 19, 2015

Assembly continued for STR5

Continued with final assembly steps. When all parts are ready for final assembly it all start to come together rather quickly. Finished rear suspension and attached whole rear end to the floor. Then attached radiators and monocoque. Next I have assembled rear wing. It came together somewhat easy. No real issues so far. It is a joy to build Tamiya kits. Fit is fantastic.