Monday, June 23, 2014

Working on cockpit items

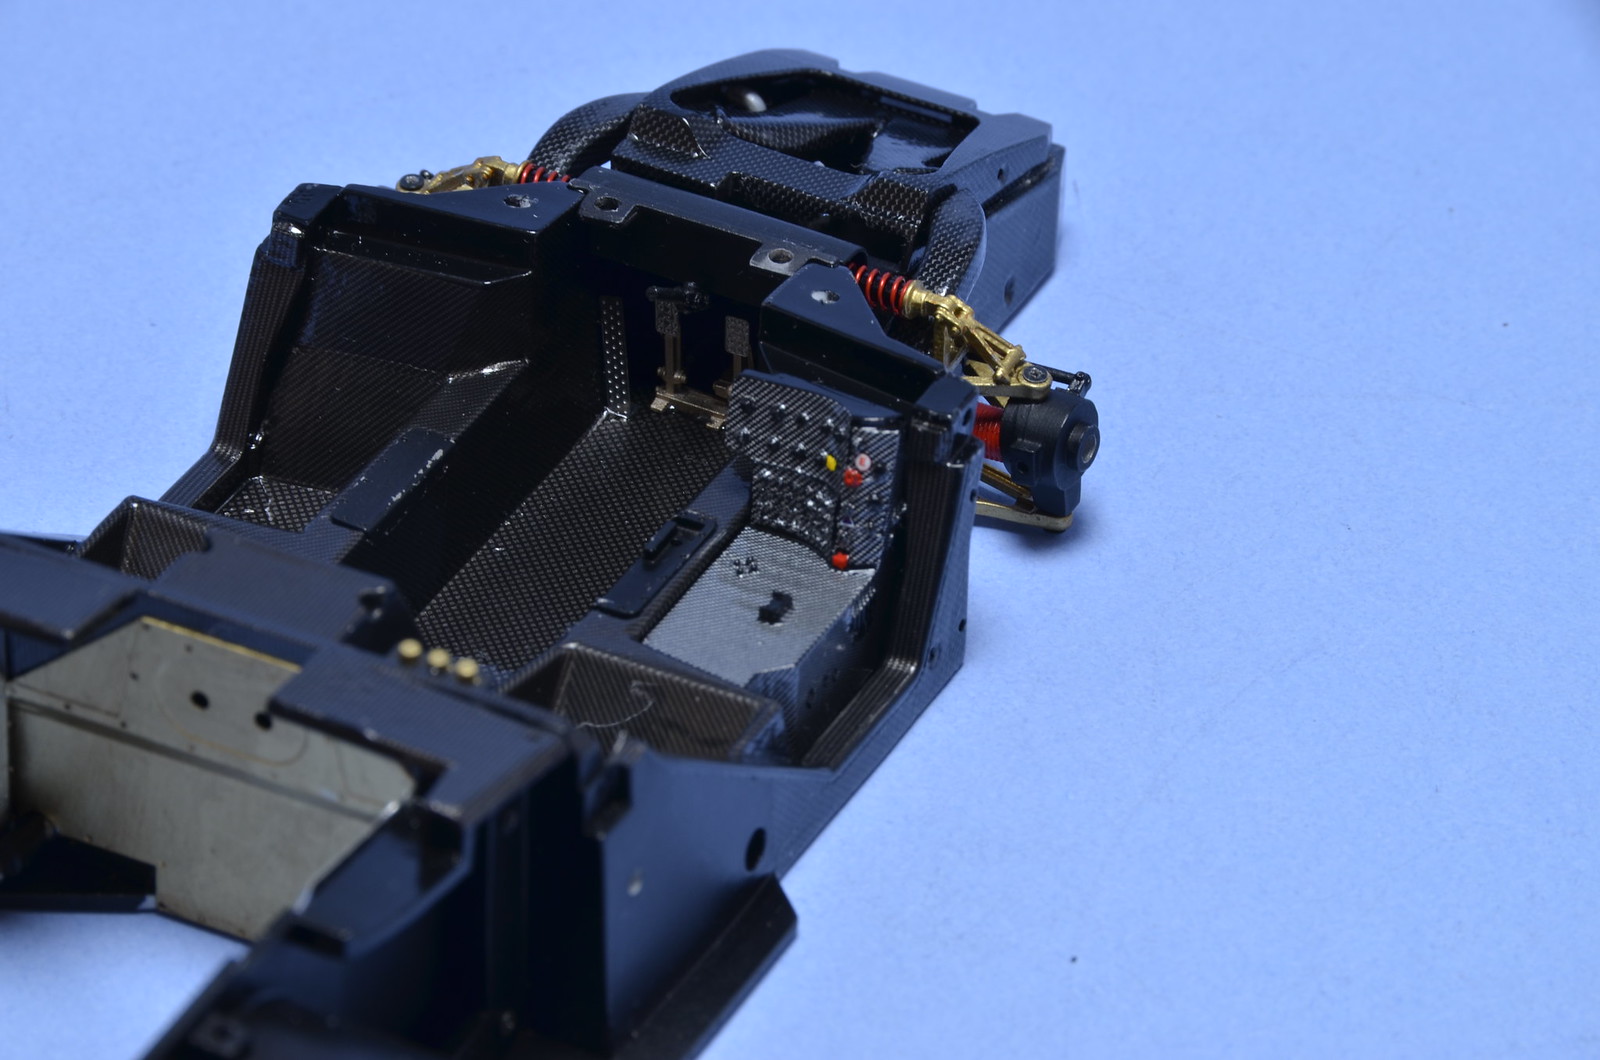
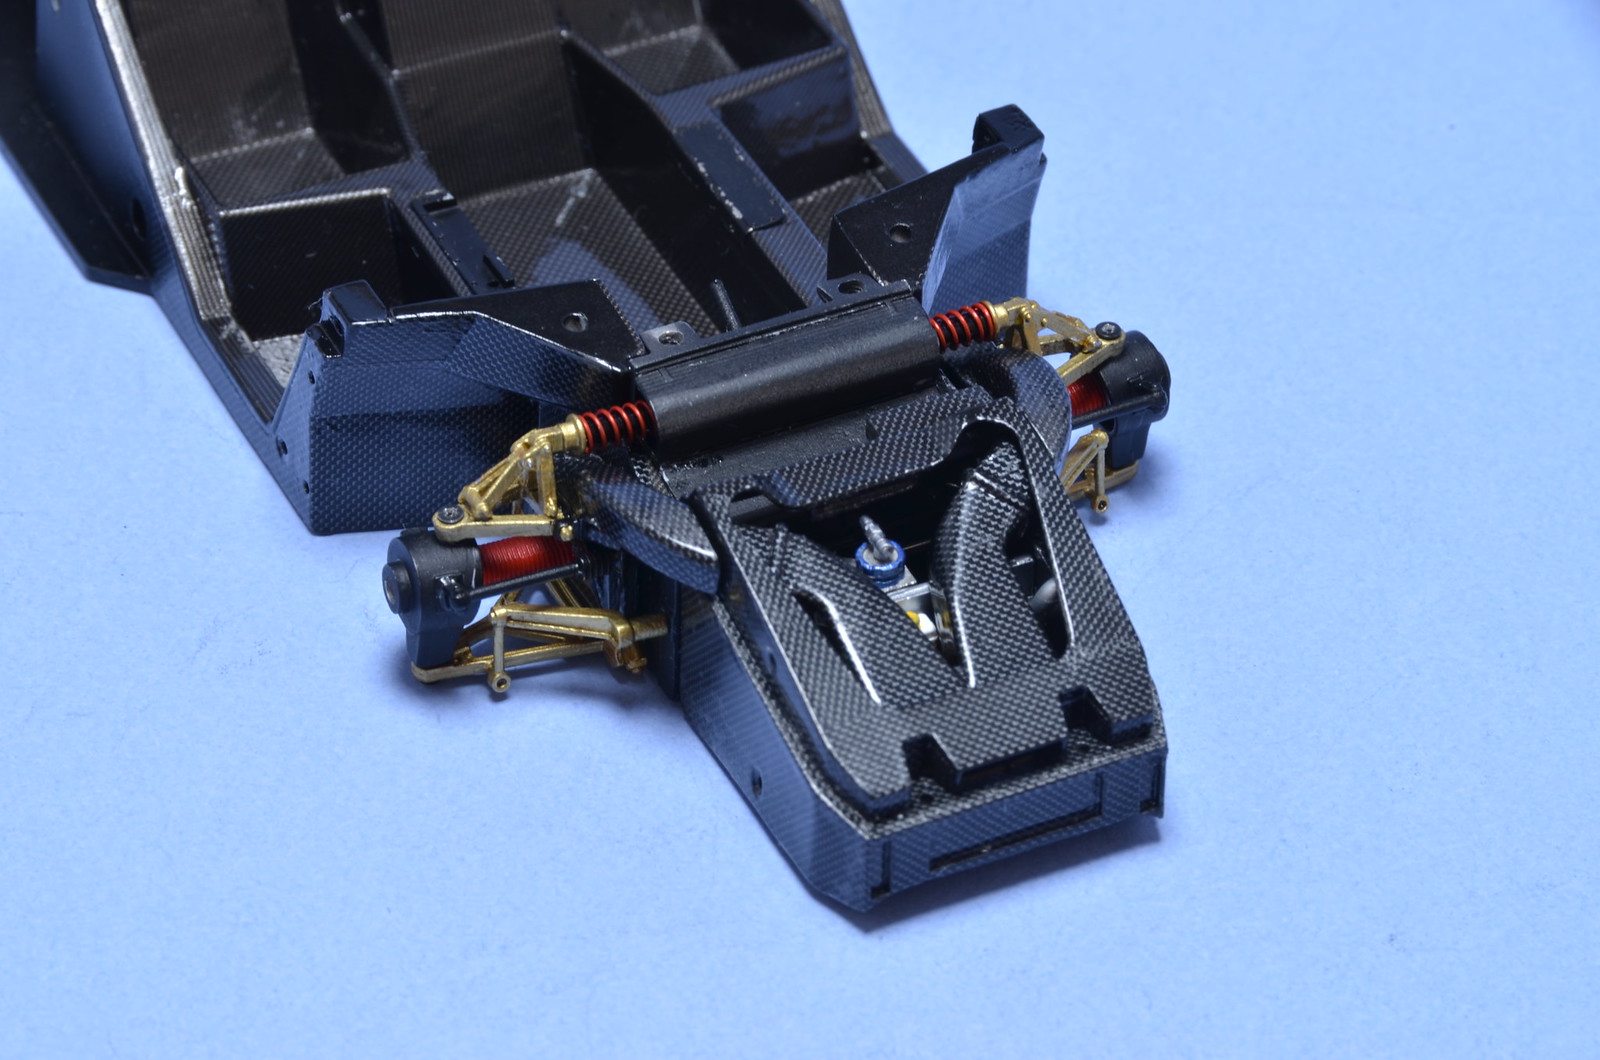
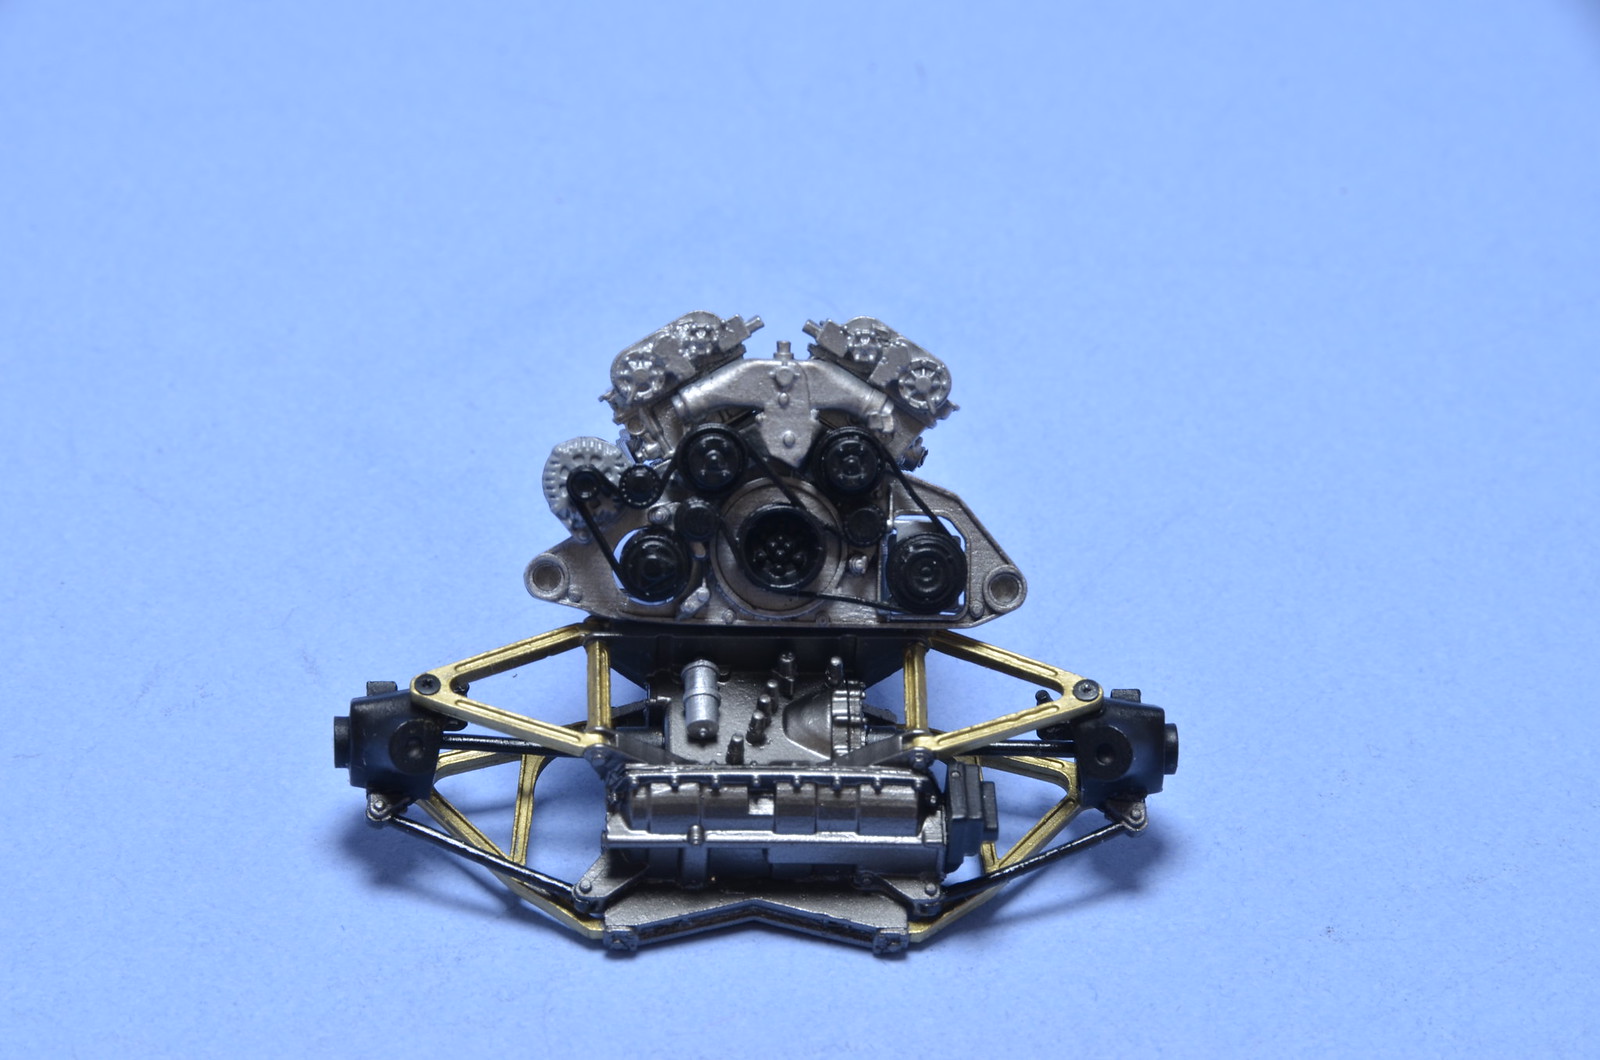
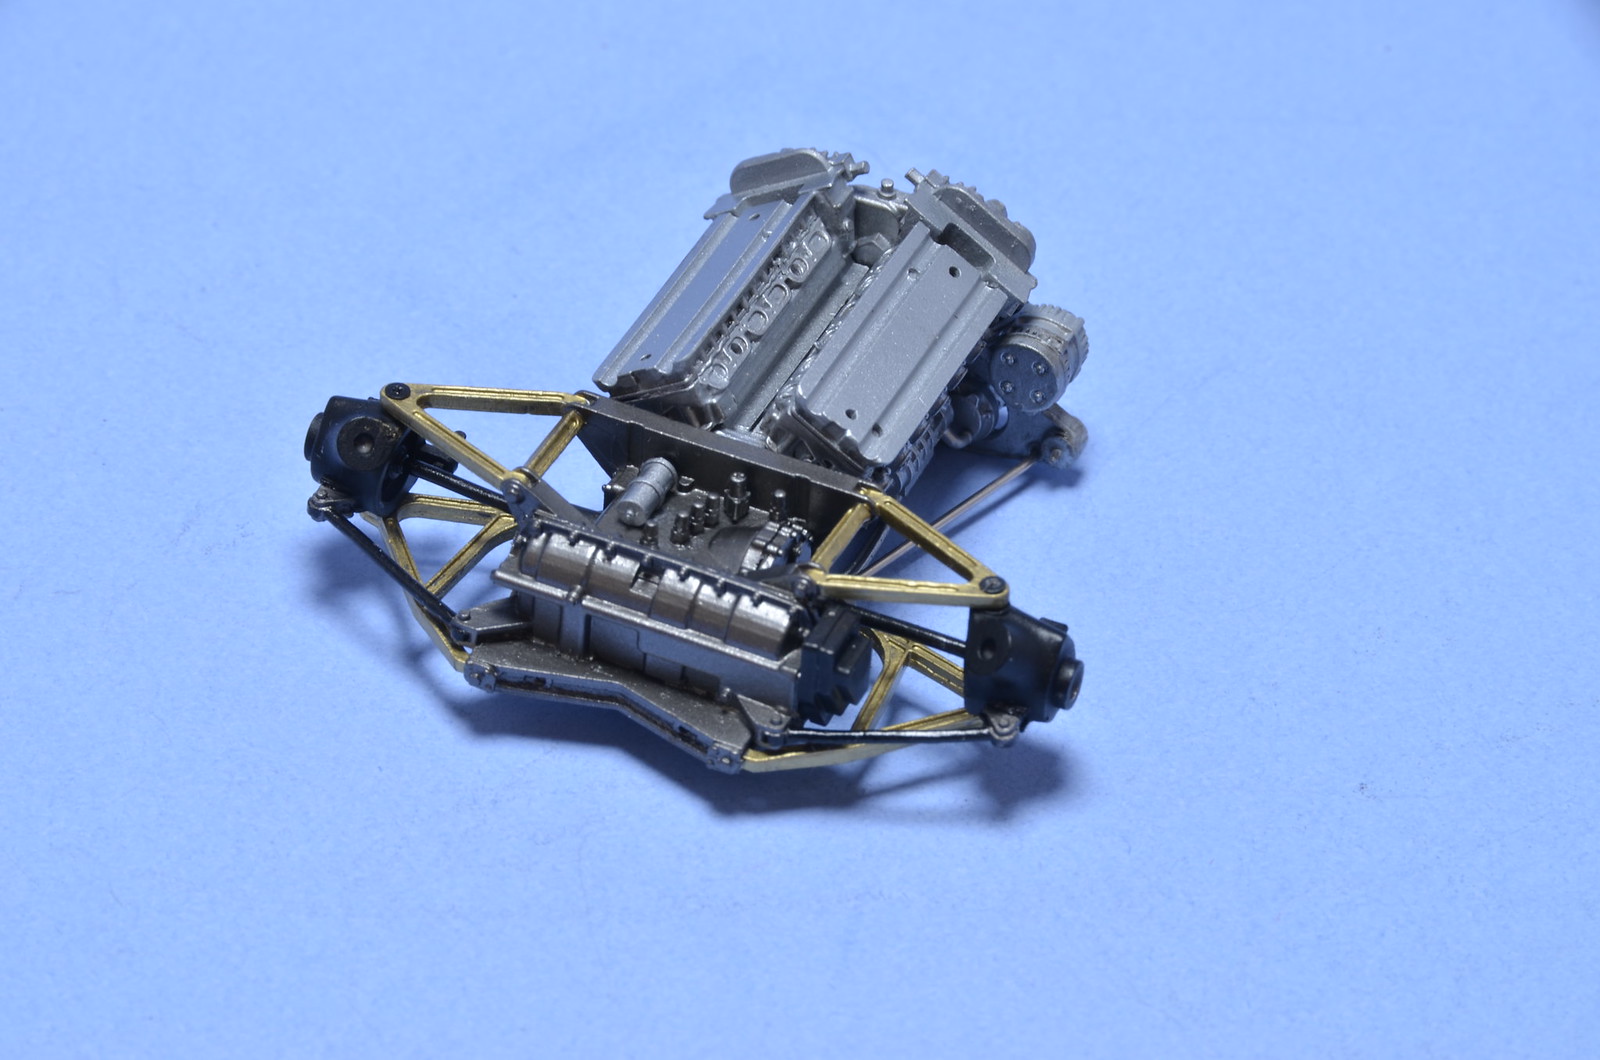
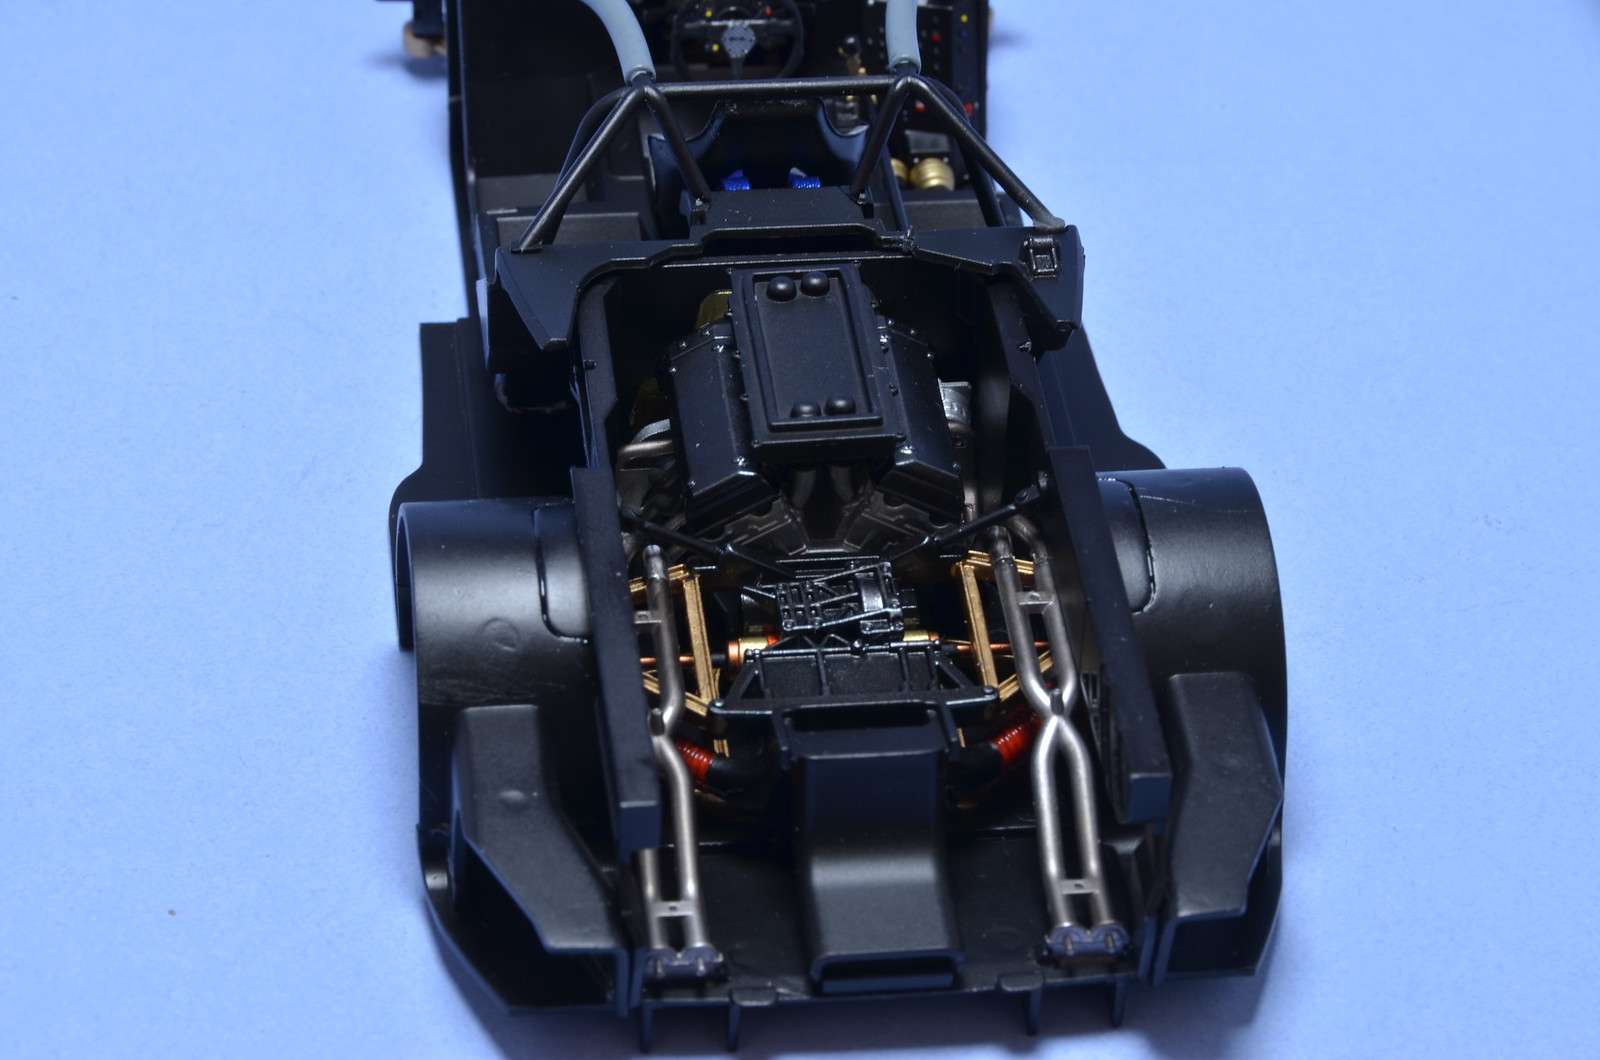
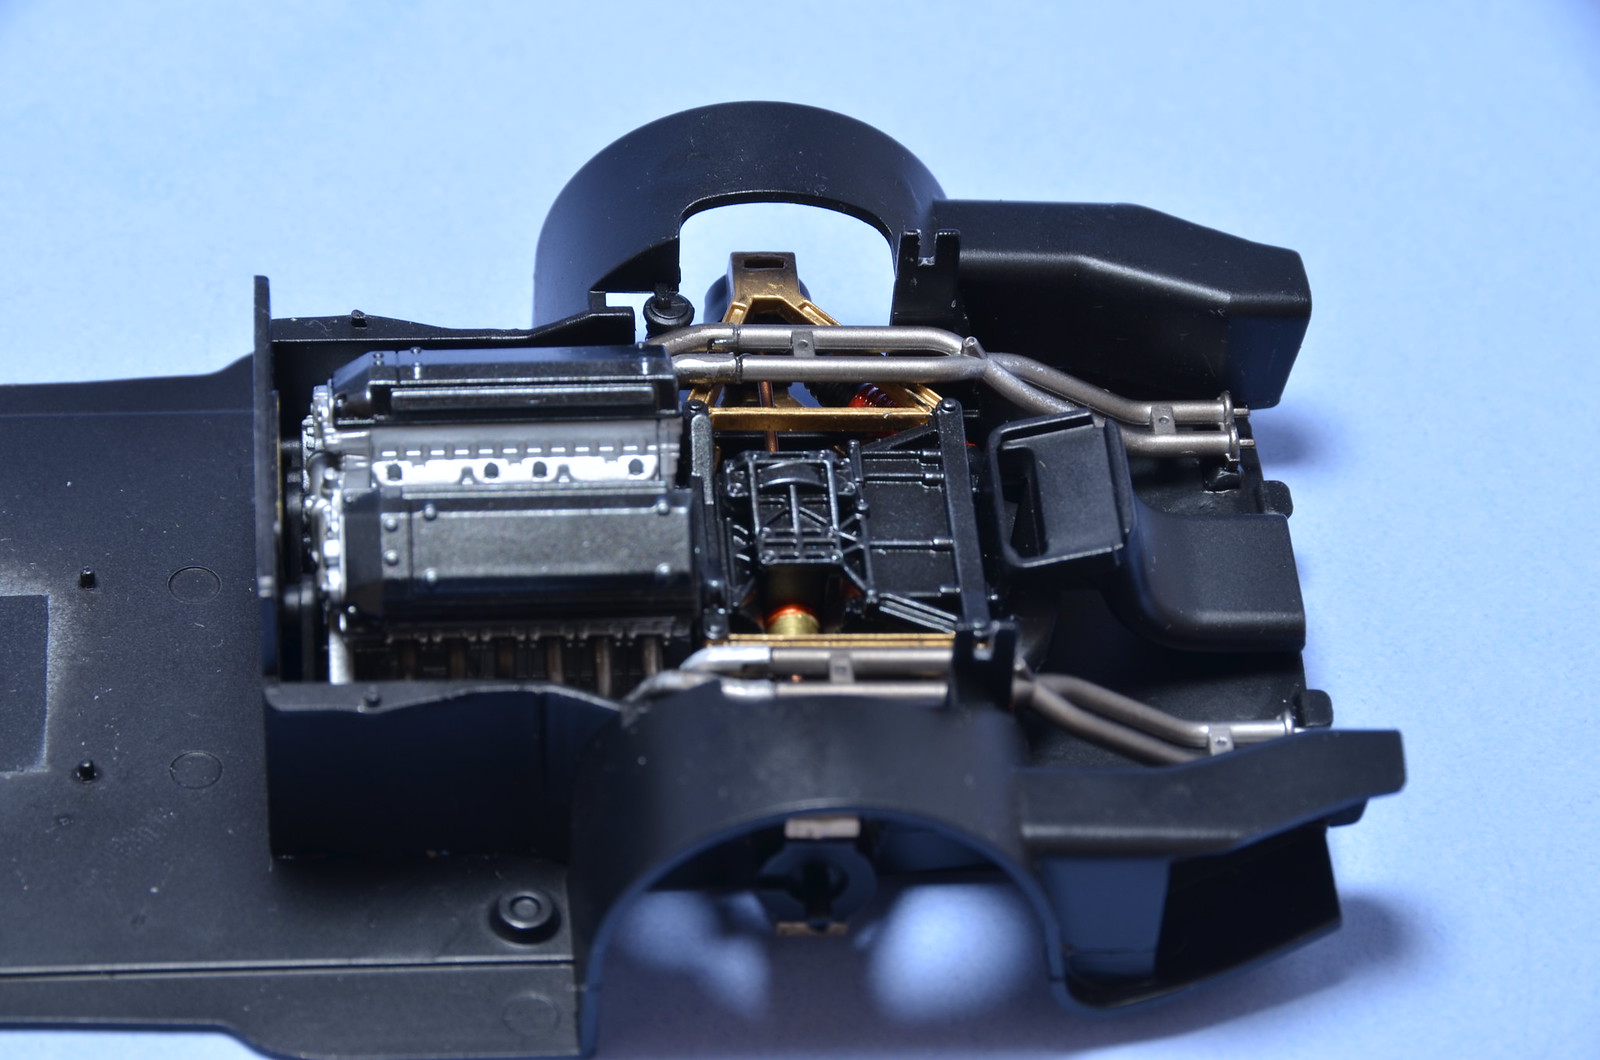
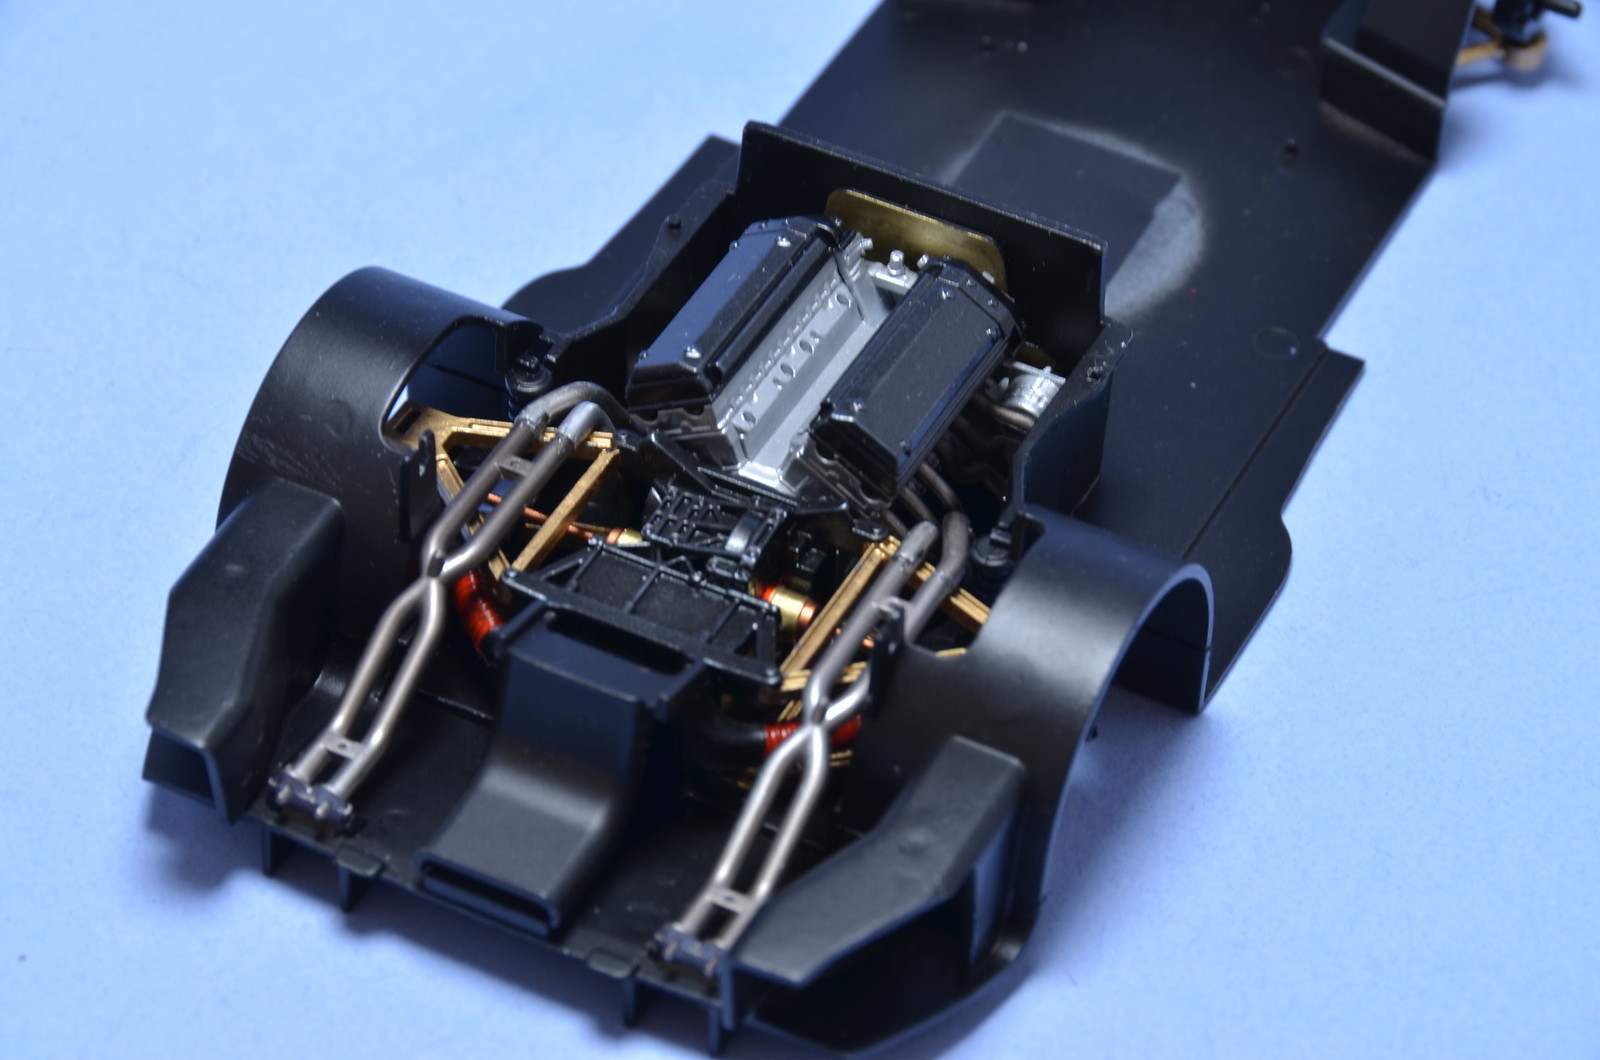
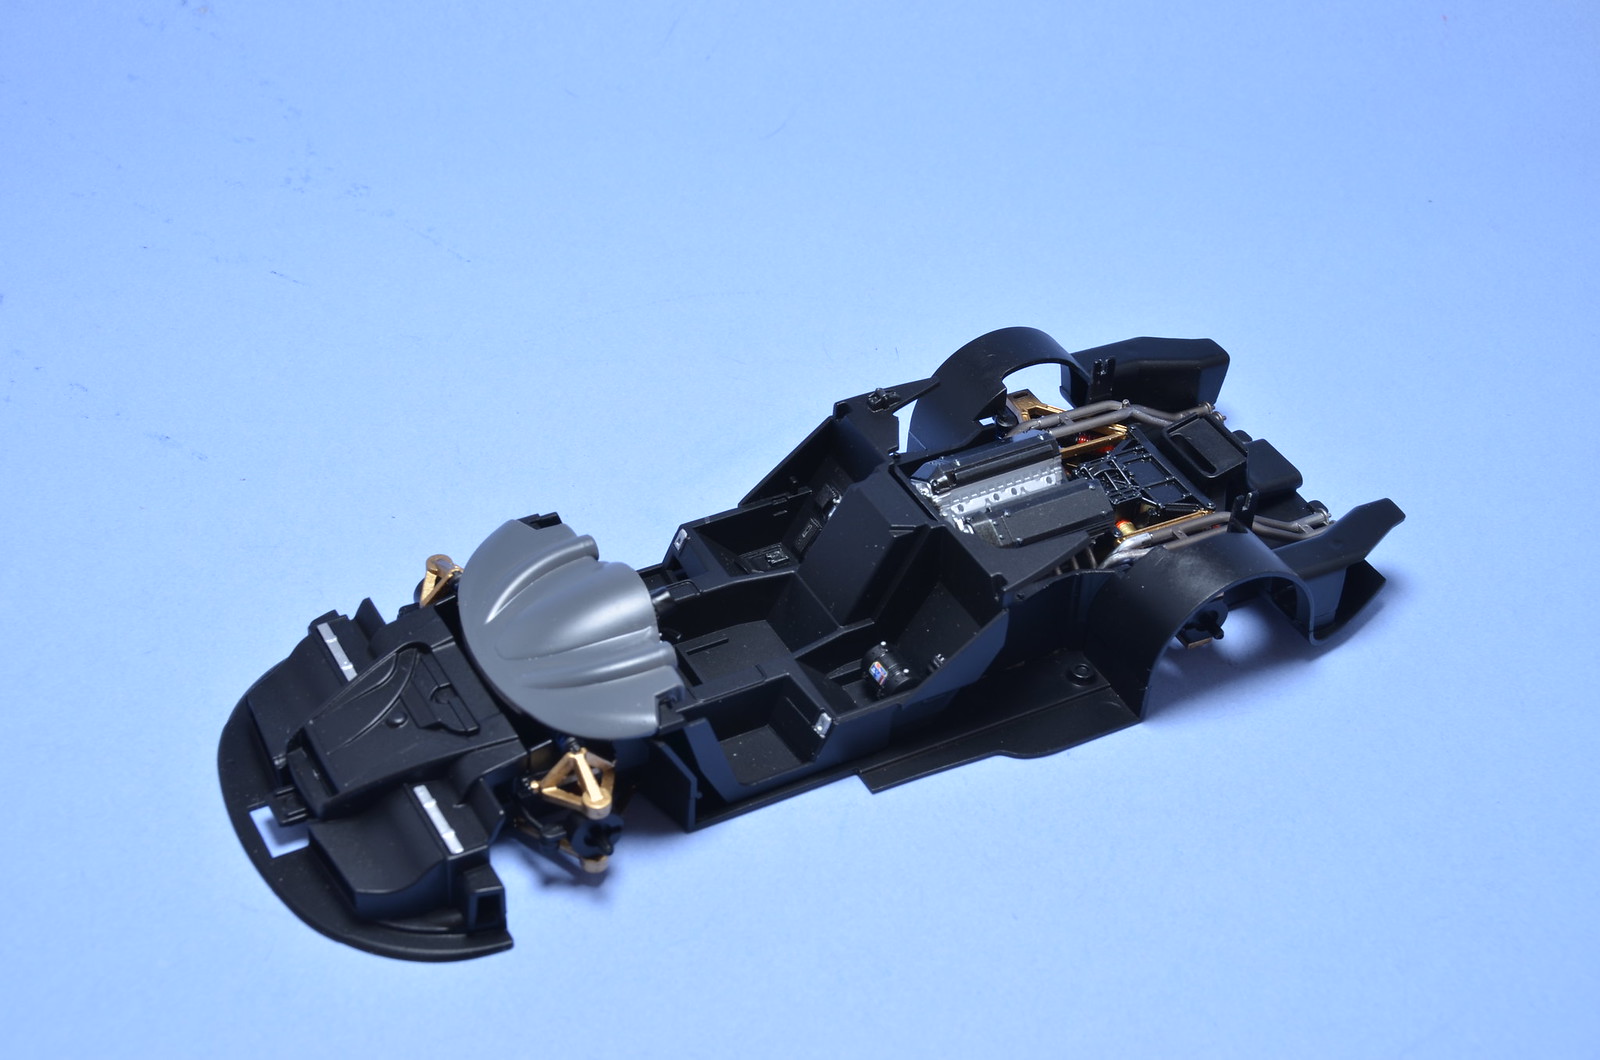
Some progress over the weekend. Not a big update in terms of advancing this build, but quite a few photos to show. First I've assembled rear shocks, gearbox holding brackets and cross bar. As I've feared there are some alignment issues. I could probably force it into place by gluing gearbox to engine and screwing brackets to engine bay walls. 
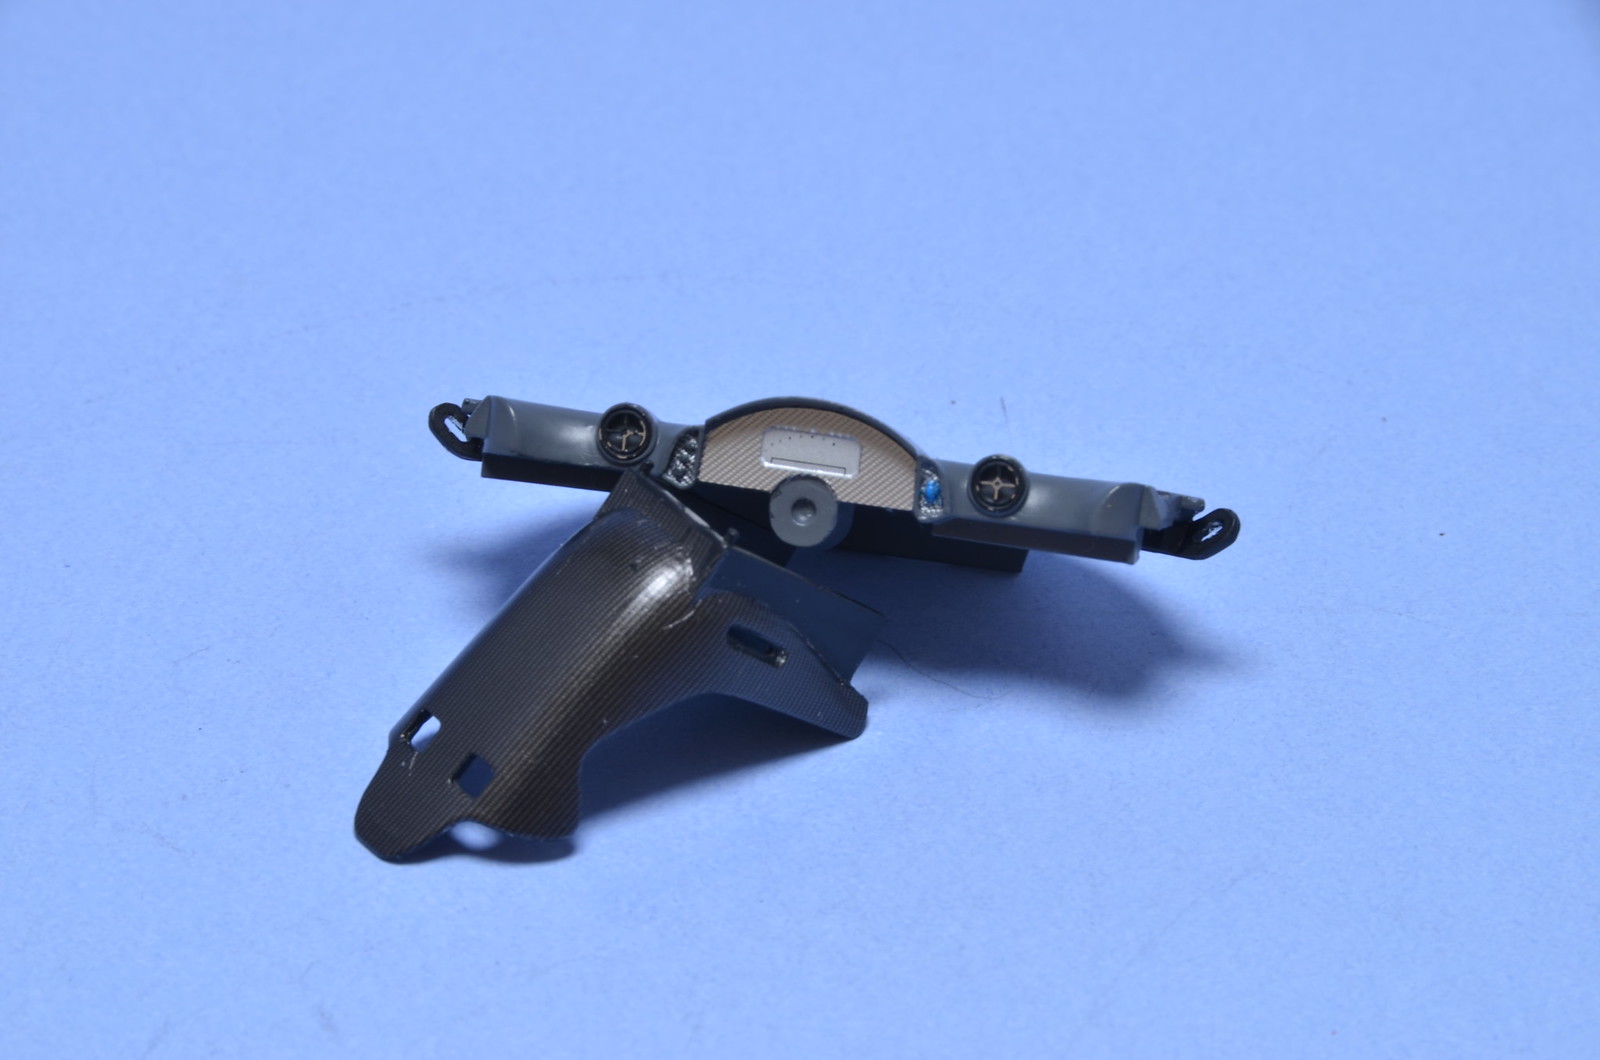
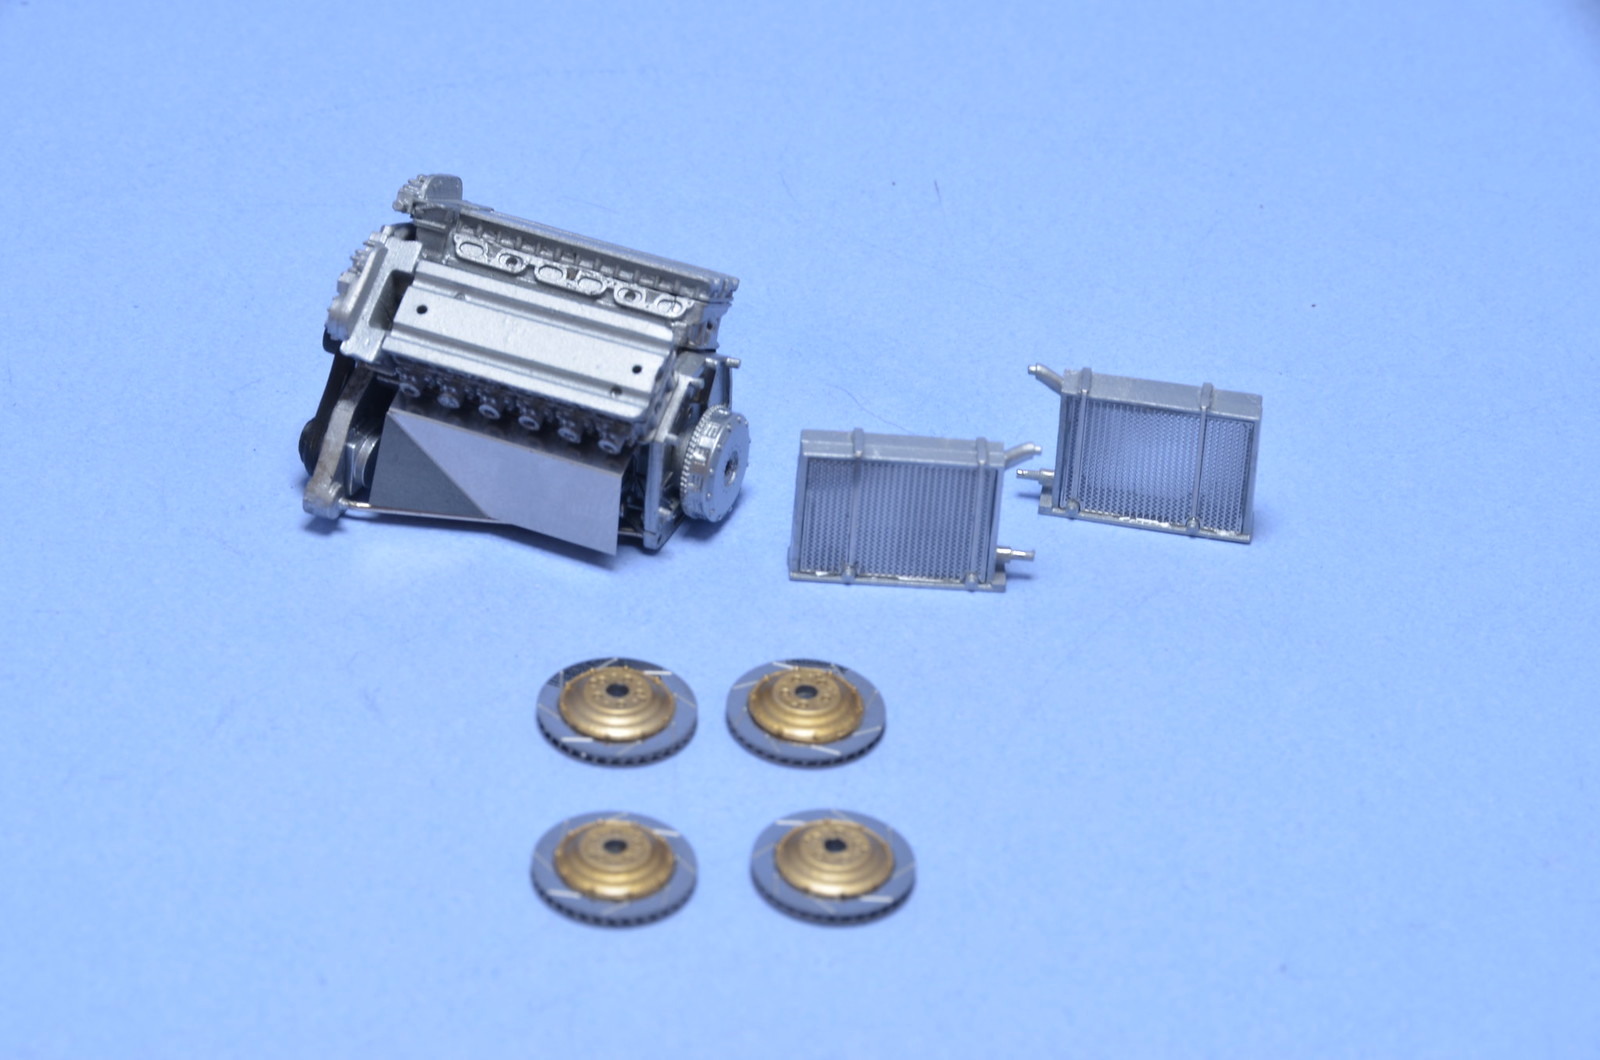
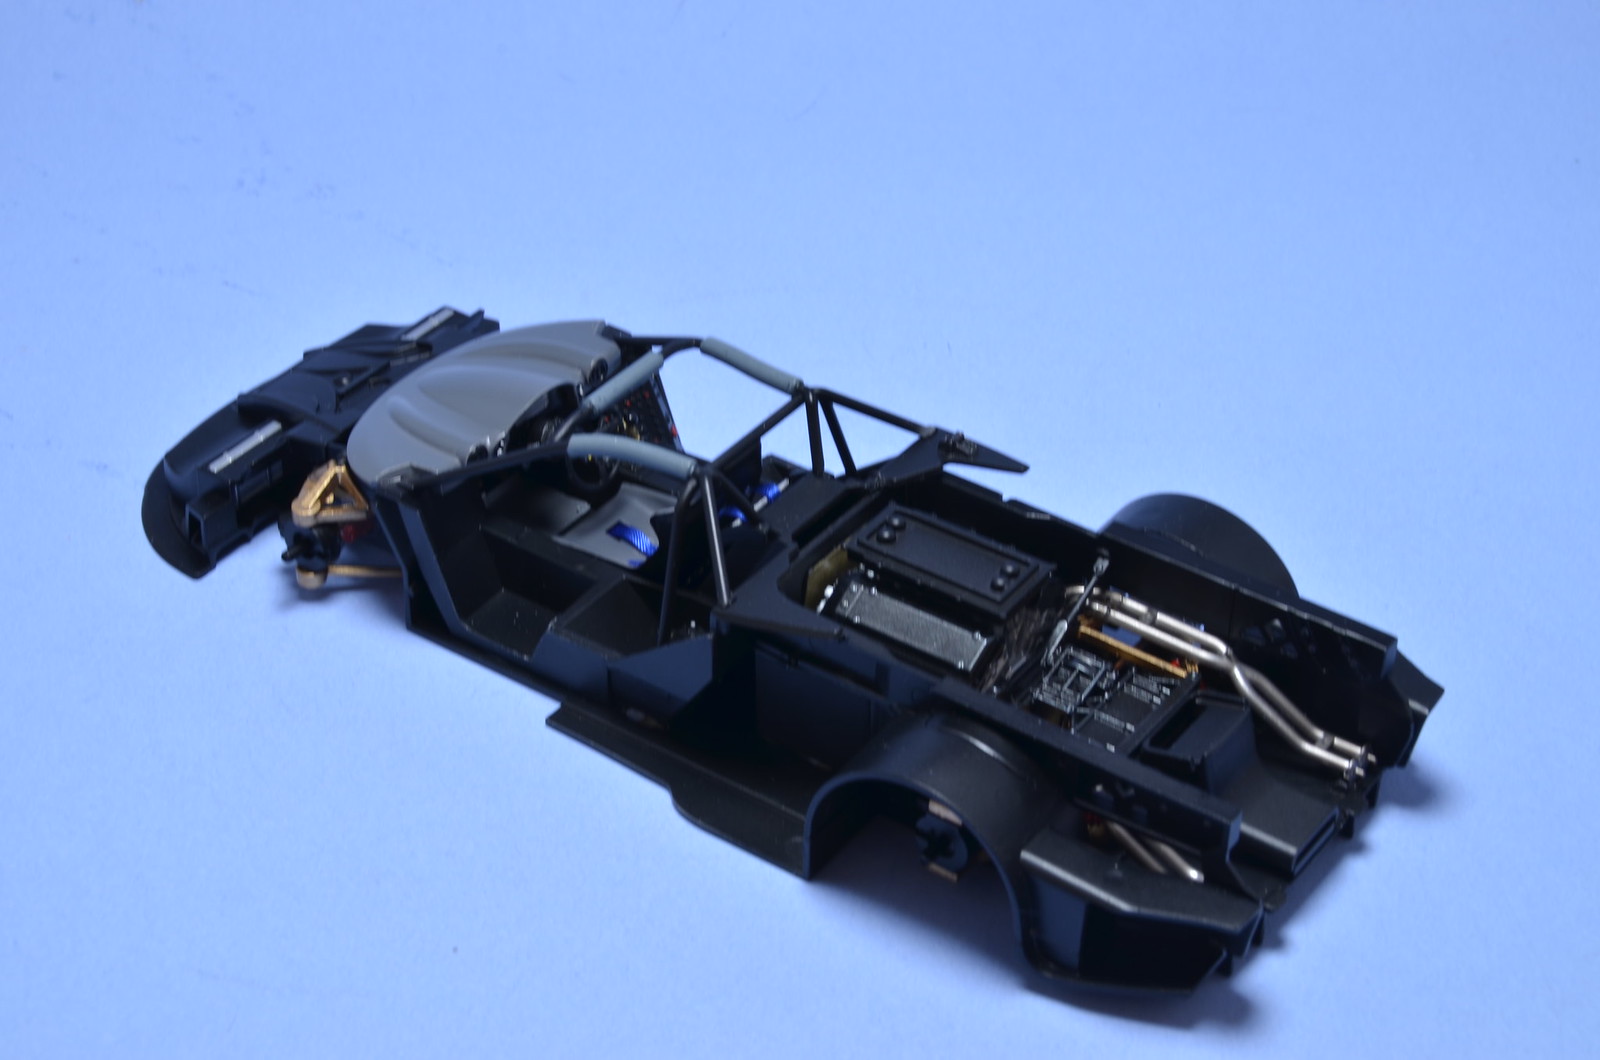
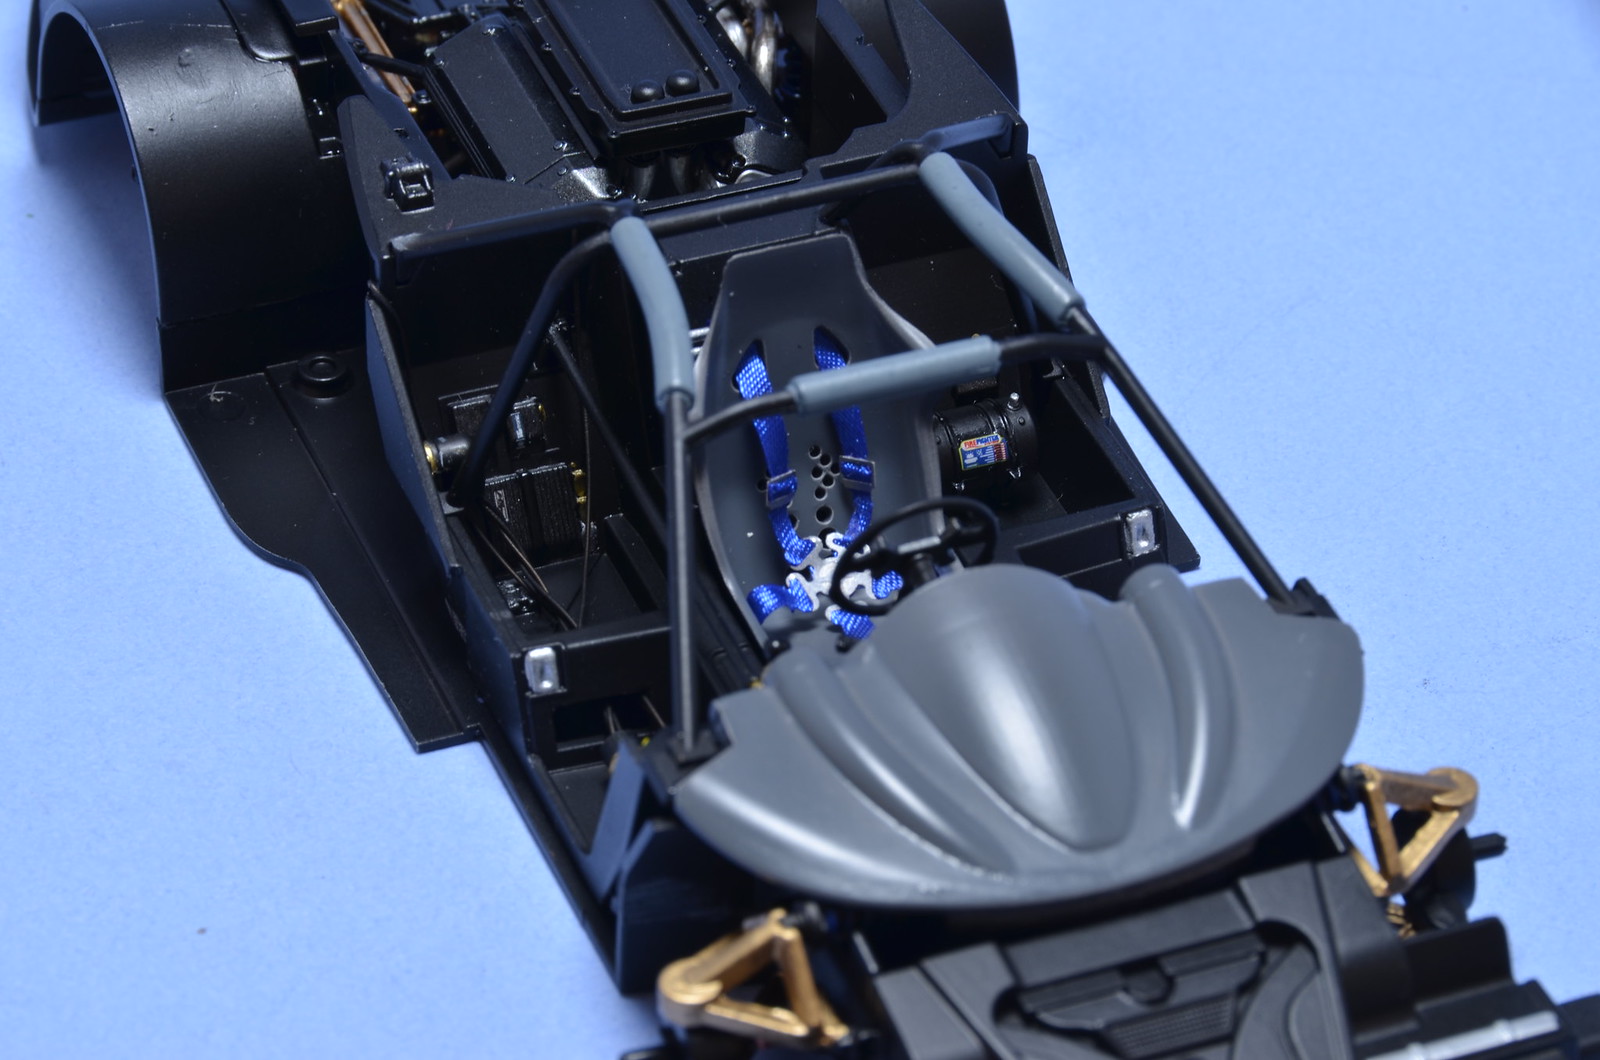
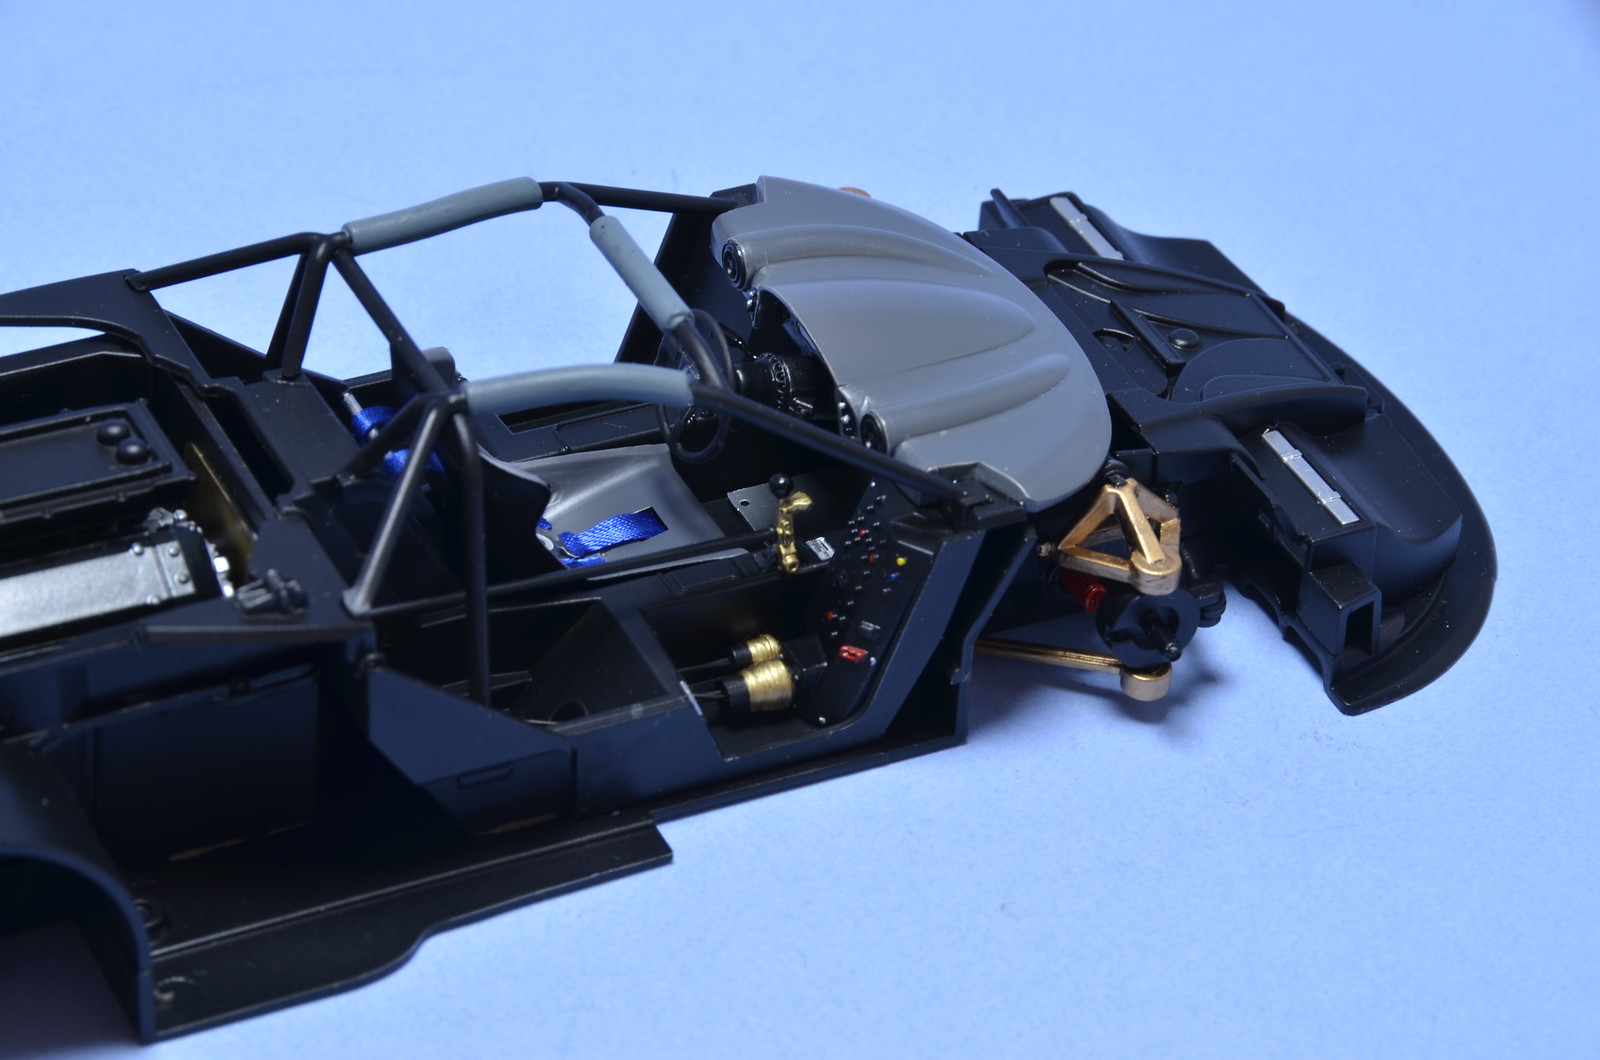
but there will forever be a tension there. I plan to detach shocks, reduce their length a bit and re-attach back. Next worked a bit on cockpit - installed electronic boxes and main console, added decals and main display parts to dashboard, applied CF decals to the back of driver seat. Beside that only decal work on wheels and brakes. Also installed air valves onto rims. Everything except for CF decals came in the kit.


Tuesday, June 17, 2014

Some PE work completed

Spent about 3 hours last Saturday night working on some PE items. Attached heat shields to engine, assembled brake rotors and front radiators. I guess brake rotors have different colour on real car, but imho they look great as it, without paint. I'm going to leave them this way.


Front suspension completed. Started engine/gearbox/rear suspension assembly

Another relatively small update. Pretty much completed front suspension and worked on engine, gearbox and rear suspension. Even though all those engine accessories will be hidden when engine is in place, it's nice to work on them and to know those details are present.


Chassis completed

Worked on cockpit items and pretty much completed it Friday night. It was then permanently attached to floor with epoxy. By now chassis is pretty much done, except for some small PE details. Now attention will turn to competing paint job, decals and body shell overall.


Monday, June 2, 2014

Progress on engine bay

I was only able to return to my modeling workplace last night. Some progress for this build. Put together exhausts and assembled engine bay. That whole sub-assembly is attached to floor by now. Used epoxy glue exclusively, so I had time for final adjustments. As expected there are gaps where exhaust headers connect to rear portions. For this build it'll do. I plan to do detailed build in near future and will try to figure out a solution for elimination of those seams.

Last photo is a mock up with cockpit in place. I have to add number of items to cockpit before I could permanently attach it to the floor.

Even after 2 weeks I could still smell paint on the body. I wonder if it is normal for Scalefinishes' paint to take such long time to dry.


P34 is back on workbench

It's been on a long hiatus, but I've finally made some progress on this build. Installed exhausts, fuel distributor, injectors, head covers and finally mated engine and chassis. Ignition wires aren't fixed in place yet and fuel lines still have to be routed. I use beading lines to simulate those. Beading lines are quite flexible and not difficult to route, but big pita to attach. Only CA glue works on them for me. I've also started routing some houses of cooling system. Before attaching I've detailed head covers with PE bits, painted ignition plug boots in flat black and highlighted few bolt heads. I think they look a bit better this way.