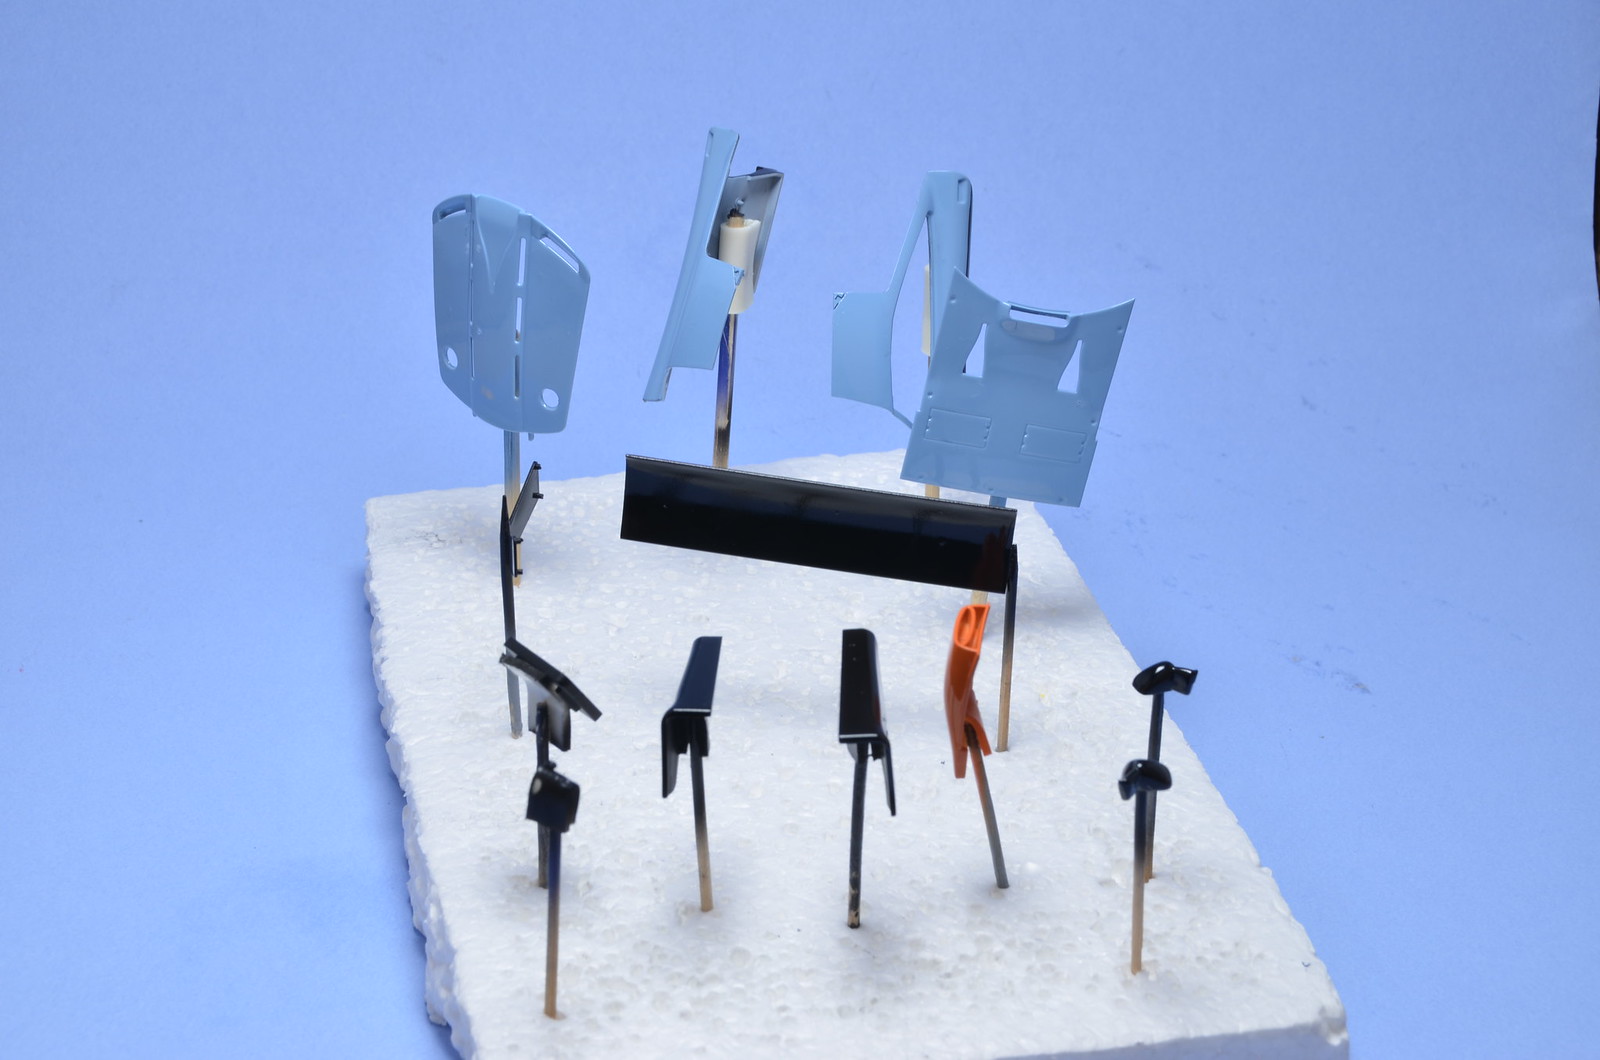
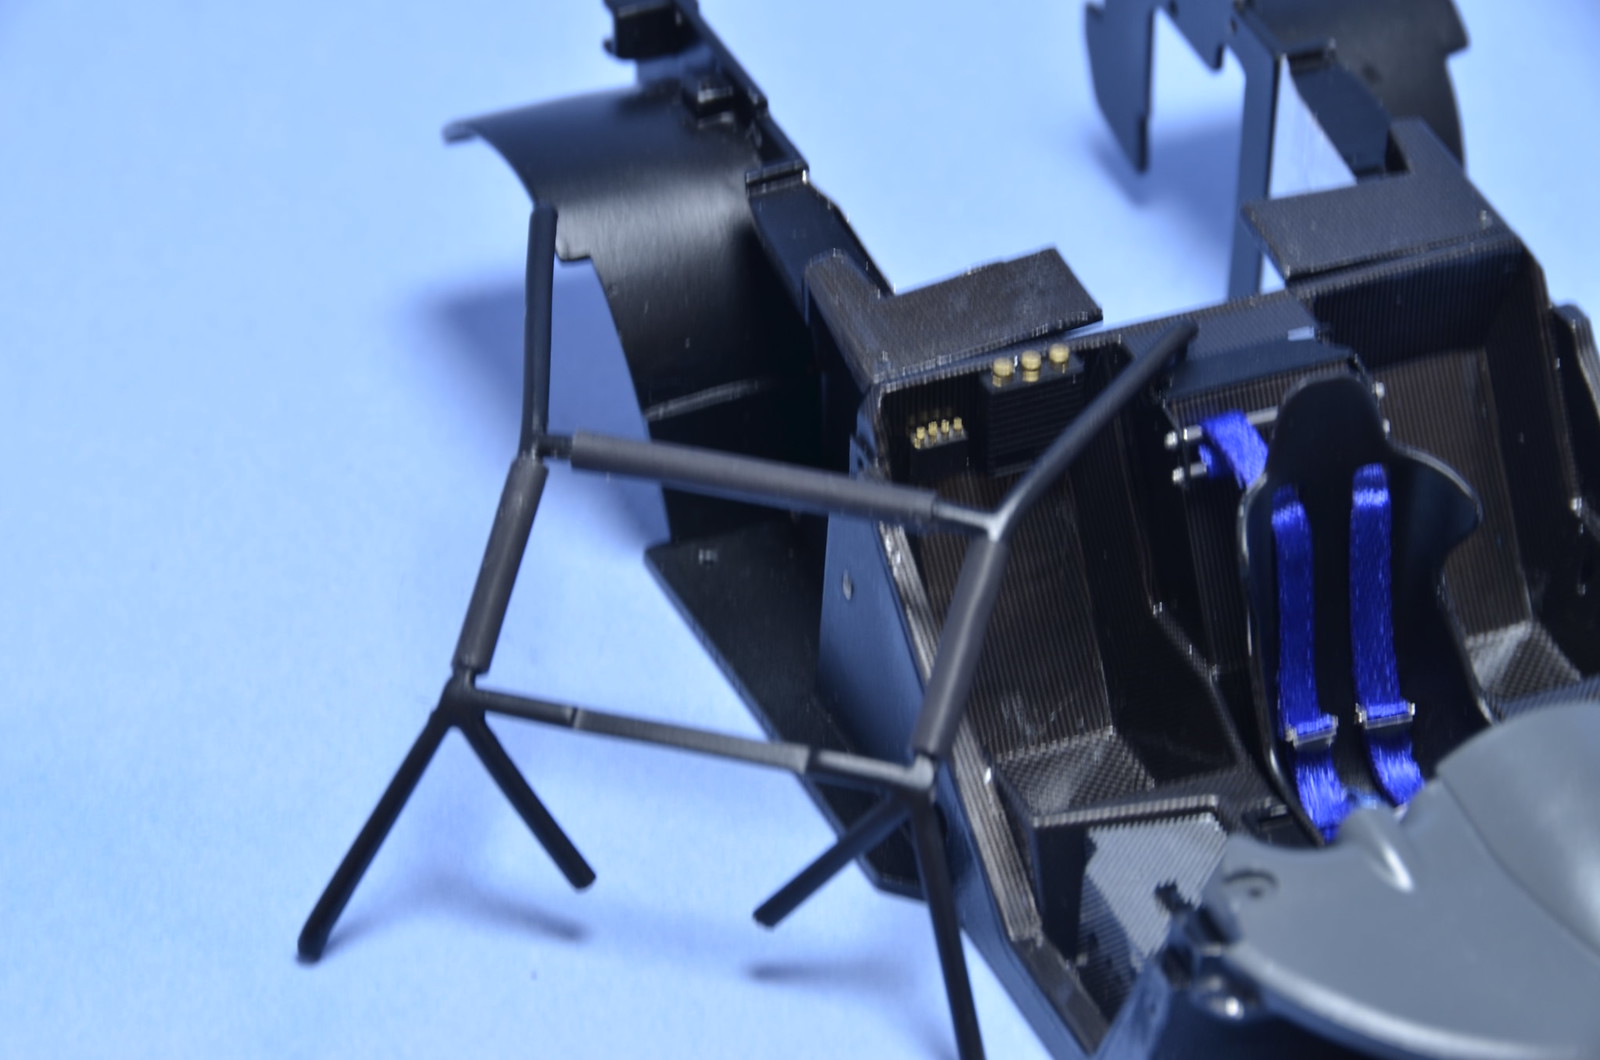
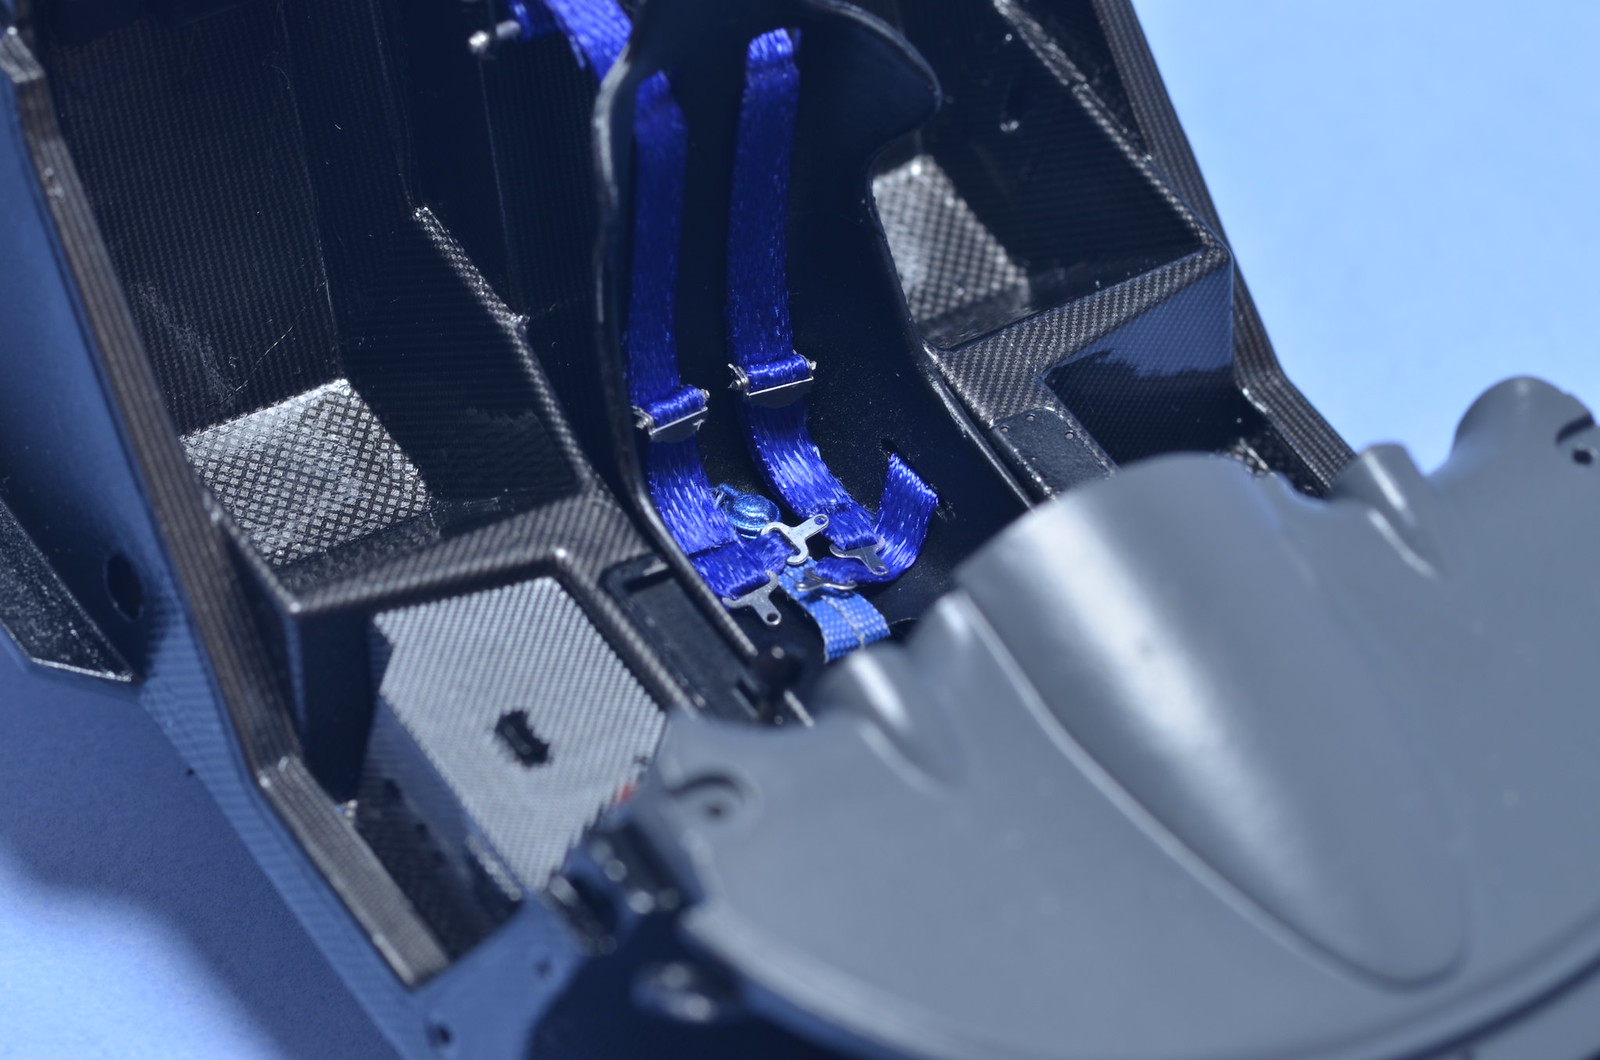
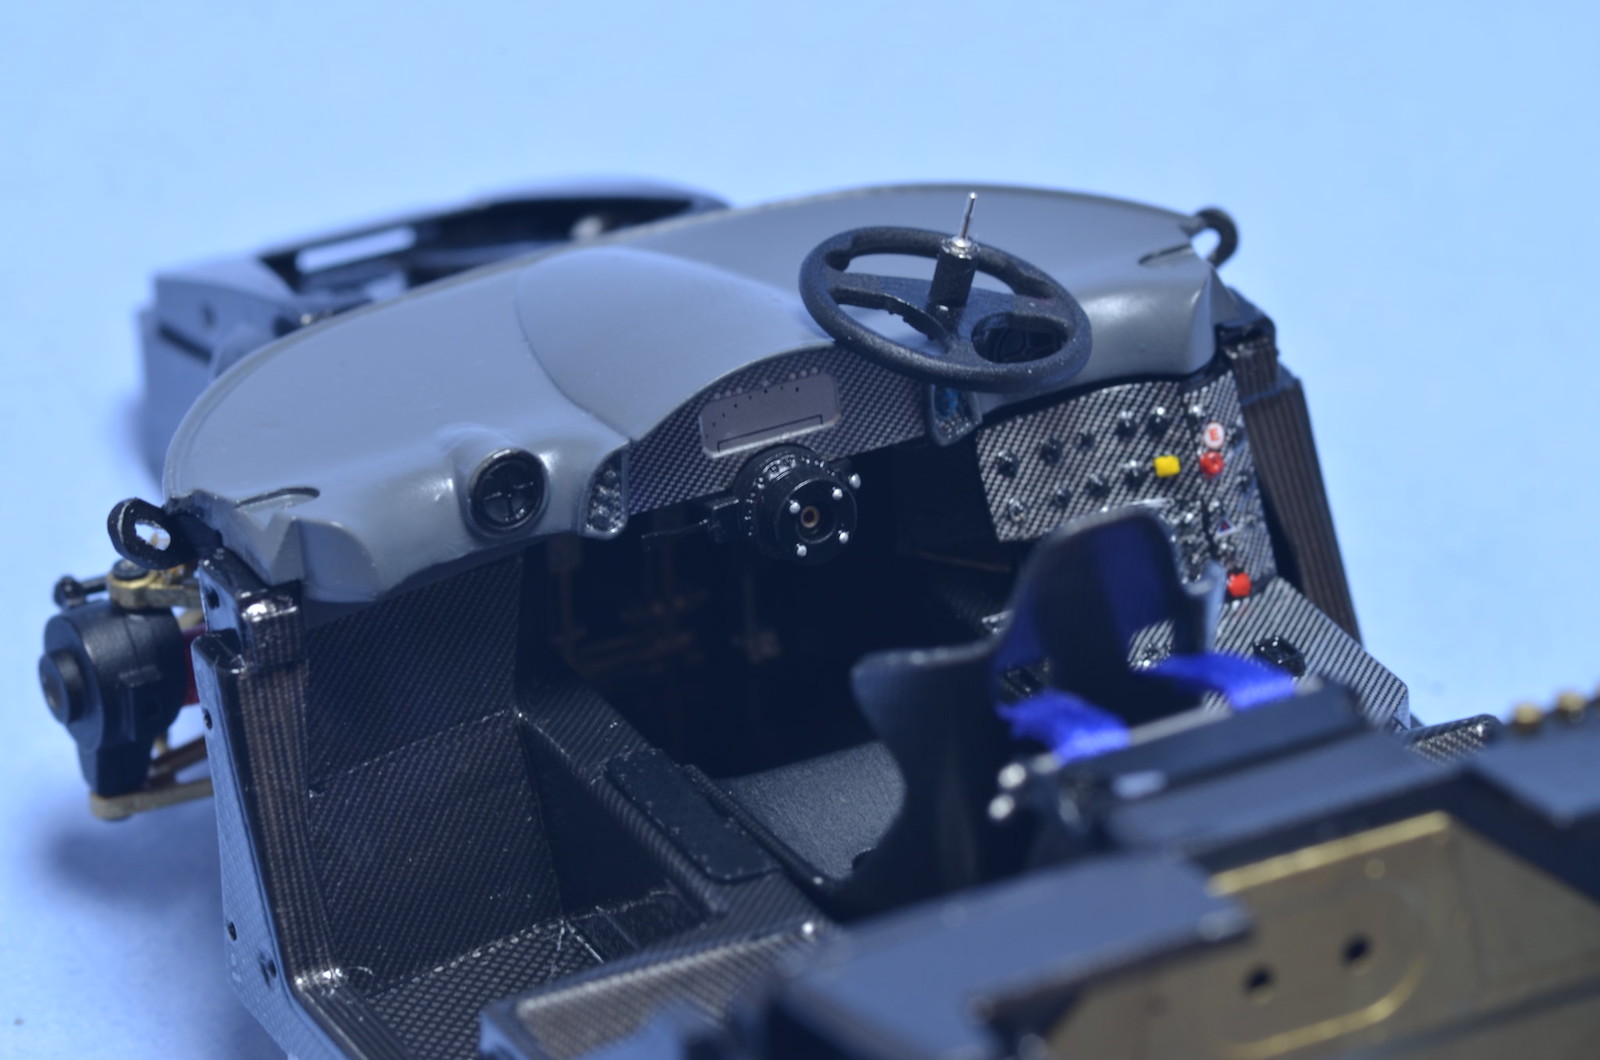
Some small tasks and one big unblocker were completed over the span of last 2 weekends. Big blocker were the seat belts. Spent towards 5 hours on them. Now completed. They are not perfect and not entirely accurate, but will do for this build. And I'm happy they are done, so I could go on completing most of the remaining assemblies for this model. Among smaller things done are completed cylinder head covers, attached engine air intakes, padding on roll bar, attached dashboard, gear shifter and name plate, installed steering column socket, so it is removable. Below are photos. It starts to look like I am on or near the home stretch.
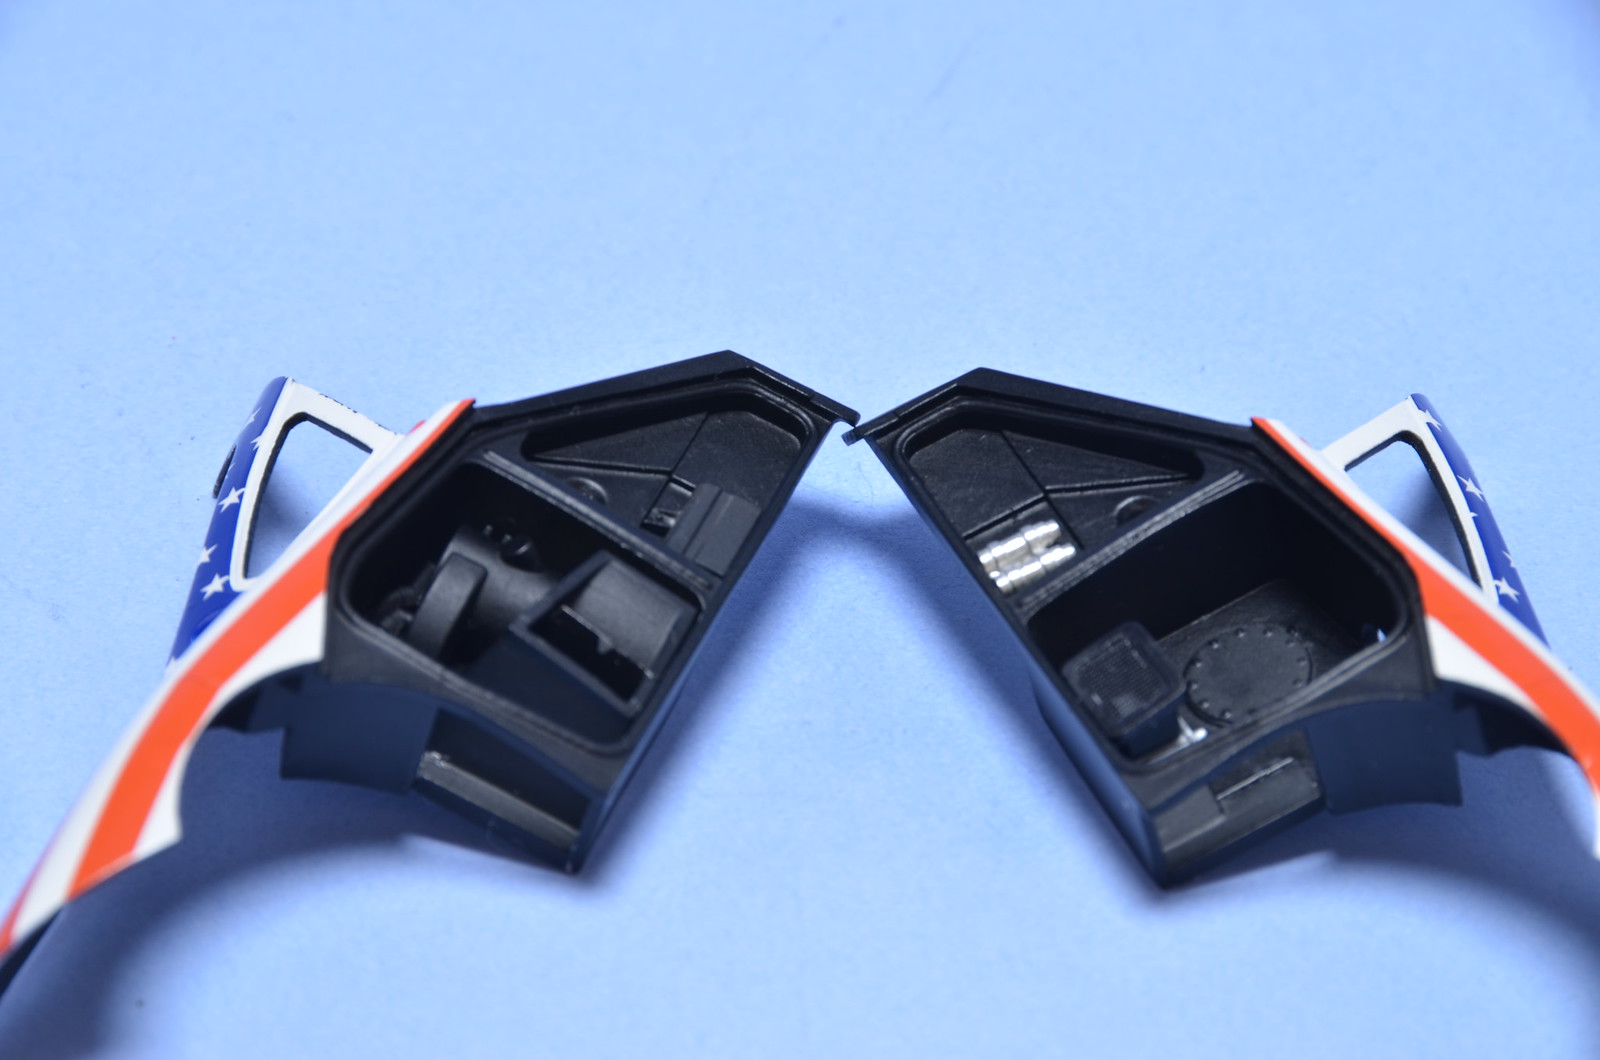
I've painted seat belt buckles black initially, but as soon as I started handling them, paint begun to chip off. I decided to strip paint altogether and just leave them unpainted. They look nice this way too. I've also decided to leave seat belt decals out.
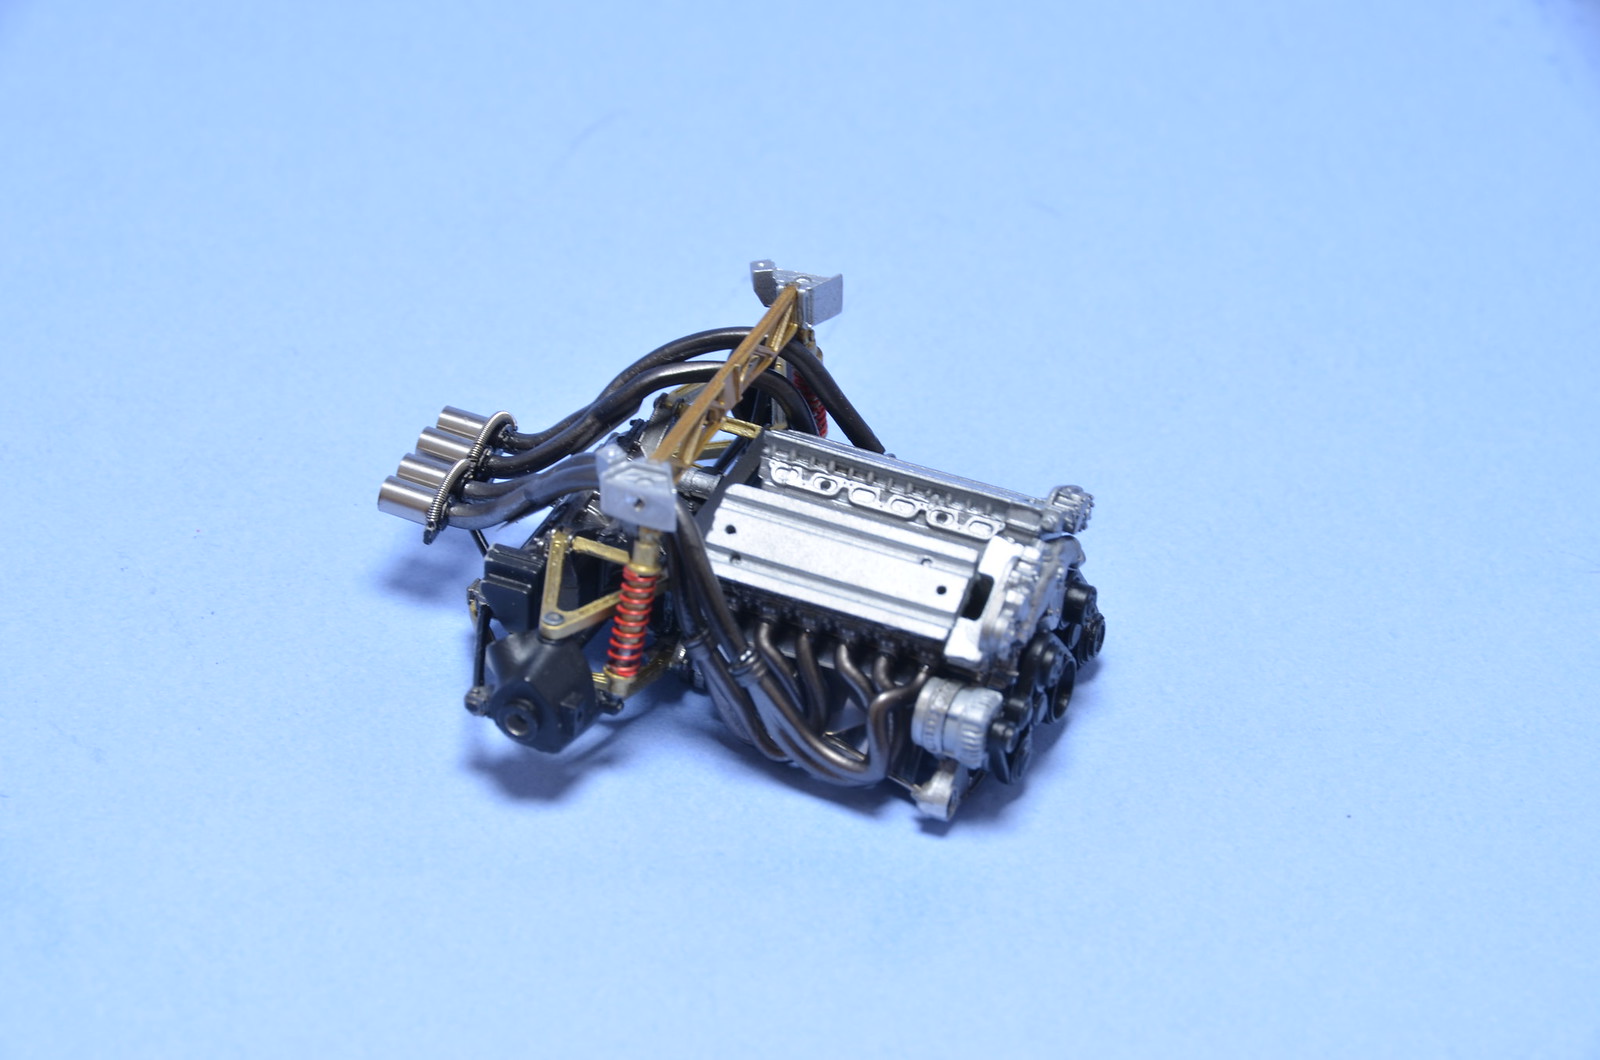
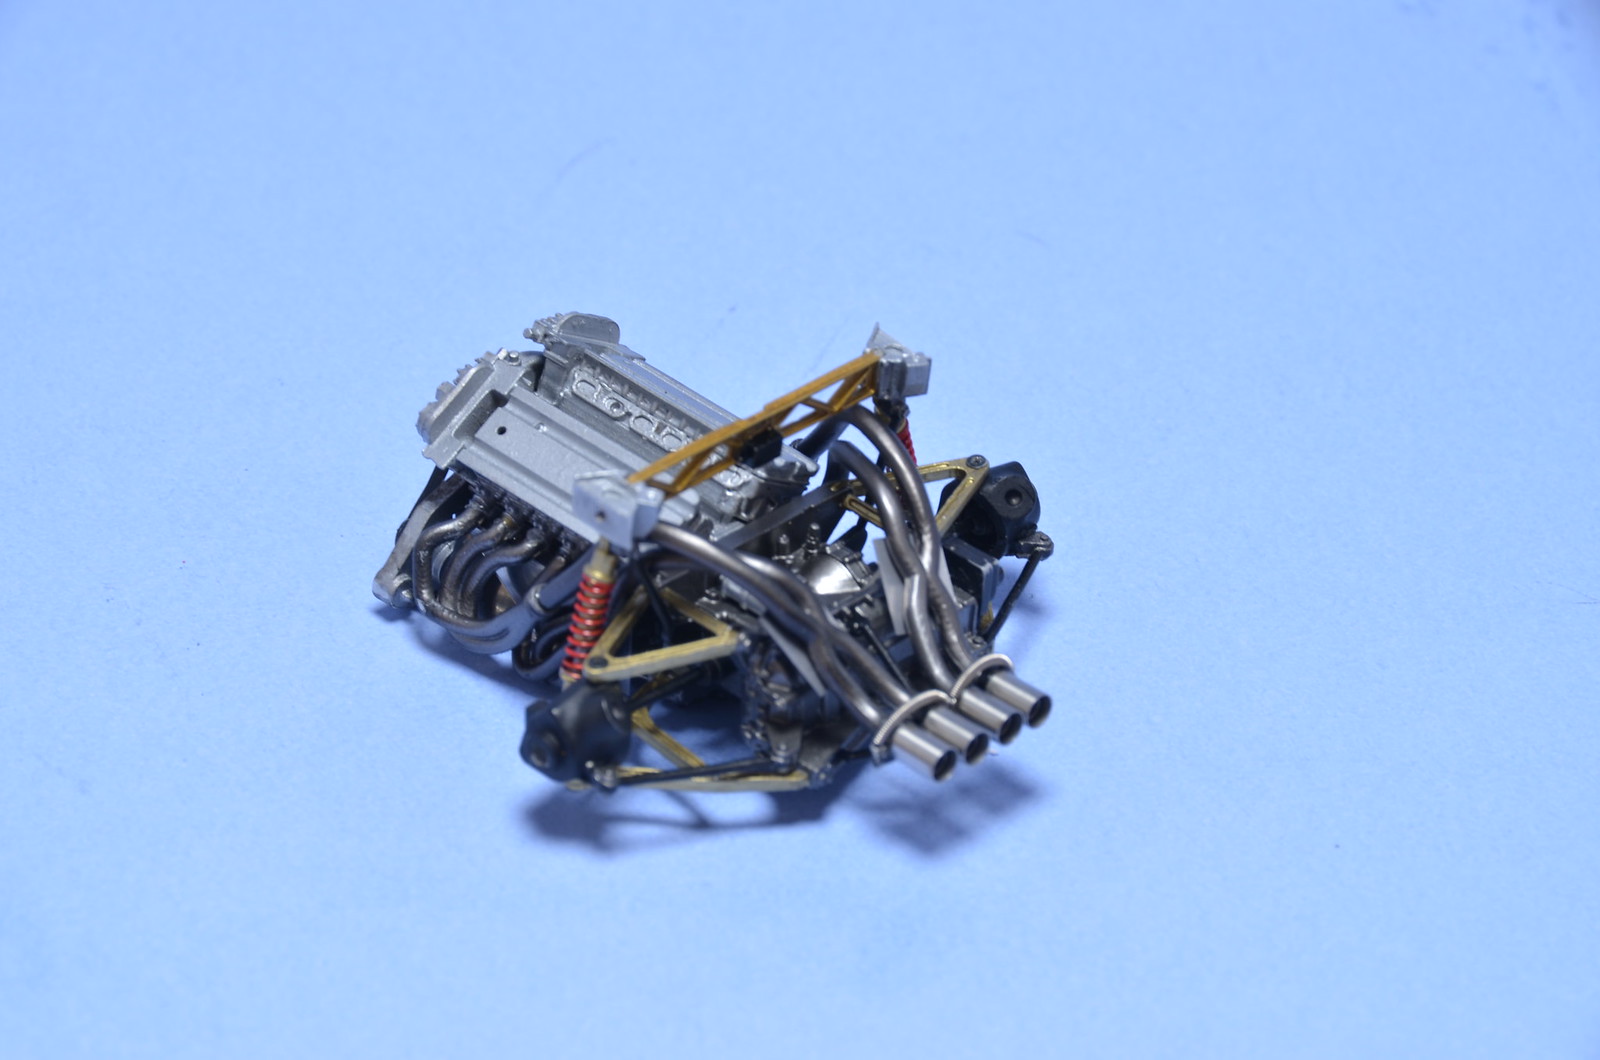
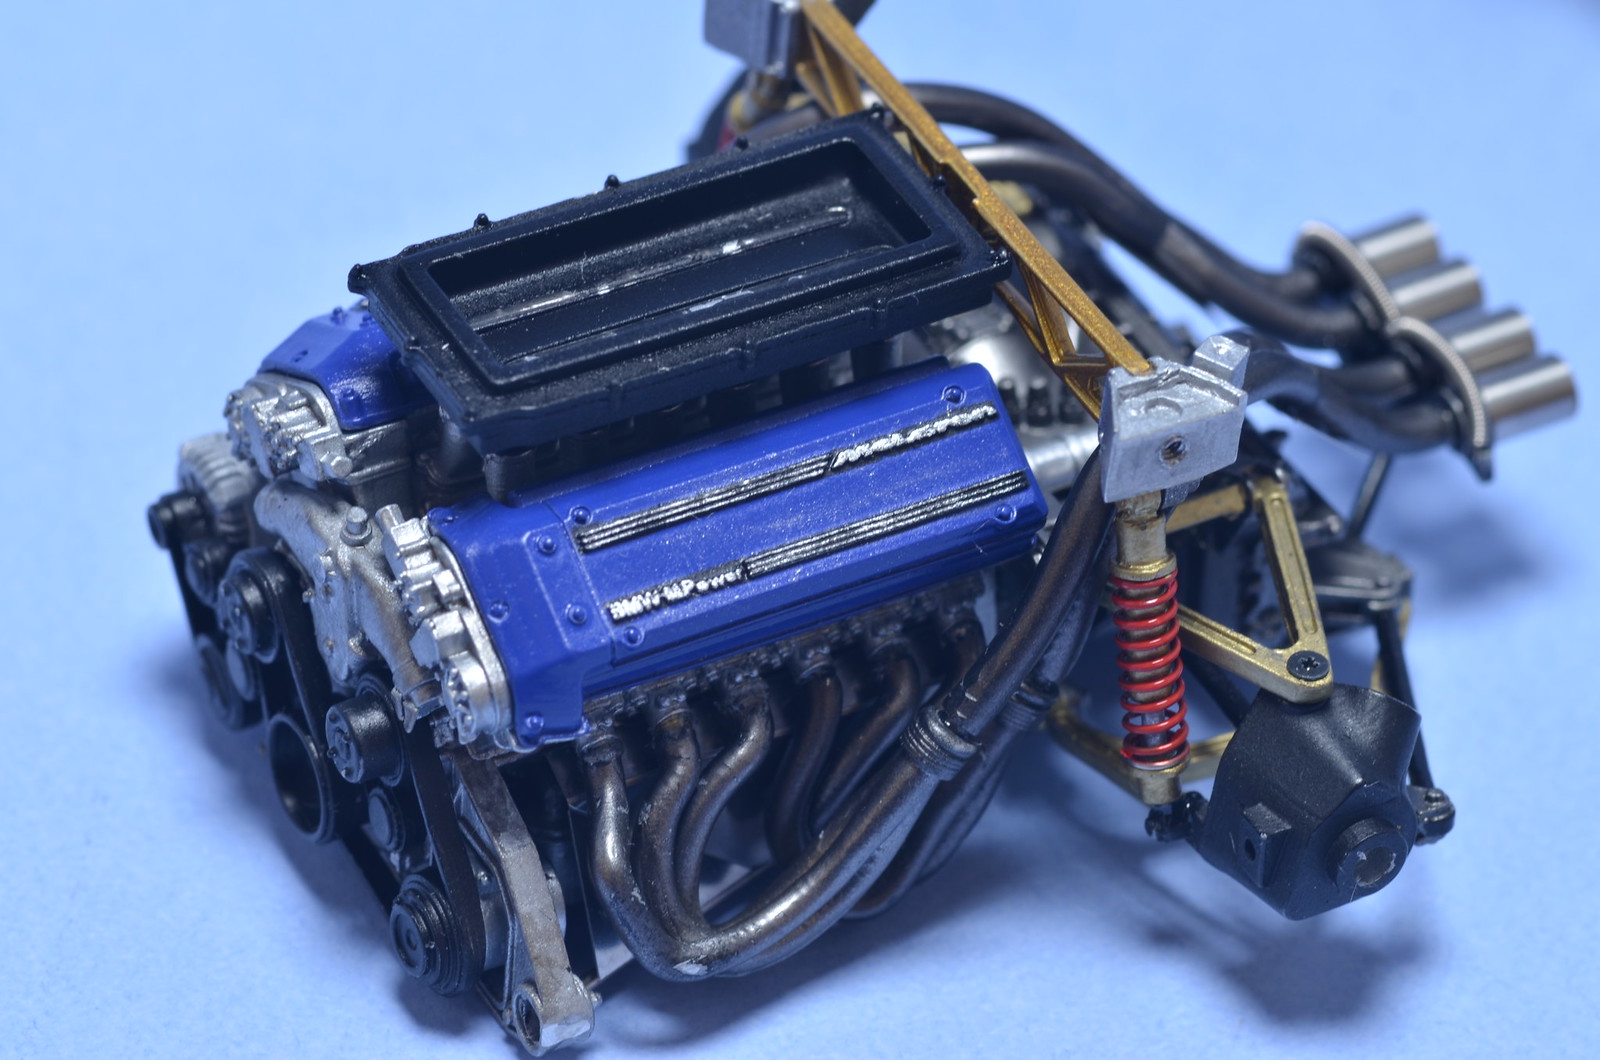
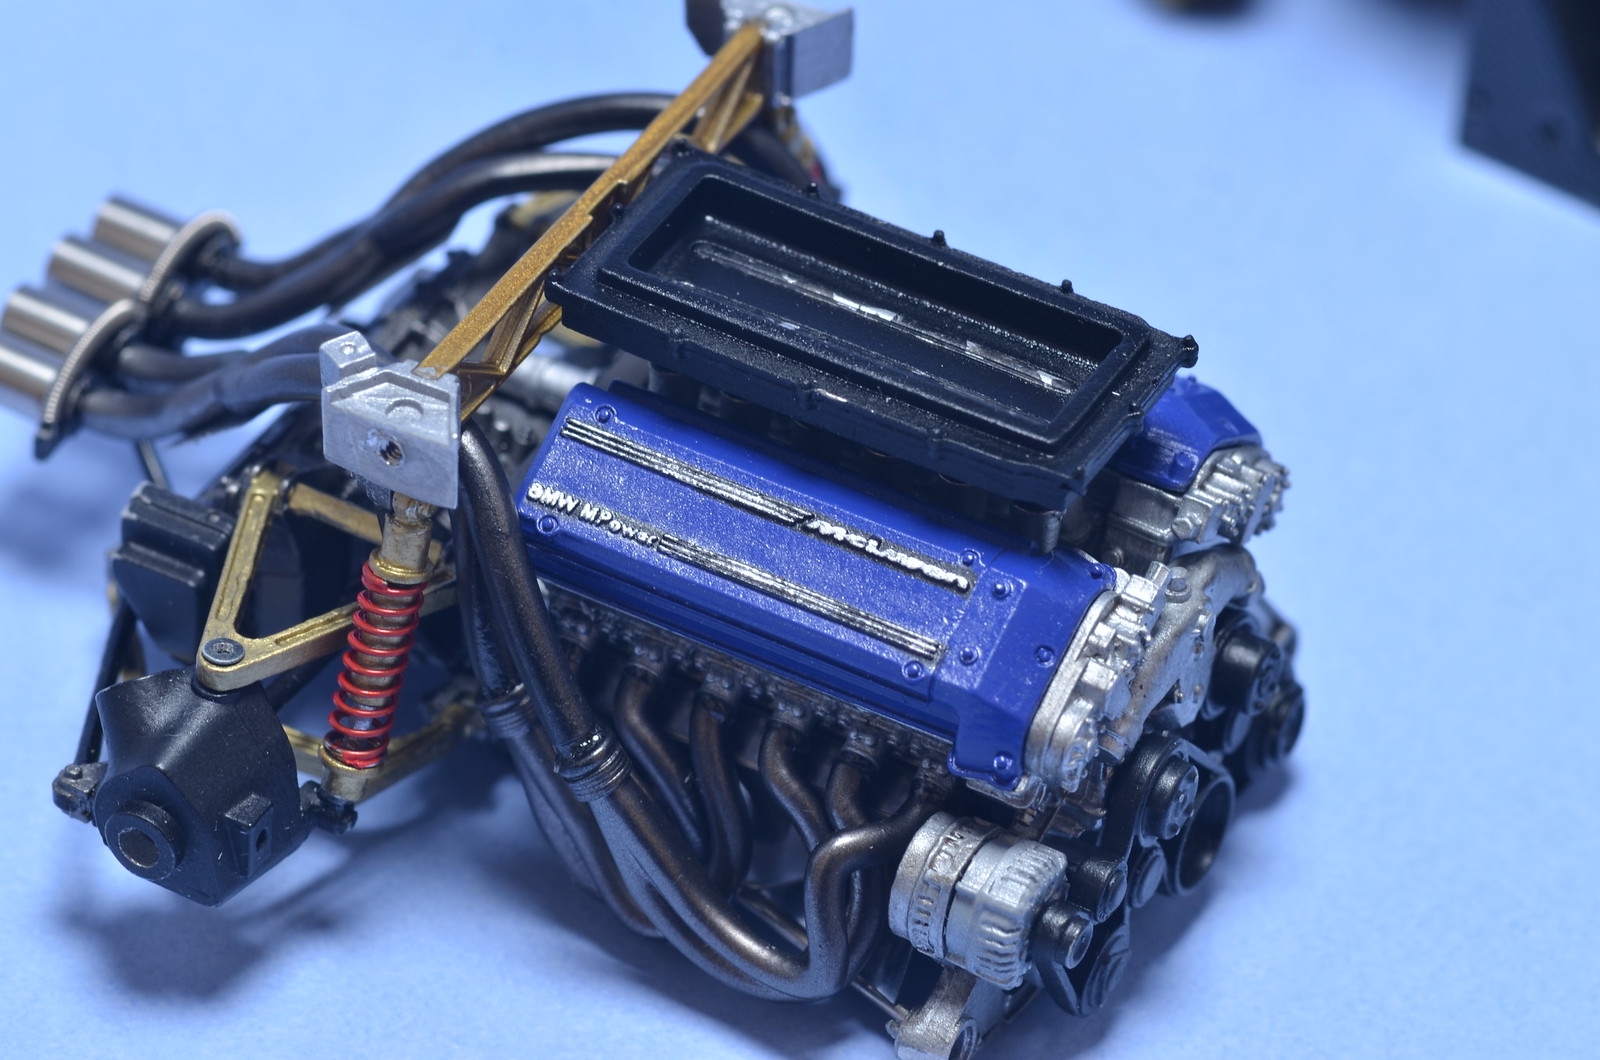
For cylinder head covers I first masked around scripts and painted black. Then tried to dry brush scripts with Tamiya X11 silver. I've used new technique described recently in forums - put small piece of tissue paper over wooden stick, painted it and pressed it onto scripts. It worked only to some extent for me. I had to use brush to touch up some of the paint later as well. As I've said, they are far from perfect, but at this scale, that's best I could do.
For padding on roll bars, I've used shrinkable electrical wire insulation. It shrinks when heated. Matches were used to produce heat. I could not put padding onto bars directly. Had to make insulation tubes shrink over toothpick first, then cut at the bottom and then transfer to roll bars and glue in place.

I've painted seat belt buckles black initially, but as soon as I started handling them, paint begun to chip off. I decided to strip paint altogether and just leave them unpainted. They look nice this way too. I've also decided to leave seat belt decals out.
For cylinder head covers I first masked around scripts and painted black. Then tried to dry brush scripts with Tamiya X11 silver. I've used new technique described recently in forums - put small piece of tissue paper over wooden stick, painted it and pressed it onto scripts. It worked only to some extent for me. I had to use brush to touch up some of the paint later as well. As I've said, they are far from perfect, but at this scale, that's best I could do.
For padding on roll bars, I've used shrinkable electrical wire insulation. It shrinks when heated. Matches were used to produce heat. I could not put padding onto bars directly. Had to make insulation tubes shrink over toothpick first, then cut at the bottom and then transfer to roll bars and glue in place.