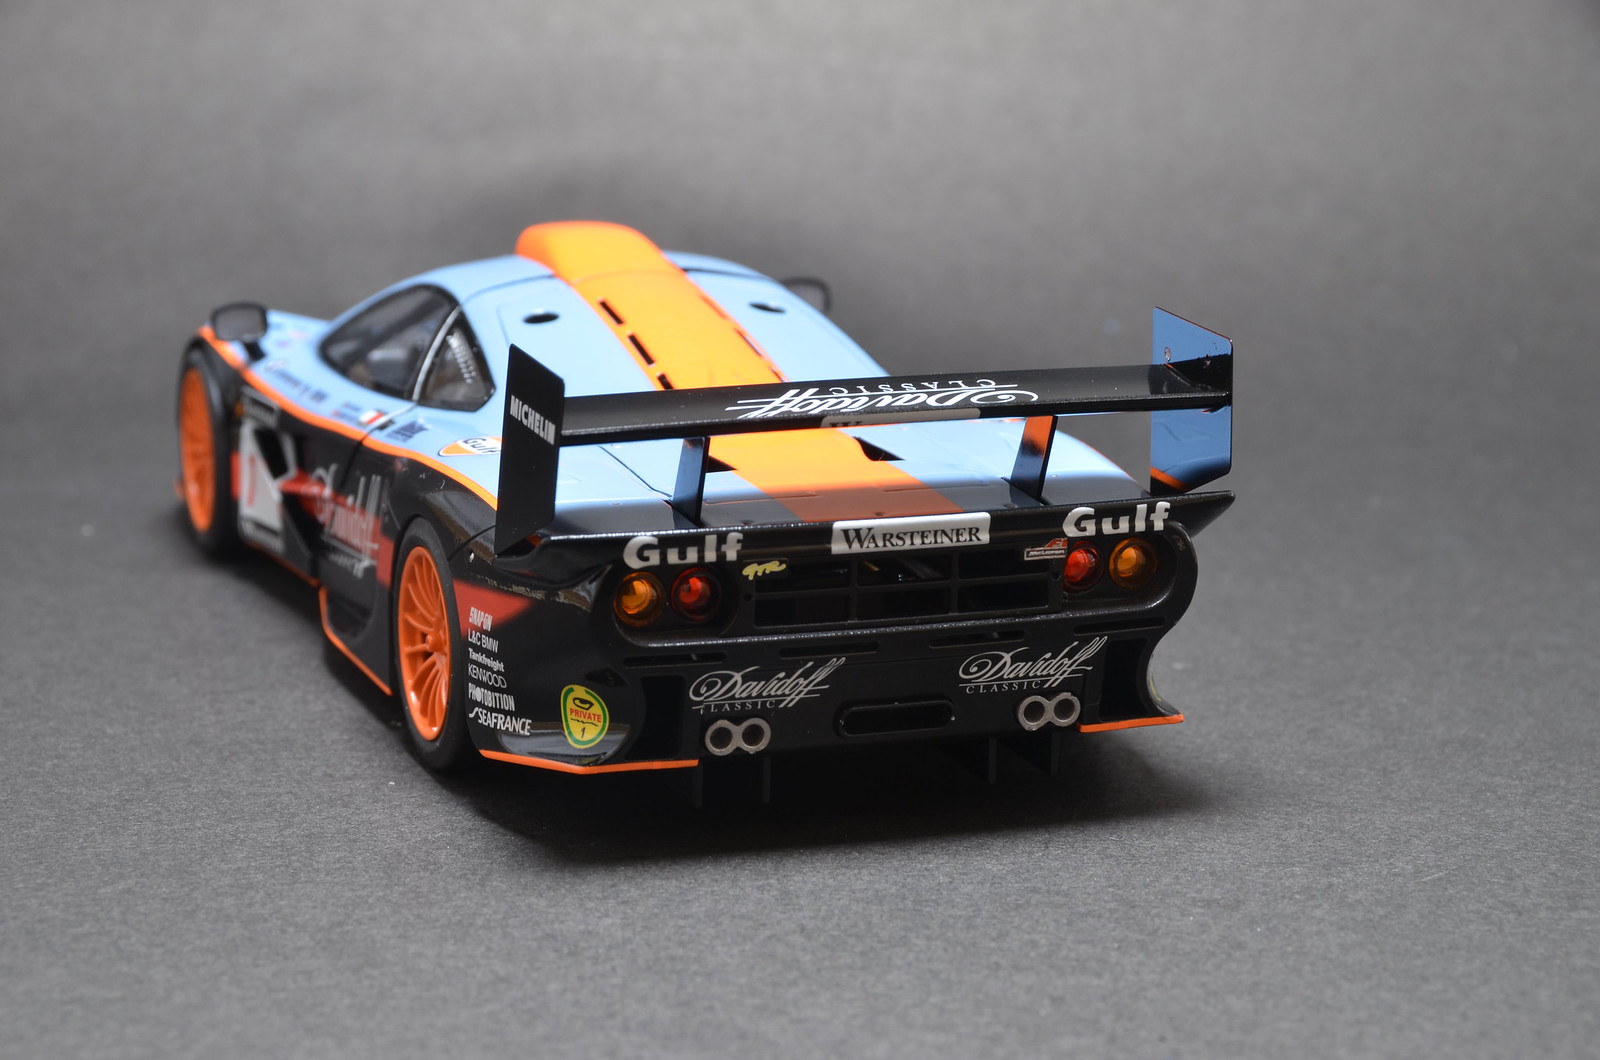
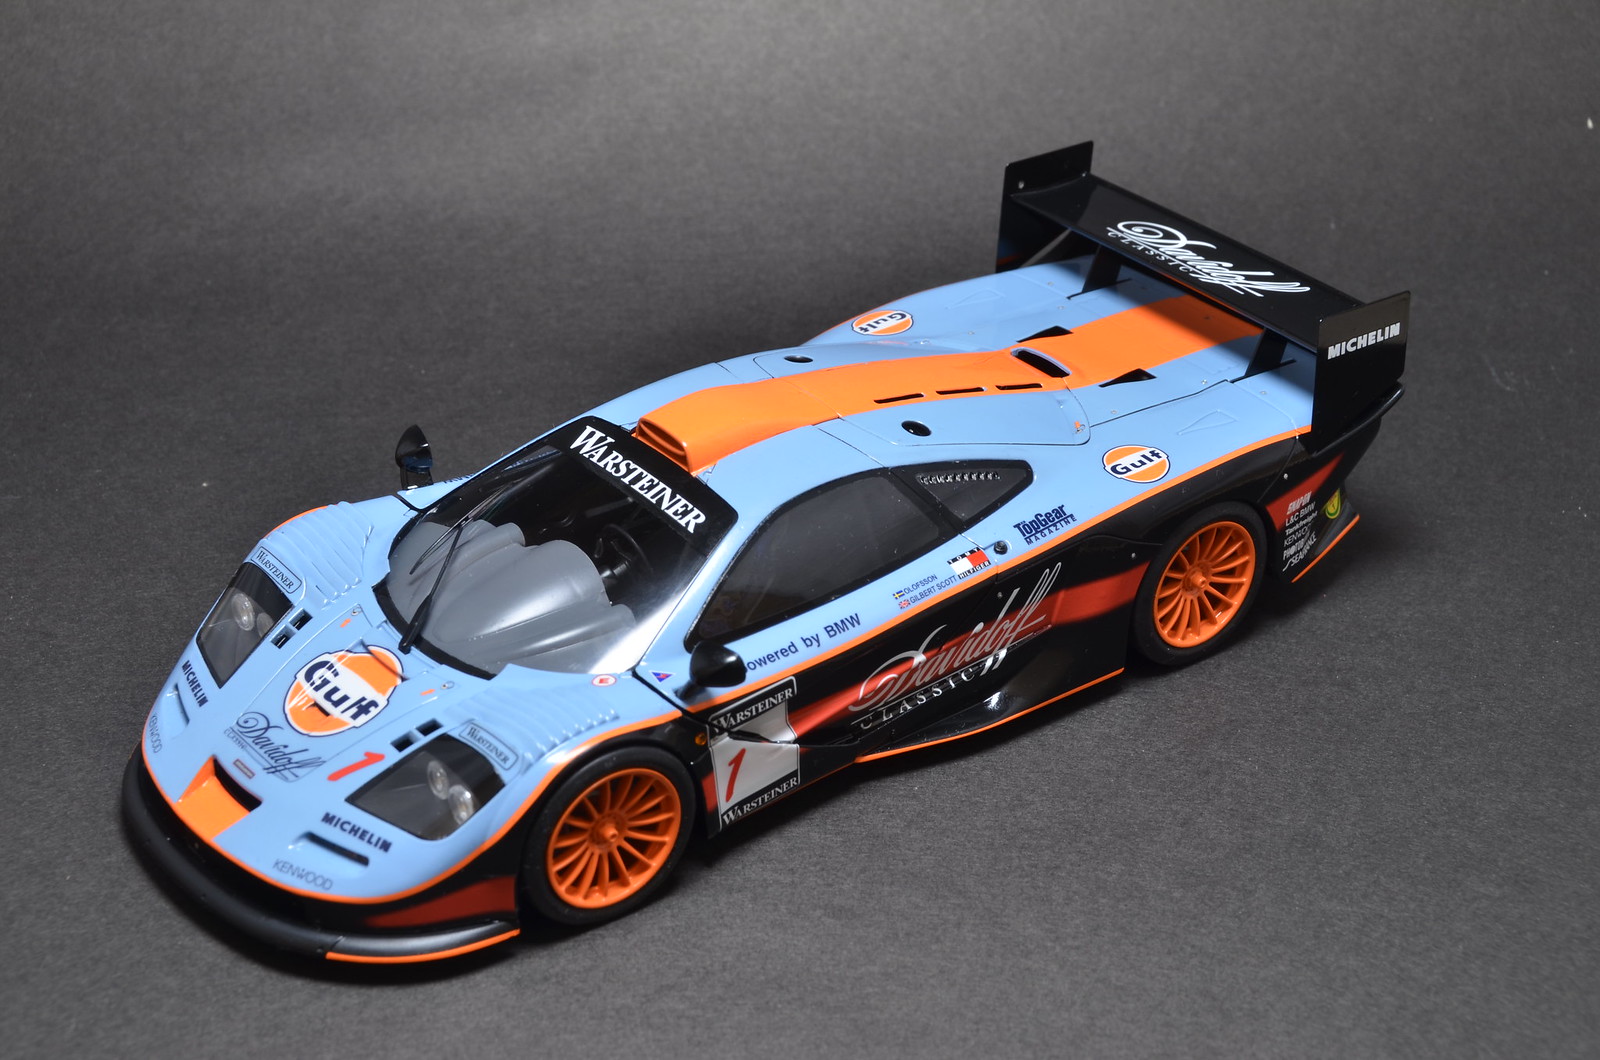
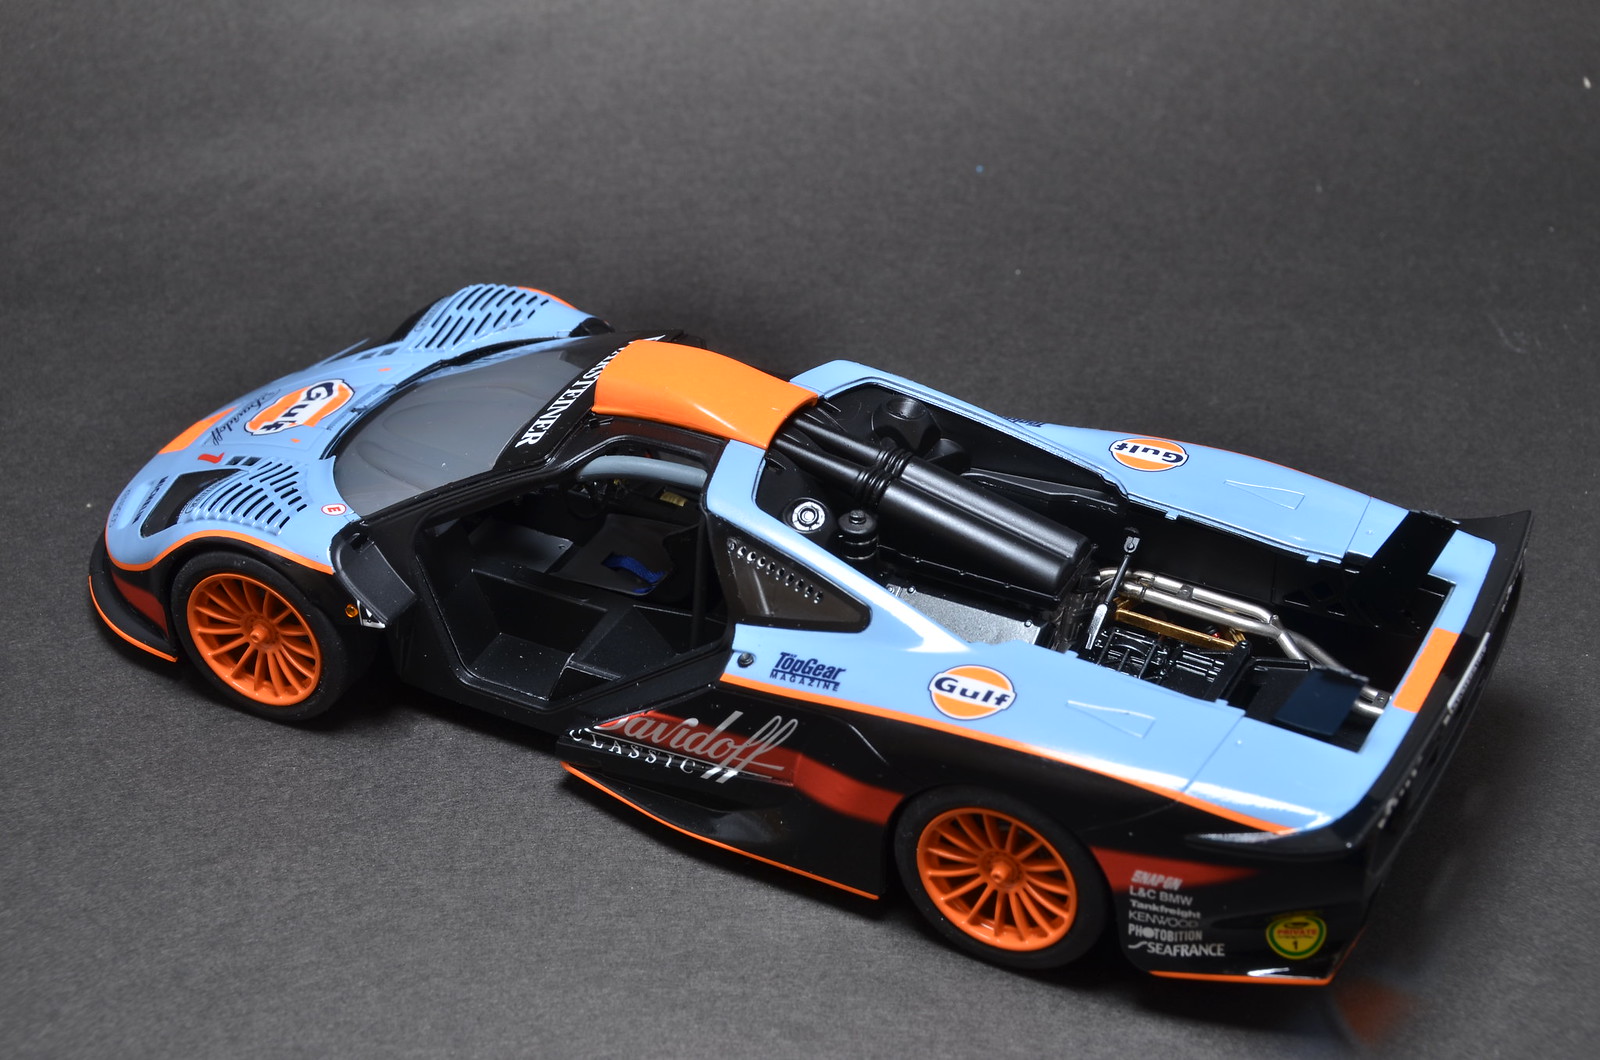
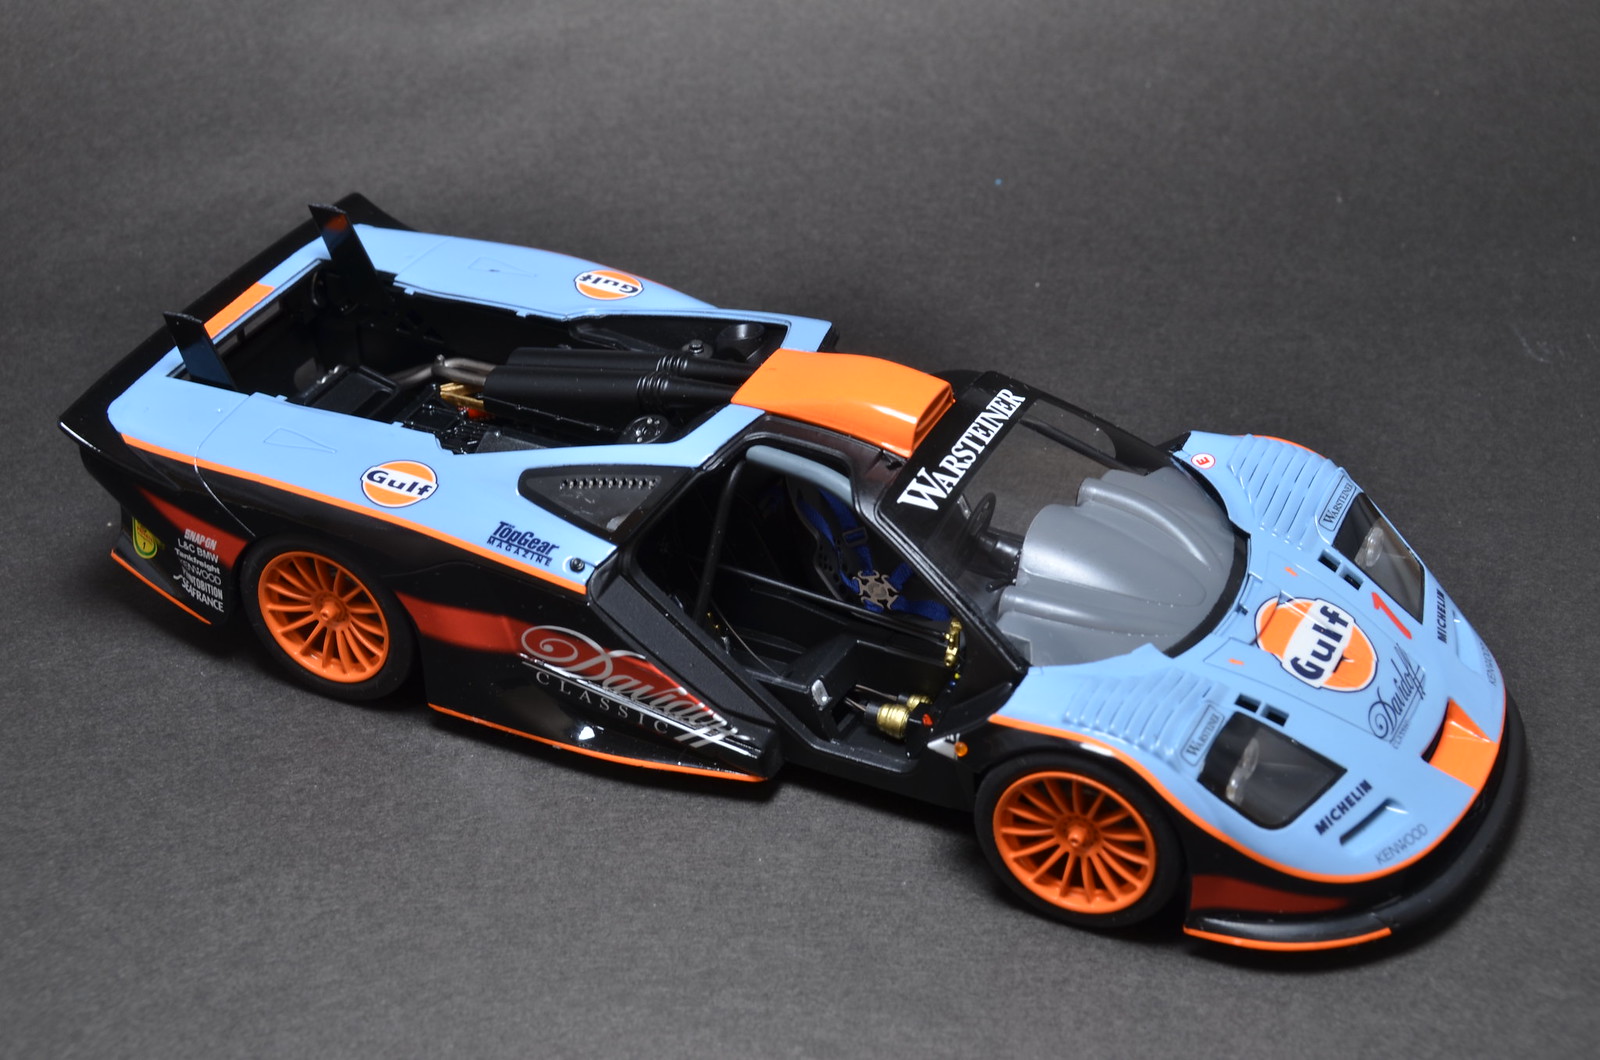
Sunday, December 21, 2014

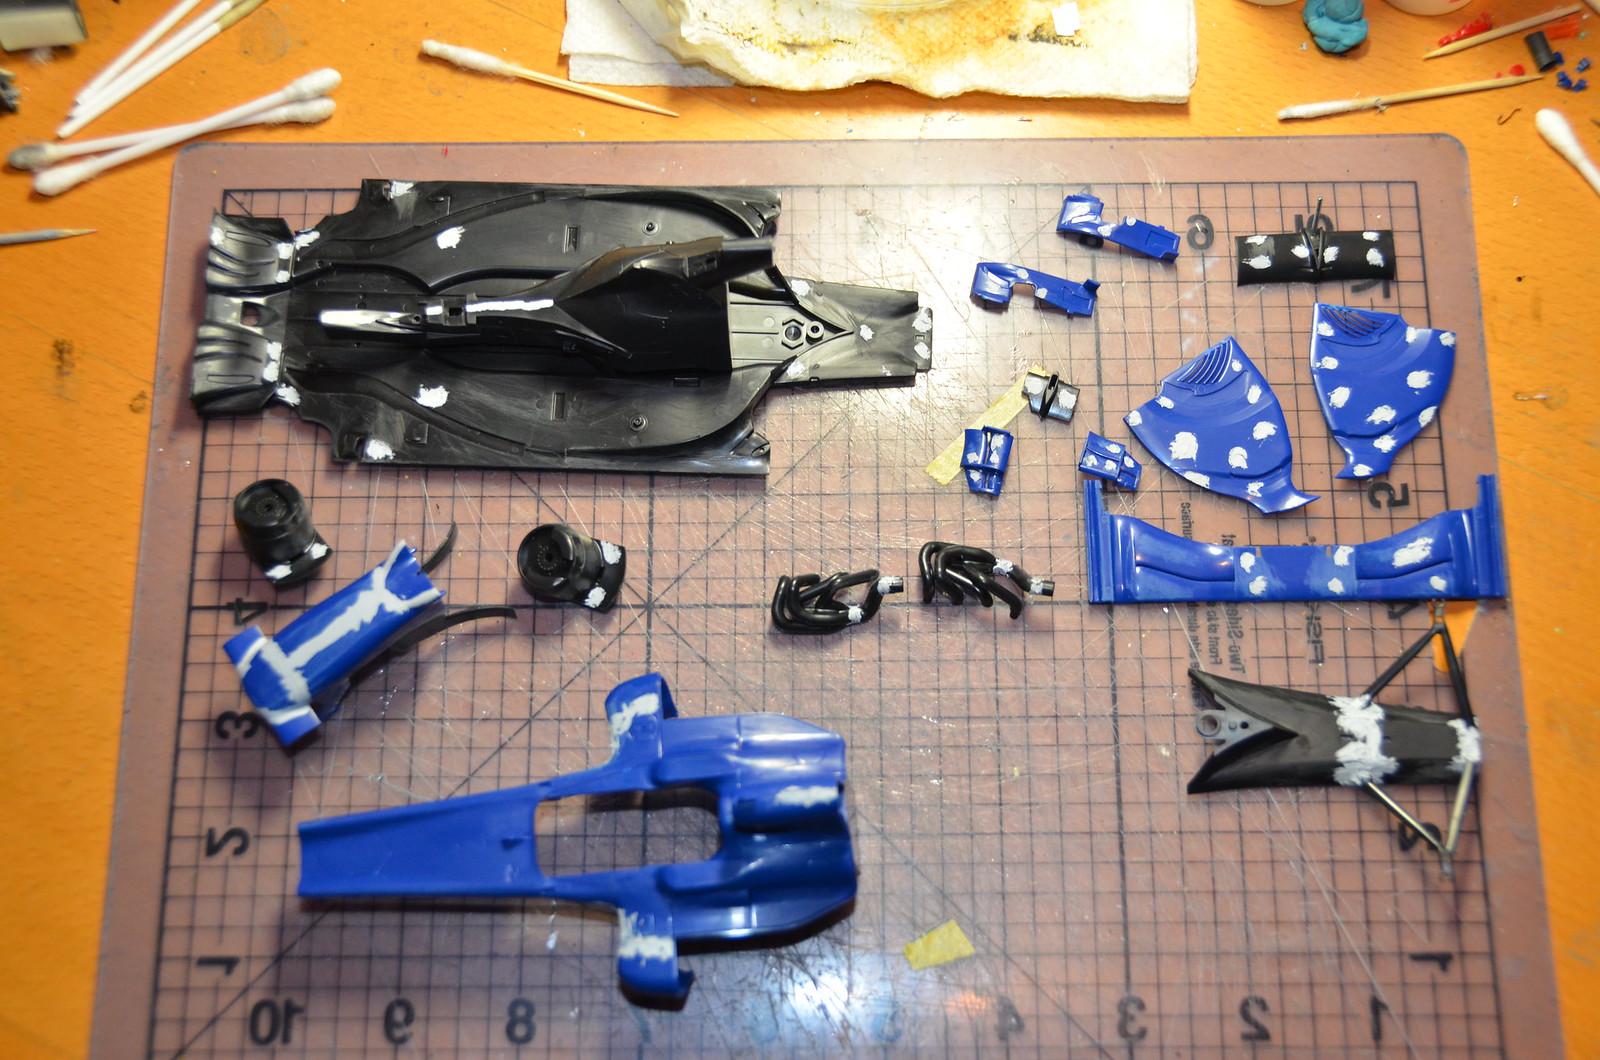
Preparation work continues

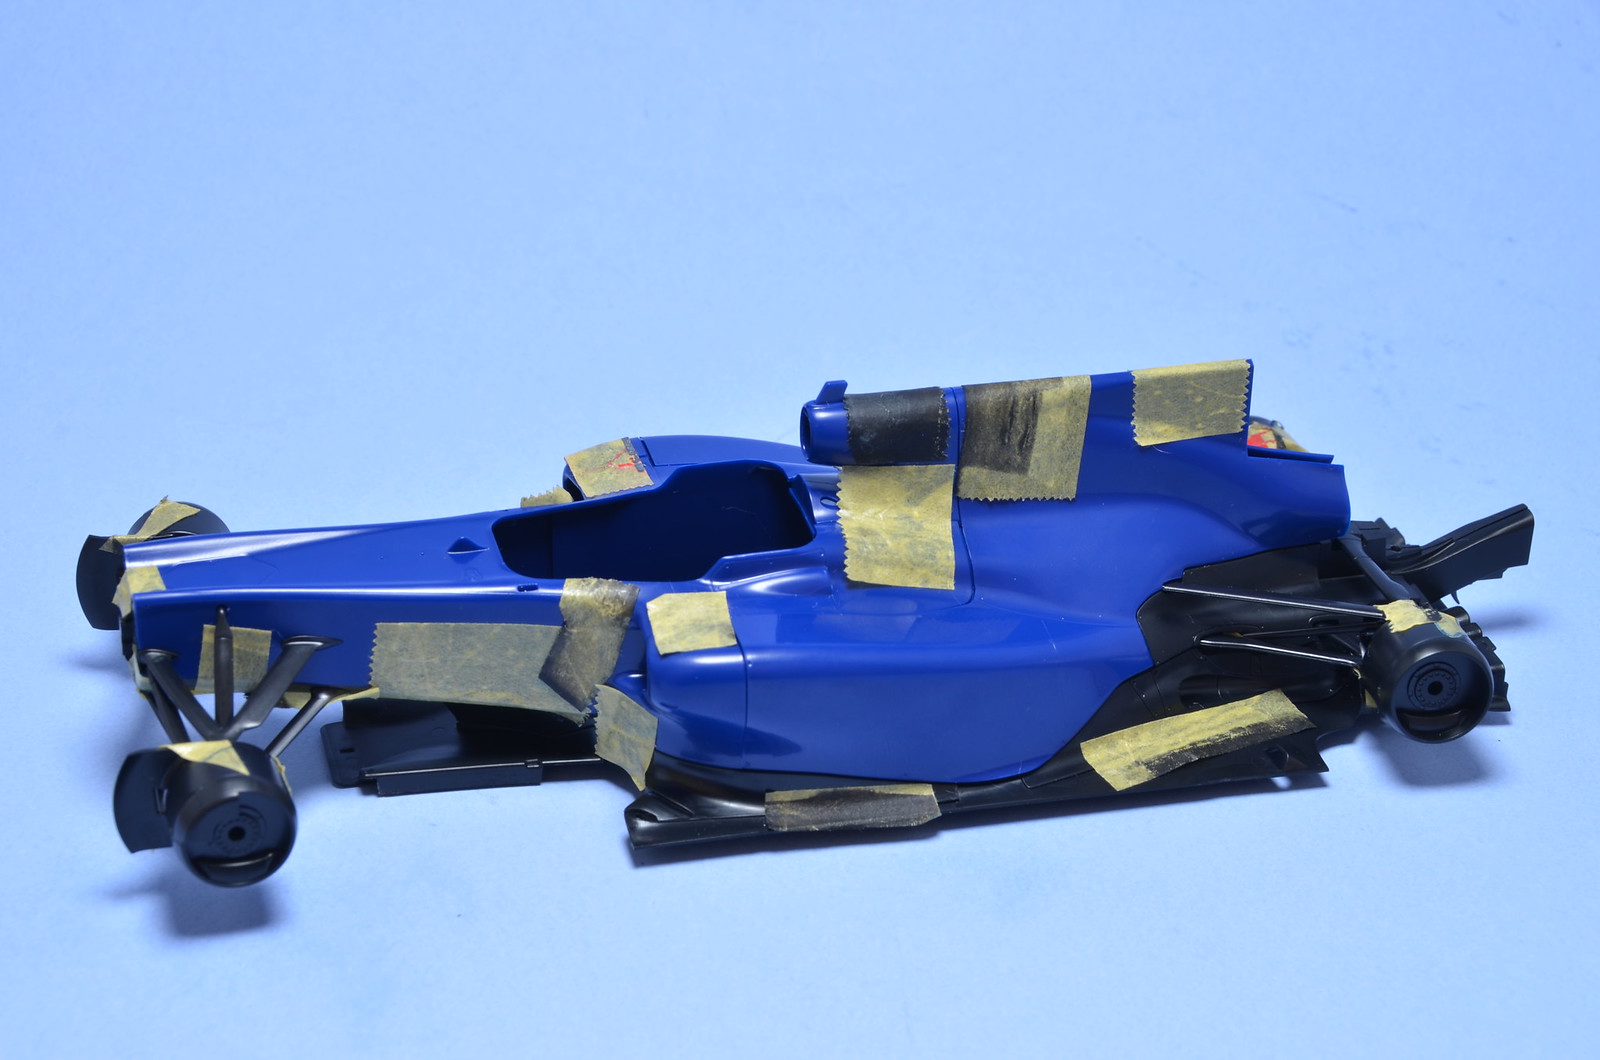
Glued together bunch of part before starting preparation work. Then filled in most of seams and plastic injection pin marks. Tamiya injection plastic parts are amazing, but it seems that big number of pin marks is a necessary price to pay for that. Some more seams to fill then parts should be off to priming step.


Monday, December 8, 2014

Started STR5 conversion

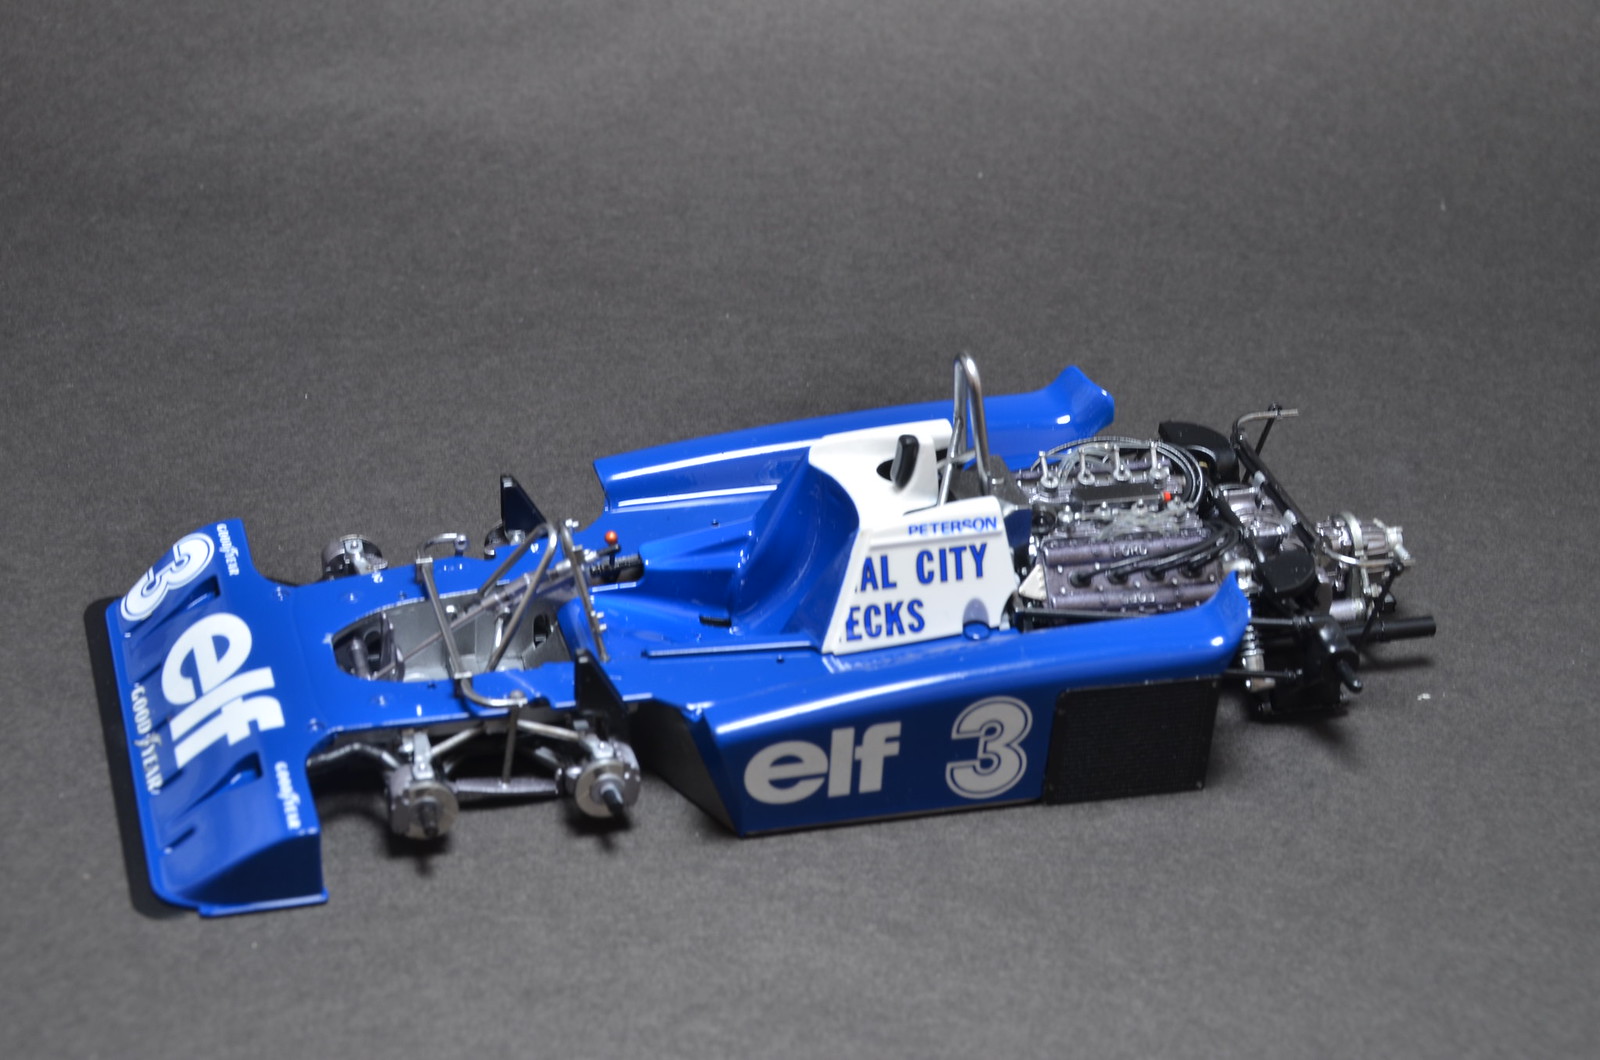
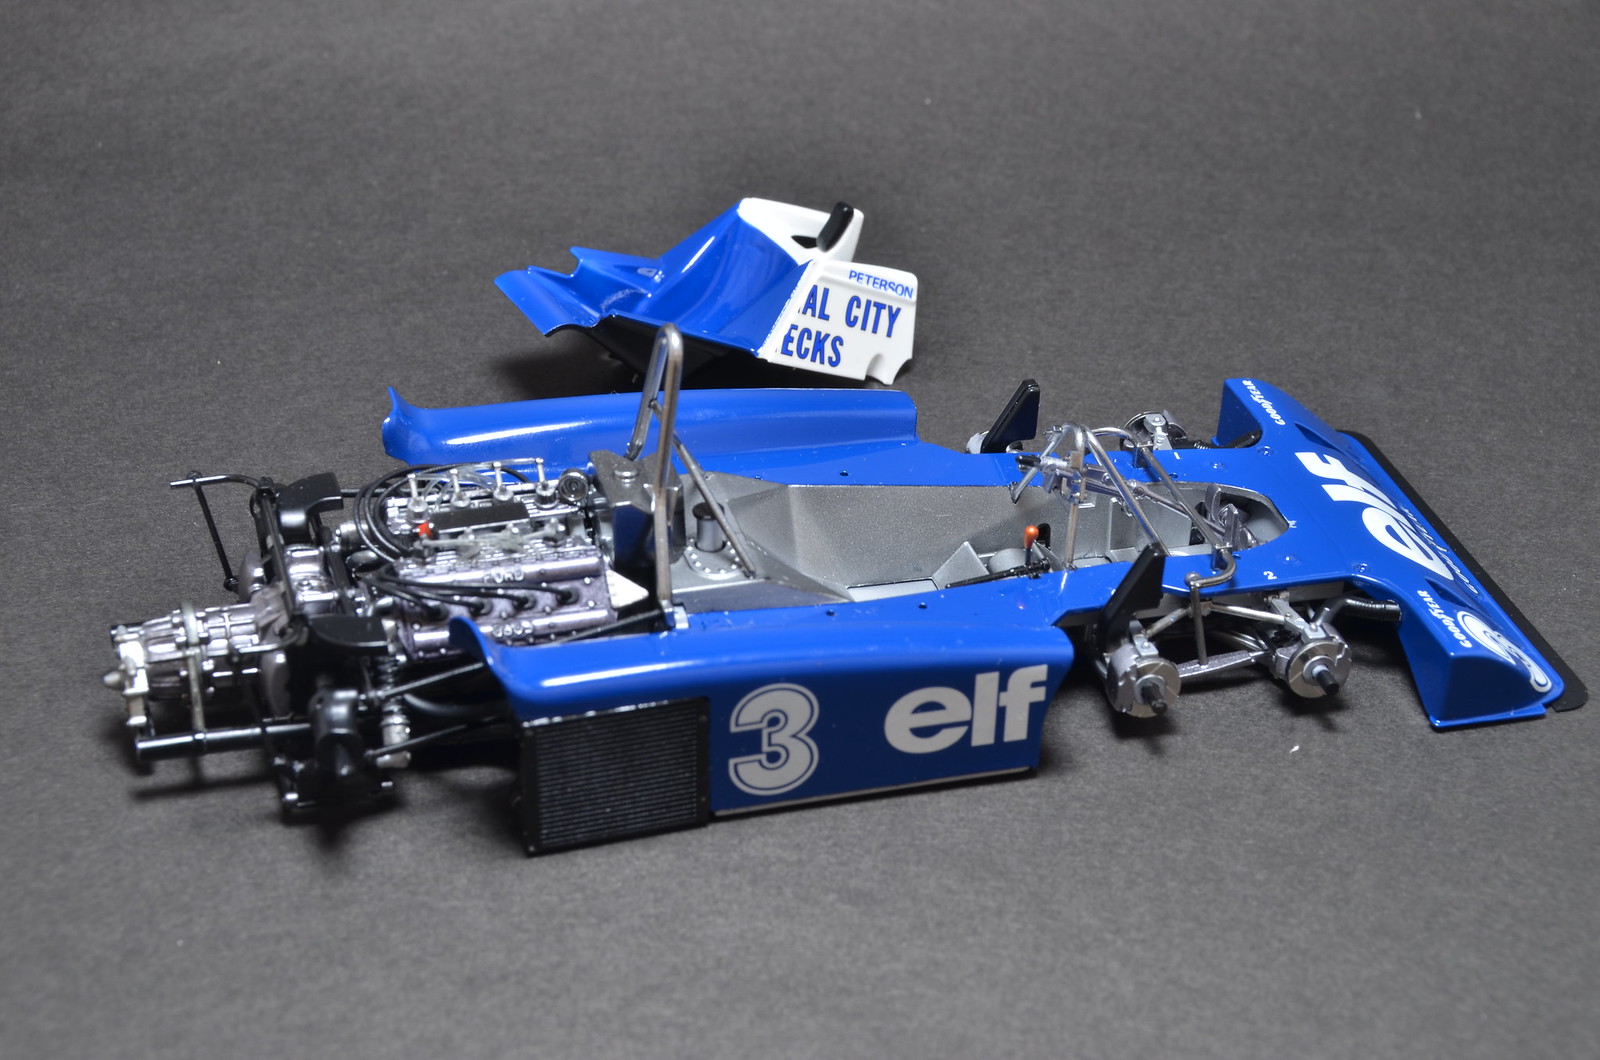
I have too many builds of multimedia kits at present. Need to have one easy build of plastic kit to keep me sane and motivated. Started my own conversion of Tamiya RB6 into STR5 car. So far, just removed most of the parts from trees, done test fit assembly. Next I've started to glue together some parts, which should be put together before surface preparations start.

Tamiya kit fits together very well, as usual. Major challenge will be engine cover. Plan is to use parts from Studio27 Monaco trans-kit. However that requires a "surgery" on kit parts and then I have to re-assemble kit parts with resin insert from S27. Unfortunately S27 didn't make any kind of guides or slots or anything to help align parts. I hope to be able to use mocked up chassis and engine/gearbox sub-assembly to help me align engine cover parts for gluing.


Saturday, November 15, 2014

S27 B186 re-build continues

Not too much progress over last 2 weeks, but some work has been done. Repaired damaged body tail and started working on suspension. Even done some preliminary test fit assembly. Front upper suspension arms seems to be at too much of an angle, but I don't see any other way to get proper ride height. Main issue is angles of rear suspension arms. On real car upper arms go bit upward and lower arms seems to go a bit downward. In the kit it complete opposite. The only way I can see to connect arms, uprights and push rods is to have upper arms point a bit downward and lower arms point a lot upwards. I don't like that, but could not come up with solution so far. It seems that i would have separate lower arms and re-attach them to gearbox at higher points. Not sure I will be willing to do that sort of modifications.

Here are some quick shots. Sorry for poor lighting and mess on my workspace.


Saturday, November 1, 2014

S27 B186 re-build started

I like this car and for a long time has been chasing a Studio27 kit, which is the only kit of this car available in 1/20 scale. Eventually I've found a started model. Fortunately for me it is complete and has two sets of decals. Though 4 white decals are missing. I've got help with a scan of full decal set and hopefully I will get help and get them printed for me.

I've started with stripping all paint and disassembling engine parts. Got pretty much all old paint stripped and parts ready for restart of preparation work. Still have to disassemble rear suspension and gearbox parts.

First 2 photos are started kit as I got it. Last photo is of how parts look now.


Got a win

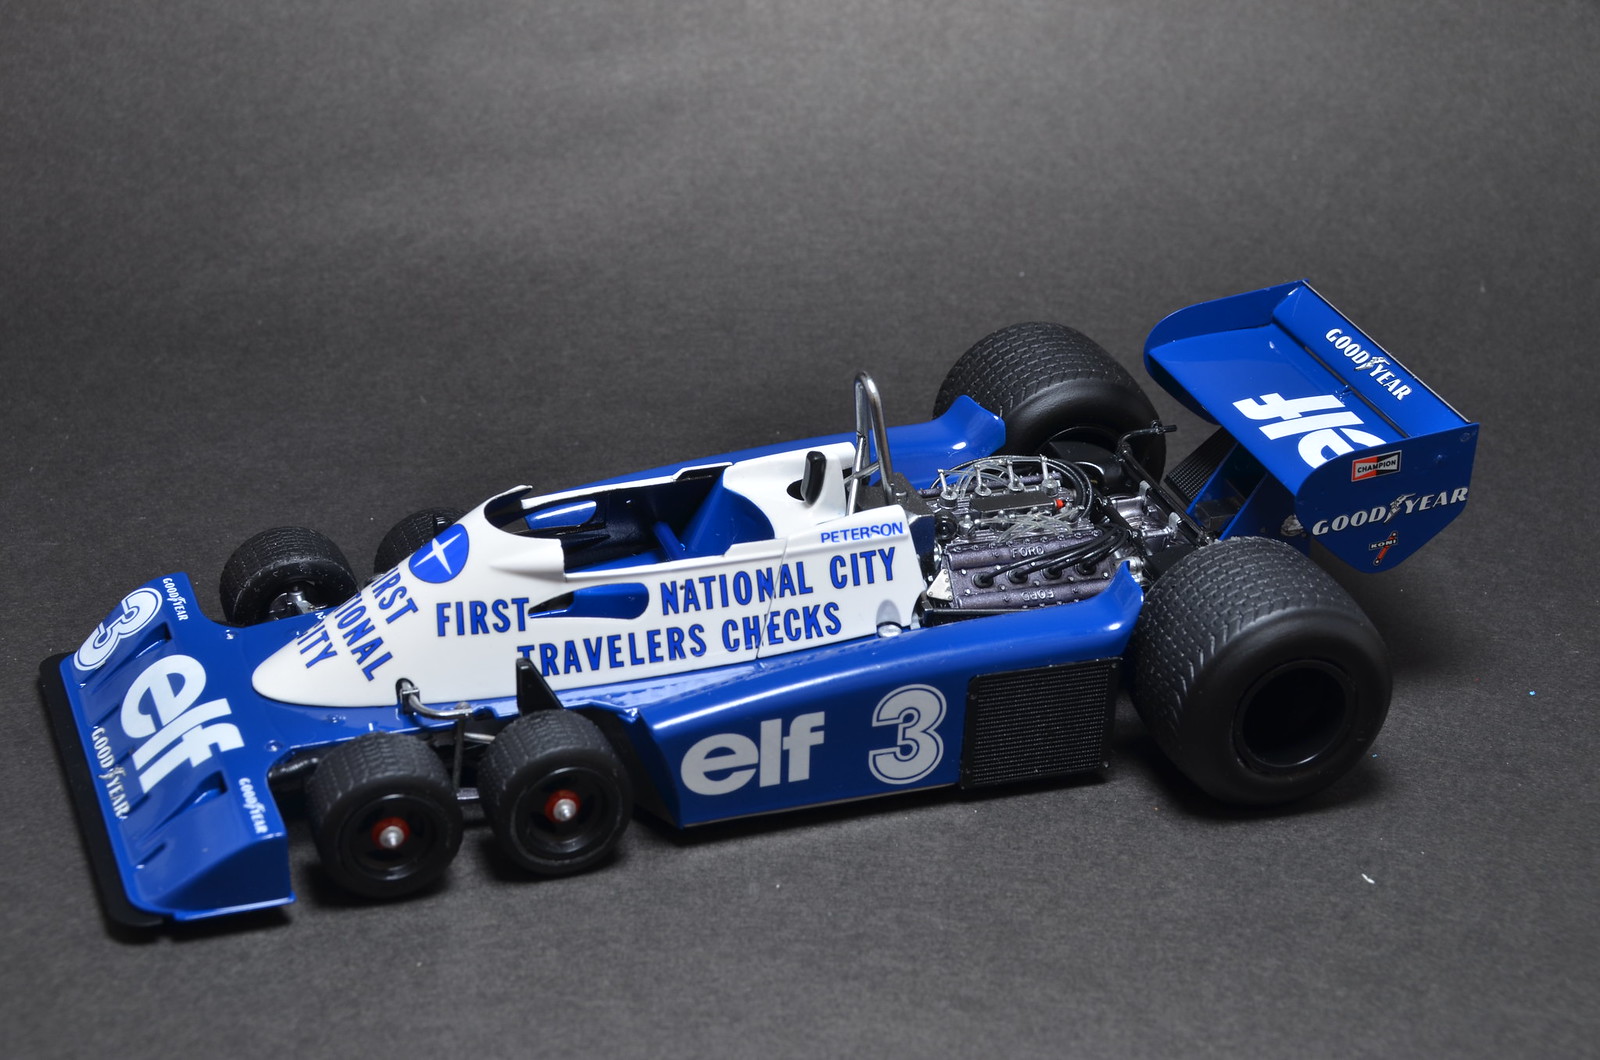
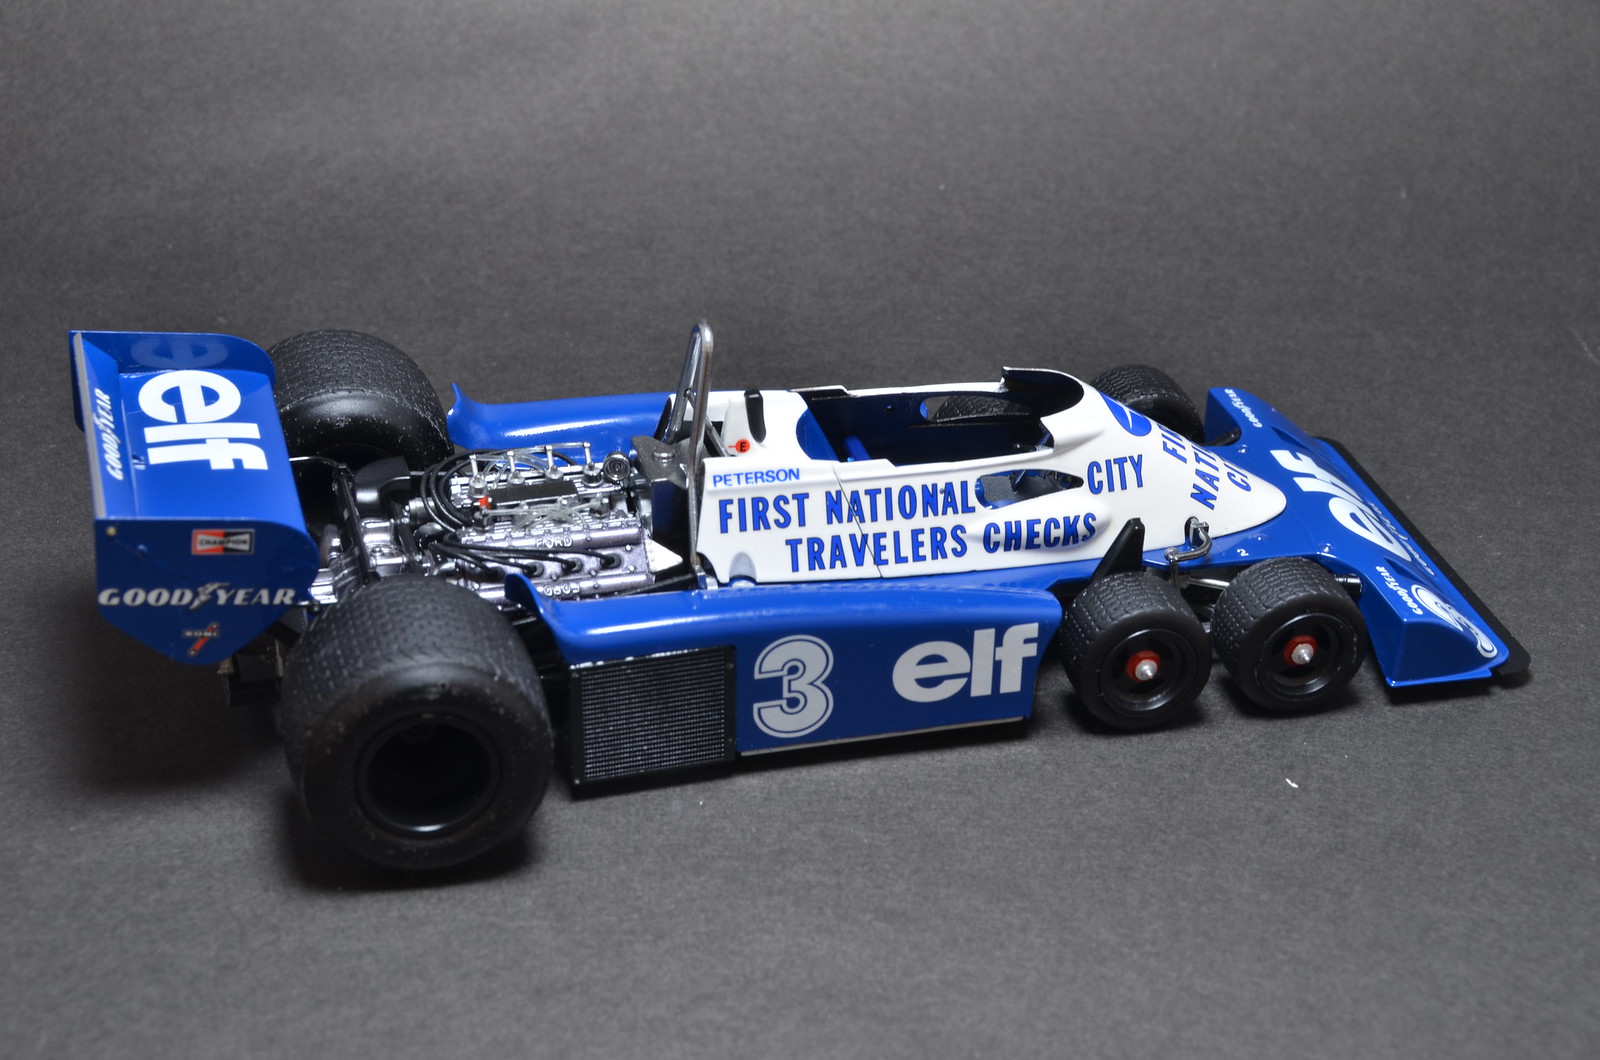
Took this model to IPMS Toronto 34th model contest. It won first in "Competition Closed Wheels" category to my surprise. I was surprised, but I was happy about it as well. That's because on this contest there are bigger competition and quite a few great models. The issues with the build are still fresh in my memory and that's why it was a surprise to see judges to give it 1st. Here is late photo of the model with that medal beside it. As far as I'm concerned this model is out of my pipeline as well. I will add small things later.


Out of pipeline

Worked a bit on P34 - added seat belts, PE flaps to the front and clear plastic inserts into cockpit surround. For now it is completed and out of pipelane as far as I'm concerned. I still have to do tires at some point, but don't have motivation at present.


Friday, October 24, 2014

Almost done

Not 100% finished, but very close. That's probably the last update in WIP, before it goes to Completed section. Attached rear wing and rear view mirrors, as well as exhausts. Then PE simulated rivet heads and emblems at the rear. Last added few remaining small decals.


Thursday, October 23, 2014

Putting it all together

I have removed some bigger in size "orange peal" spots, but many small ones are still there, just not very visible on photos. I'm not going to invest more time in it. So, that will do for this model.
Getting close to completion. Not much change visually, but major assembly steps were completed. Body is mated with chassis. Only rear wing and mirrors are left to attach. Then bunch of PE simulated rivet heads.


Saturday, October 18, 2014

Clear is on. Windows attached.

More progress over past week. Got clear coat on top of decals. Then masked and pained black on inside panels. Also painted windows. Last night installed side windows, wind shield, rear and front lights. Not that much left to do. Here are few more mock up photos.


Monday, October 6, 2014

Ready for clear

Decals are pretty much done. It'll dry for couple of days and then it is off to get clear coat.


Tuesday, September 30, 2014

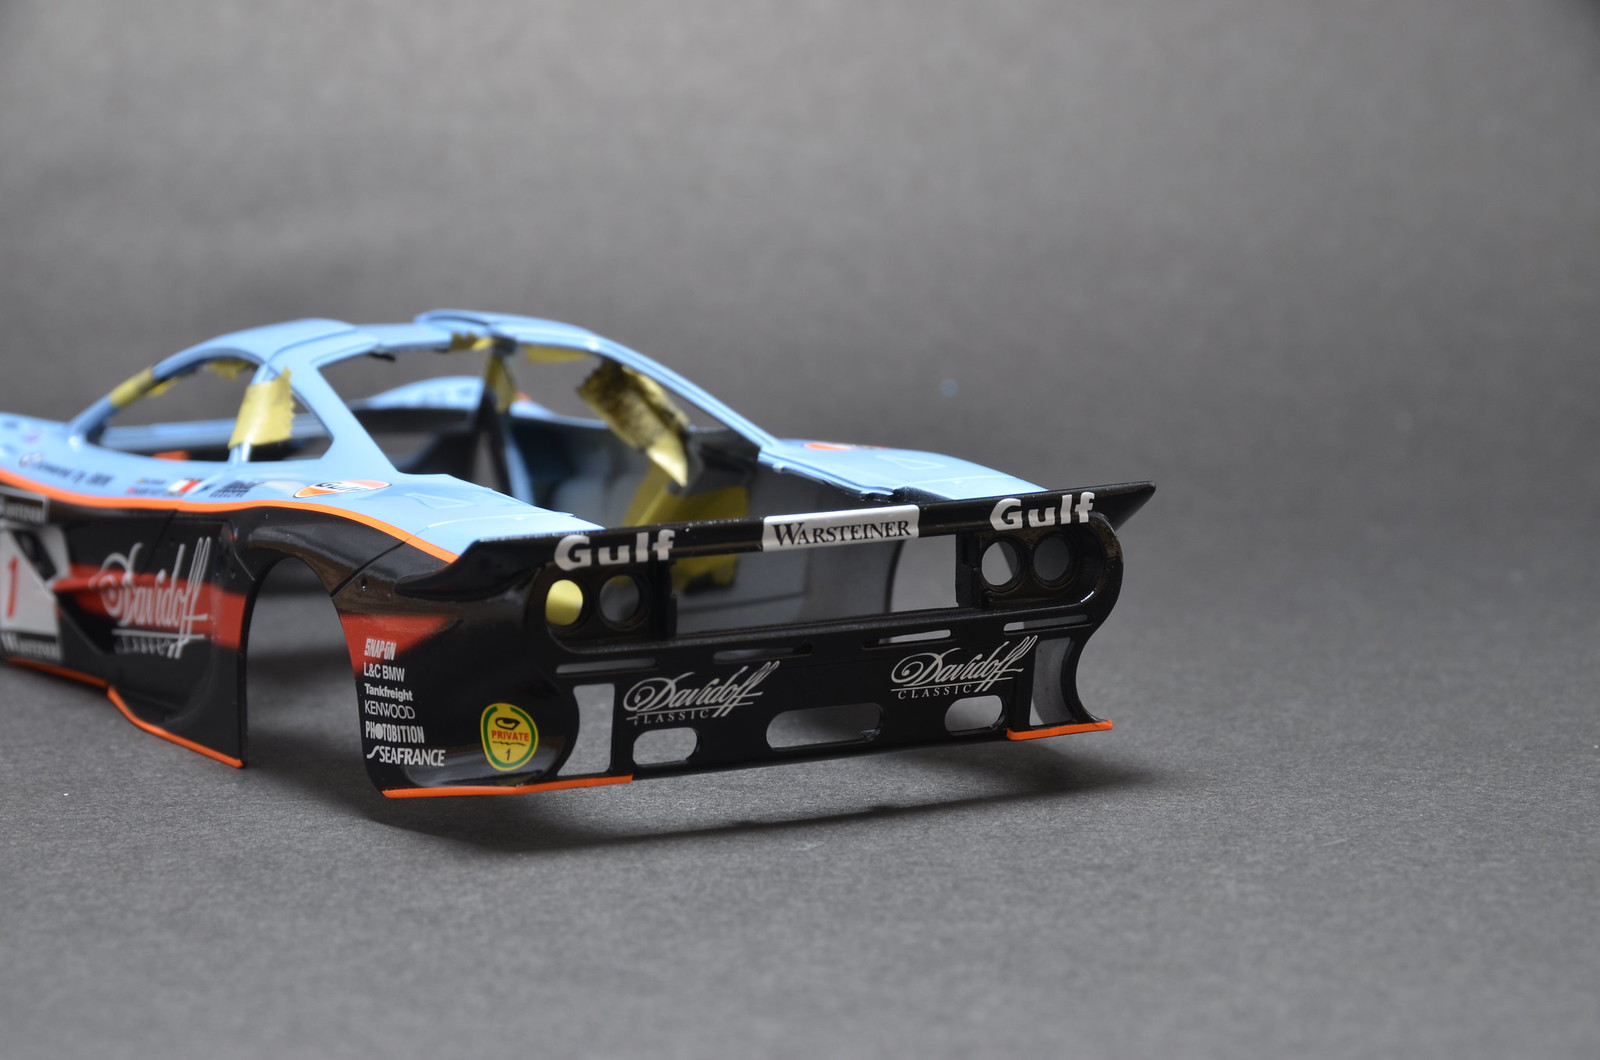
More decal work

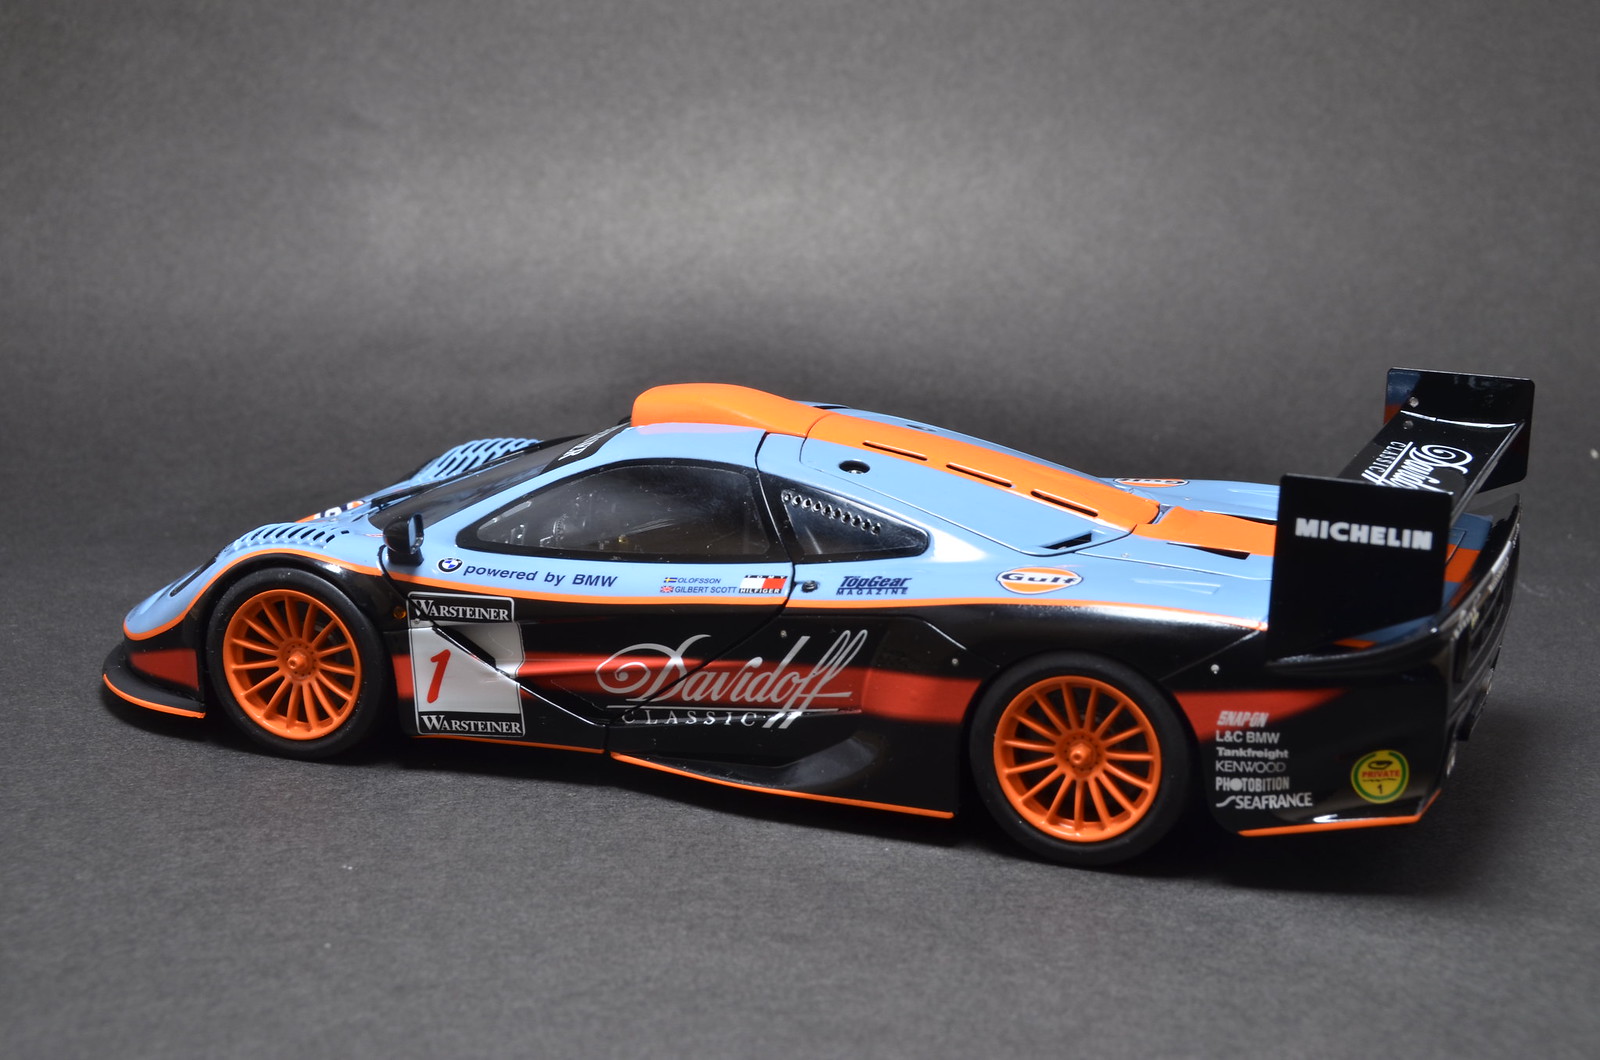
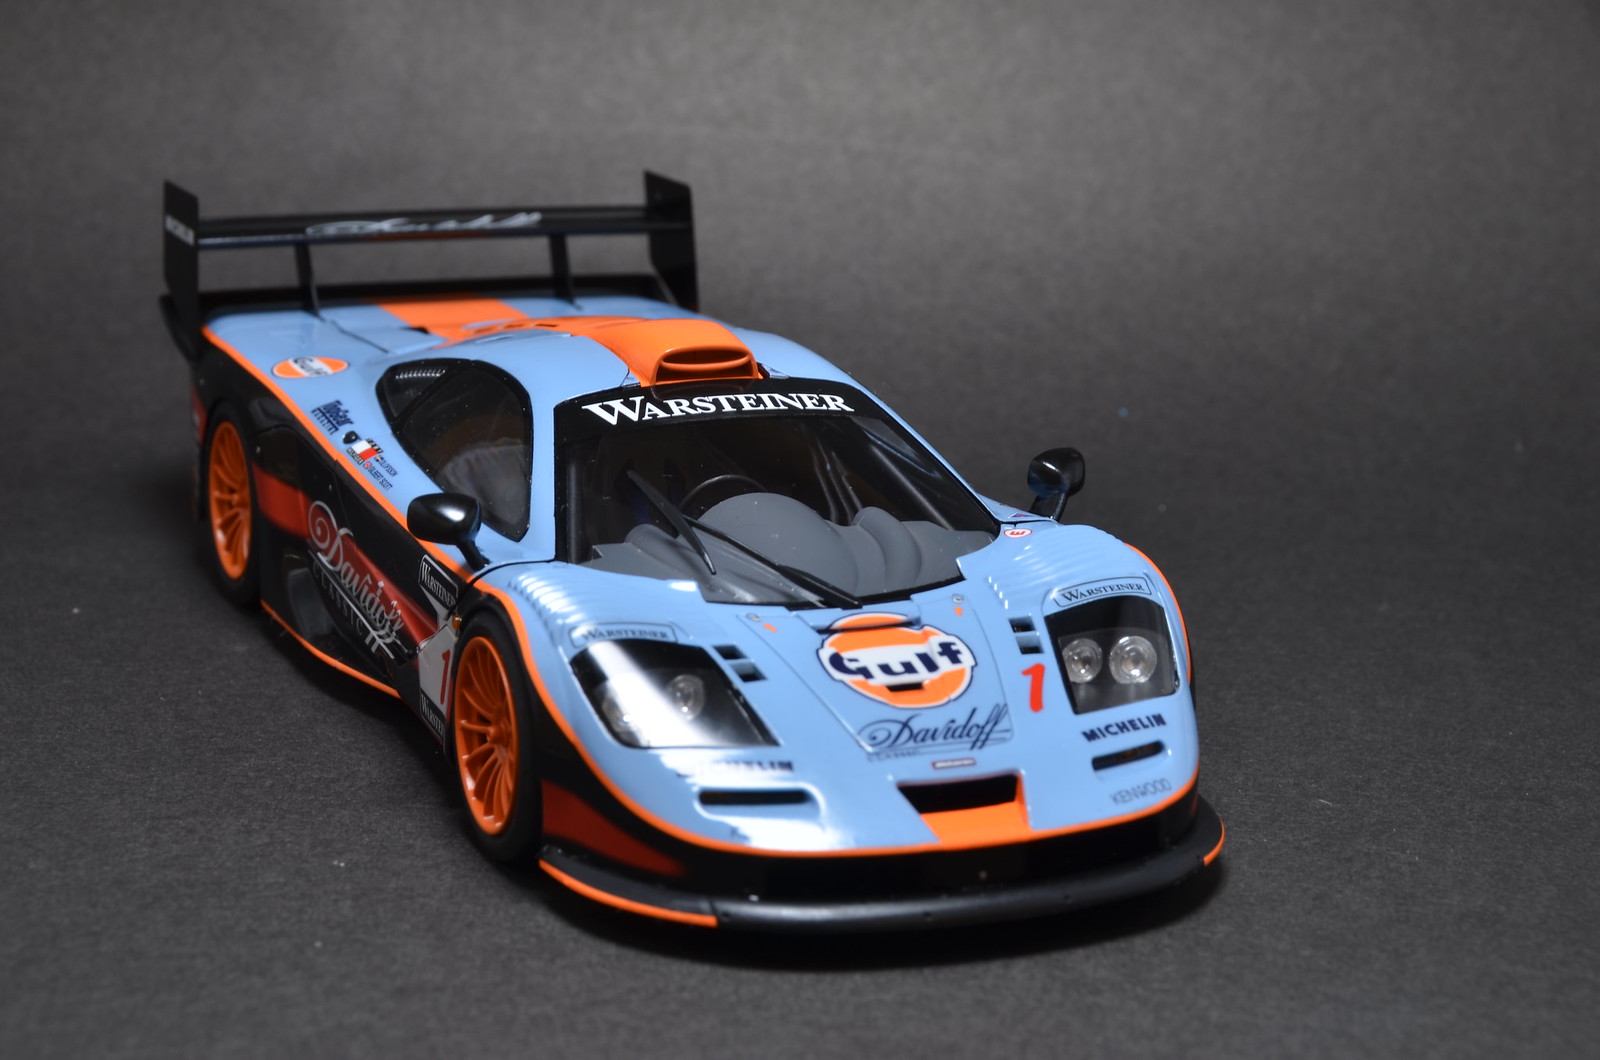
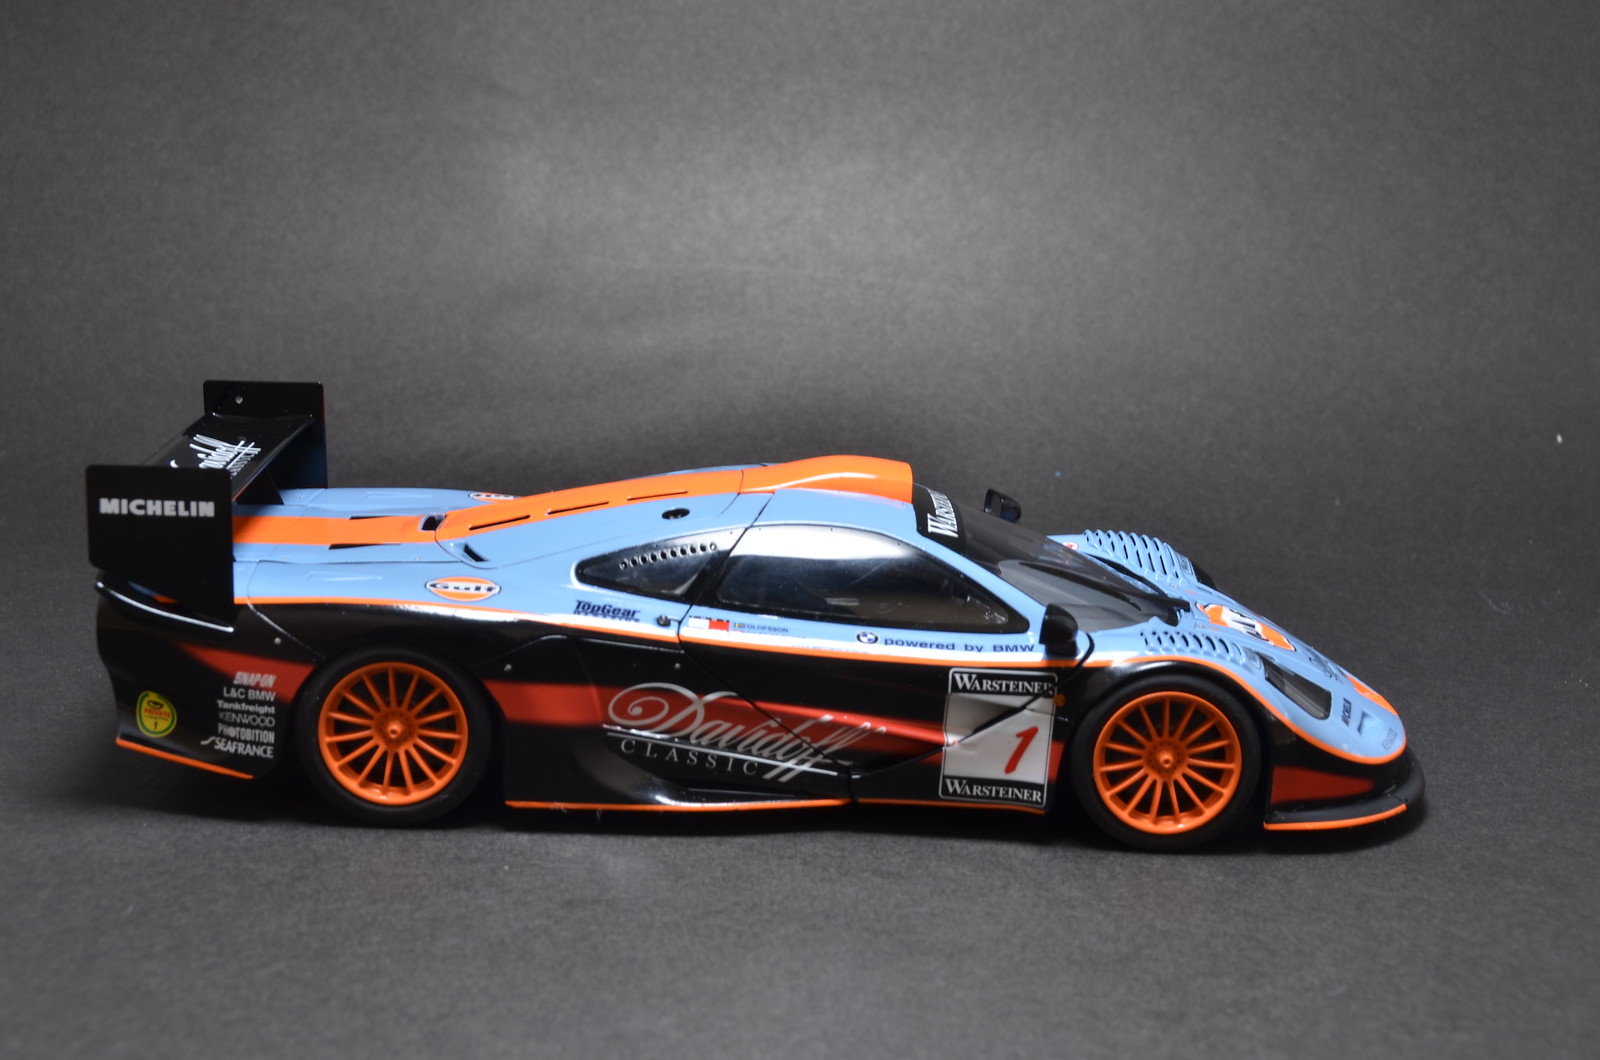
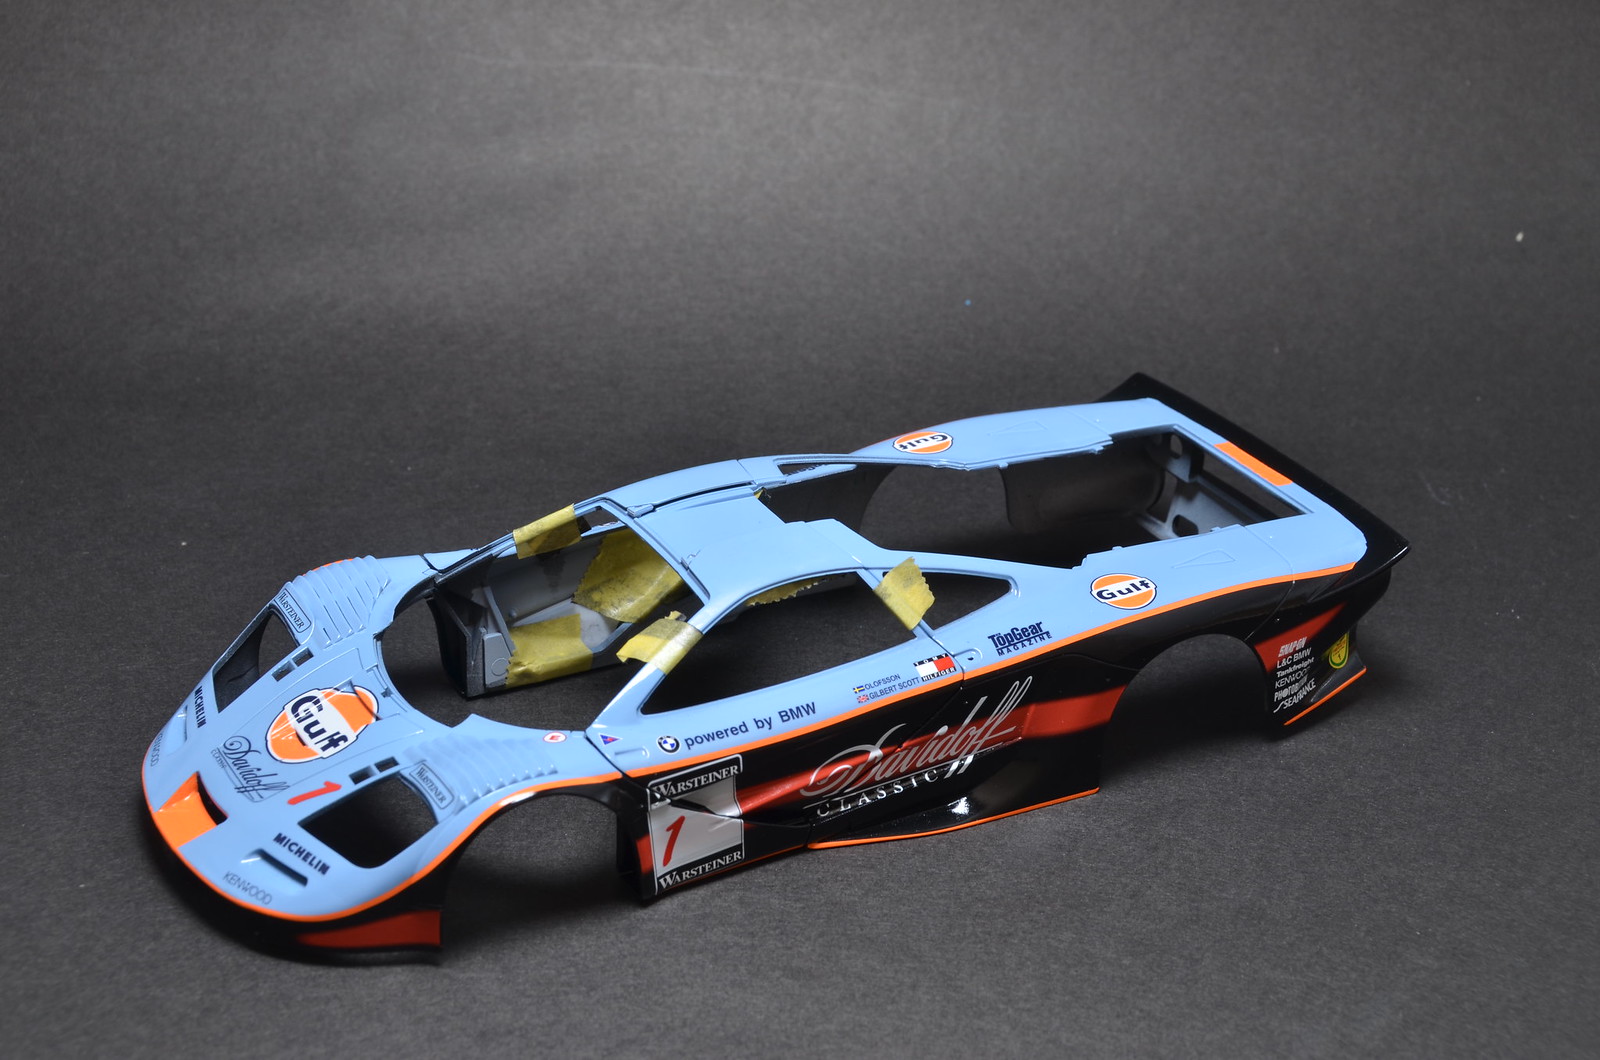
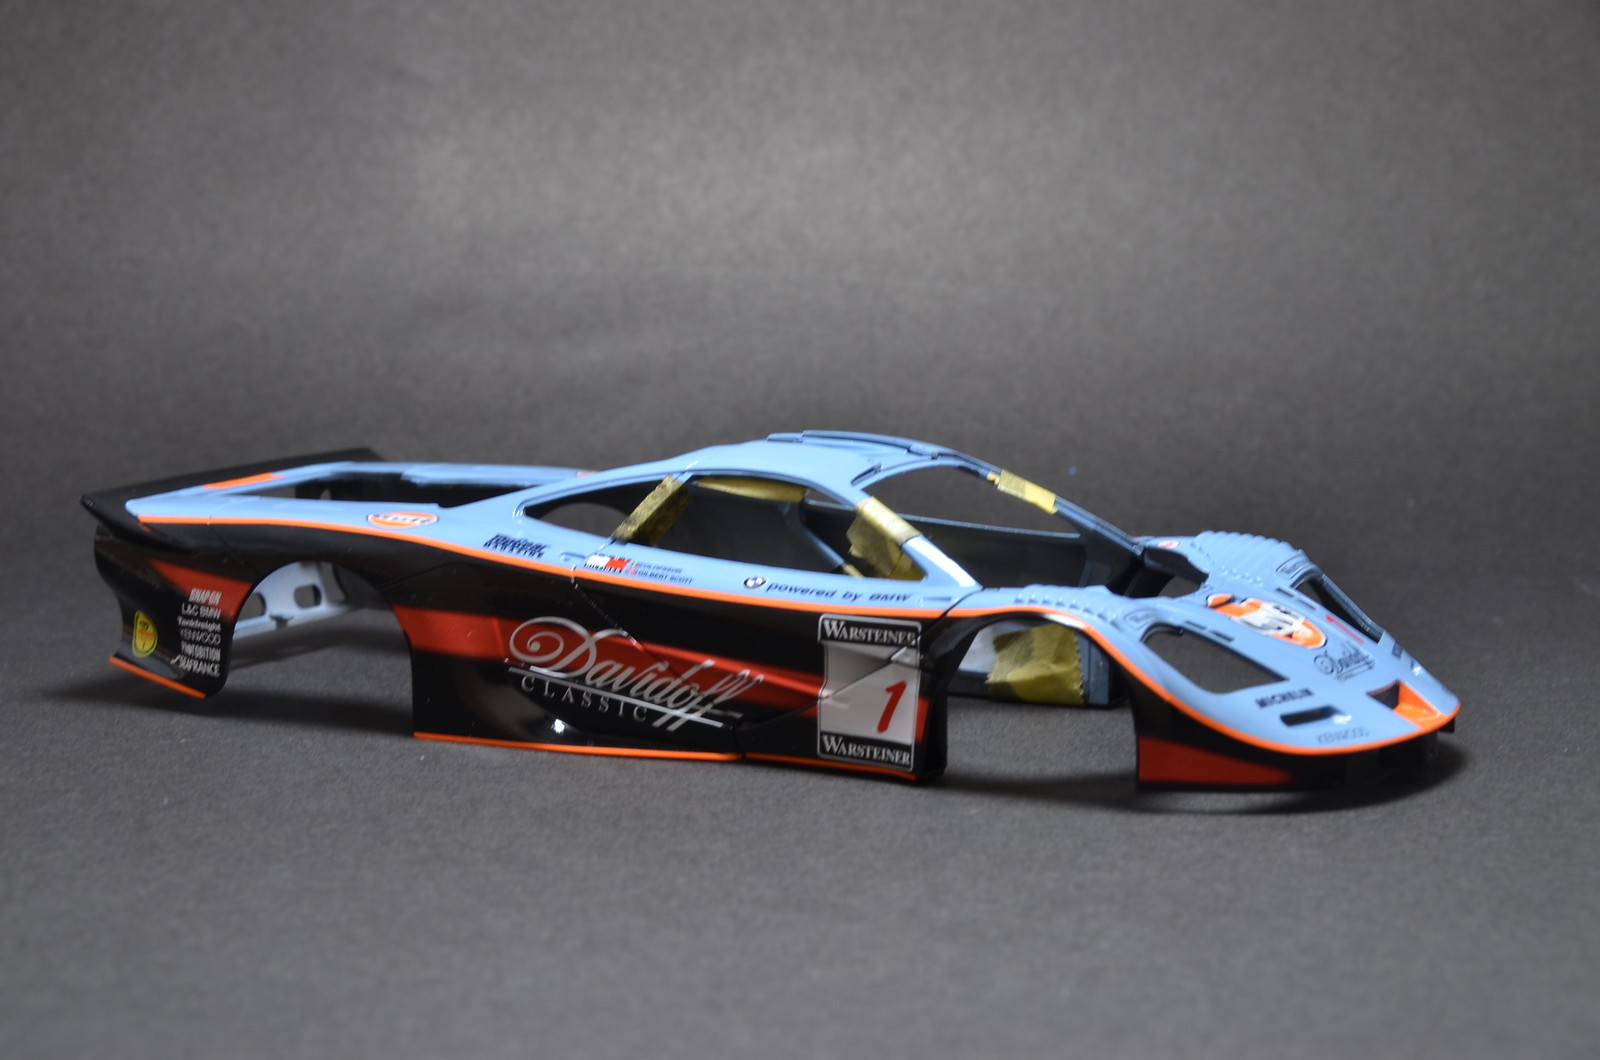
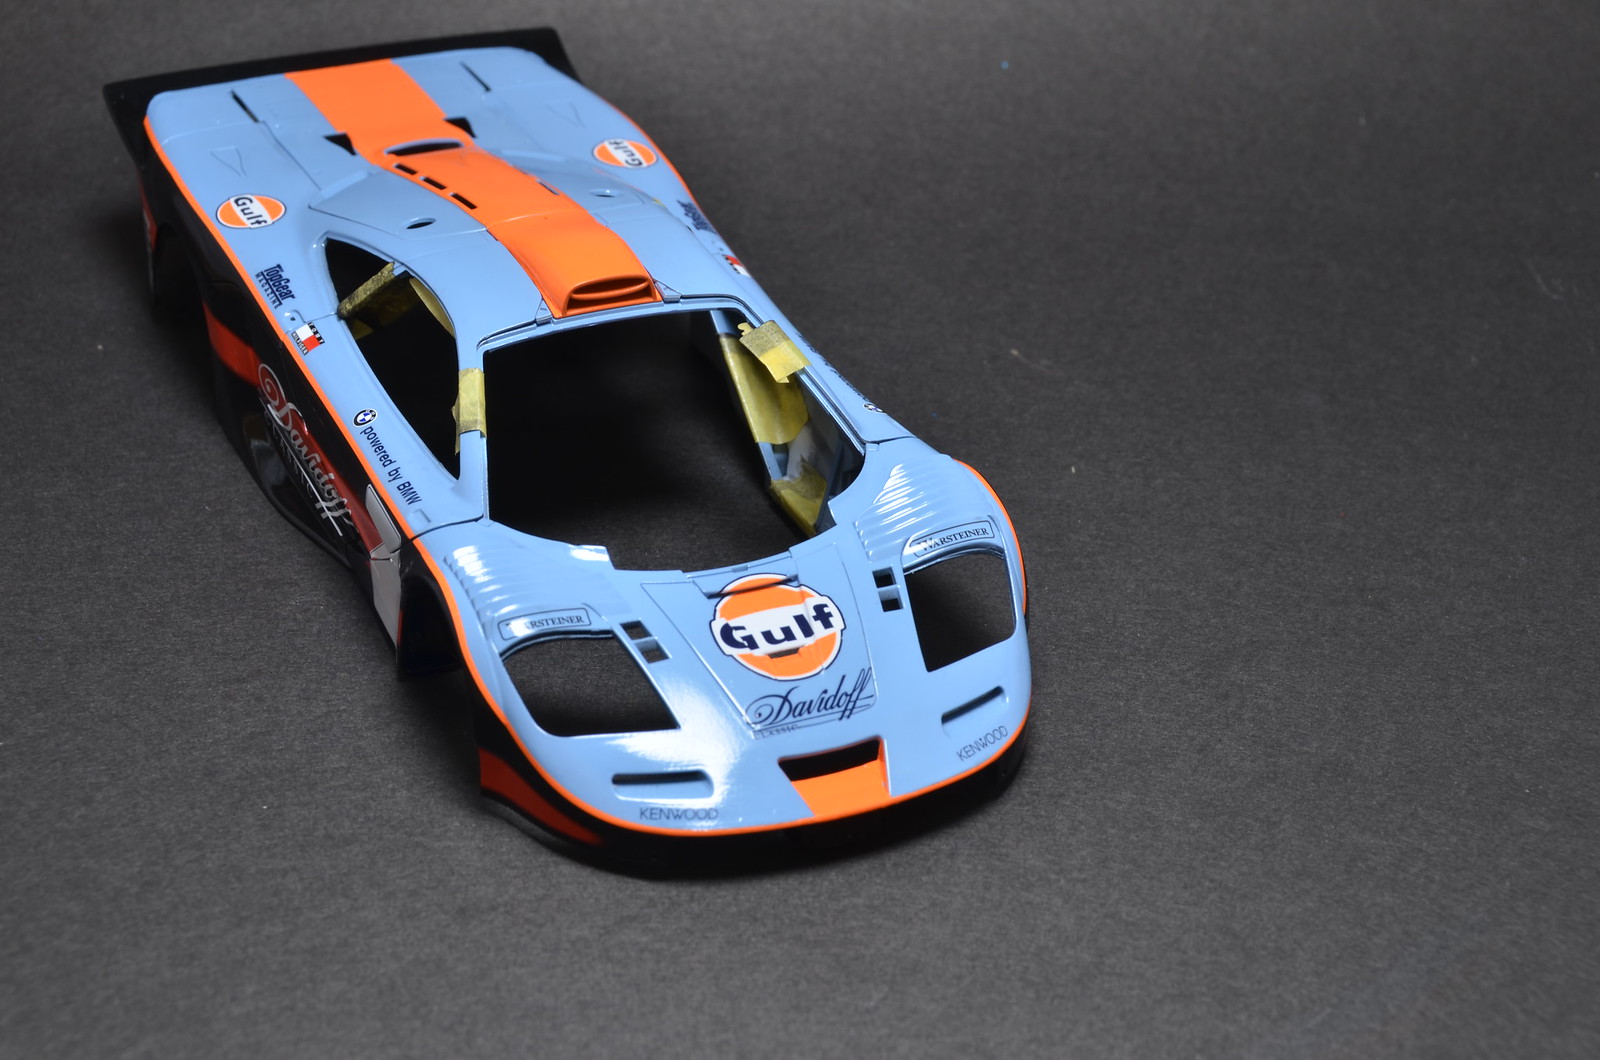
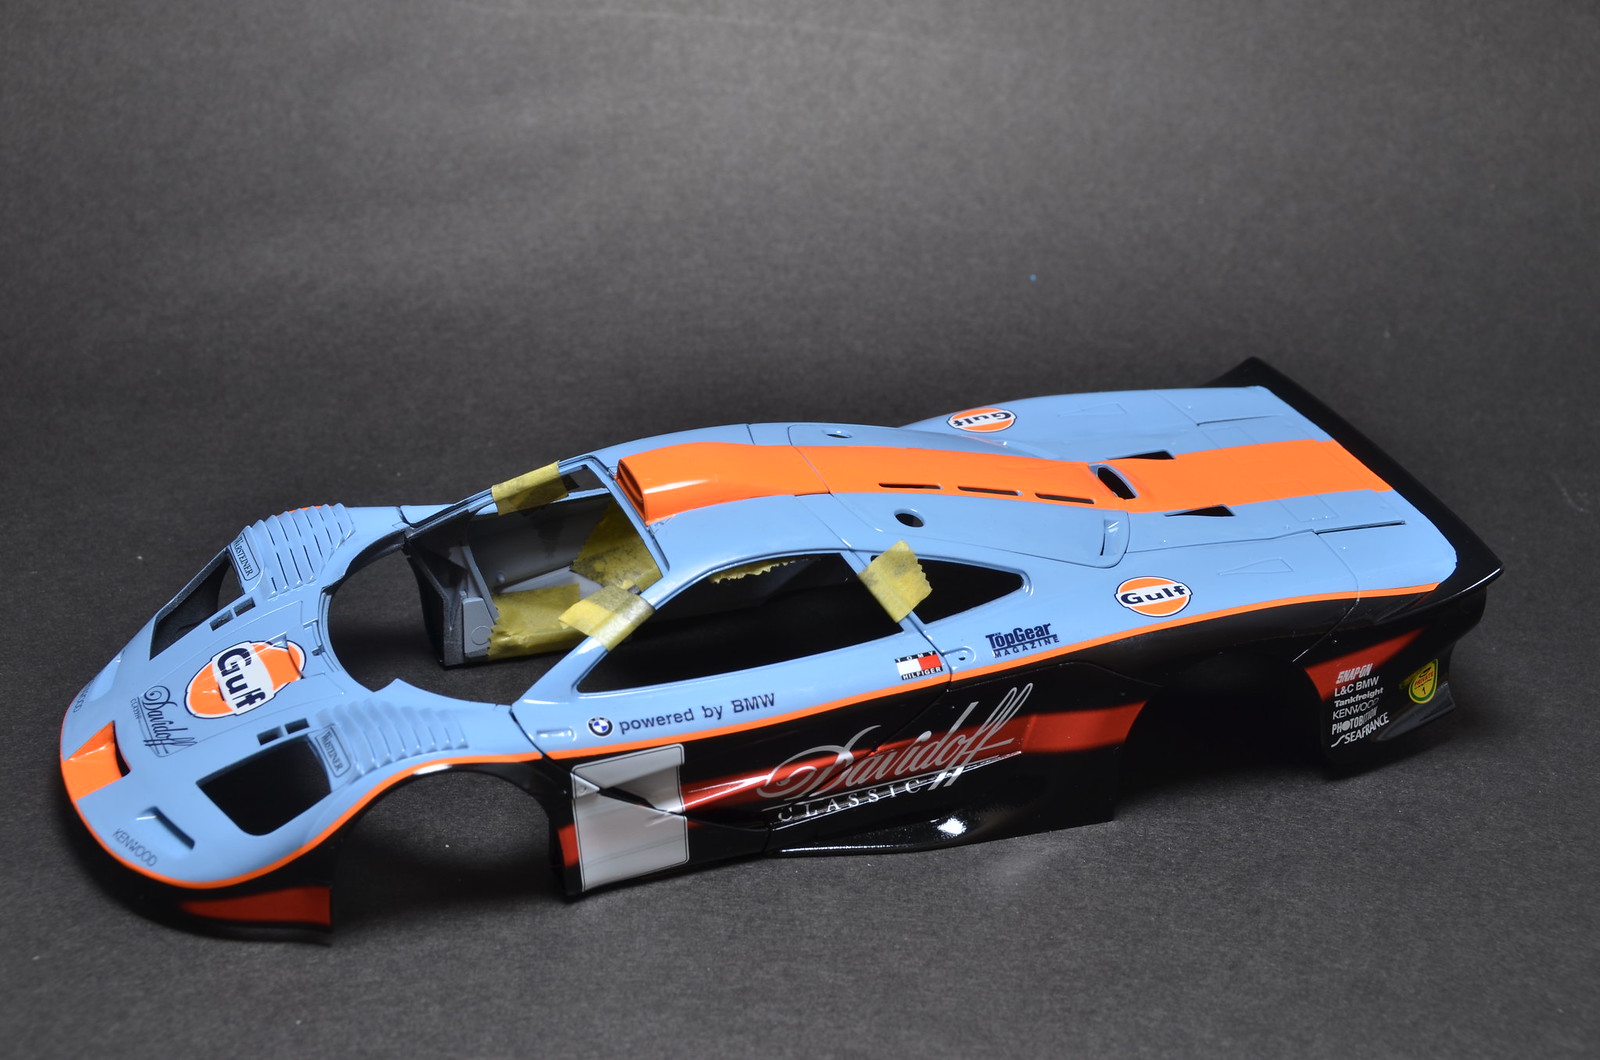
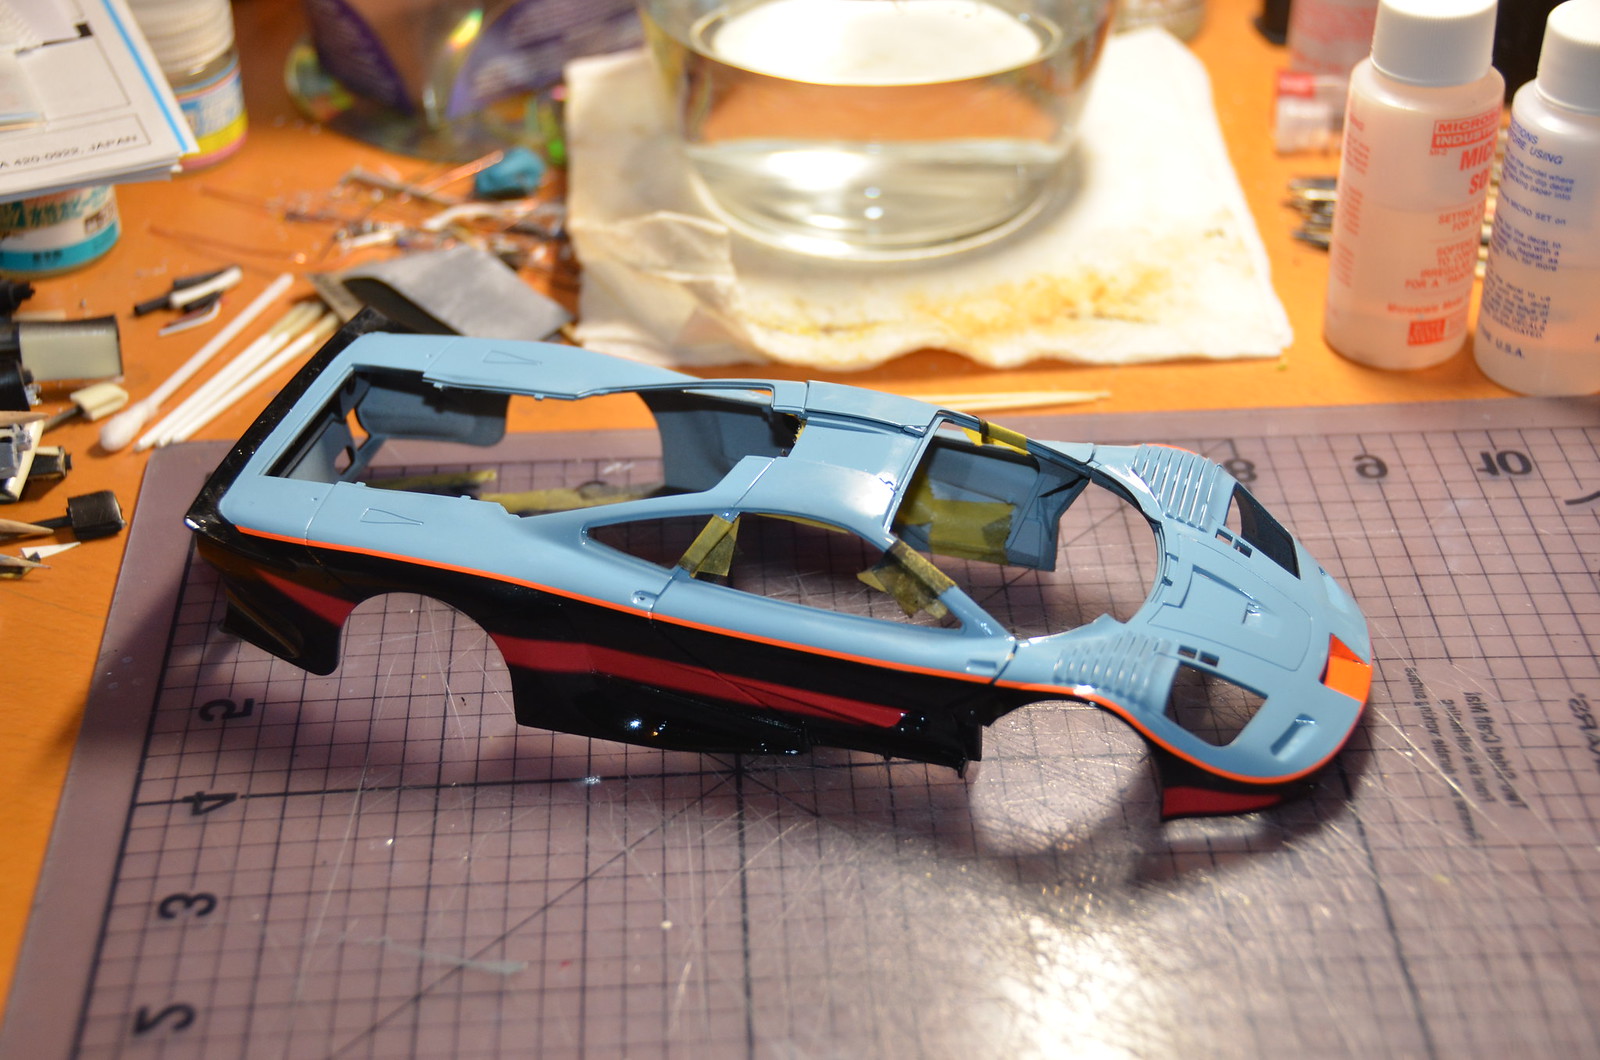
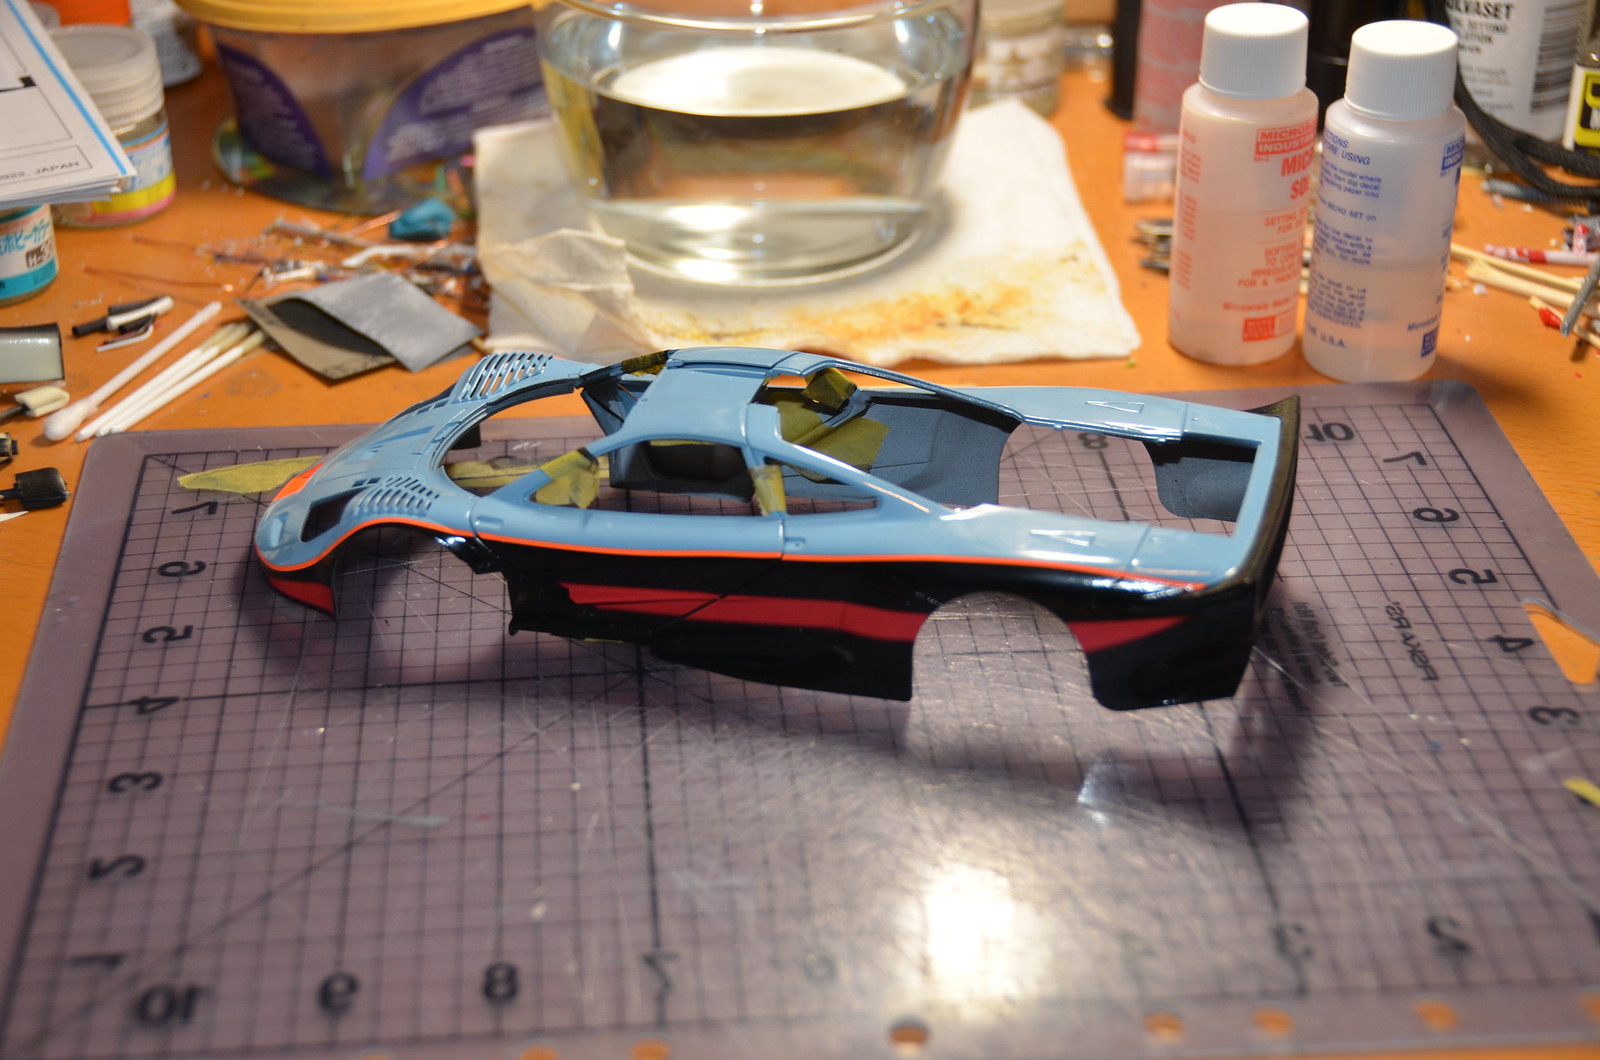
Spend 3 weekend nights on it. It's looking more like a racing car now. Good thing is that all difficult decals are done by now. Decals weren't designed for Aoshima kit, likely for Fujimi one instead. Had to do quite a bit of patching on glow red/orange. Luckily I didn't need one of the red/orange decals, so I was able to use it for patching. Never perfect, but I'm mostly satisfied. Such a cool livery, imho. Only small number are left to add. Here are some mock up photos.


Monday, September 22, 2014

Started decals

With my MFH short tail build blocked somewhat and P34 almost finished, I was able to return to this model. About 3 weeks ago I've polished off imperfections in clear coat and unblocked myself to start decal application. Started it over past weekend. Spent about 5 or 6 hours so far. Completed couple of complex tasks. First applied side decals. Next put down thin orange stripes. Fortunately my masking was close enough for stripes to lay down alright. I had to add couple of small extensions where stripes were too short for my paint layout. Overall I'm pretty happy about how it turned out. Couple more complex tasks are left to do - wide central orange stripe to apply over roof and rear doors and then Davidoff logos for the doors. After that rest of the decals should be relatively easy and straightforward to apply.

Here are two quick shots of its current state.


Saturday, September 13, 2014

Putting it together for P34

Getting it all together relatively fast. I'm trying to complete it to presentable state before local contest next Saturday. It's not really built to contest standards and some things will still be unfinished before Saturday, but I like to present my Formula One models on local contests, because beside mine's there isn't many (sometimes none) models of Formula One cars here.

Beside tires, velocity stacks and seat belts there only few small items left to add.


Sunday, September 7, 2014

P34 is back on track

After been building 1/24 F1-GTRs for months, I finally got a bit tired on them and inspiration returned to continue with P34 build.

Main blockers were 2 out of 4 front axles glued incorrectly. I managed to glue them at weird angles, so wheels would have never fit right on them. Last night I've fixed them. Cut off old axles, drilled wholes into uprights and inserted pieces of round rod. Funny that original car didn't have any carbon fiber parts (I think), but my model does :) My local hobby store did not have metal or plastic rods, so I had to buy fancy CF ones. After that blockage was removed I could go ahead with assembly. Installed front suspension sub-assemblies to the body and mate body with the floor. Installed radiators and roll protection bars as well.

Next night I've finished all suspension elements. Installed steering column and gear shift. Finished routing of fuel lines and radiator hoses. Few PE items left to attach. Then rear wing, wheels, tires and seat belts and it will be finished.


Monday, August 25, 2014

Mini review of Thunder Valley F1 1/12 scale “Formula Perfect” super kits for McLaren MP4/6 and FW14B

I've received my copies some time ago. Everything was packaged nicely and shipped on timely manner. Detail sets currently produced do not include turned parts for dumpers.

Overall impressions are positive. Spoiled by cheap and inexpensive photo-etch sets from China and Japan, I felt that there could be more PE parts for the price. But I guess it costs quite a bit more to produce those parts in USA. Besides, I understand that PE parts on rubber backing are even more expensive to make.

I especially like turned velocity stacks and cast in resin replacement air box bases. All the turned parts look very good and their price to quality ratio is excellent, in my opinion.

Wheel Nuts/Spindle sets have to be ordered and purchased separately. Machined parts look very good to me. Again price to quality ratio is excellent for those sets.

It is claimed on TVF1 site, that some of their detail sets provide more PE items compare to sets produced in the past under Perfect Parts brand. I've reviewed images I have of PP parts and beside washers and turned dumper's parts, I think TVF1 sets cover pretty much same set of parts as PP sets.

I have to wait till I actually build my 1/12 kits to make a conclusion on how much extra TVF1 sets add. But from visual review I think they look to be a great value for the price and should add quite a bit of details to the builds of already excellent Tamiya kits.

FW14B set from Thunder Valley F1 is actually unique and does not have similar set available from Perfect Parts.

Also note that brake detail sets were always separate sets and not included in Perfect Parts sets. Same goes for Thunder Valley sets - brake detail sets are separate products.

My understanding is that it is possible to get turned dumper parts from Thunder Valley as well, but they are made per order and availability is sparse.


Sunday, August 17, 2014

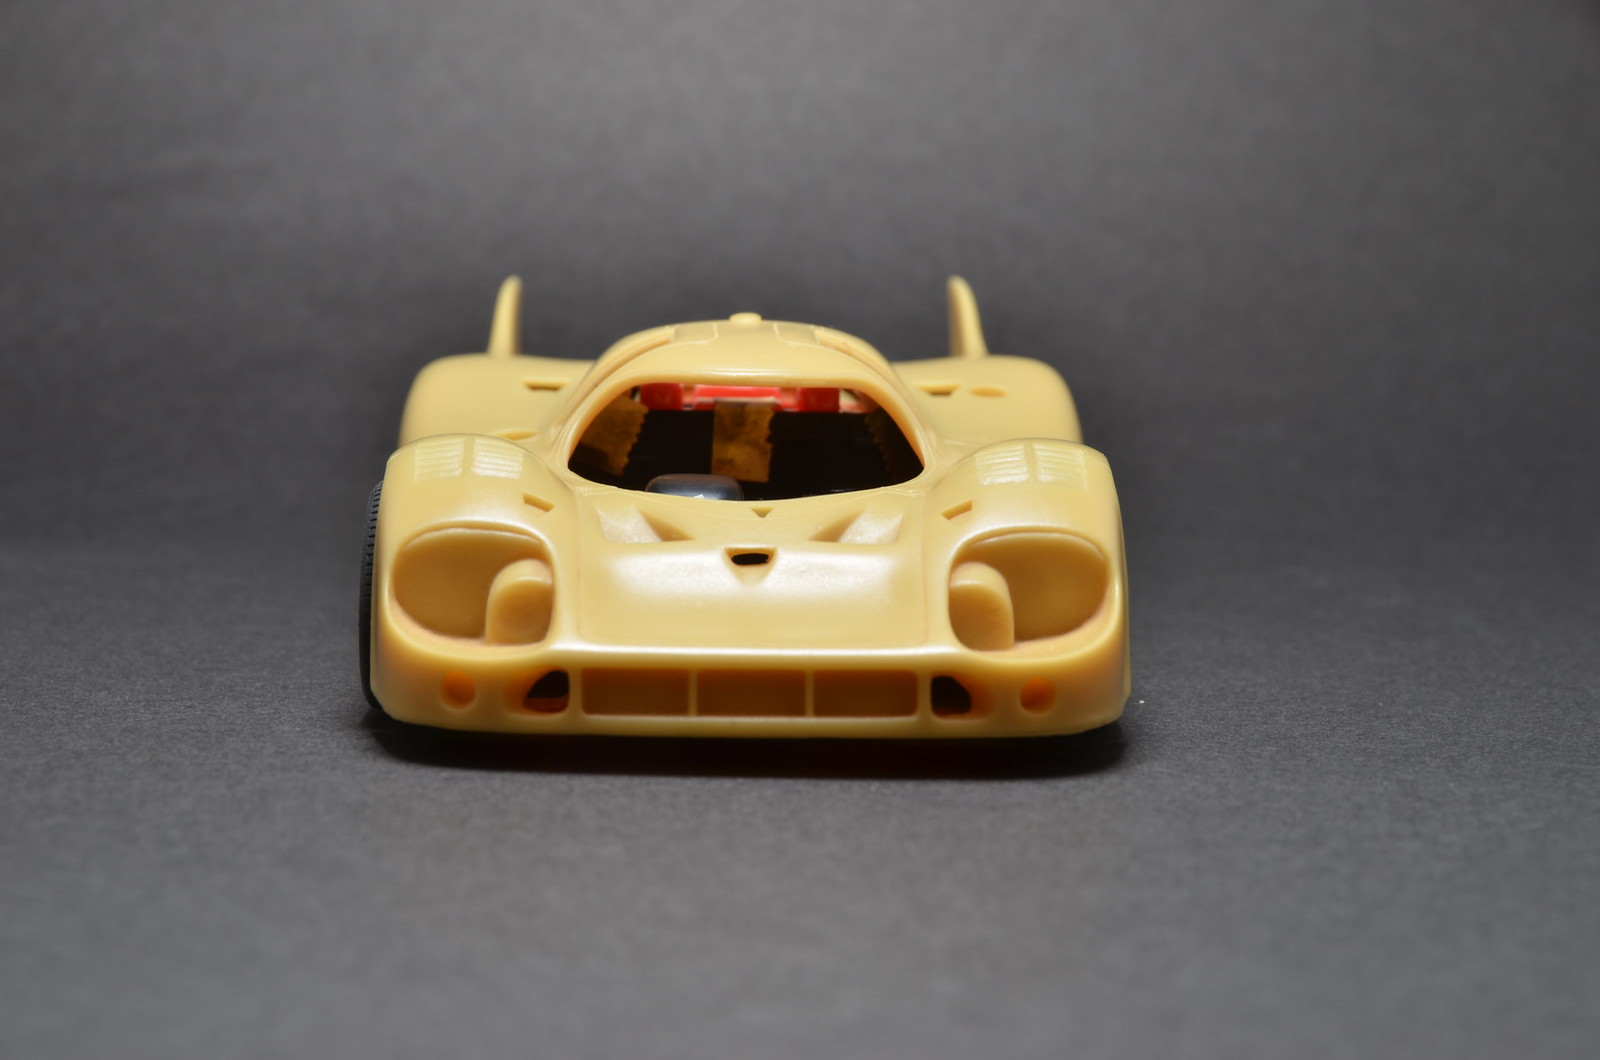
917LH 1971 conversion project started

I've started a new project. With all the fuzz around MFH 1/12 917LH and with arrival of Fisher body with Fujimi donor included, I could not resist and started the conversion project. Idea is to use chassis with most of the components from Fujimi donor kit and Fisher body of 917LH car from Le Mans 1971. Decals I have are for the car with Martini livery. I think it is a cool livery.
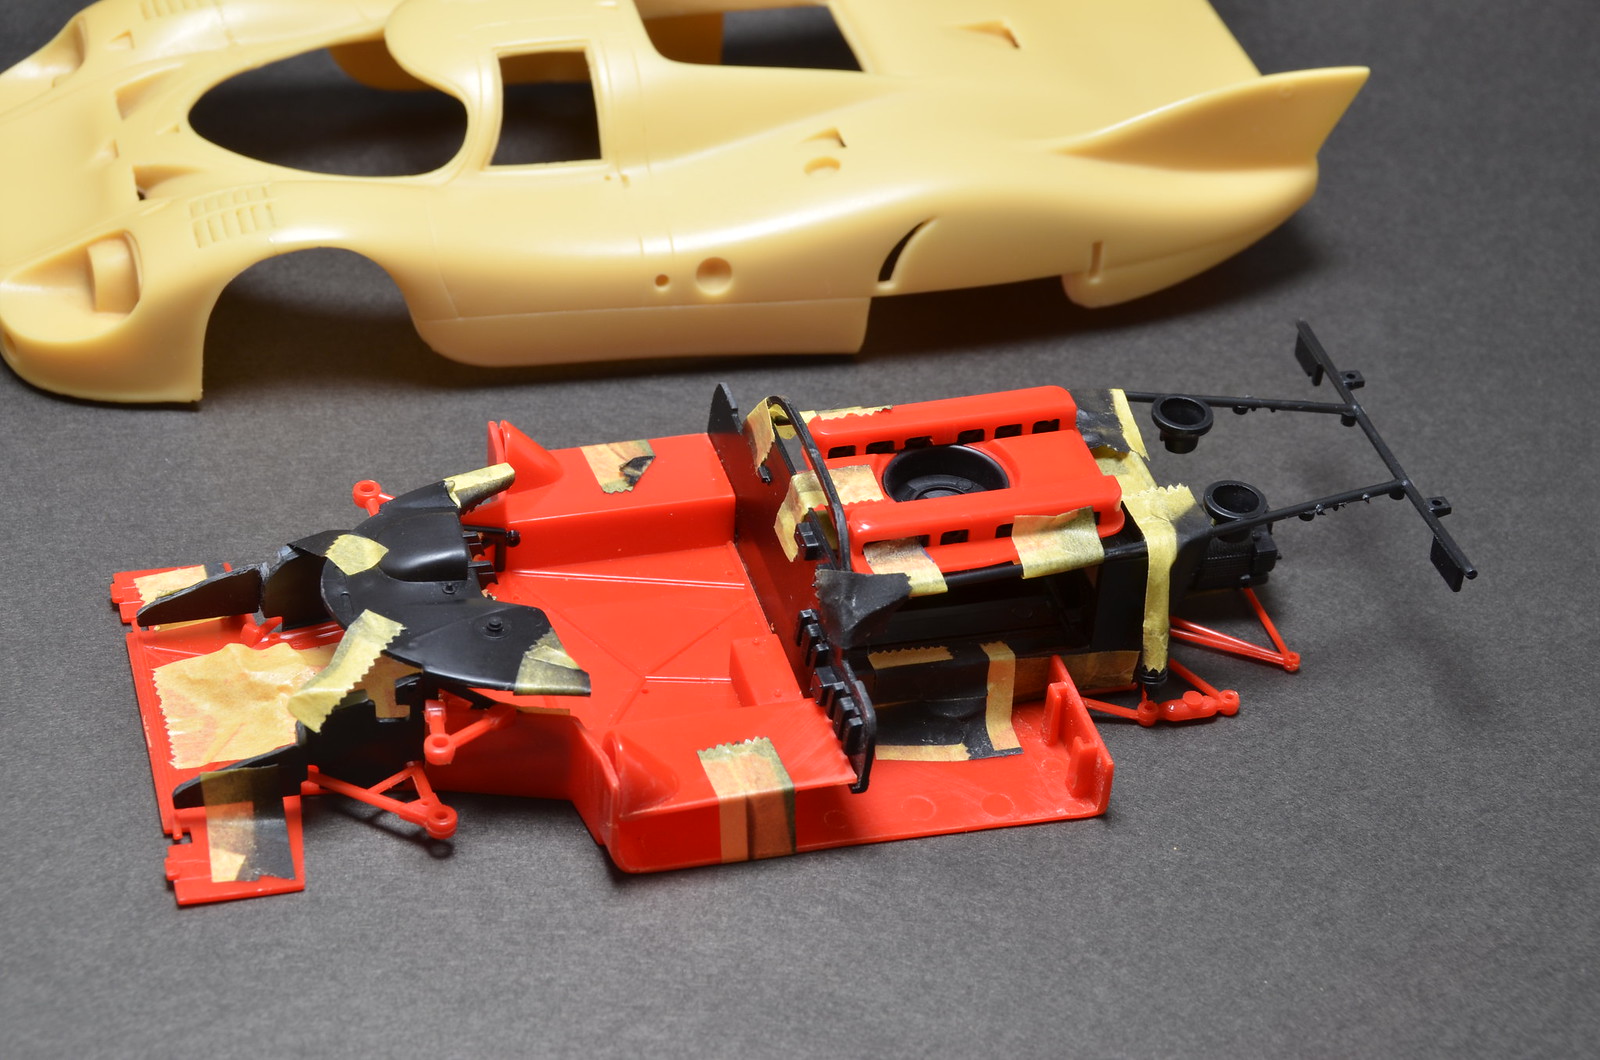
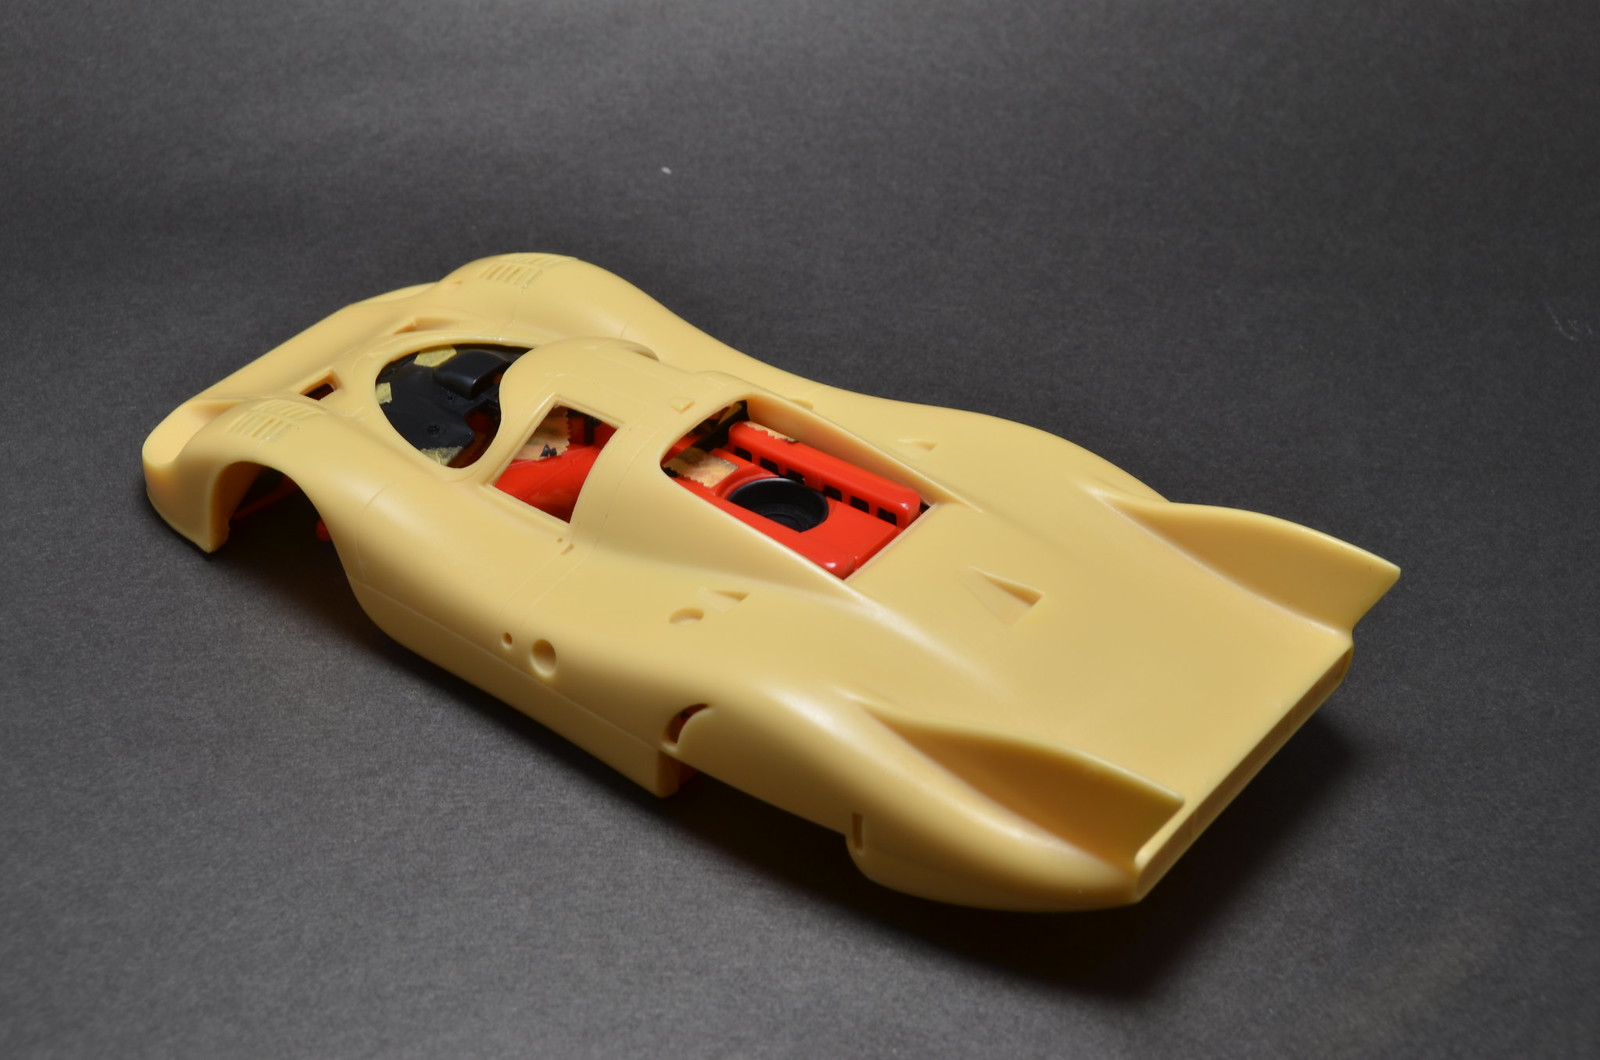
First I've detached all parts of Fujimi kit from plastic trees and cleaned them up. Next step is to modify Fujimi parts, so Fujimi chassis fits under Fisher body. I actually had to shave quite a bit of resin from Fisher body as well. Fit still not 100% as I want it, but not too bad. One kind of funny thing was that Fujimi chassis did not want to fit well until I removed Fisher copyright block. I guess Fujimi chassis wasn't happy to mate with foreign body :)

First photo shows how Fujimi chassis looks like after modifications. Never mind masking tape, it's there just to hold parts together for test fit tryouts. Next couple of photos show body and chassis' fit. And the rest show how chassis with wheels and tires fitted works with Fisher body. Front looks too high. In the rear wheels don't fit well under body and end up with too much negative cumber. Not sure yet what I could do about the front ride height. For rear wheels I will have to reduce their track width a bit and remove some more resin from the body.