Friday, April 27, 2018

More assemblies done

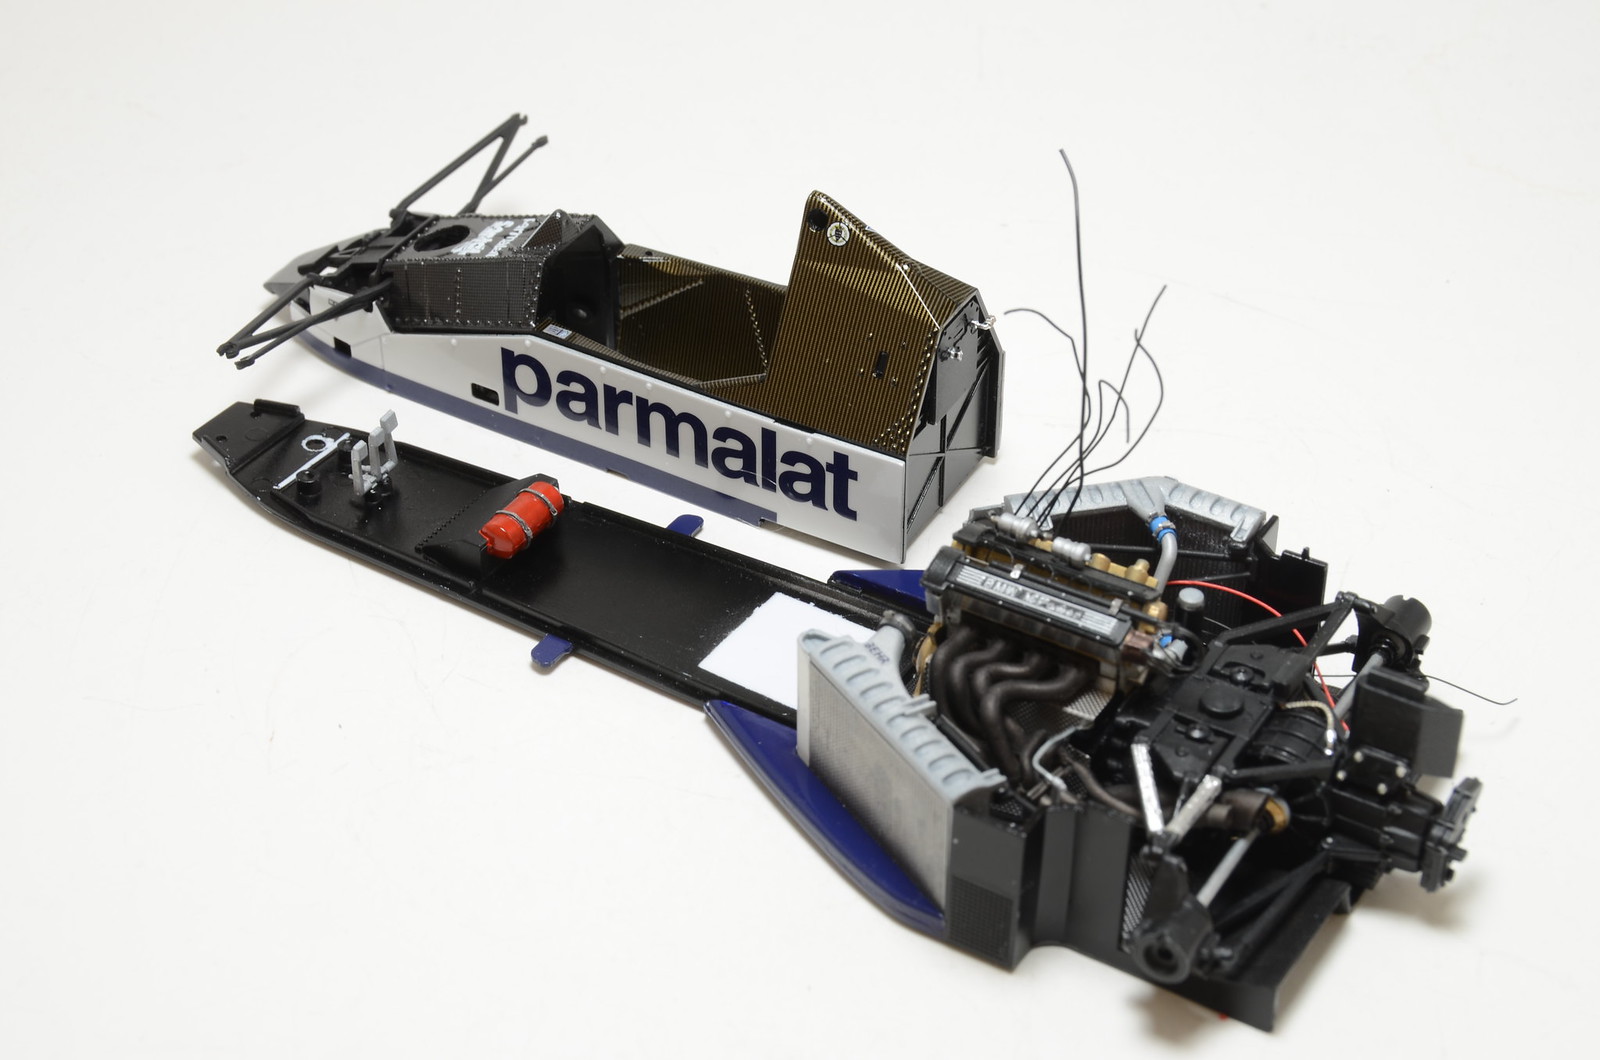
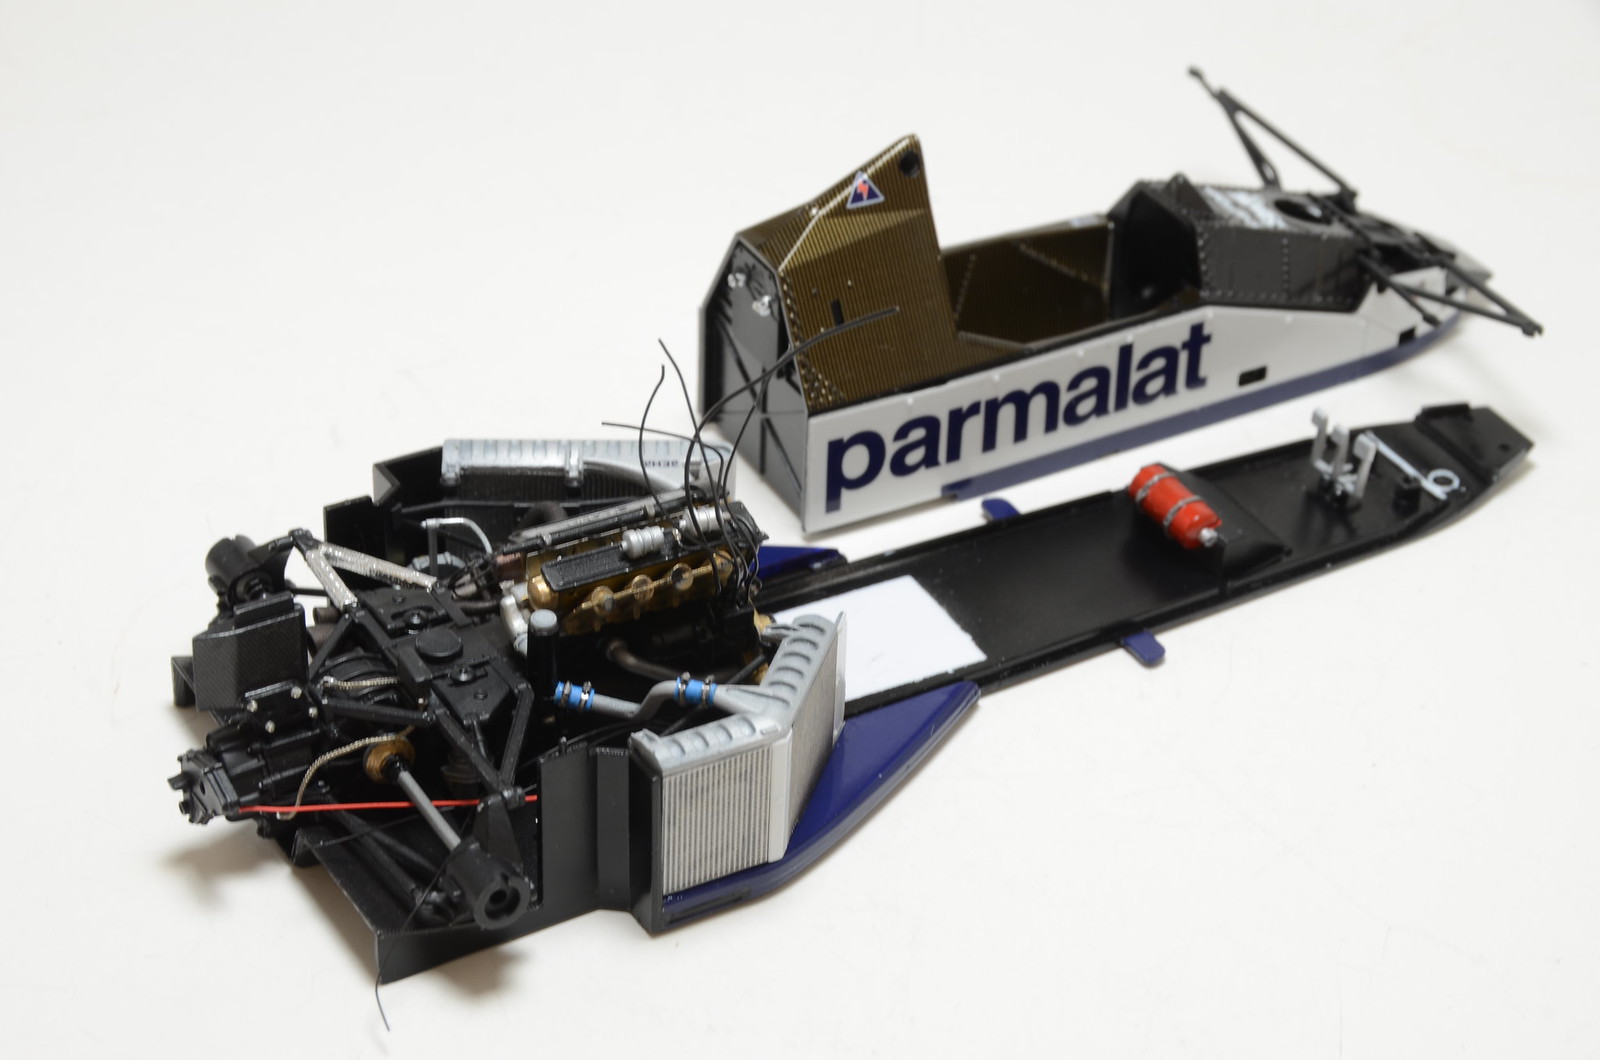
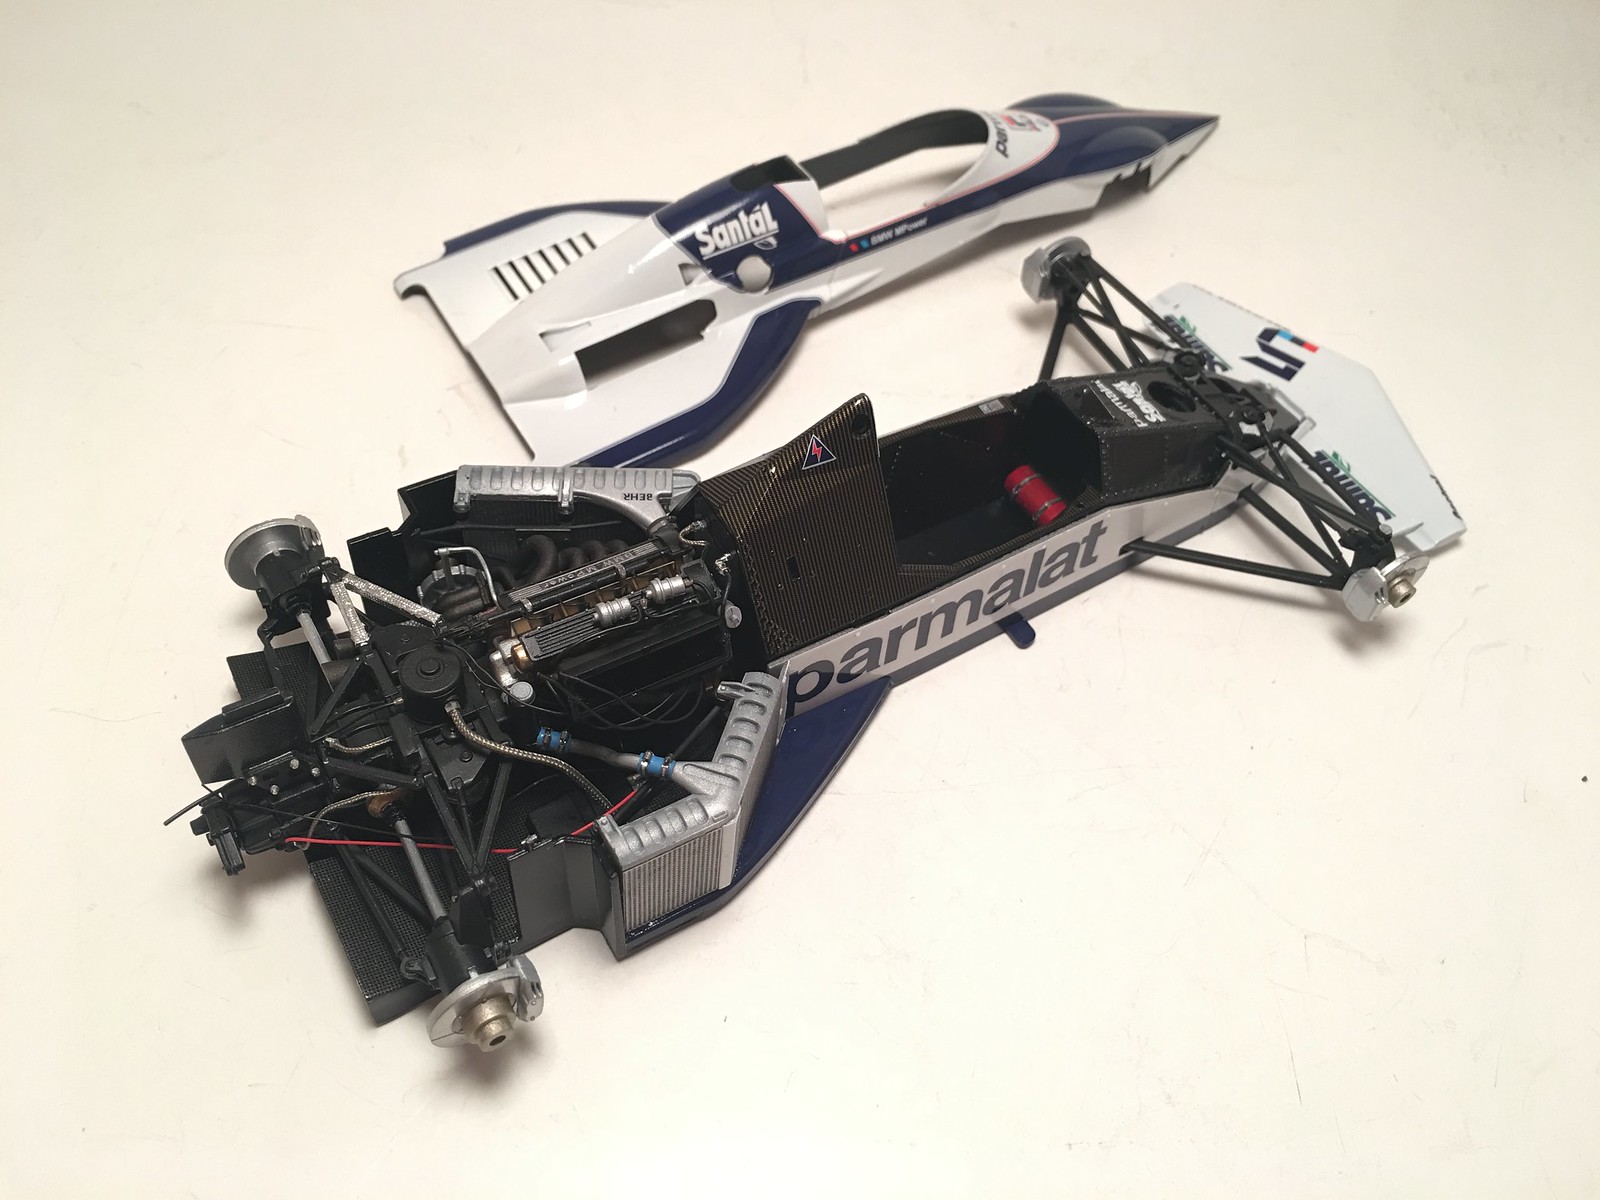
Completed more assembly steps. Attached monocoque shell to the floor. Routed more wires and hoses. Assembled front suspension and attached brakes. Also attached main element of front wing. There is still a small gap between body cover and that main element, but it is quite small and not very visible. I might still drill through that wing element and install a screw to tighten them or leave it as it. Not sure at the moment.

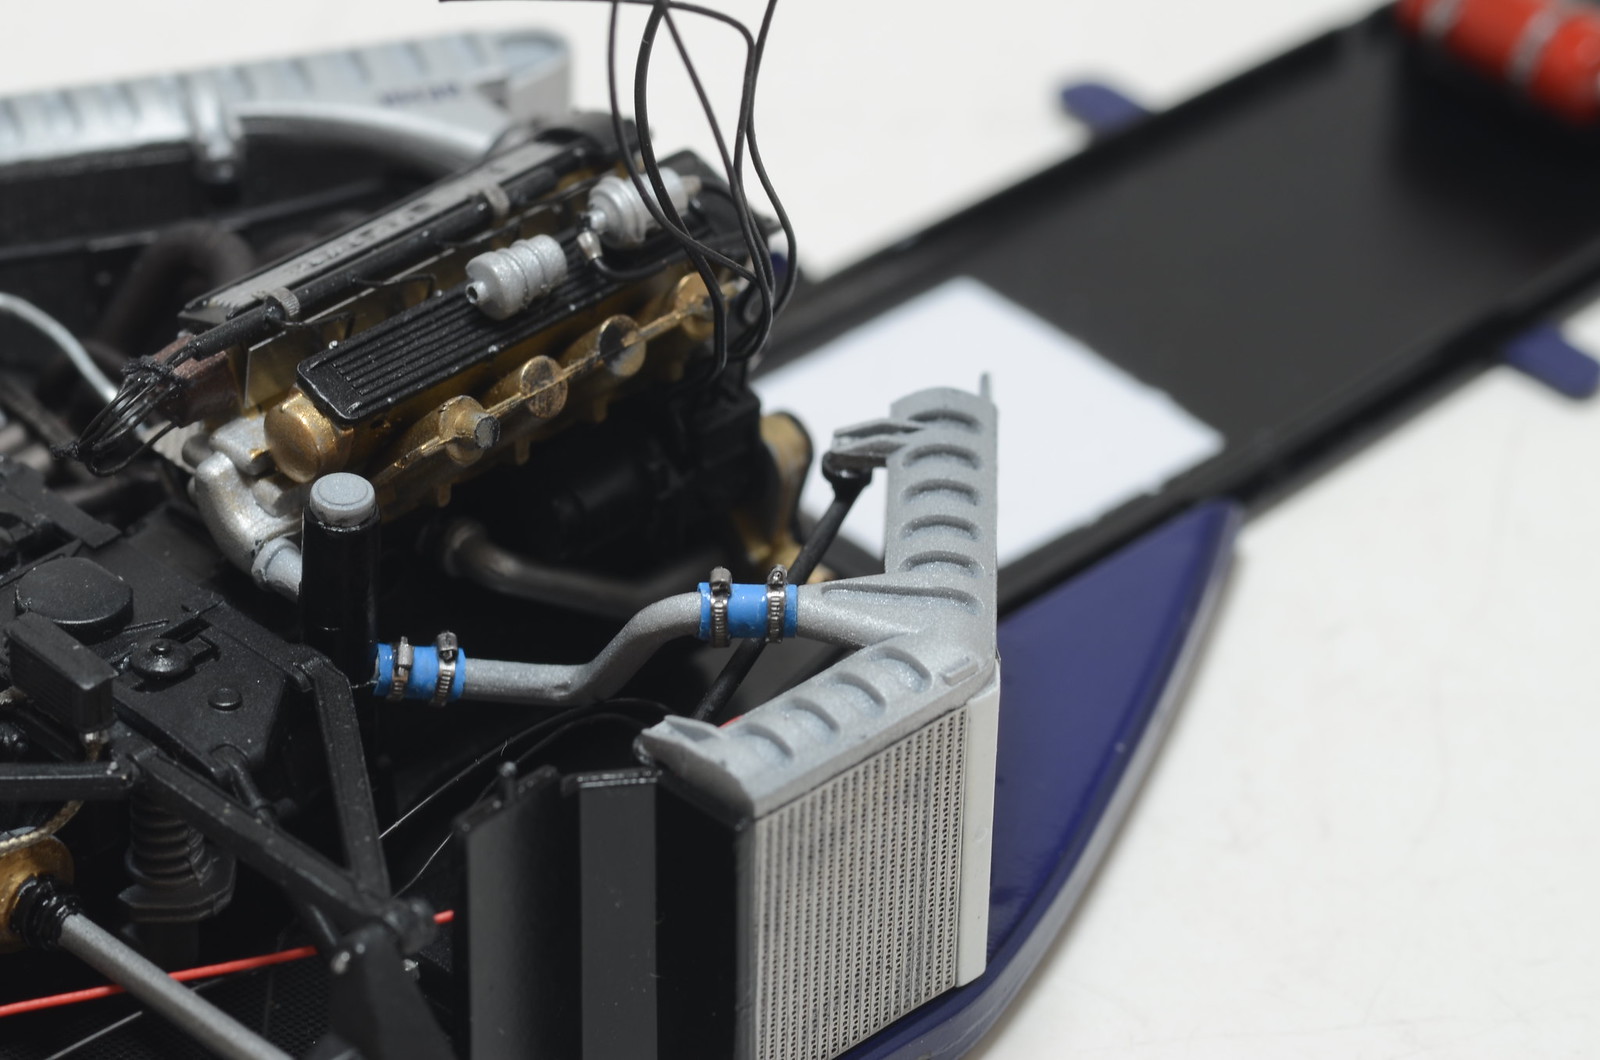
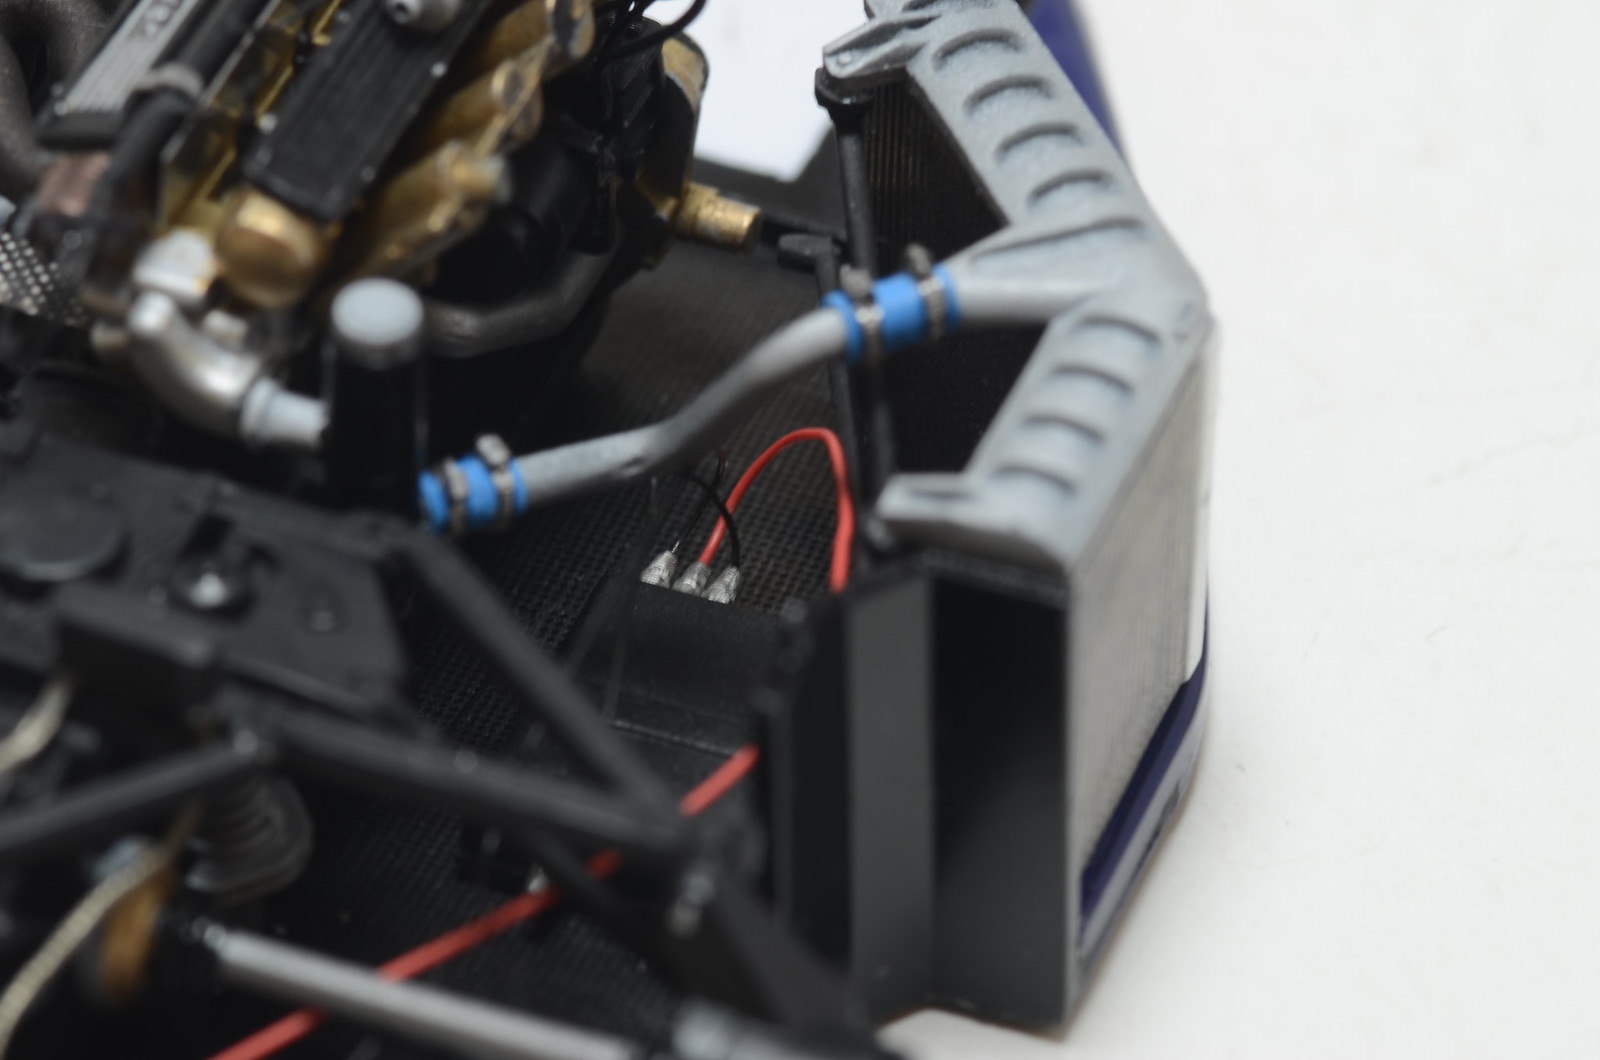
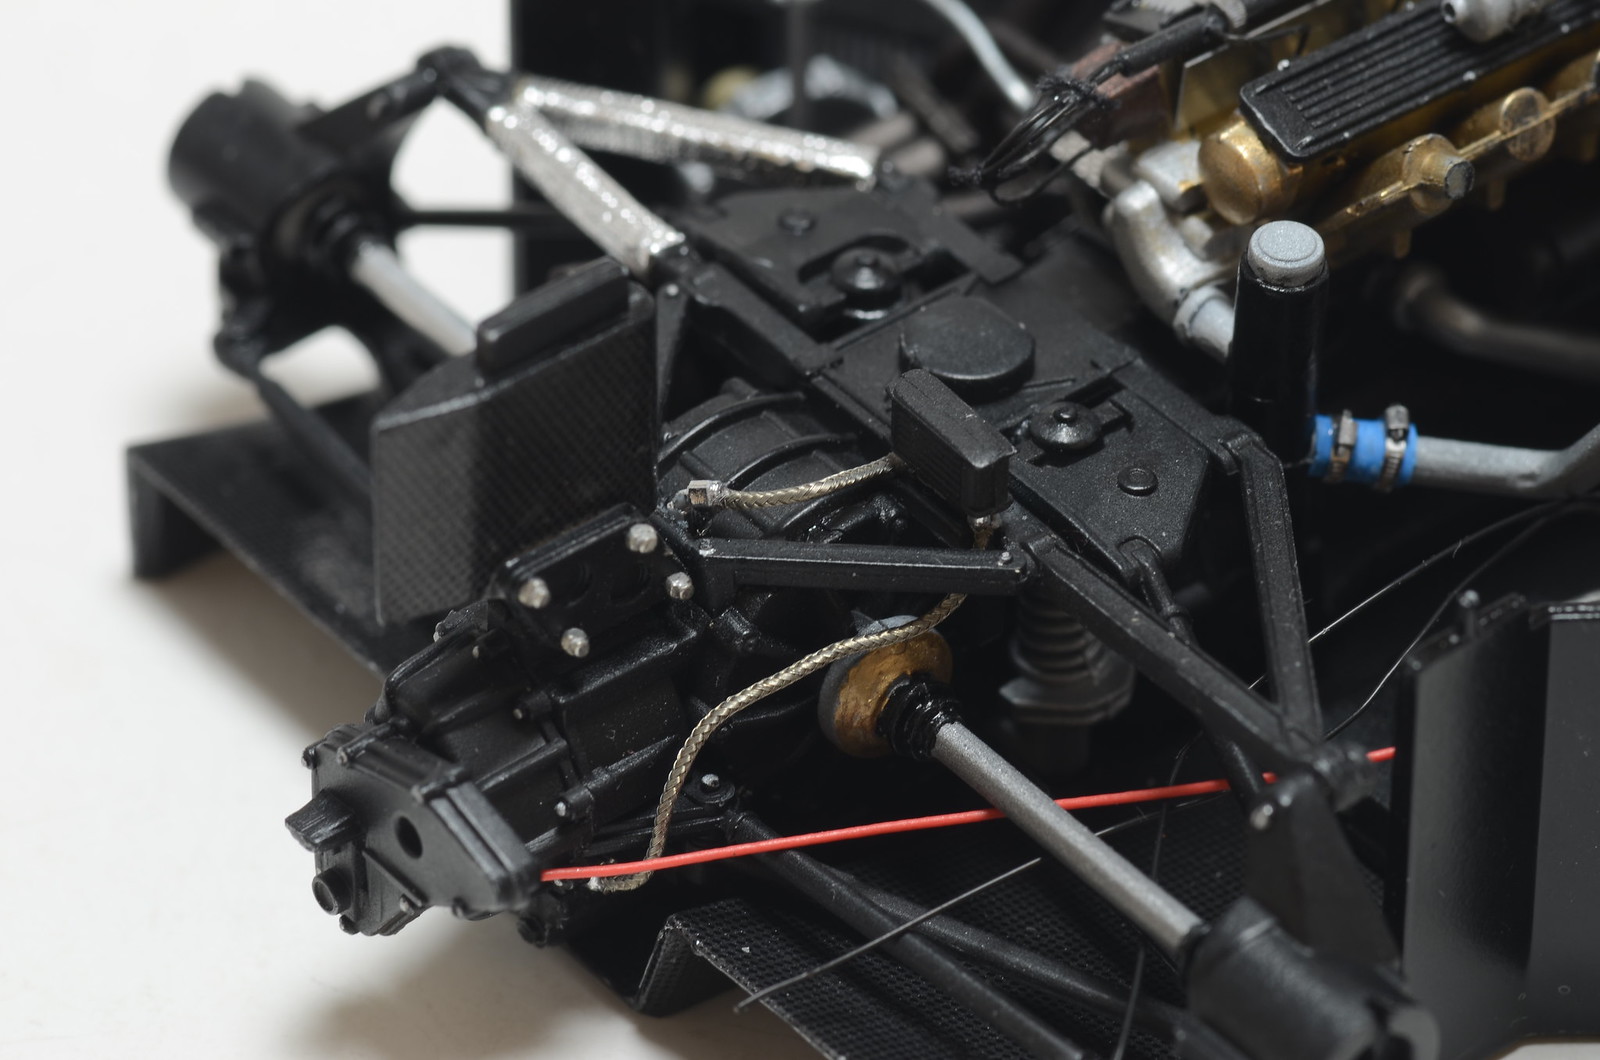
Still have no idea to where route that red cable from electronics box and where route second hose from second filter.


Monday, April 23, 2018

Progress on BT52

I am making good progress on this build. Worked on engine wiring and detailing over past weeks. Completed radiator assemblies as well. On the weekend I was able to start putting it all together. Installed engine/gearbox and radiators onto the floor. Added electronics box too. Still have to route wires and some additional hoses. Last weekend I put clear coat over body parts and wing elements. On Friday masked off and sprayed semi-gloss black inside those body panels. Then installed side panels onto main monocoque shell. Hope to attach monocoque to floor next and then work on front suspension assembly.


Saturday, April 14, 2018

Suspension re-build completed

Used brass rods, brass square stock, aluminium pipe and styrene to re-build damaged suspension arms. Fortunately I was able to save some bits and pieces from damaged ones. I think it turned out ok. Not 100% identical to right side, but good enough for recovery. After suspension was reassembled, I continued working on engine and monocoque details. Some photos of the progress below.


Wednesday, April 11, 2018

Pre-assemblies for SF70H

Spent some time looking through my reference photos and contemplating a way to eliminate the seam that would be present if side pod front parts are glues later as instructions suggest. I don't see this seam on real car. In attempt to eliminate it I've decided to partially assemble side pod front parts and glue then in. Same applies to all nose and parts of monocoque under side. And to roll hop as well. I also don't see any seams around it on real car. Below is a photo of the pre-assemblies I've done so far. Prior to that I have painted semi-gloss black inside body panels. It would not have been possible to paint it later.


Monday, April 2, 2018

Big disaster

I've done the most stupid thing to date in my model building hobby. I've decided to apply heat to shrink tube "in place". Used matches and melted left side of rear suspension in an instant. Fortunately I was able to contain my anger and have not thrown it against the wall. Kept myself calm, thinking "You cannot change past, so move on". Next 2 nights I spend re-building suspension arms and rods from scratch. Good, but unexpected exercise in scratch building for me and kit is becoming multi-media, because of all the metal I've used to re-make parts. It's not completely fixed yet and my scratched parts will not look the same as kit parts. But I think I will be able to recover and hopefully scratch built suspension will be strong enough.