Tuesday, February 27, 2018

W08 from 2017 vs MP4/30 from 2015

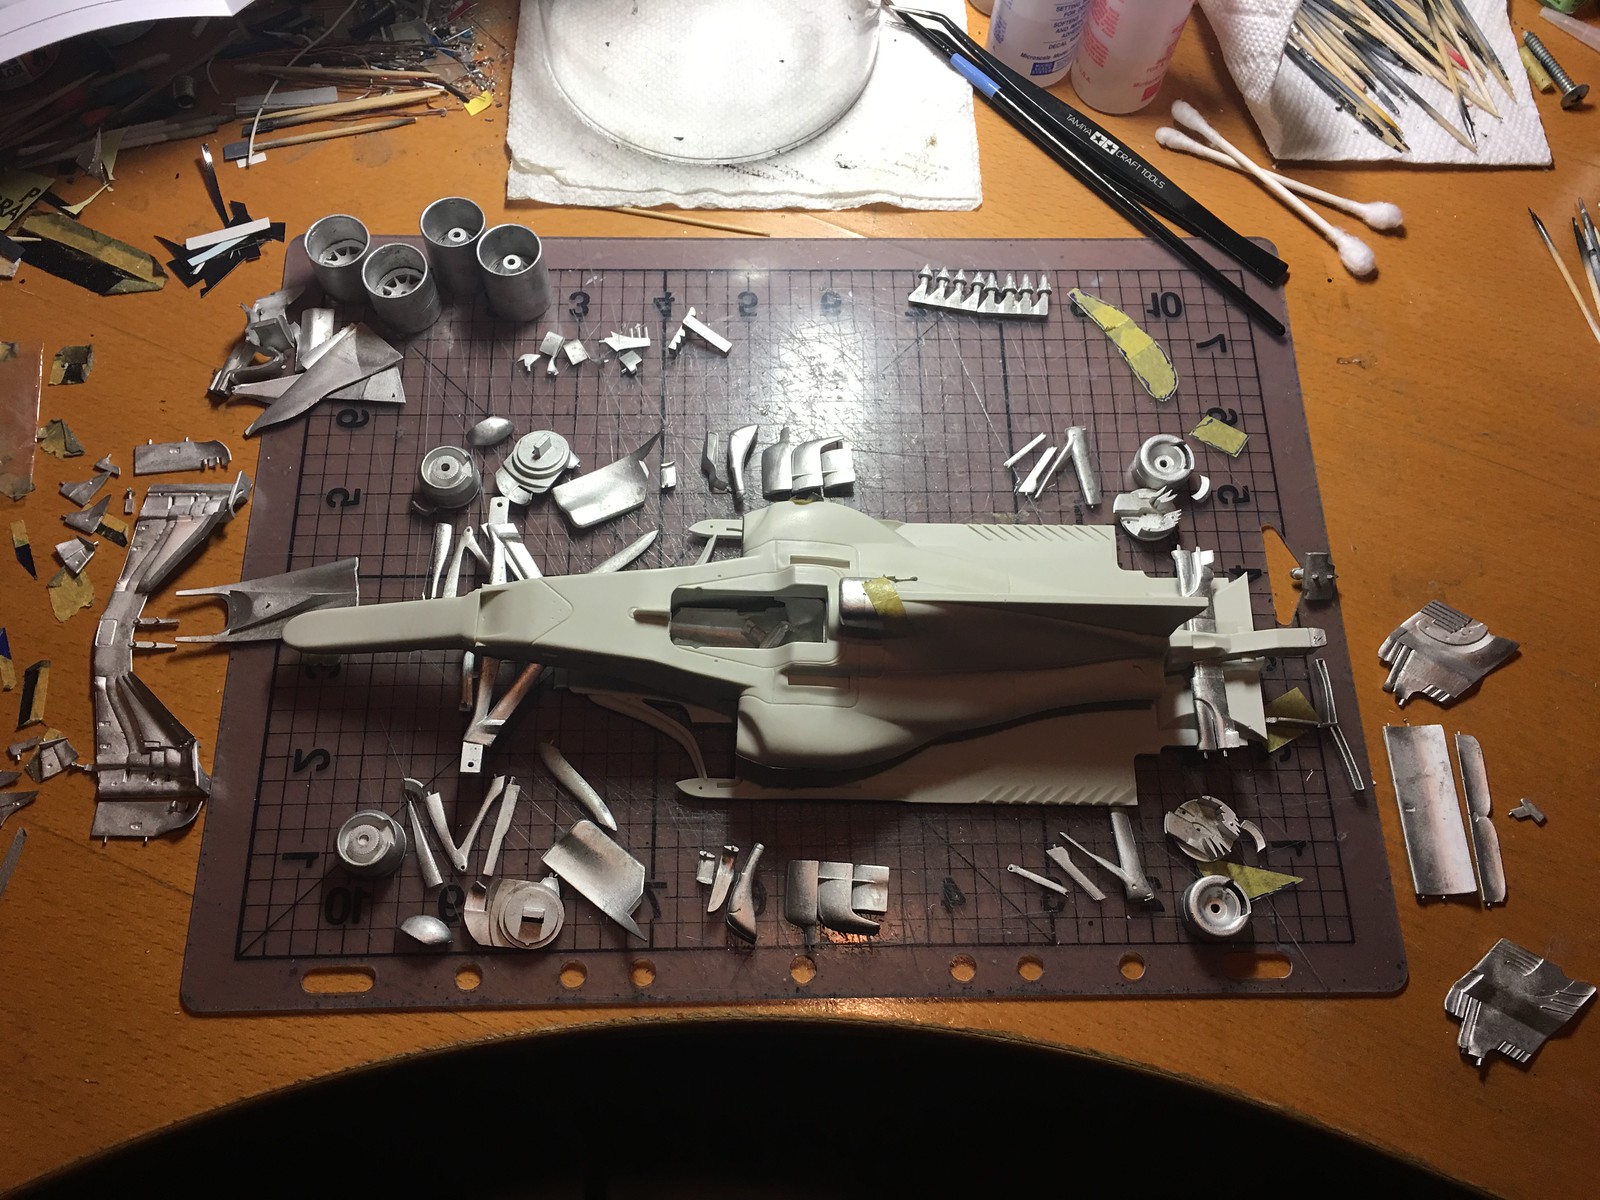
More I think about it, more it looks like original fin of W08 is not worth saving. I'll try to thin metal parts for air vent as much as I can and then build up rest of the fin from metal or plastic sheet.

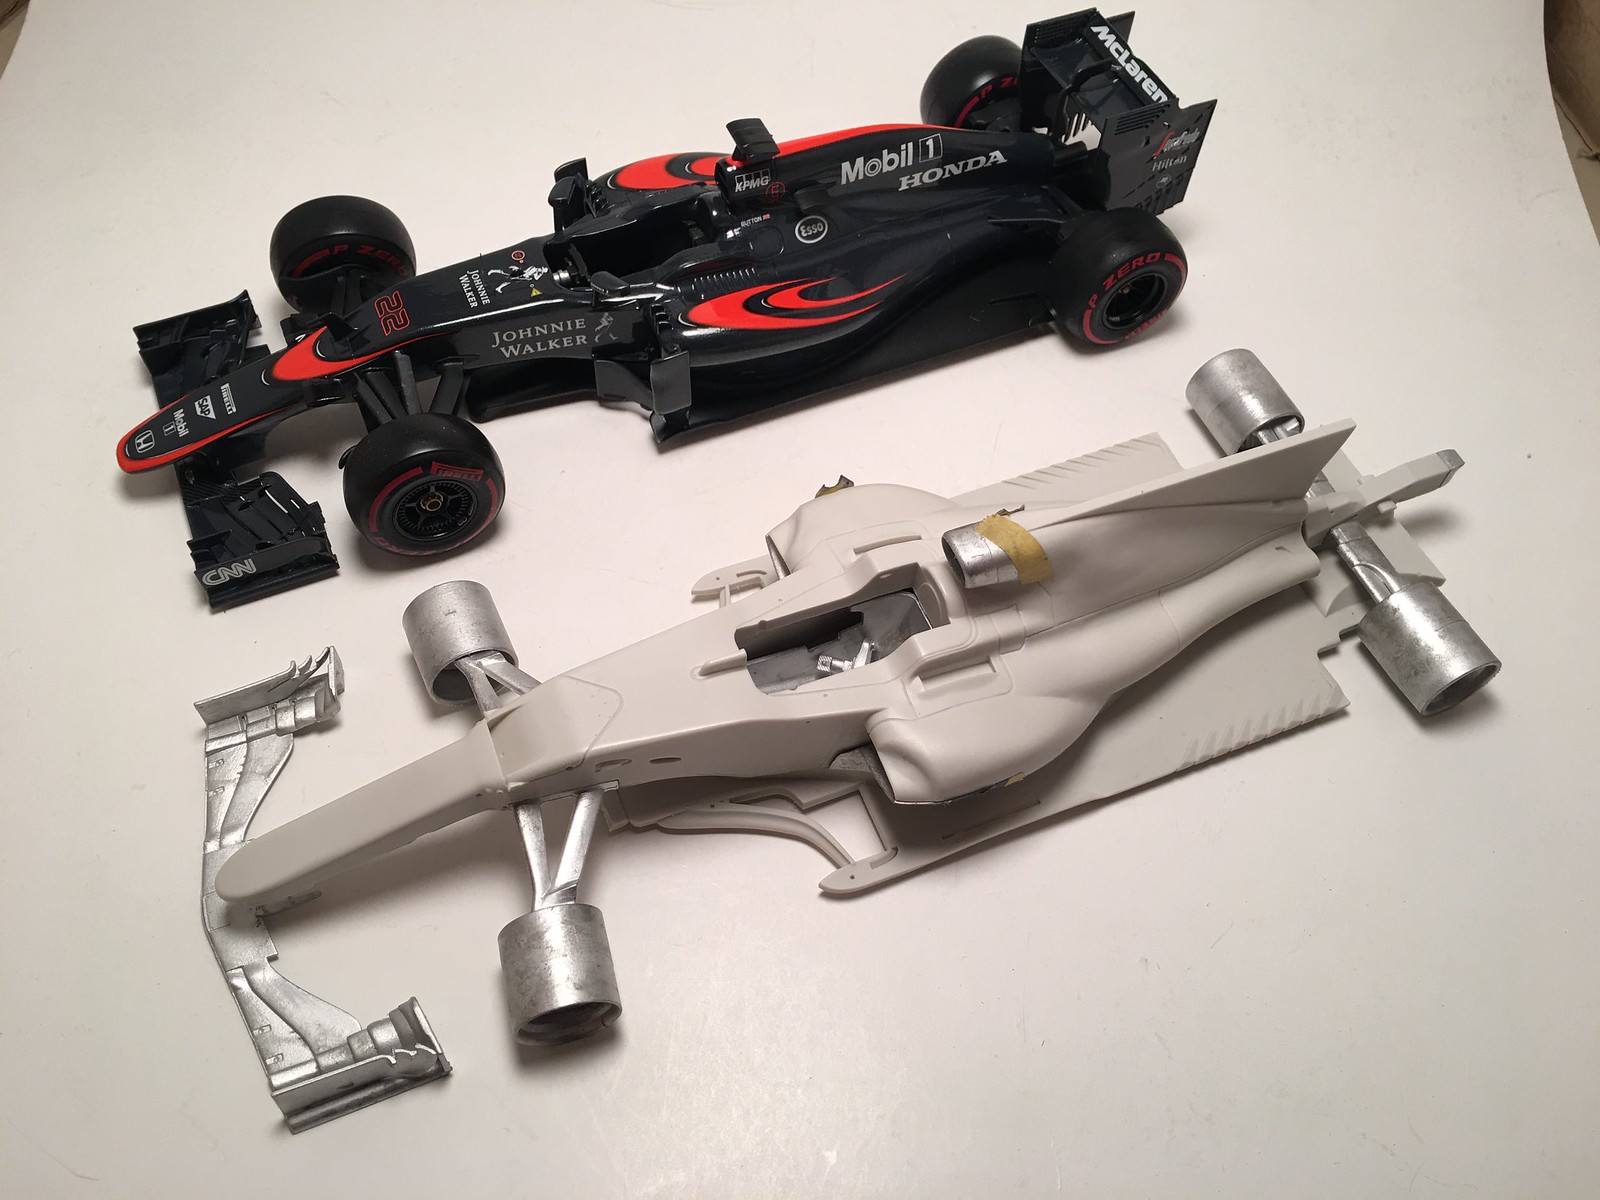
Regarding the size of this car. I've placed Ebbro MP4/30 beside it and it seems similar in dimensions. I think cars became that long back in 2010 or so, when re-fueling during the race was banned. At least F10, MP4/27 and MP4/30, I've built so far, look similar in terms of sizes. See photos below for comparison. W08 does have a bit longer wheel base. But in terms of body work sizes, I think it's similar as well.


Monday, February 26, 2018

Work started on W08 model

Received my kit little over 2 weeks ago. Since then was itching to start it. Have been collecting reference photos and thinking about what to do with thick fin. Last night made a little start. Usual clean up of parts and test assembly steps started.

Cannot understand why, by S27 made fin very thick. To be in scale it should have been paper thin. Instead it is about a millimeter thick, this in scale would work out to 20mm in rear size car. On all the ref photos it looks much thinner on real car. In case or US GP matter is complicated by air vent, which was integrated into fin. S27 provides metal parts to replicate that vent. However parts, when assembled, add to same millimeter of thickness. My earlier idea was to remove resin fin completely and replace it with thin copy made out of brass sheet. After examining parts, I don't think any more that's possible. Still looking for solution. If any one has ideas, pleace chime in.

Over quality of the kit seems better then many previous offerings from S27. I am pleased with many relatively faithfully representled aero bits and details. Some compromises are strange, but I think kit presents a decent base to build good model. Just need to work out what to do with that awful thick fin.

Few shots of current progress.


Monday, February 12, 2018

Main livery decals for BT52

Worked on main livery decals' application for BT52 over the weekend. As predicted decals were a joy to work with. There were few minor fix issues, but otherwise they were great. Pretty much all decals for body panels are applied by now. Still have few to apply to radiators and other accessories. Next, I'll let them dry and then parts will be off to clear coating.

One thing that caught me out by little surprise was a sequence of assembly for parts G3/G4. My own fault mainly. I did not study color and decal application guides and painted these parts in white separately from the floor. However when I get to apply color decals #22/#21, I've realized that these decals overlap onto the floor. Fortunately for me, I was able to just glue G3/G4 to the floor before I ruined decals. In the hindsight, I could have glued G3/G4 to the floor from the start and painted them together. This way I would have been able to fill seams with putty and properly prepare all that for paint and decals. Again, fortunately seams are hardly visible, so I will be able to live with results just fine.


Monday, February 5, 2018

CF work on BT52's floor and monocoque

Small update. Completed CF decals on BT52's floor and monocoque. CF pattern are not easy to capture on photos, but under magnification they could be seen. I the mean time I have painted almost all the parts. Next will be main livery decals and CF for seat.
Couple of quick shots.