Sunday, July 26, 2015

917LH chassis almost done

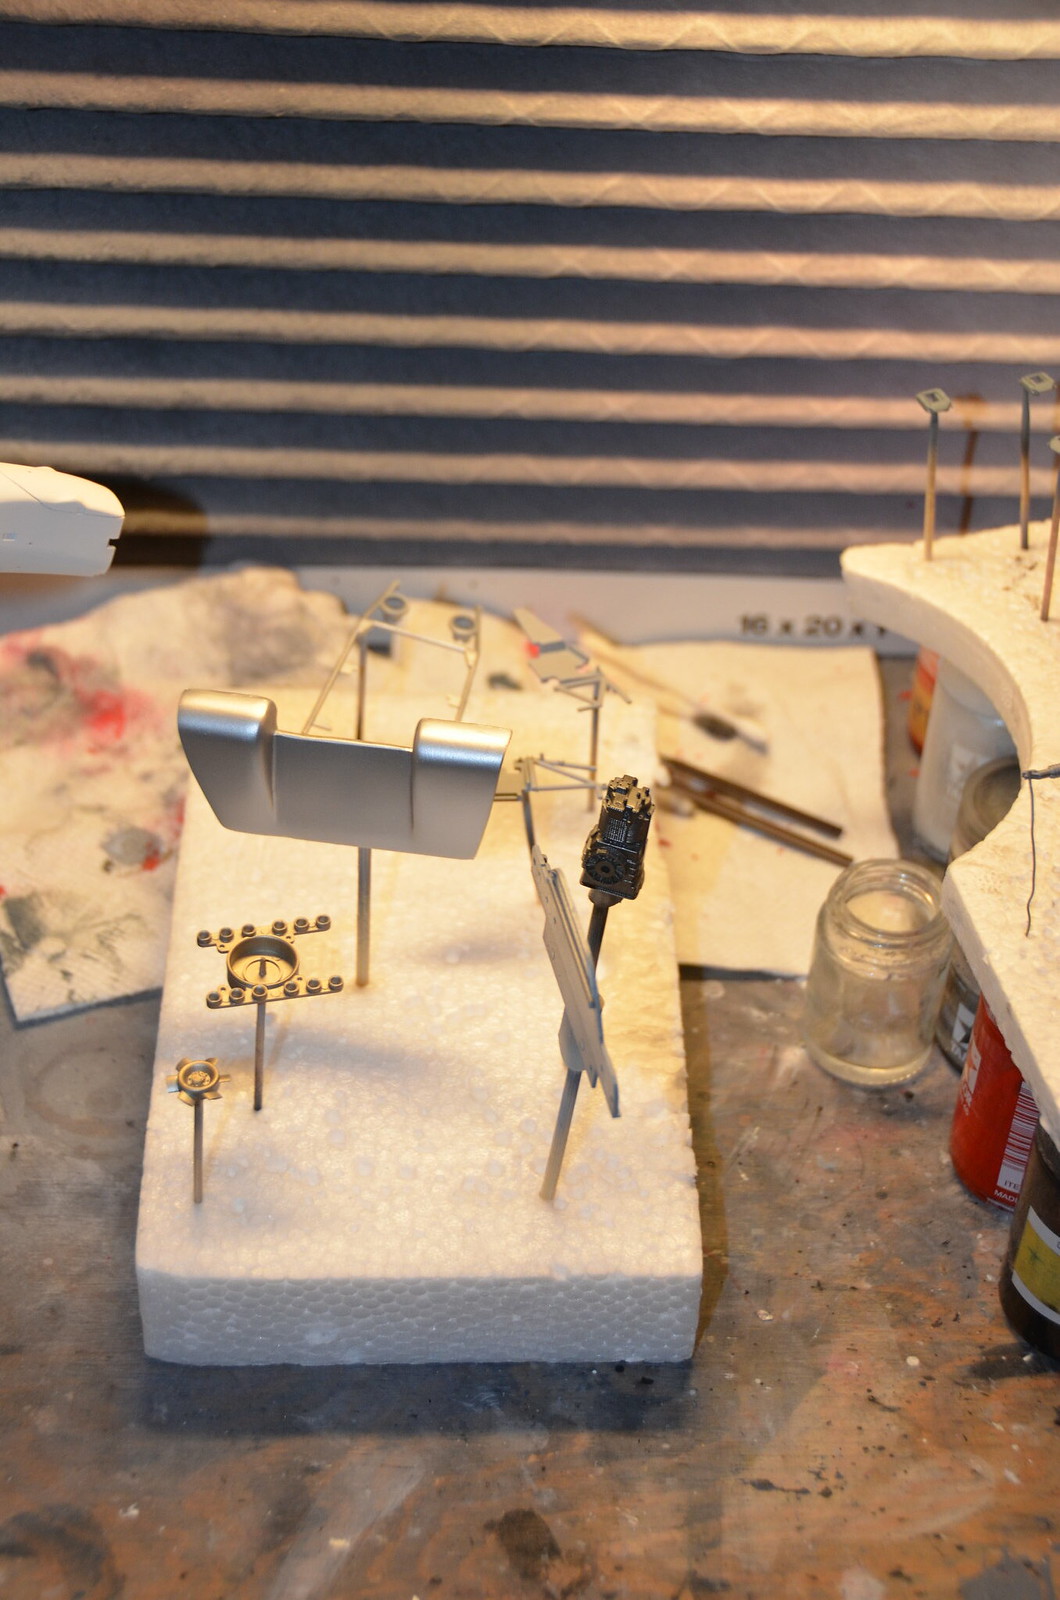
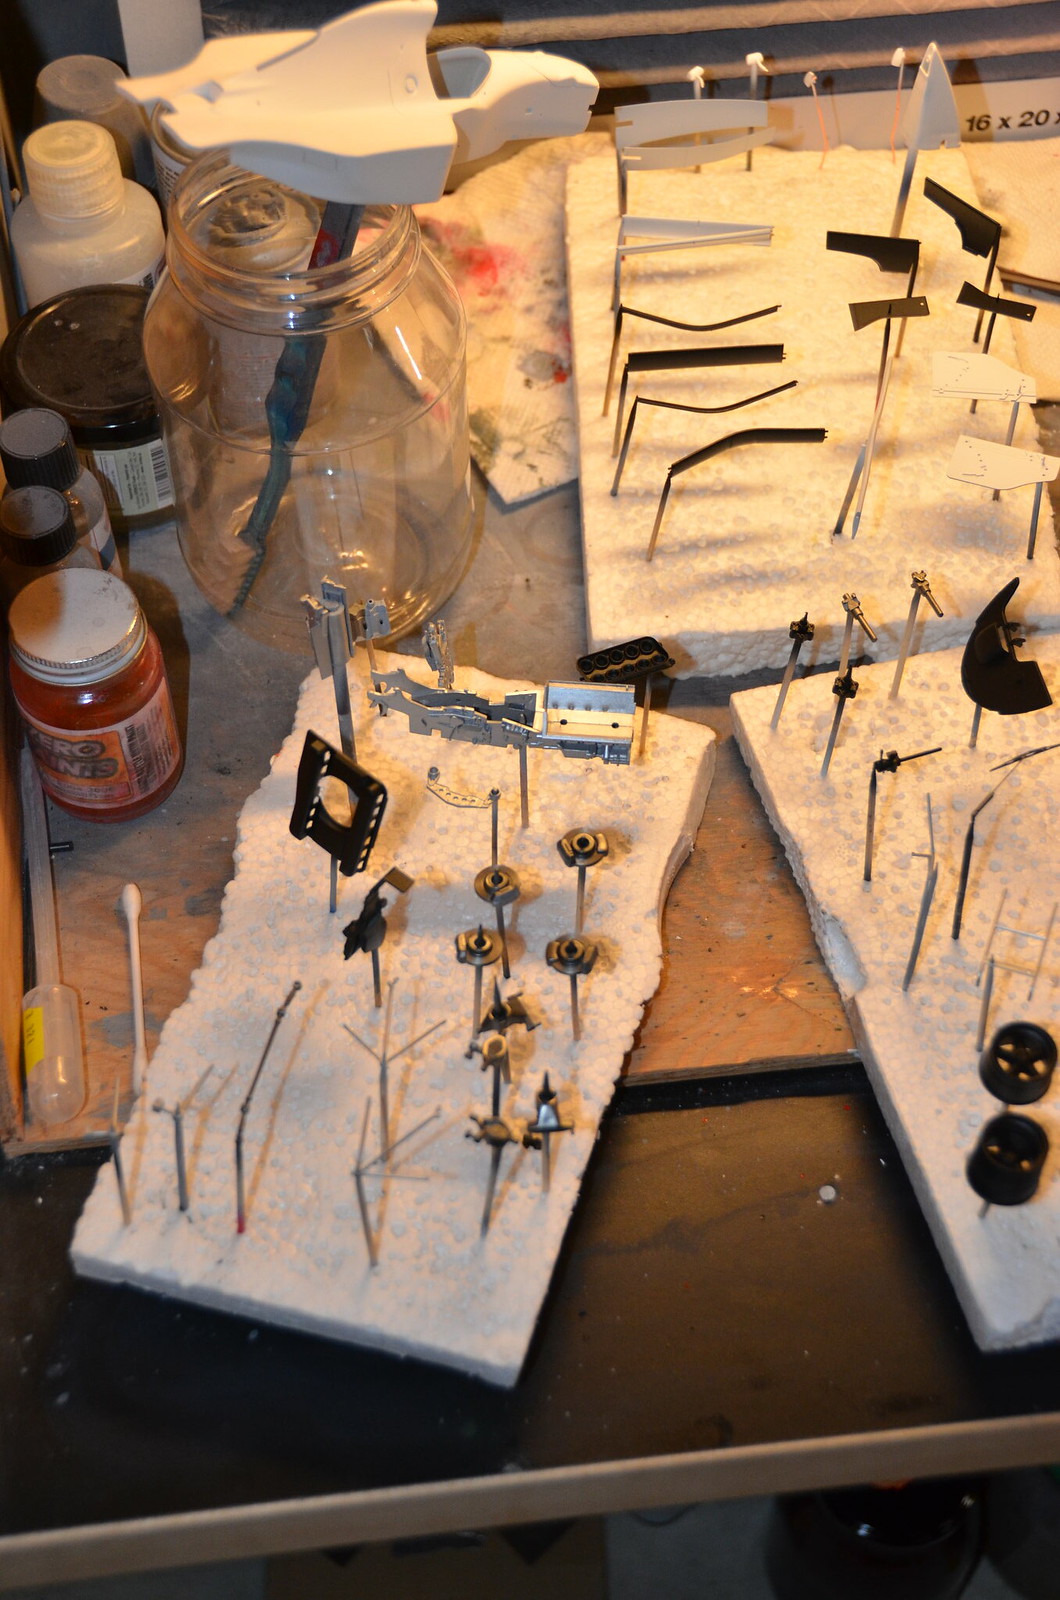
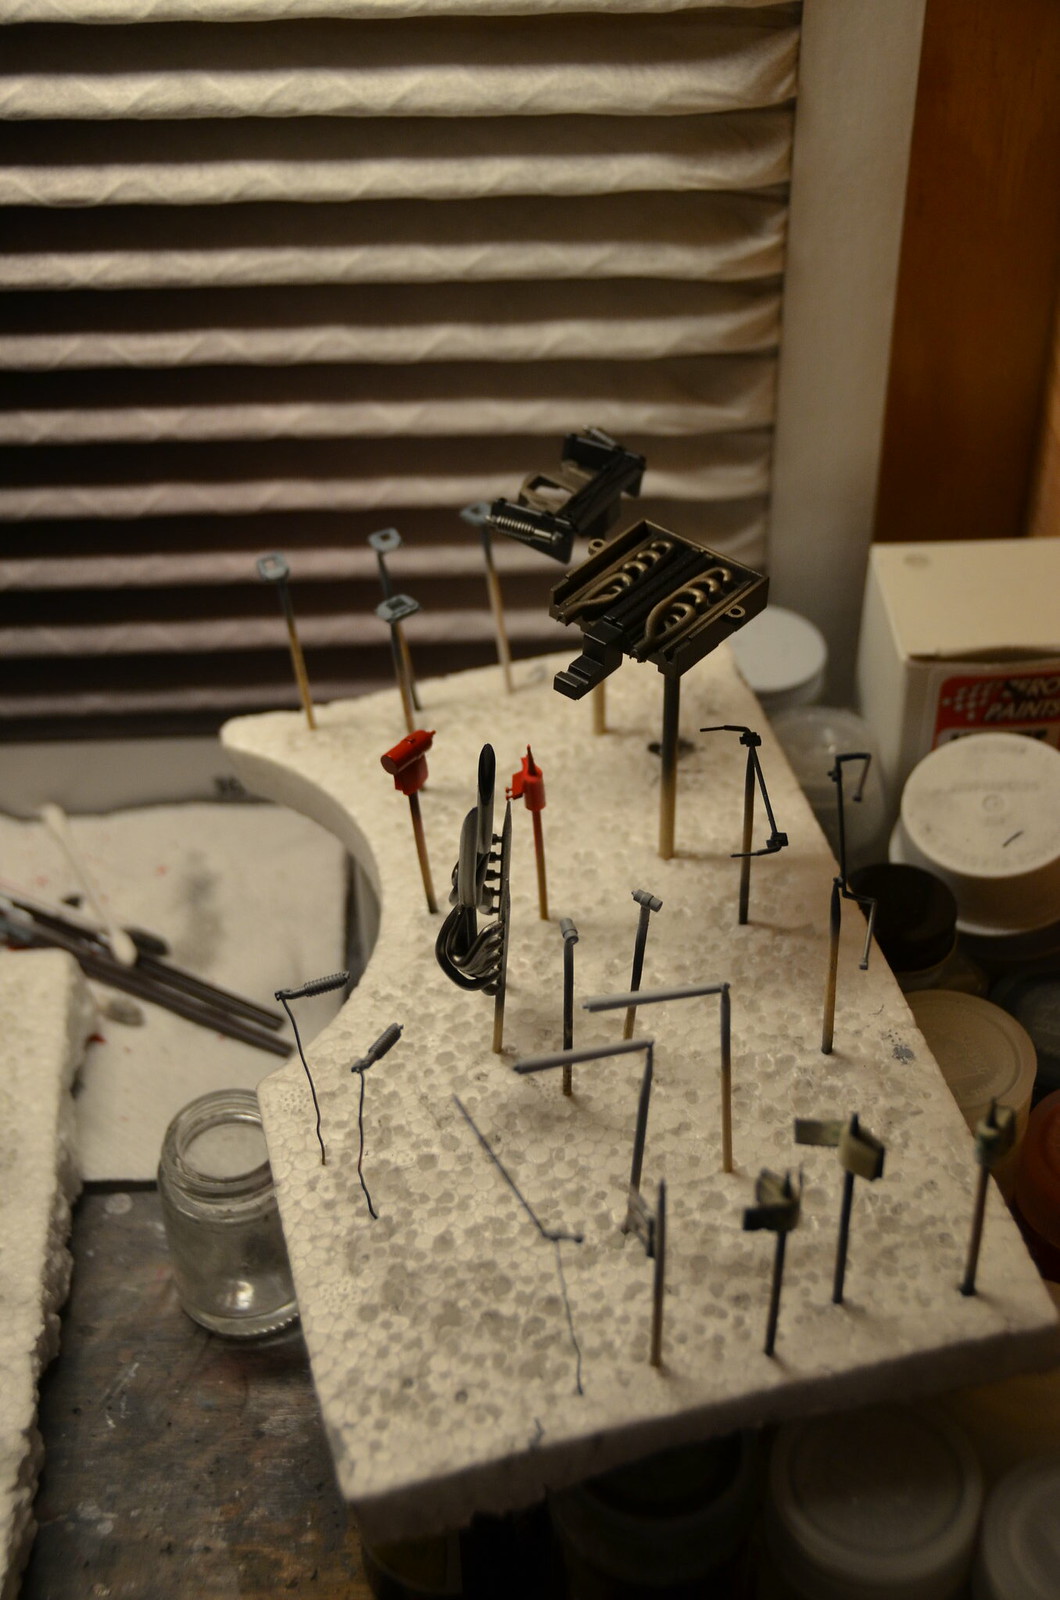
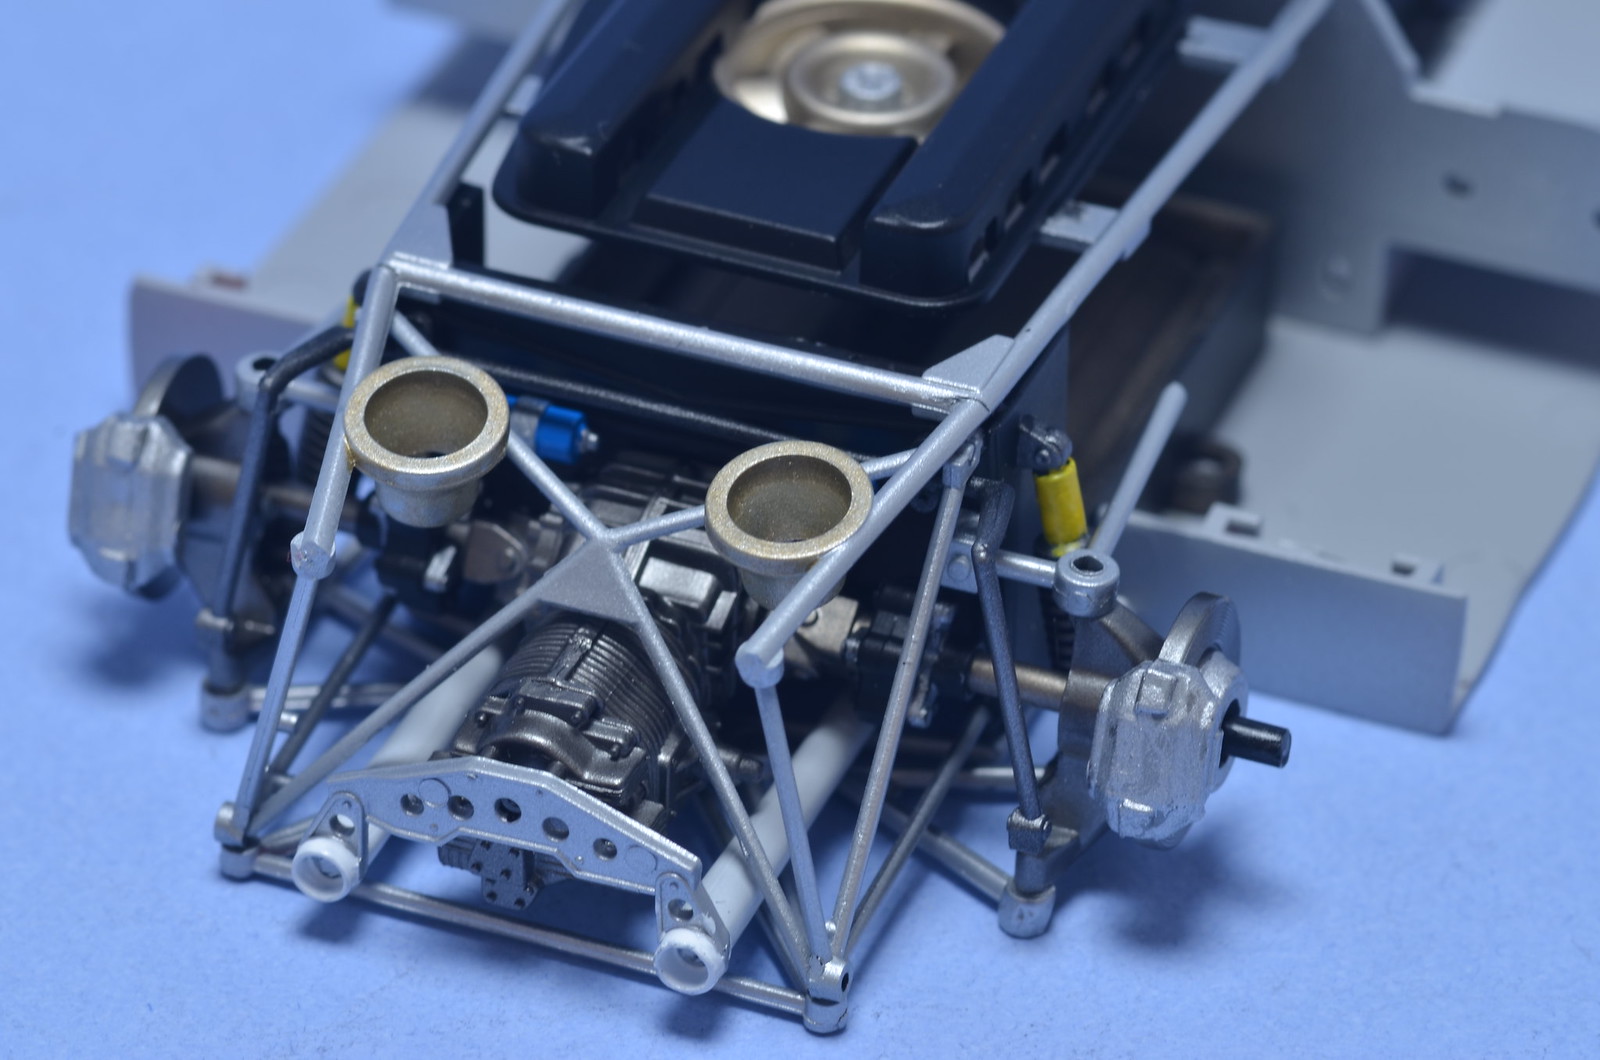
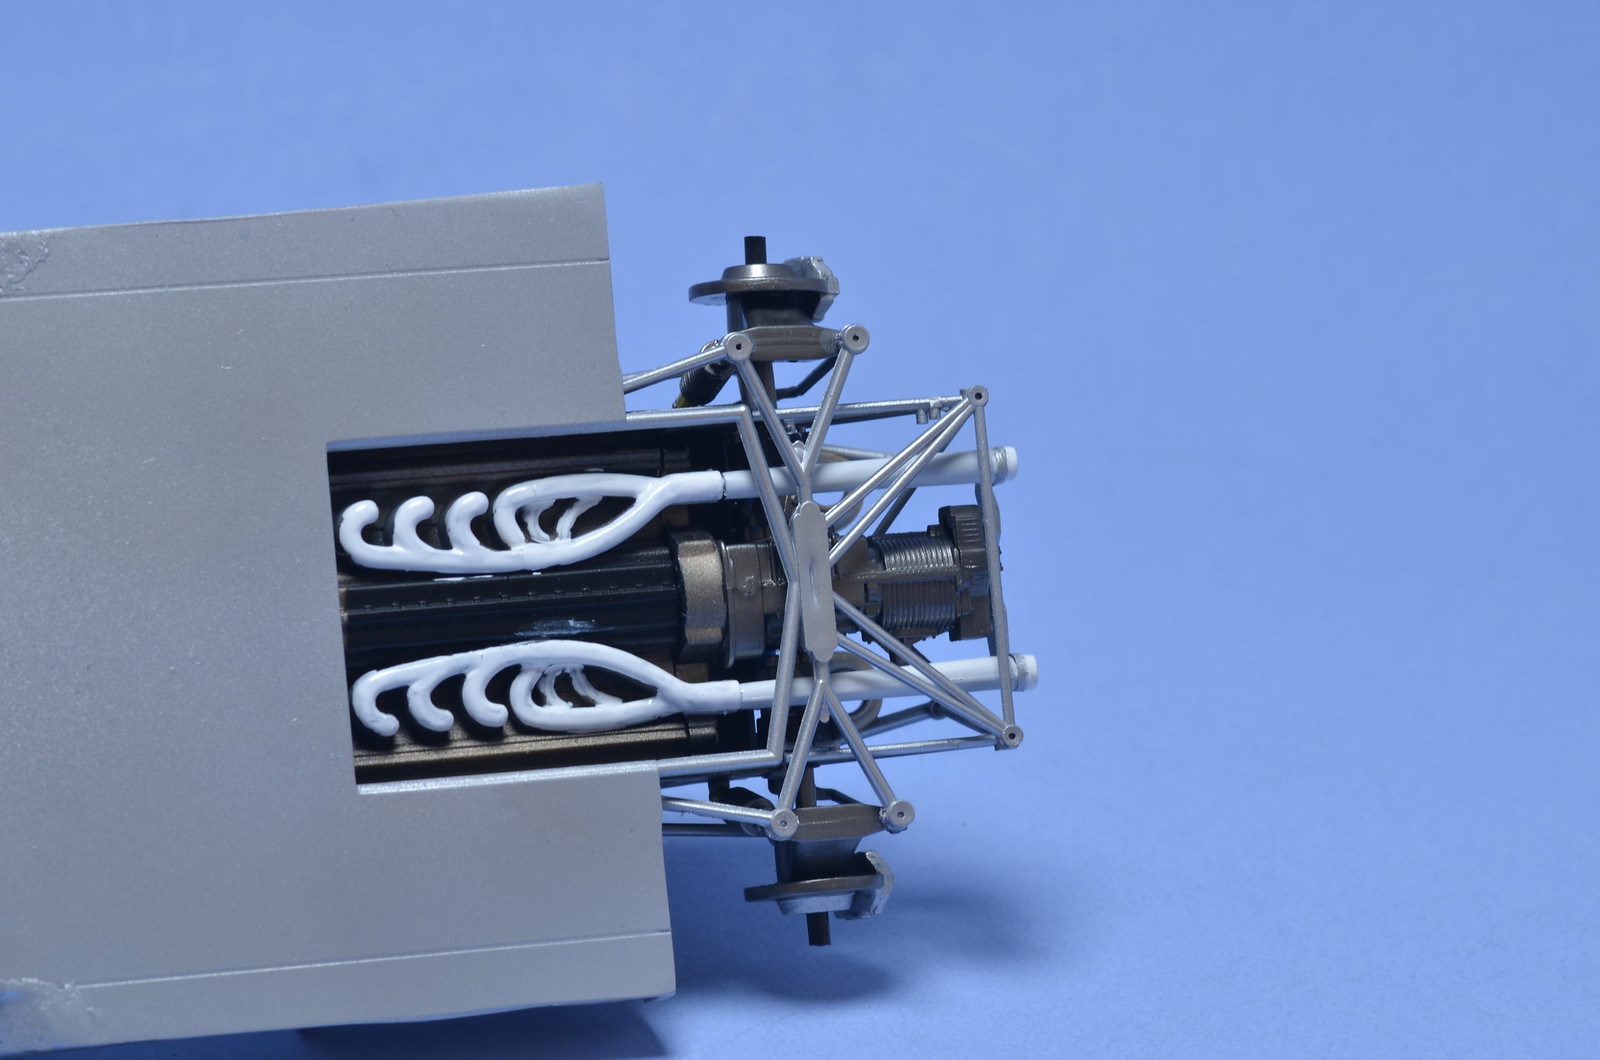
With all parts beside body parts are painted and ready, I've started assembly on the chassis. Beside dashboard, pretty much everything else is assembled. Because all parts were plastic, I could use plastic glue and assembly went quite fast. Just couple of nights. Overall fit was good and no issues at all during assembly. However Fujimi's engineering and detail level are not at the Tamiya level. So, I was a bit disappointed with gaps, dummy panels non existing on real car and some visible pins left over after parts were put together. I guess experienced modeler doing detailed build would have addressed those shortcomings, but for me it's OOB project and I don't want to invest any extra time in detailing hidden later under curbside shell.

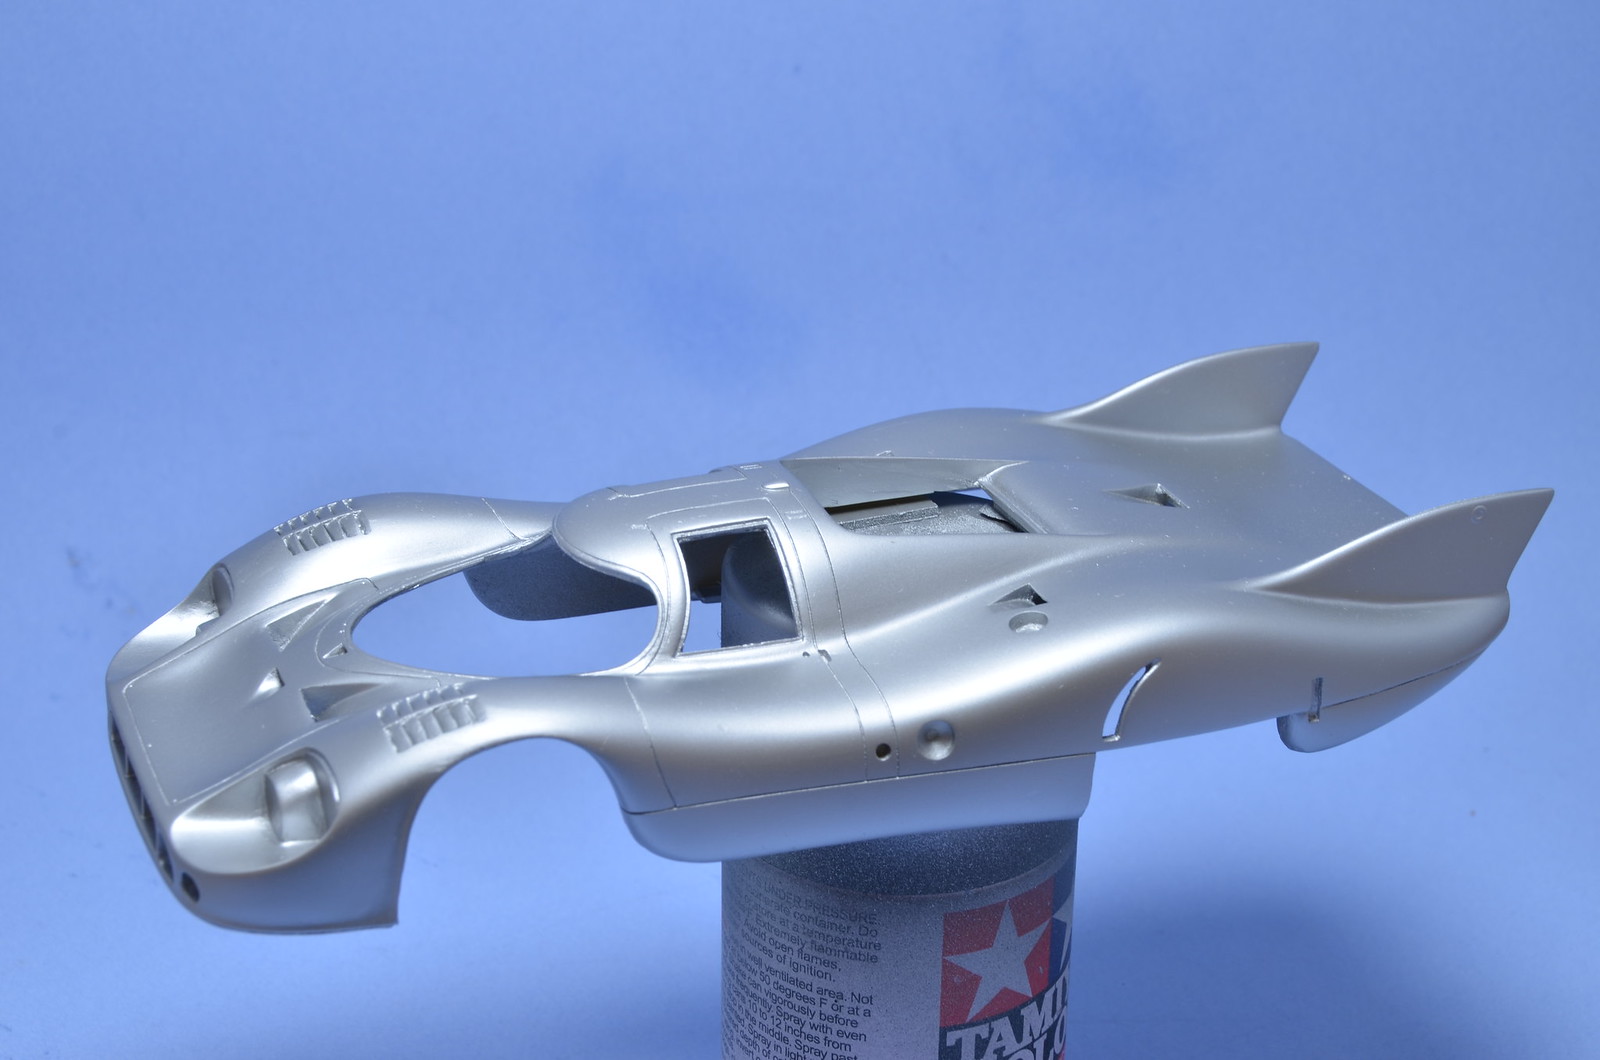
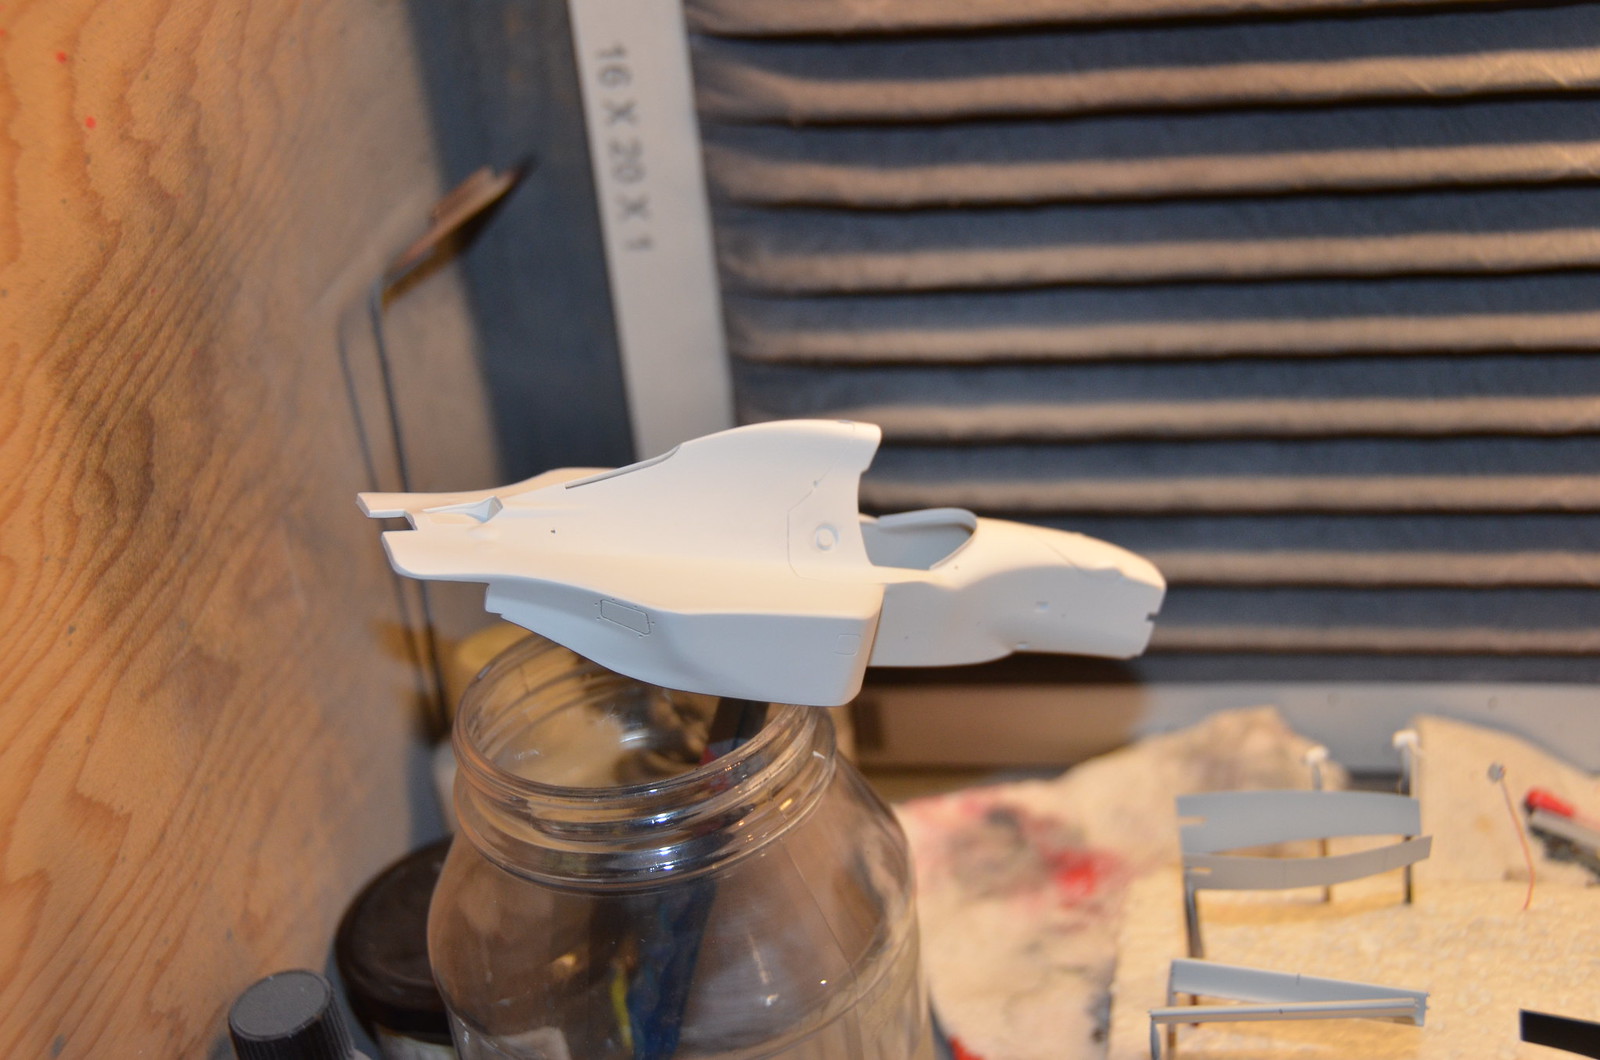
This build will be on hold for next 3 or 4 weeks, while I'm on vacation and also deciding what to do with the body. After TS13 was applied, TS30 layers look more like grey, then silver now. I might decide to put TS17 over and see if it looks better after clear.


Tuesday, July 21, 2015

Masked and painted Rothmans blue

Spent over 3 hours masking the body on weekend. Then sprayed matched Zero blue over. Removed masking yesterday. It came out ok, not perfect and quite a few small paint bleeds to be removed. Hoped for better outcome, but I think it's decent enough. Will attempt to remove paints bleeds and then will need to clear coat over Zero paint. Zero base paints might change quite a bit after clear is applied.

For masking I have employed techniques described in the f1m.com forums recently. I've made photo copies of decals and used Tamiya masking tape to make templates. Put tape over photo copy and cut it all to shape. Then removed paper and used templates for masking. All that left was to fill rest of surface to be masked out with pieces of masking tape left over from other masking jobs.

Here are photos of the process in chronological order.


Saturday, July 18, 2015

Body painted silver

Finally all prep work was completed on the body and I could spray silver over it. TS30 went on well. I think it is a good match. However resulting finish is not gloss, so I will have to put some clear coats on top of it before I could apply decals.

I've also done pretty much all detail painting on other parts. While body will need a lot more work, I should be able to start assembly tasks on the chassis. Might even have an update by the end of this weekend.


Got gloss white on

Small update. Got body and wing elements painted in TS26 white. Looks ok to me. Had to get last heavier coat on to get it look more glossy and smoother. Next comes the difficult masking step. Studio27 decals have no blue in them. In one hand that's a good thing, because I don't need to match paint to decals. In other hand that requires me to mask off all white and paint on all blue. I plan to use technique described recently in f1m.com forums - will make photo copies of decals and use them to produce masking templates. Wish me luck. That's going to be a step that will either make or brake this build.


Sunday, July 12, 2015

Painting sessions for 917LH conv

After leaving this project in the background for few months, I have picked it up again. Spent some time preparing parts for primer. Then over last 2 weeks I have primed all parts, plastic parts with Tamiya grey, resin parts with Tamiya metal primer. Next parts were painted in all kinds of different colours according to my references and MFH's 917LH instructions. I could not find period references for this car's cockpit, so I based colours on what MFH suggested for their kits. It is also not easy to find period photos of inside body and colours of frame pipes. I've settled on fibre glass for internals of the body and on white aluminium for frame pipes. They look bright silver on photos and I had no other better match paint for them in my stock. For the body I have selected TS30. It seems to be a reasonably close match. Unfortunately I missed the fact the small front ducts were closed on #21 car and that delayed body painting. I'll have to paint body, when putty is dry and surface is prepared again. Beside body, almost all parts are painted by now. I will only need to do some detail painting on things like shocks, dashboard, steering wheel and brakes. Really looking forward to the moment when I will be able to start chassis assembly. I don't have photos of it, but chassis is painted in grey and aluminium and pretty much ready.

Below are some quick photos.


Priming and painting sessions for FW16B conv

Finished all preparations and get to painting on this model. All plastic parts were primed with Tamiya grey primer. Resin parts were first primed with Tamiya metal primer and then with Tamiya white primer. Next I've painted SG black suspension elements, seat, dashboard, floor and wing elements. Wheels were painted gloss black and brake calipers were painted in light grey. I hope to paint white on body and wing elements during the week.

Despite the fact that most of engine will not be visible, I've decided to paint its parts anyway. Exhausts were painted in stainless still as base and will have to be sprayed with different clear paints to simulate heat stains later.

Below are some quick shots.