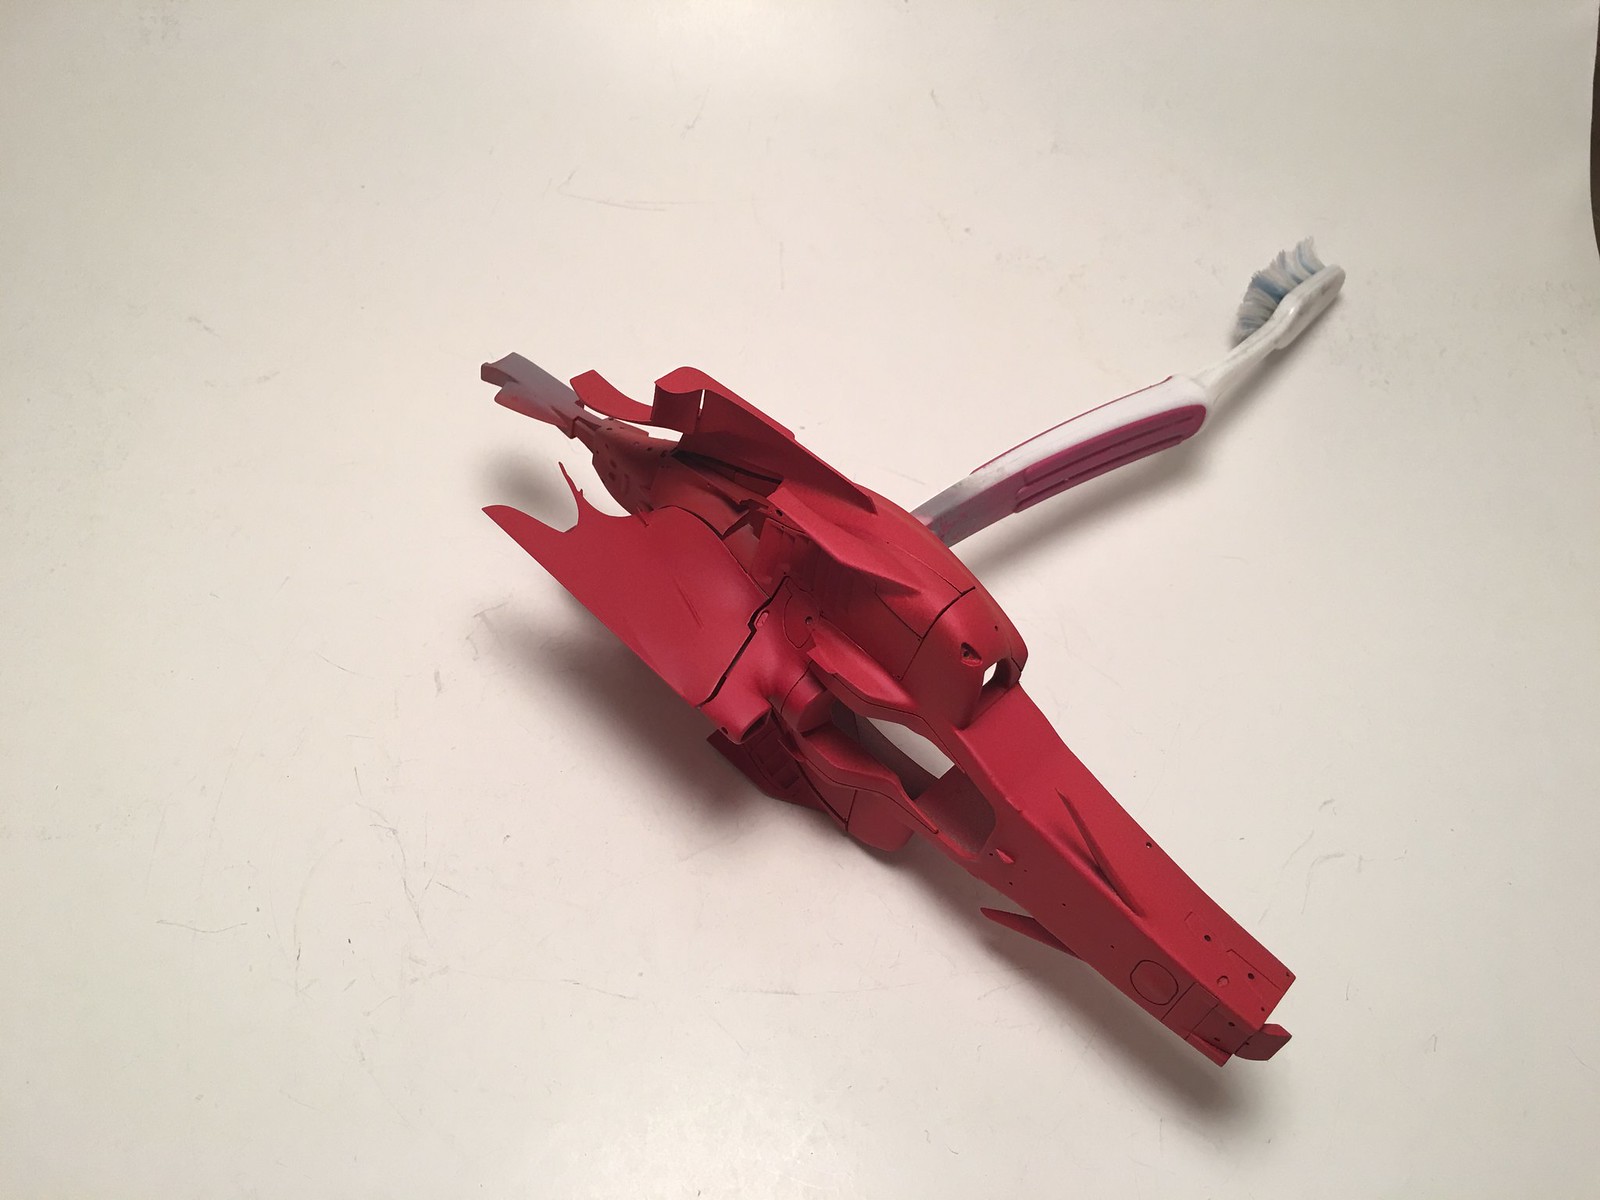
After long hiatus, while I was building my courage to attempt UMI decals application, I have returned to this build. My fears were fully realized. I have ruined big side decals with Martini stripes. Decals were stiff and brittle at the same time. They did not respond well to decal softeners initially. I had to used Solvaset. However at some point Solvaset affected them so much, that they turned into small blobs in places, while still been stiff in others. And they did not fit well at all.
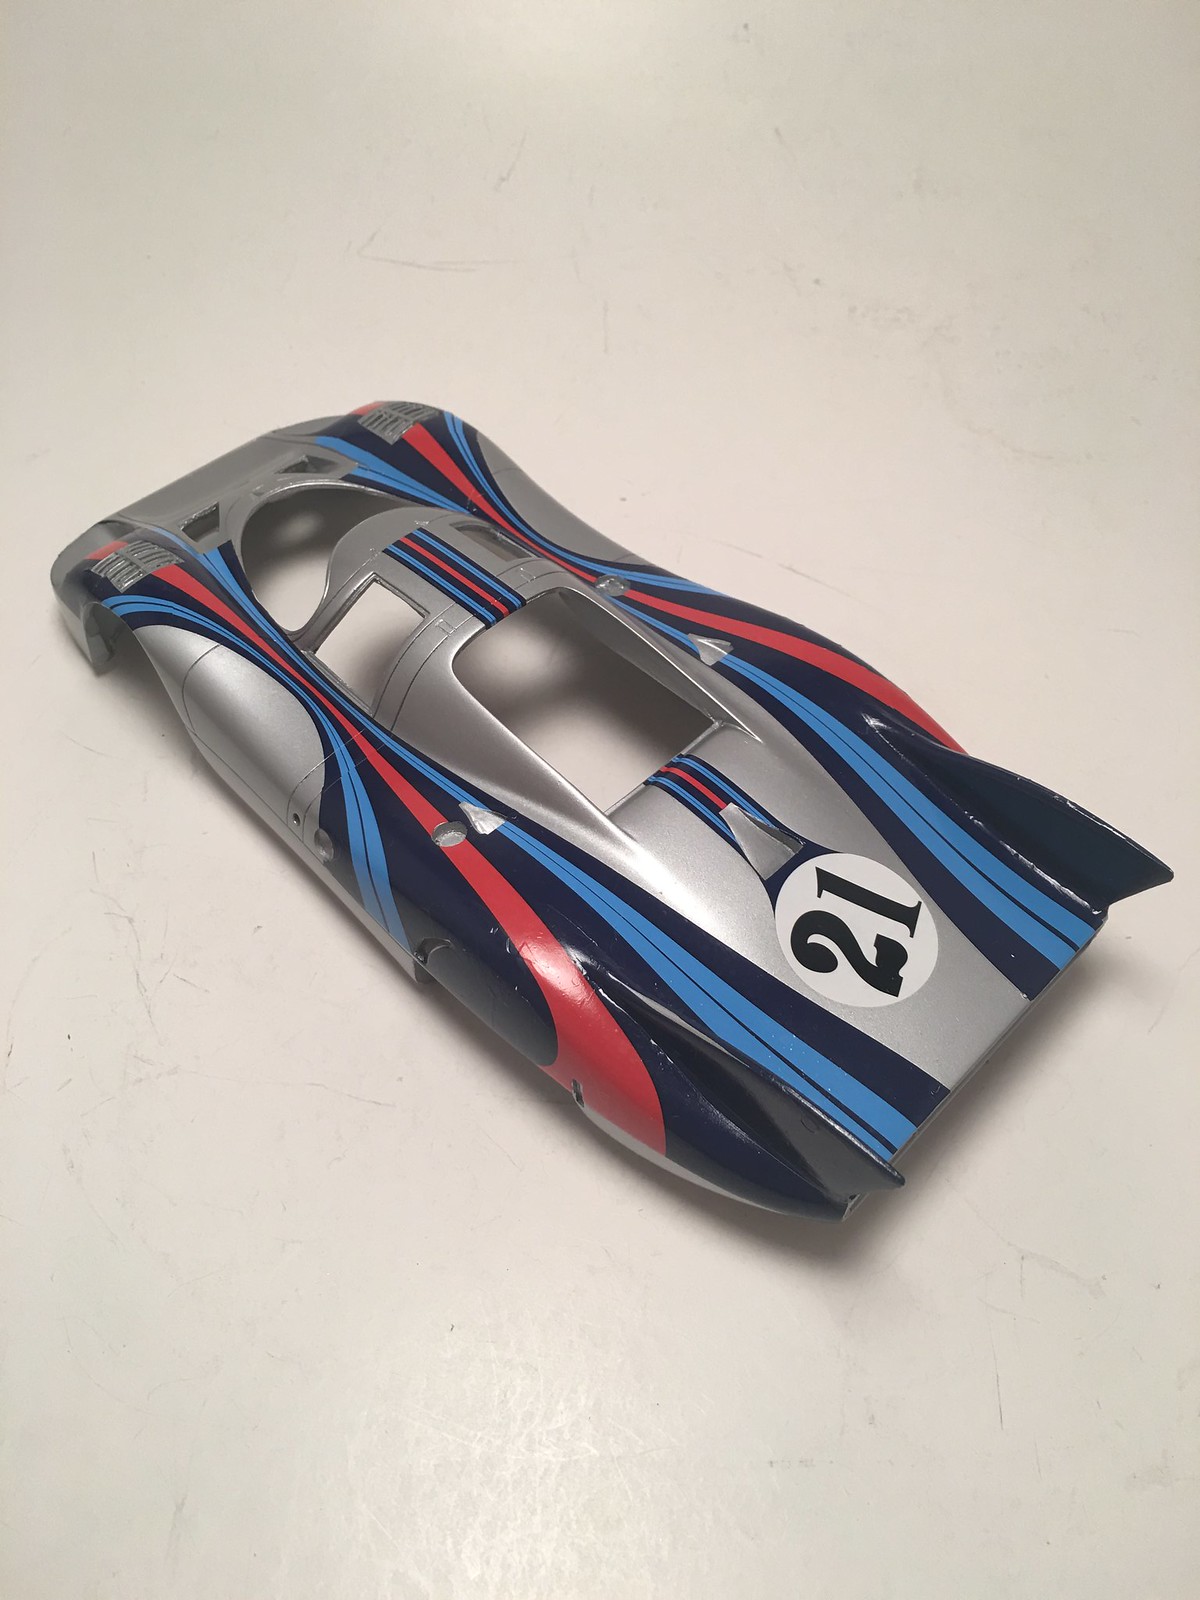
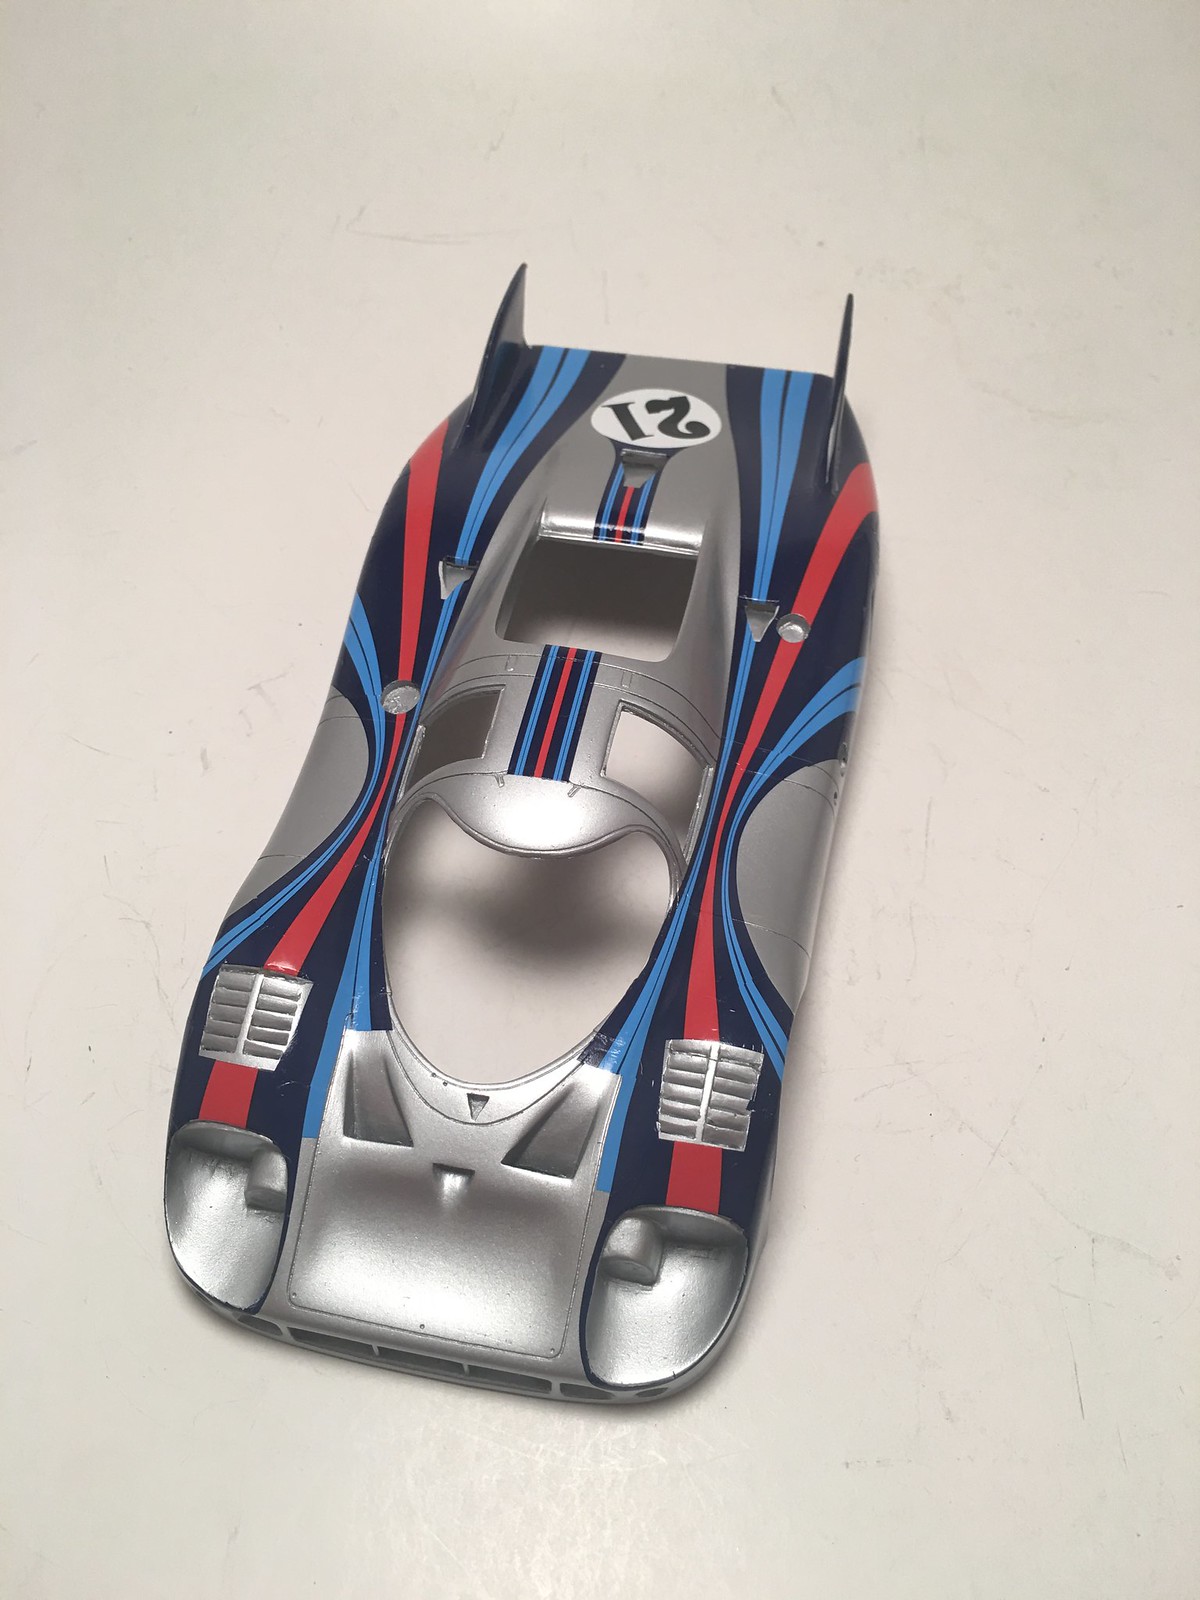
I had to switch to plan B and attempted to apply MFH decals from similar kit. MFH decals are also brittle and obviously don't fit well, as they were designed for different kit. But with plenty of MicroSet/Sol, heat and some cuts, I was able to mostly persuade them to get over Fisher's kit body. Lots of wrinkles and tears, many patches as well. I guess from the distance they will look Ok. Clear coat should help a bit as well. I think colors of UMI decals were closer to original car, but MFH decals will have to do it for this build.
Many decals are still left to apply, but main and most difficult ones are on. More patching will be required as well.
Here is how is looks at present.
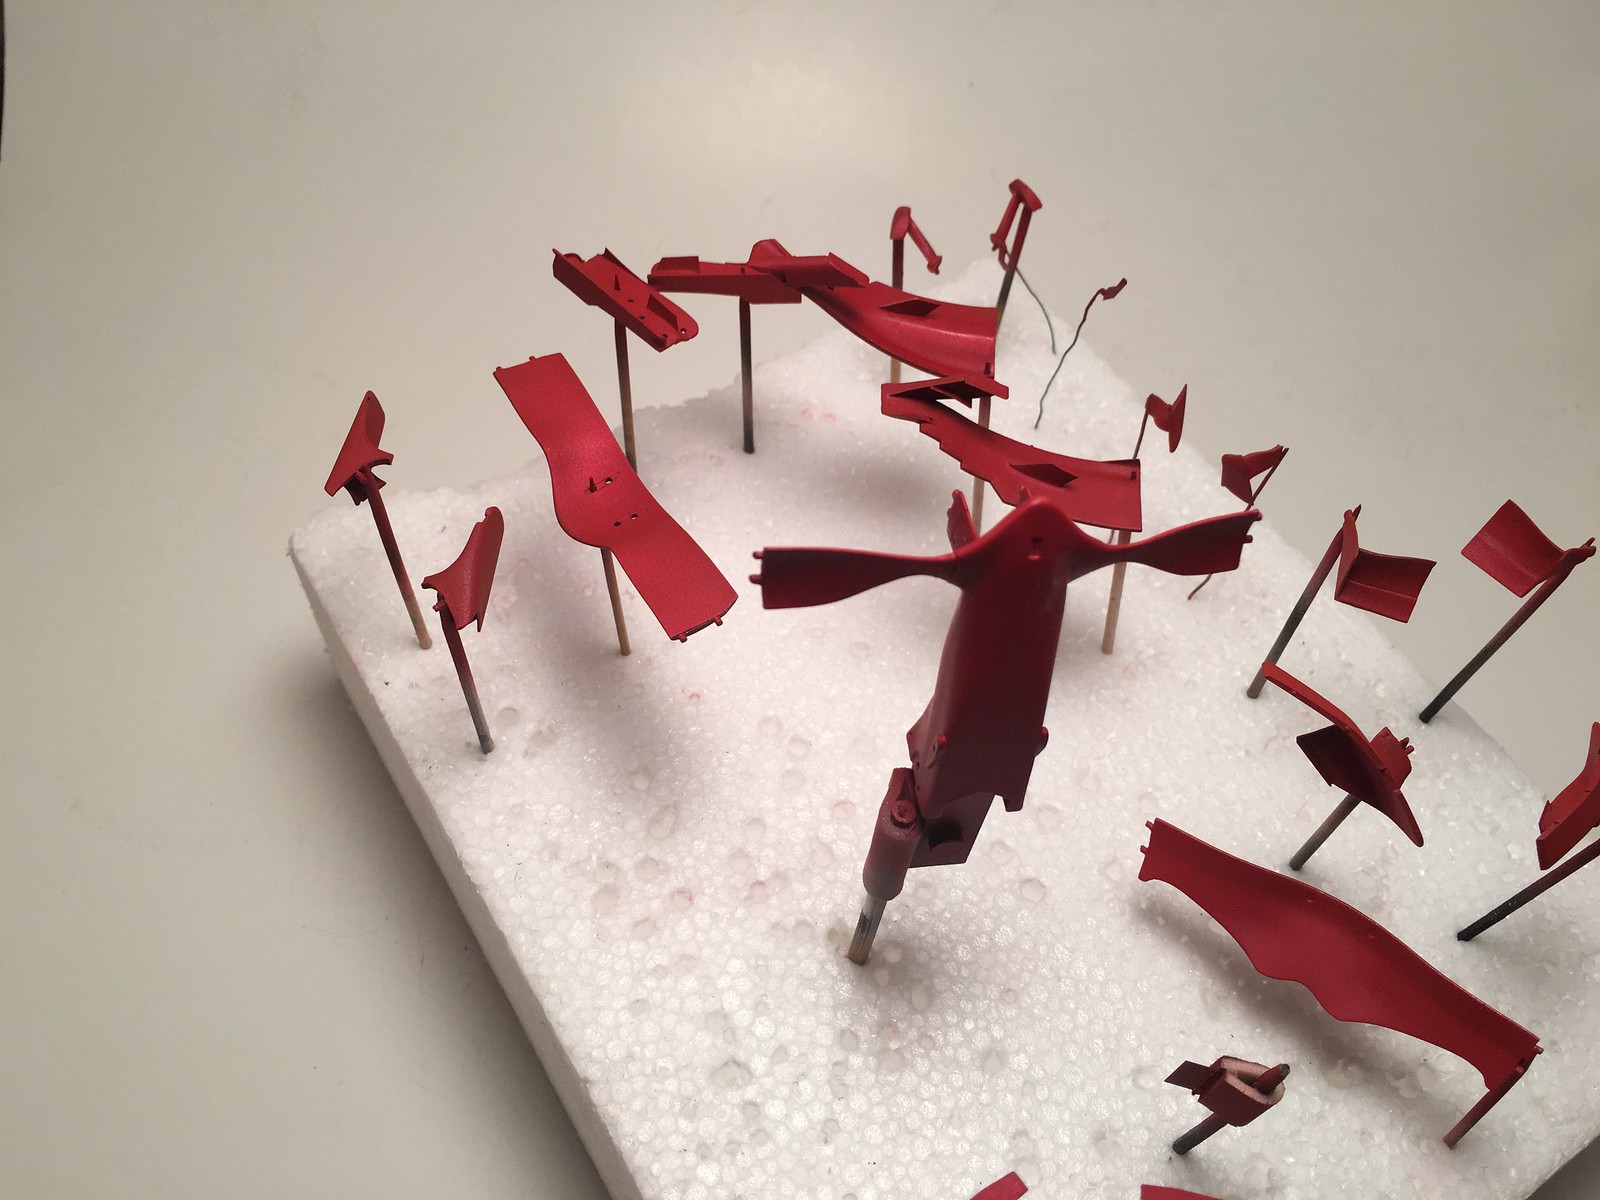
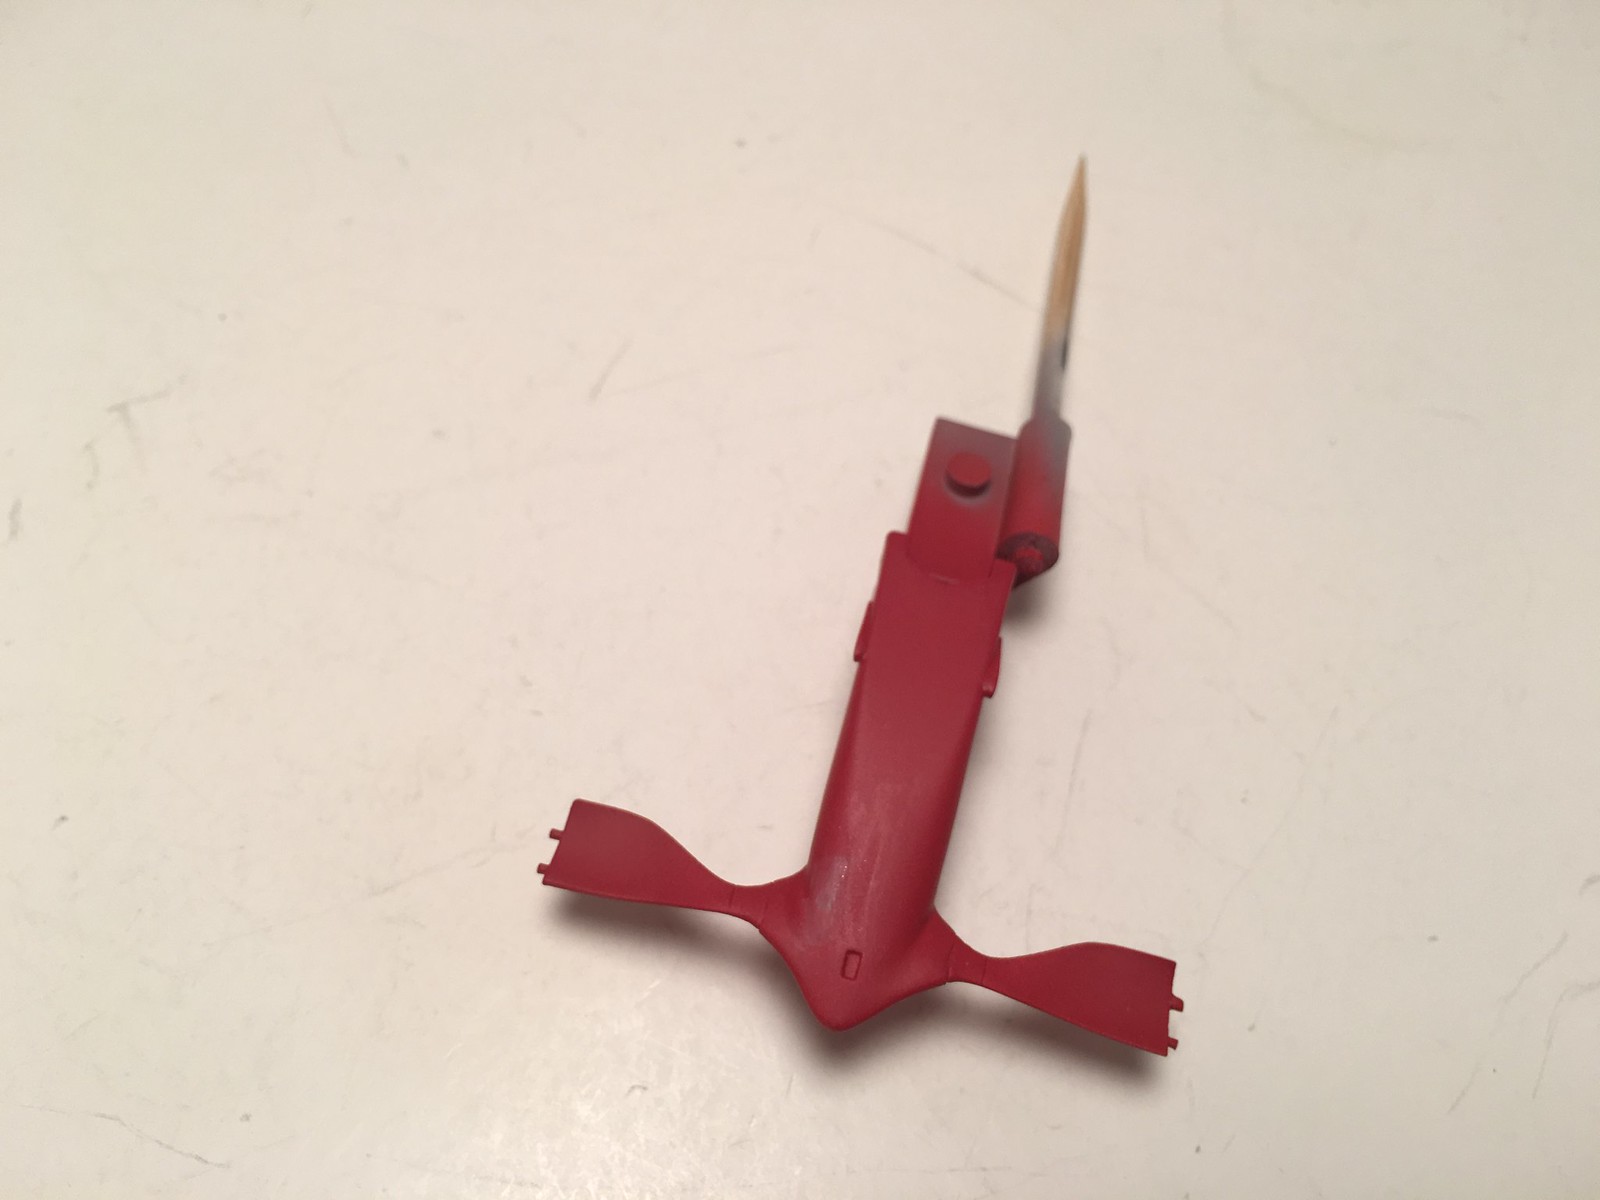