Wednesday, October 30, 2019
Thursday, October 17, 2019
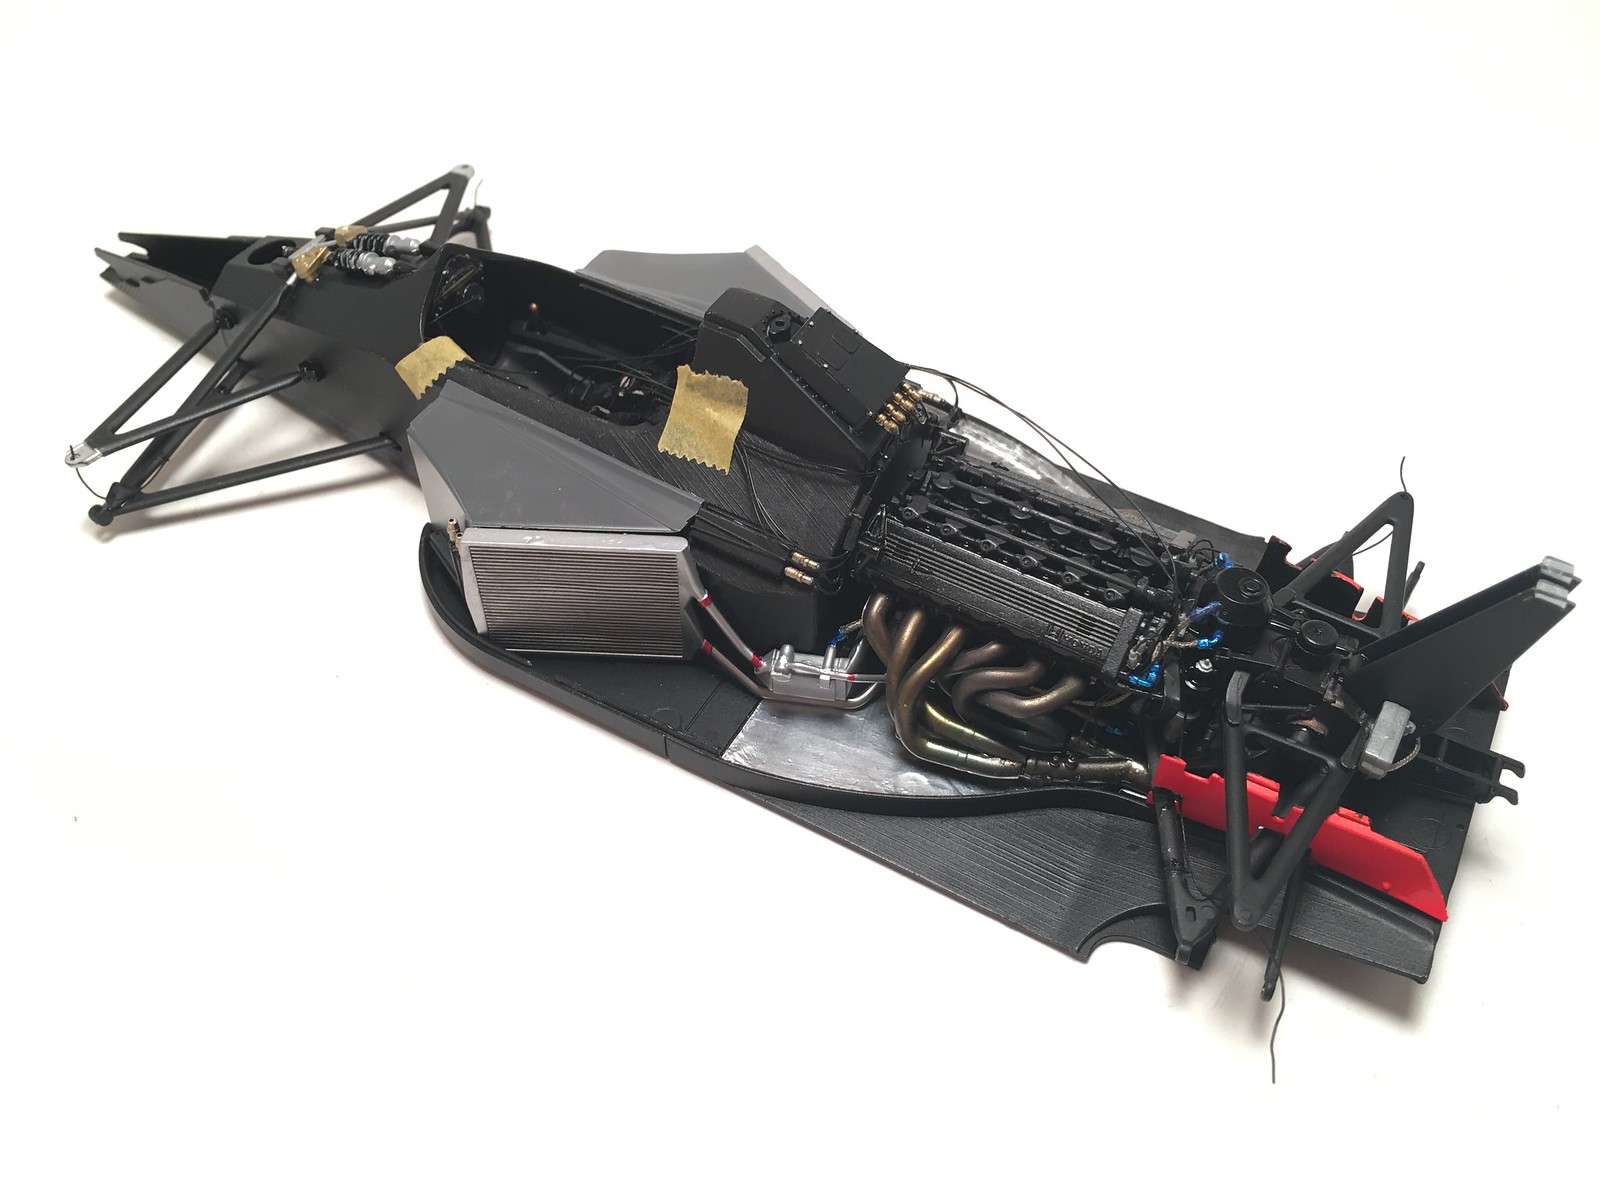
More assembly steps completed for MP4/6
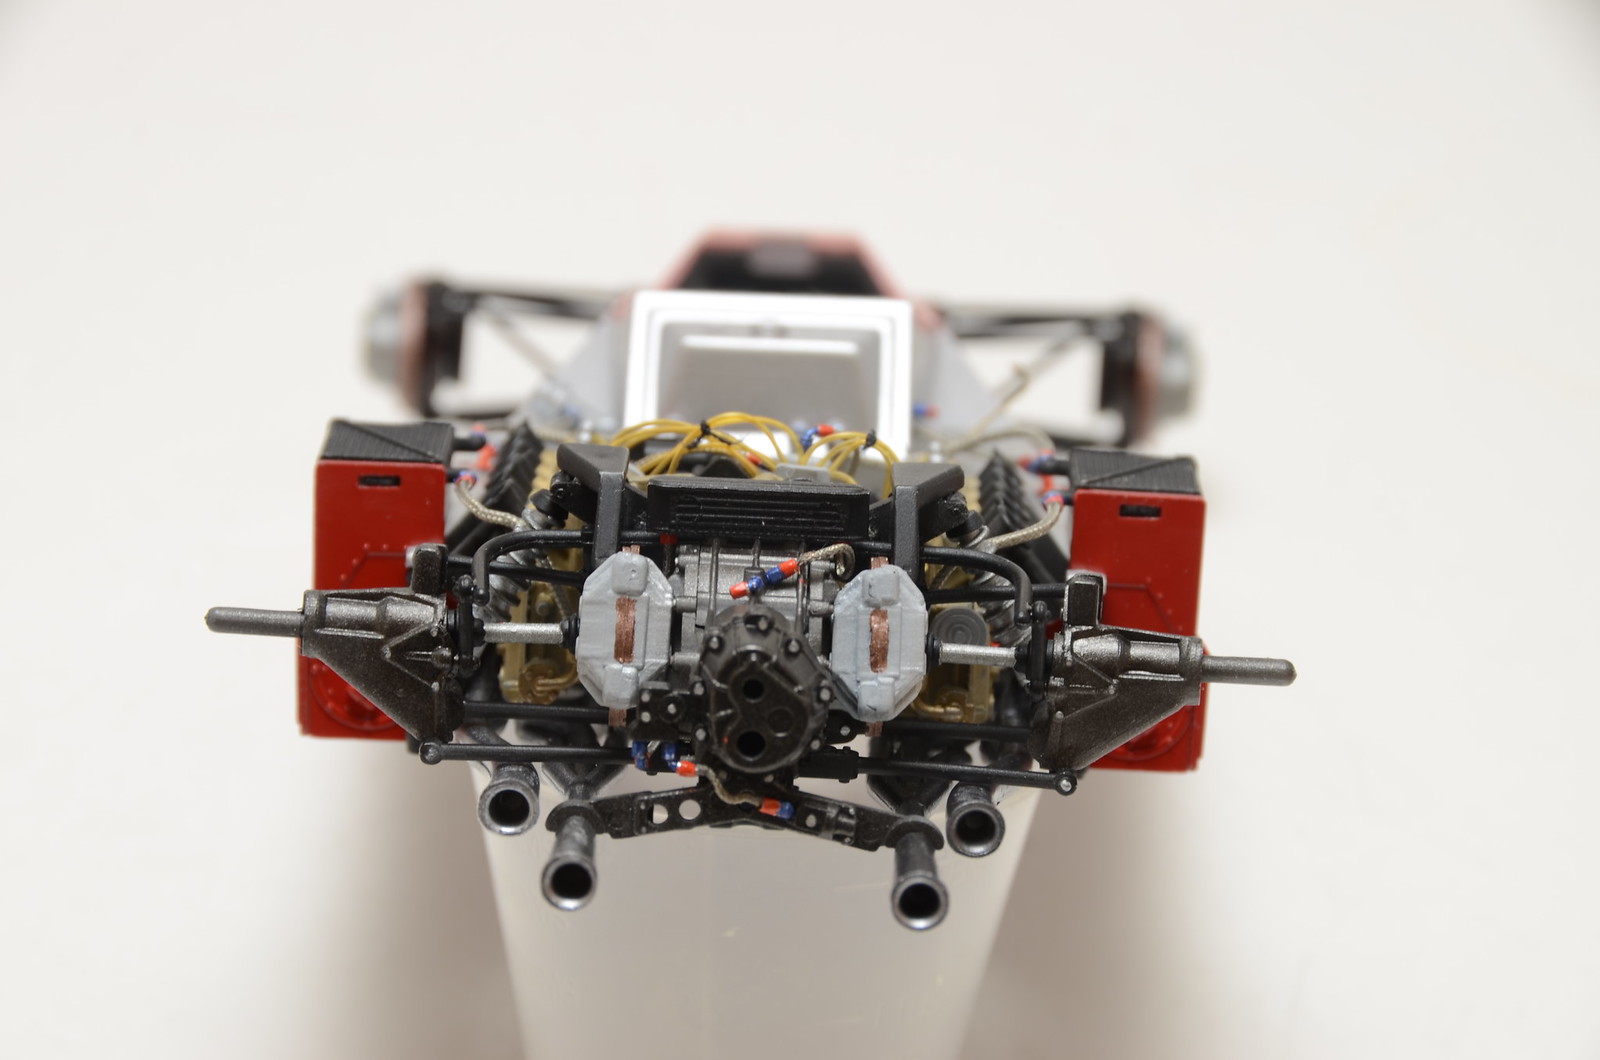
More progress. Cables are tied up. Steering wheel attached. Brakes assembled and installed. Brake lines routed out to calipers. Rear and front wings assembled. Need to complete number of small items and wheel before Saturday's local context. Will be adding rivets later and some other small details later.


Monday, September 23, 2019
Sunday, June 30, 2019
First test prints done for DB18 project
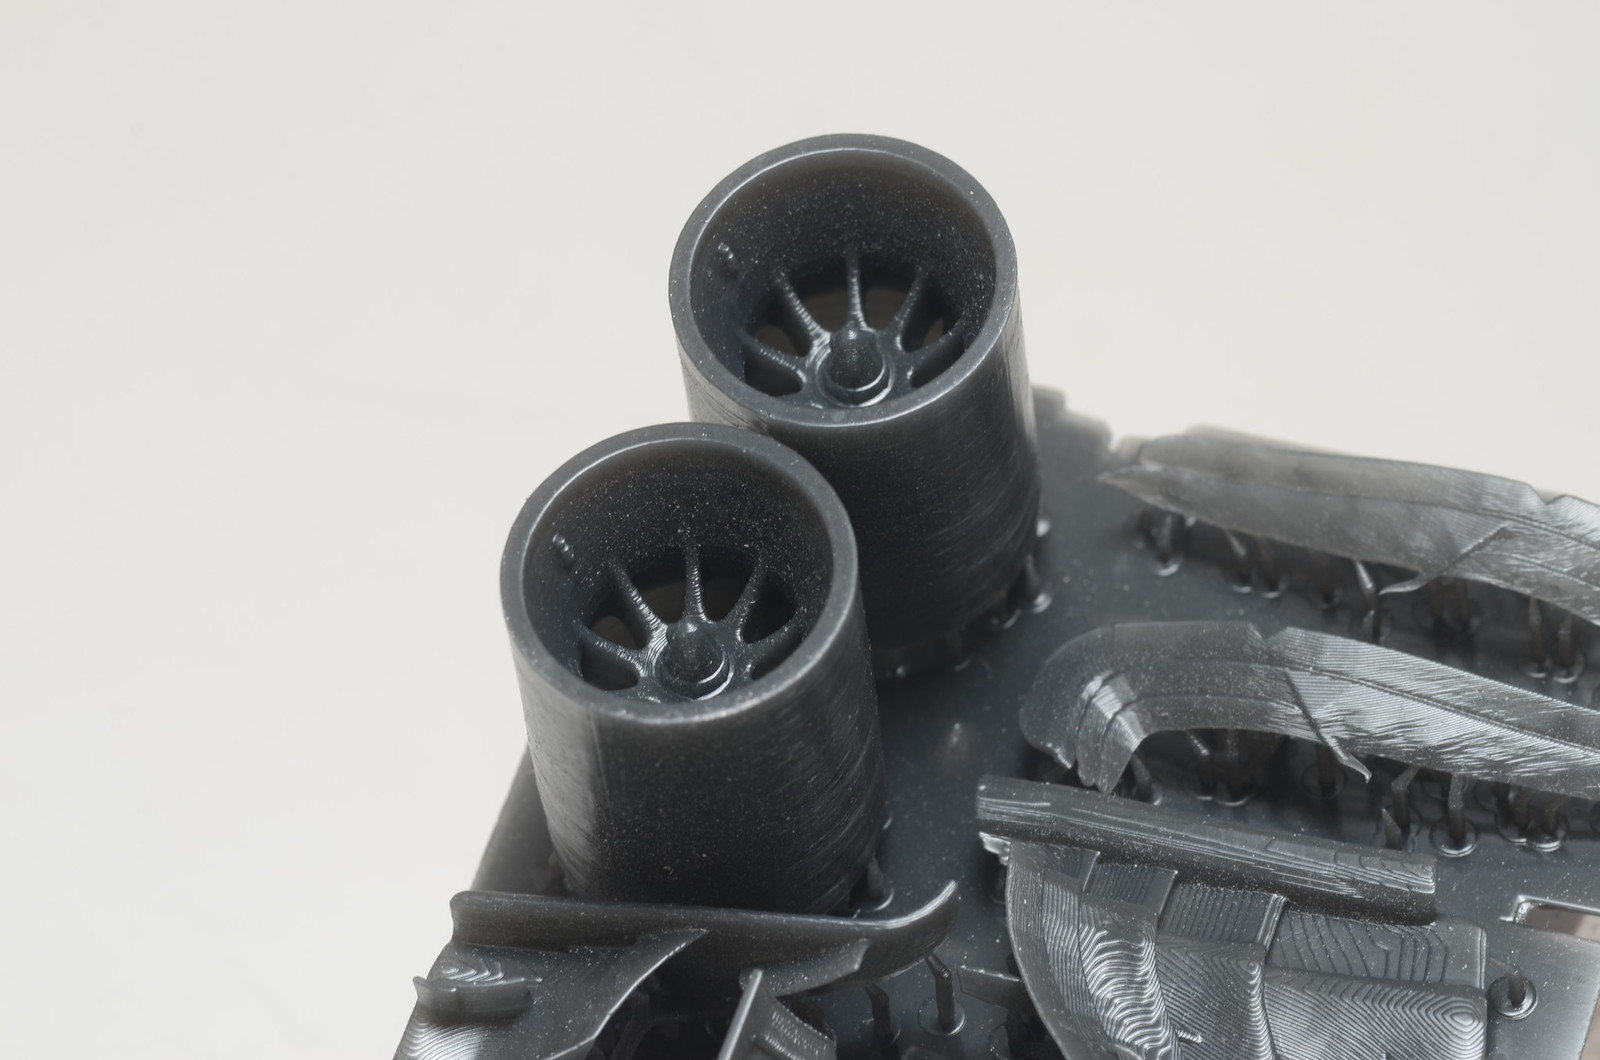
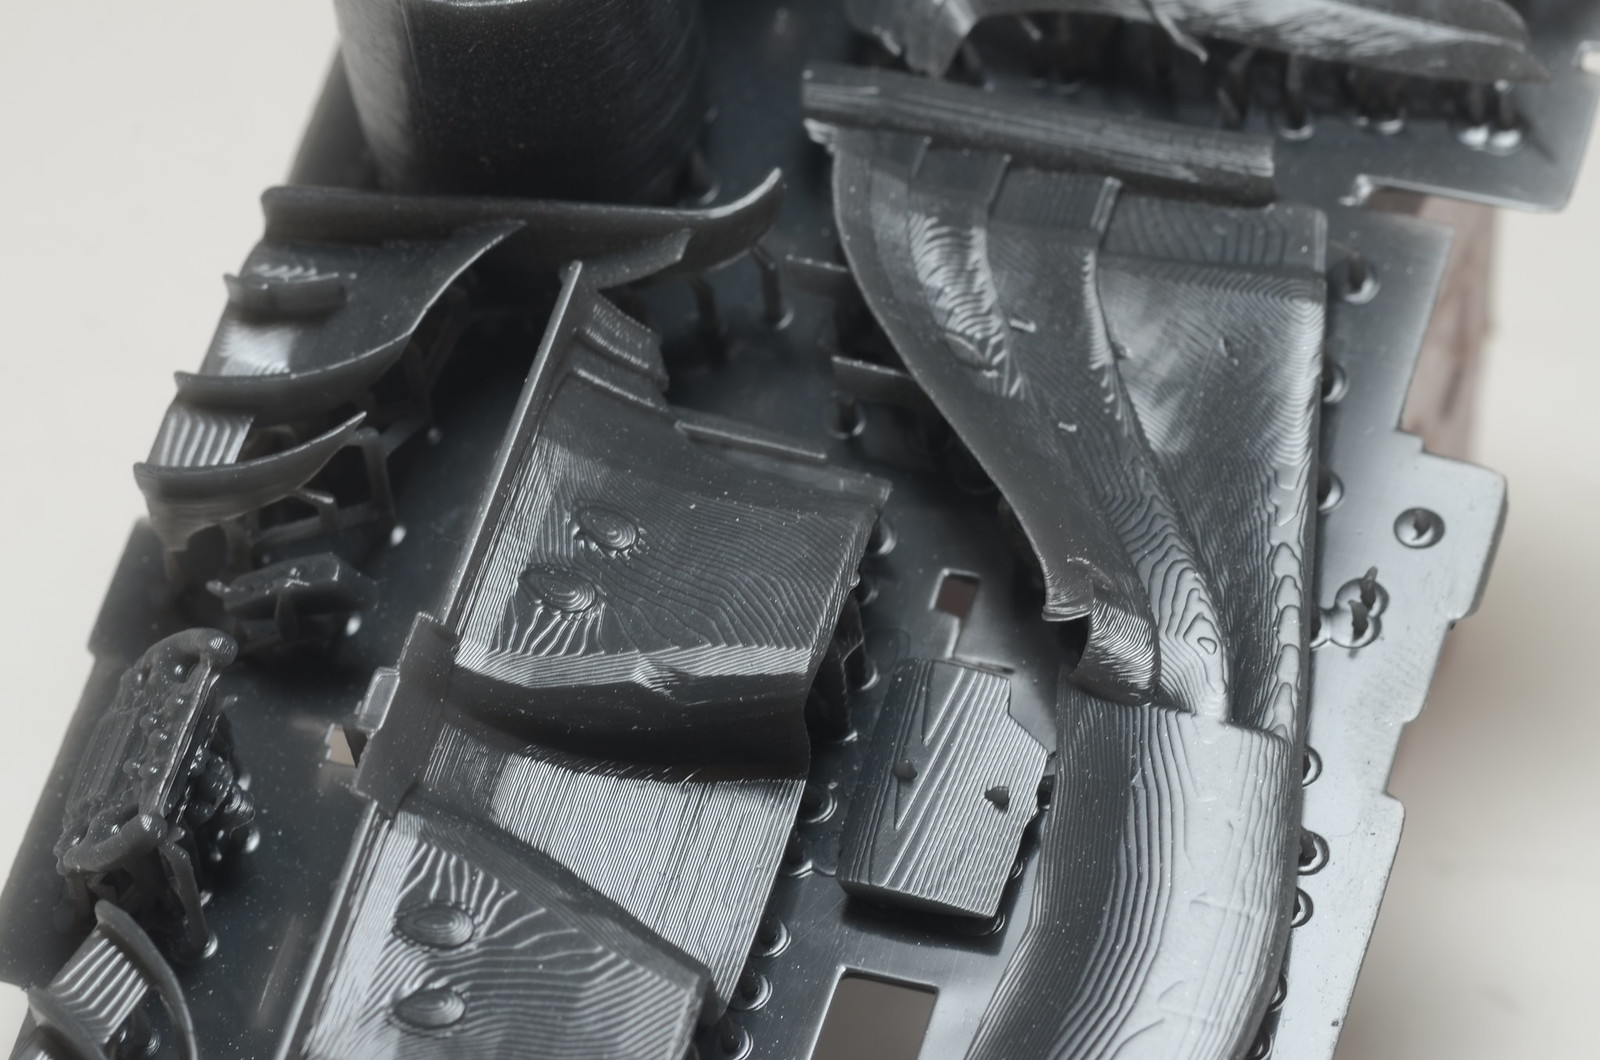
Received my printer and have done first test prints. My prints look to have lower quality compare to what my friend has produced. I guess I will have to go through my own trial and error process and gain more experience before I could produce better prints. There is also chance that something is wrong with my unit. But I somehow doubt it. It's not a very sophisticated machine.
Layers, even at 50 micron Z resolution, are still visible. I will play with rotation of parts to see if my horizontal placement is the problem. Also details on steering wheel and button box aren't as good as I've expected. I might split those parts into separate batch and print them at 35 micron, the highest resolution my printer is claimed to be capable of.
Biggest hindrance at present is the time it takes to print even small batch of parts. Batch shown on photos took almost 3 and half hours to print. And that's the lower height parts batched together. Software estimates over 15 hours to print floor of this model. While height of the printing area is decent, XY dimensions are quite small. First photo, basically represent whole printer bed filled with parts. And because print time only depends on number of layers (height) or parts, bigger printer bed would help with productivity of printer a lot. Here is where 4K screens could help, when they make their way into consumer grade SLA/DLP printers.
I am running another test with white resin and slightly different settings. Will post results later, if parts come out any different.


Saturday, June 22, 2019
3D printed model project started - Dark Blue car from 2018
This is a new project, I have started late last year. Got model ripped out of computer game. I have worked on it for quite a while to make it 3D printable. Plan is to get parts printed and build Dark Blue car from 2018. I like their test livery from that year. So, hope to get a unique model in the end.
Started by splitting parts and making them thicker in Blender. I am still in process of overcoming steep learning curve with 3D model building tools, but got enough understanding and skills to get through with parts for this model.

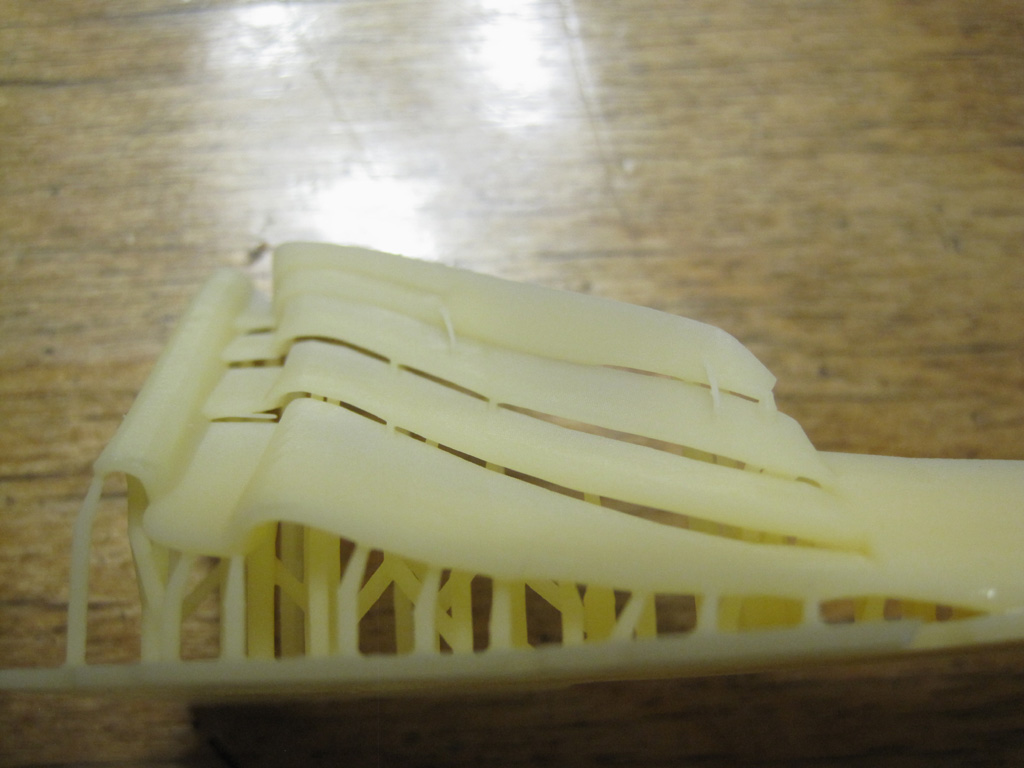
After I completed parts to my satisfaction and to fit Shapeways' minimal thickness requirements, I finally was able to get a quote from them on how much it will cost me to get all parts printed. I did not like prices I've got quoted. Too much money for 1/20 model. Played with layout of the parts following their recommendations on how to lower print cost with no effect. Either their recommendations are outdated and their new pricing formulas don't care about parts layout any more. Or I don't understand how to use their recommendations.
So, I started to look for alternatives. Apparently modern desktop SLA/DLP 3D printers with around 50 micron XY and down to 20 micron Z axis resolution are coming to under $500 price range now. I've got test print done by another f1m member for me and it looks like I should be able to print parts I have developed on a customer grade desktop printer. It is starting to make more sense to invest into my own SLA/DLP printer, then give almost same amount of money to Shapeways.

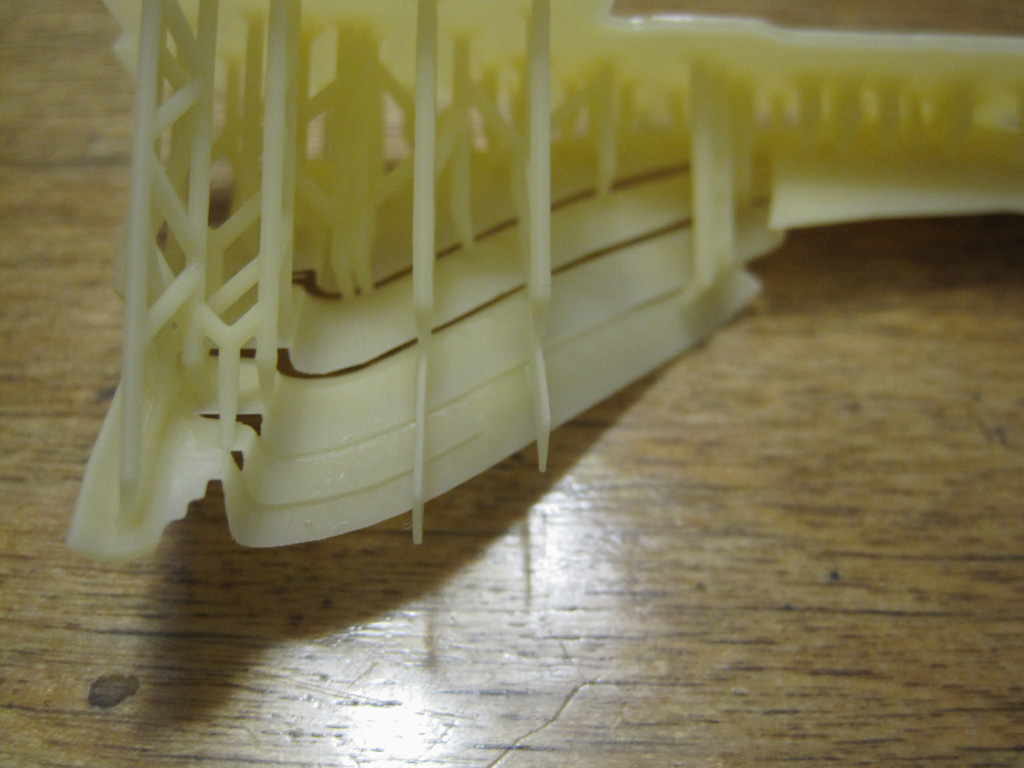
Started by splitting parts and making them thicker in Blender. I am still in process of overcoming steep learning curve with 3D model building tools, but got enough understanding and skills to get through with parts for this model.

After I completed parts to my satisfaction and to fit Shapeways' minimal thickness requirements, I finally was able to get a quote from them on how much it will cost me to get all parts printed. I did not like prices I've got quoted. Too much money for 1/20 model. Played with layout of the parts following their recommendations on how to lower print cost with no effect. Either their recommendations are outdated and their new pricing formulas don't care about parts layout any more. Or I don't understand how to use their recommendations.
So, I started to look for alternatives. Apparently modern desktop SLA/DLP 3D printers with around 50 micron XY and down to 20 micron Z axis resolution are coming to under $500 price range now. I've got test print done by another f1m member for me and it looks like I should be able to print parts I have developed on a customer grade desktop printer. It is starting to make more sense to invest into my own SLA/DLP printer, then give almost same amount of money to Shapeways.


Started livery decals on SF70H
Also continued with decals work for SF70H. After semi gloss black was painted, I have started and completed most of CF decals on the floor. There are many more to do for body and wings. But I wanted to switch to livery. I enjoy applying livery decals much more then CF ones. I still have to do some CF decals along the way. For example, before I could put sponsor decals to the bottom part of engine cover, I had to place CF decals there first. Similarly, I want to do all the CF on the bottom of cockpit, before livery decals go on. Reason is different - I don't want to damage livery decals later, while I am applying CF. Couple of quick in progress photos of engine cover below.


Decals in progress on MP4/6
Worked on decal application for past 2 weekends. Most of the livery is done. Remaining decals are the white ones. For whatever reason white decals in this kit has already yellowed a bit. This is a relatively recent kit and it's quite surprising to see white decals yellow so fast. I will try to expose them to sun light and if it does not help, will likely have to look for alternatives.


Saturday, May 25, 2019
Coming closer to completion
Made a lot of progress on this build. Cockpit, front and rear wings completed. All the plumbing and wiring is completed as well. Added PE skirts, mirrors and windscreen last night. There is still number of small things to add, like PE items for the body, paint on tire walls, cover on front wheels, etc. But it is not too far from completion. Here is how it looks at the moment.


Sunday, May 5, 2019
More wiring for MP4/6
Worked on adding wires and making wire loom for MP4/6 during past two weekends. User shrinking tube, super glue and thin wires to make something that looks like what TopStudio instructions for 1/12 kit present. Not going to replicated all wiring that they call out. And it's going to be way short of real car. But at least model will look a little "busier" in the end, hopefully. I've also decided to make brake fluid line on this model. That required from me to make a hole in front bulkhead, so I could route lines from fluid cylinders to brake calipers and into cockpit, from where one line goes to rear splitter and rear calipers as well. Wiring and plumbing on the engine is in progress.
Here are some quick photos made with my phone.


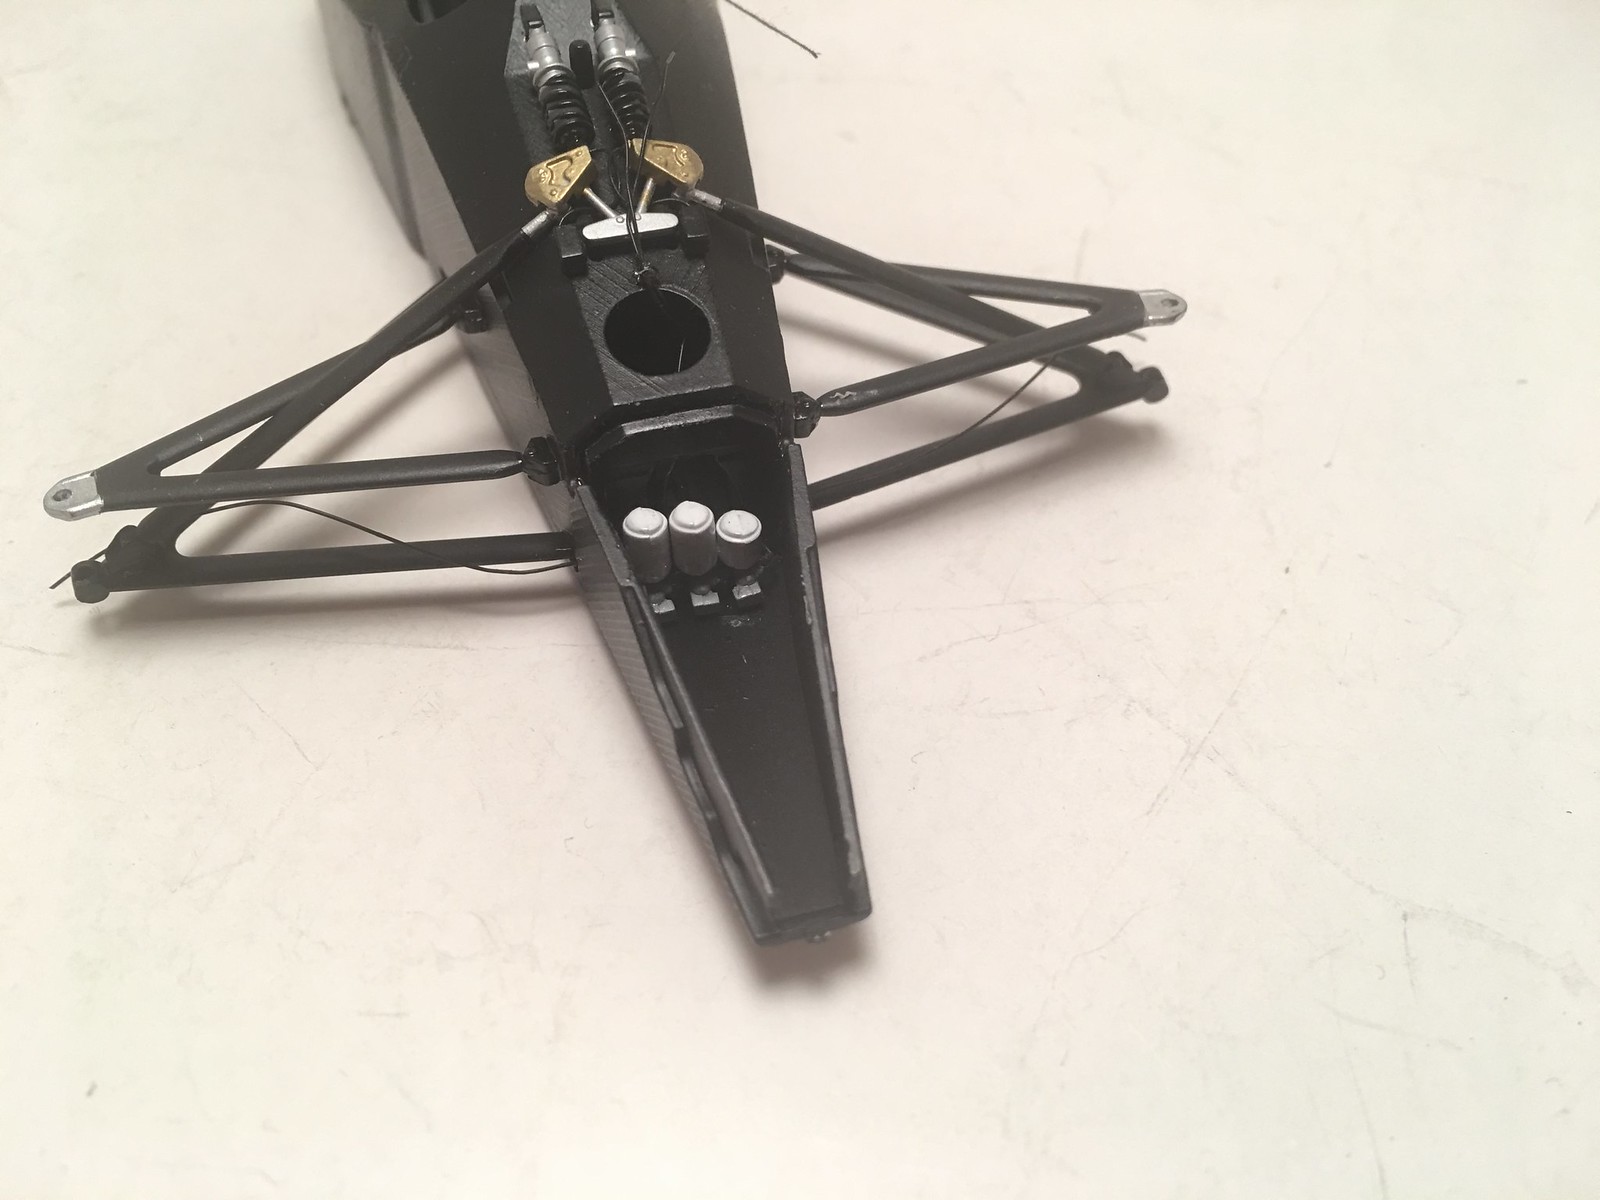

Here are some quick photos made with my phone.


Tamiya TS050 test assembly
Received my copy of TS050 kit this week. Not going to really start building it any time soon. But I was curious how is fit of parts, how complicated assembly would be and how would I like overall shape of this car. So, I've decided to do test assembly only for now to satisfy my curiosity. Below are some photos of "Frankenstein" model. Here are some conclusions. Fit of parts is good, as expected from any recent Tamiya kit. Assembly it going to be a bit tricky in few places. Shape of this car overall it not that beautiful to my eye. However it's great to have a kit of modern prototype. Painting and masking are going to be most challenging and in parts annoying for this model.
And I think this model would definitely benefit from detailing of interior. Will have to find proper reference photos and do a bit of detail scratch building and detail painting to make it look better.
Here are some quick photos made with my phone. Body is just seating on wheels. Did not bother assembling suspension and rear wing.


Sunday, April 14, 2019
Plumbing and wiring progress
After some hiatus MP4/6 returned to my work bench. I've had a change of heart and decided to add more details, instead of doing it OOB, as was originally planned. It will be mostly based on instructions from TopStudio's 1/12 super detail set and a bit of inspiration from Tamiya 1/12 kit. Also plan to add brake fluid lines. There is a lot of wires and hoses on real car. Most of those I could not figure out. So, I will add few items I could understand the routing for. Started with oil and water hoses. Here are couple of quick shots of current state.


Sunday, March 3, 2019
Assembly progress on BT46
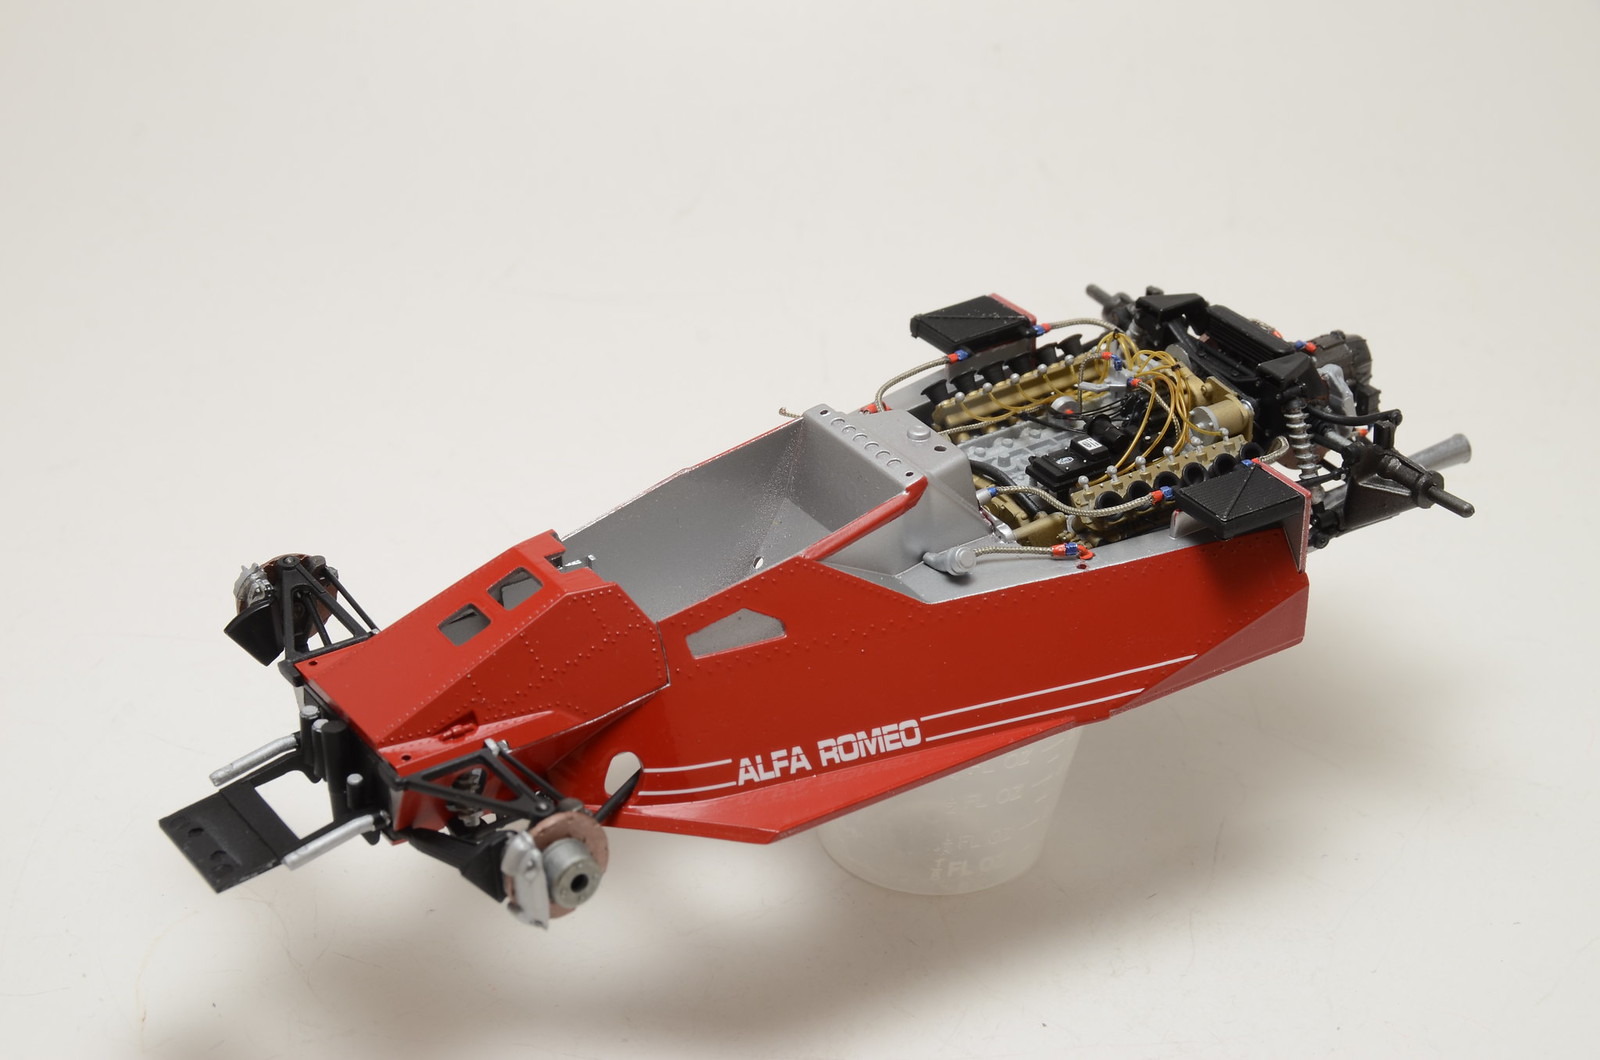
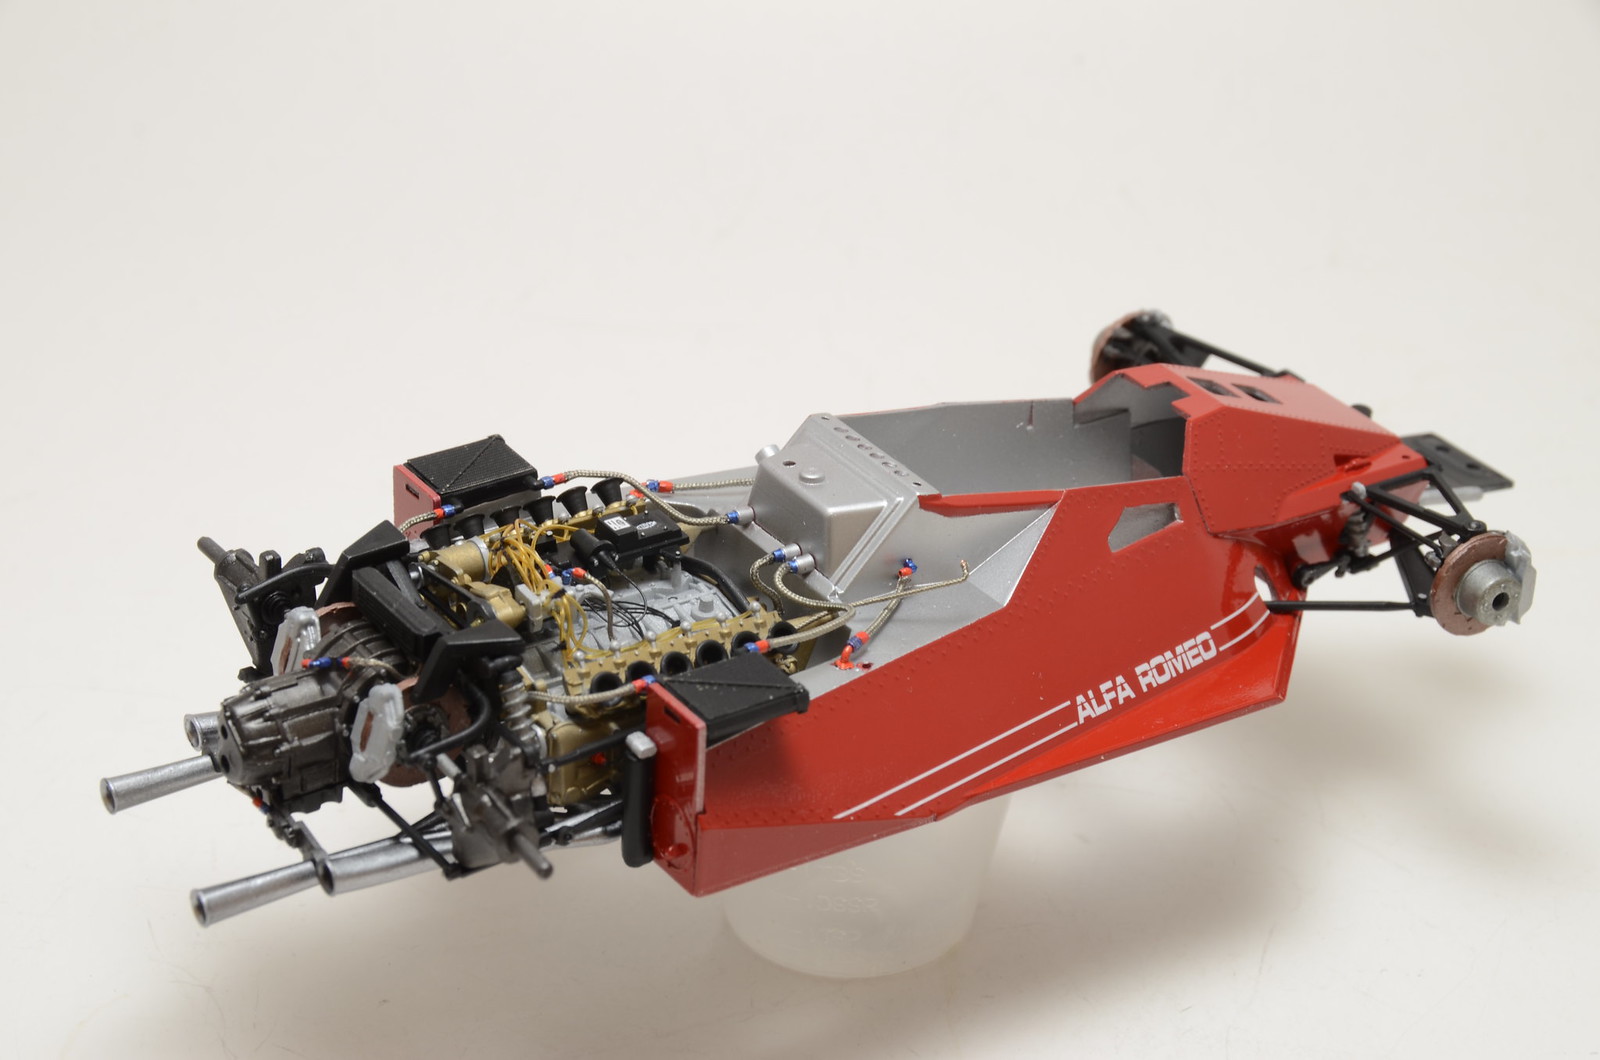
Returned to my BT46 build last weekend. Made good progress on adding hoses and A/N fittings. Done all required assembly steps before I could marry engine and monocoque. Finally got them together last night. I progressed as far as I could before I need to do more detail work on seat and dashboard. Few quick shots below.



Subscribe to:
Posts (Atom)


