Saturday, December 31, 2016

Started first assembly steps

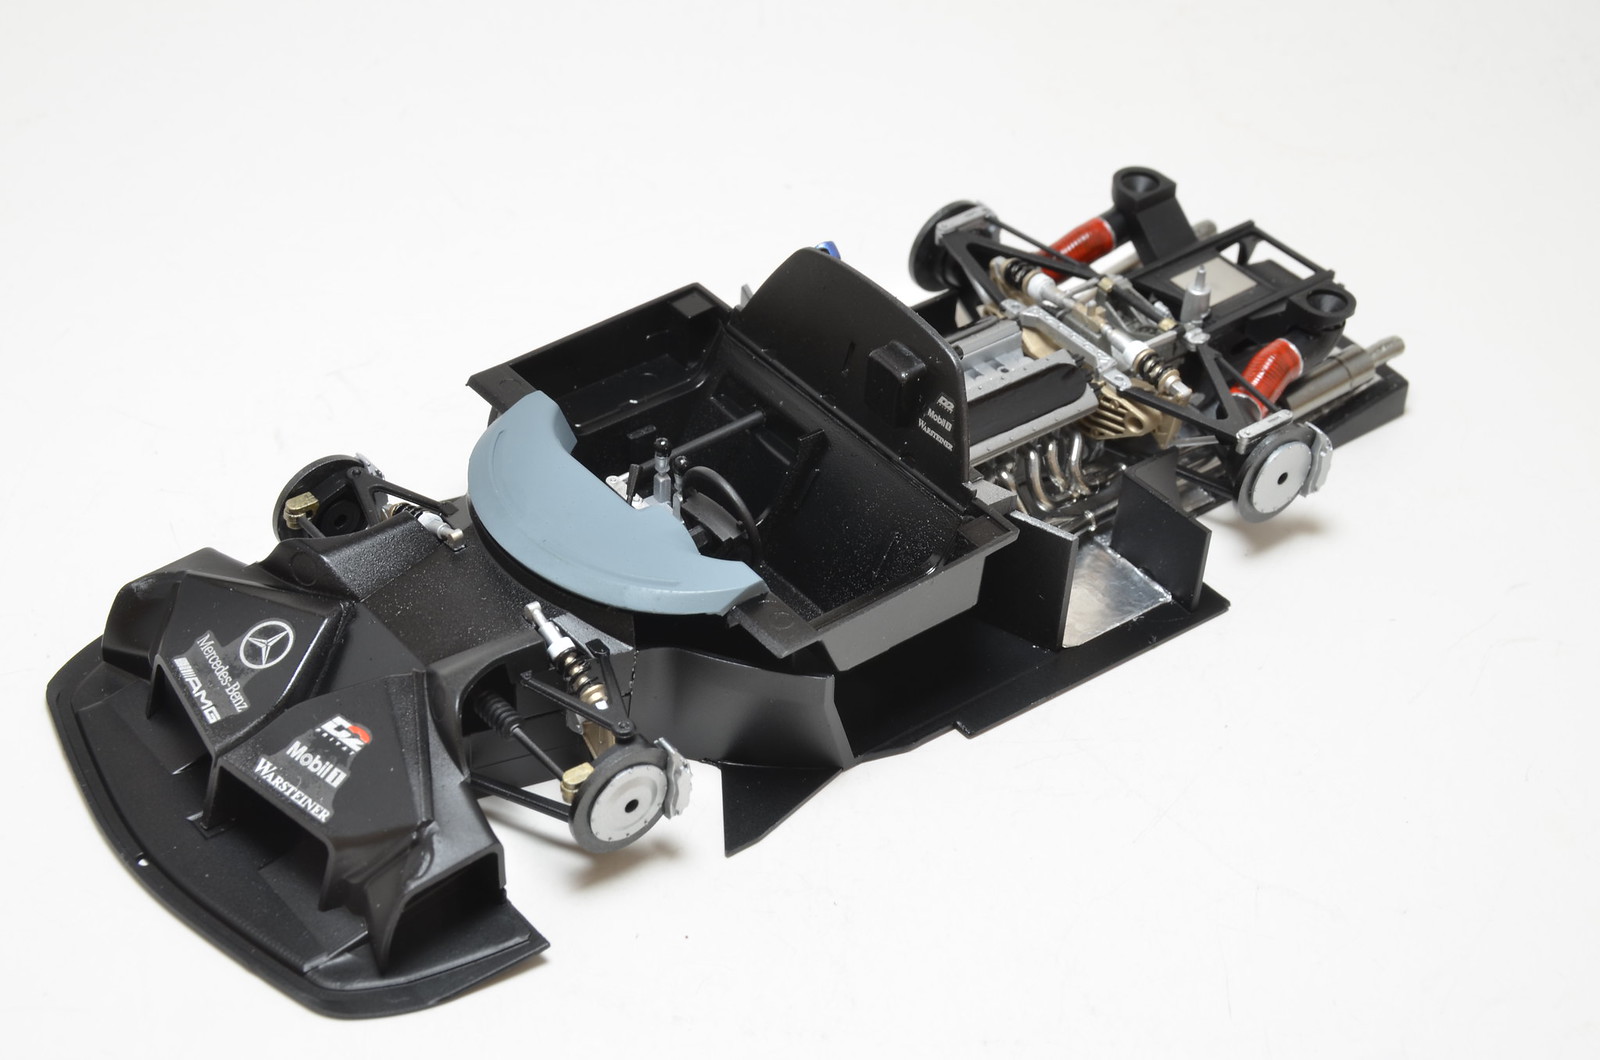
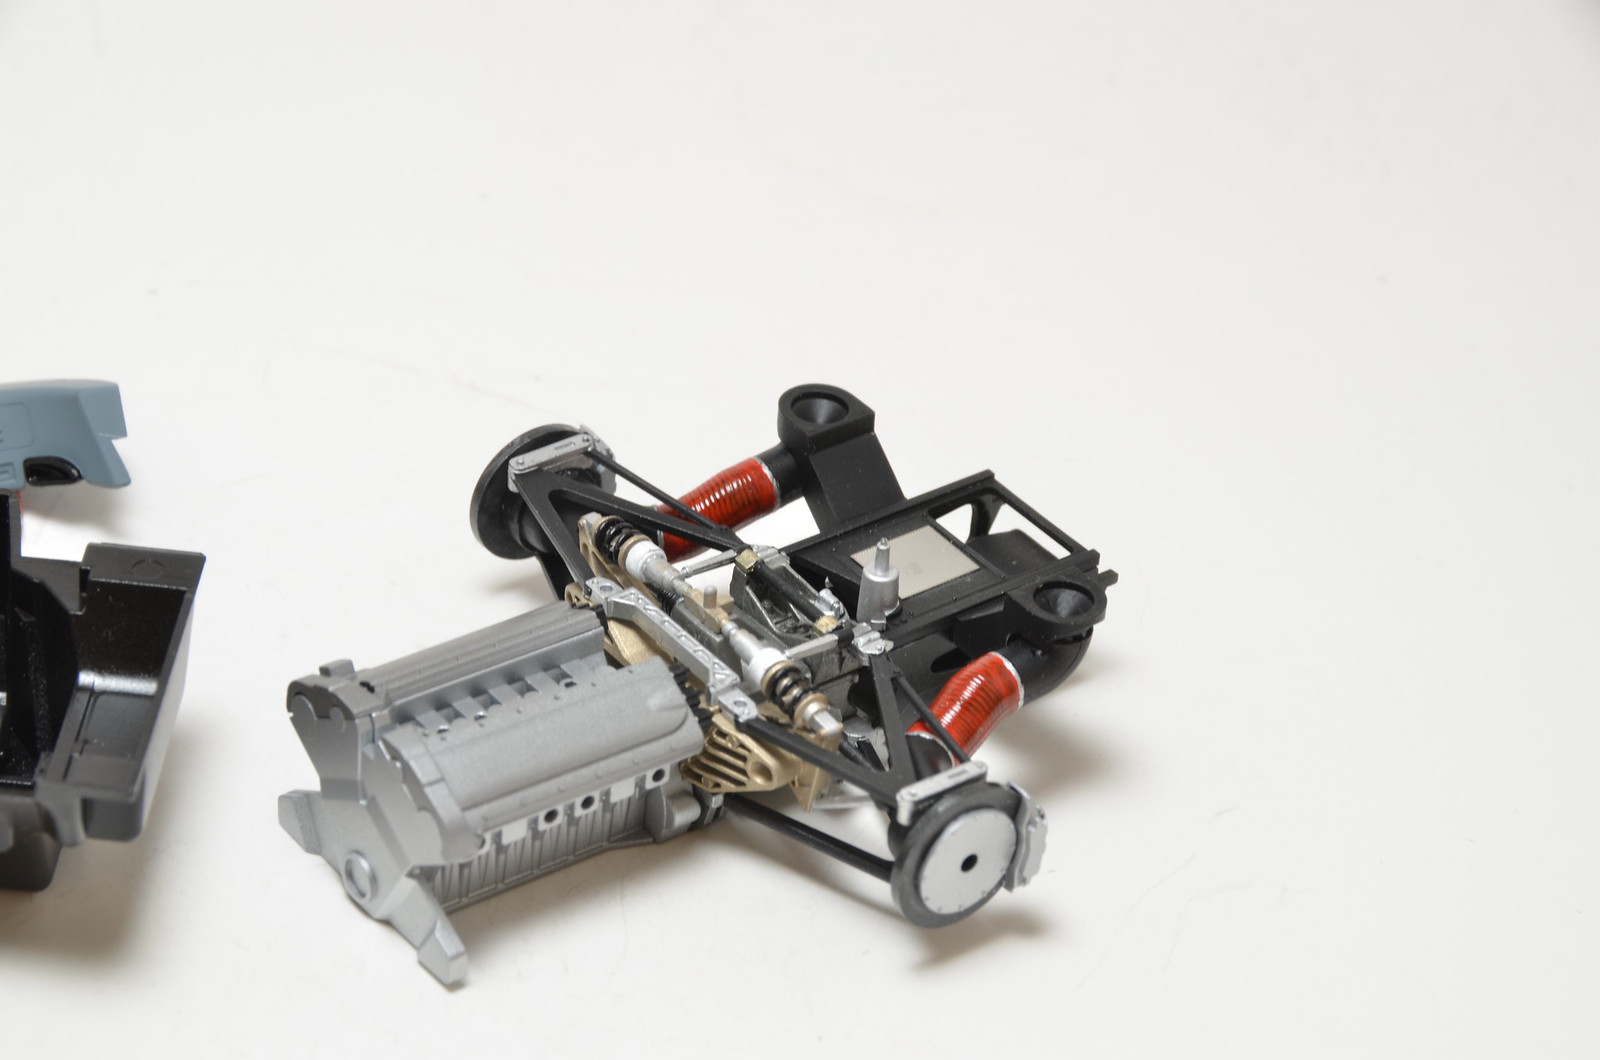
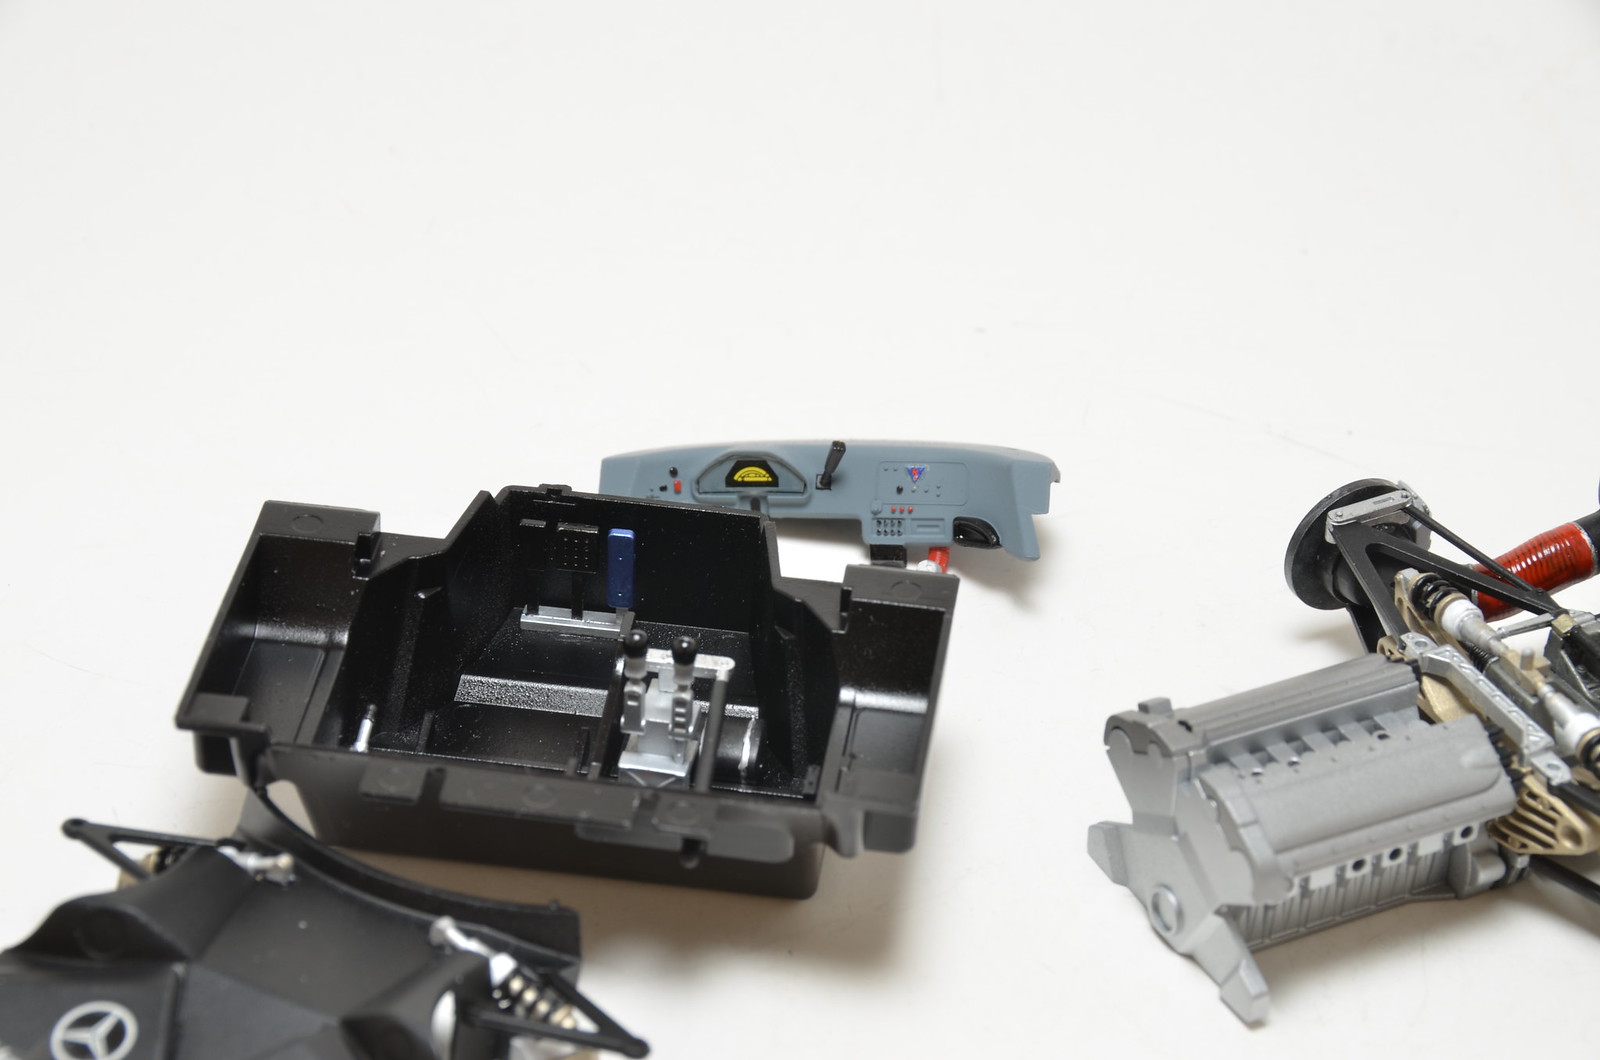
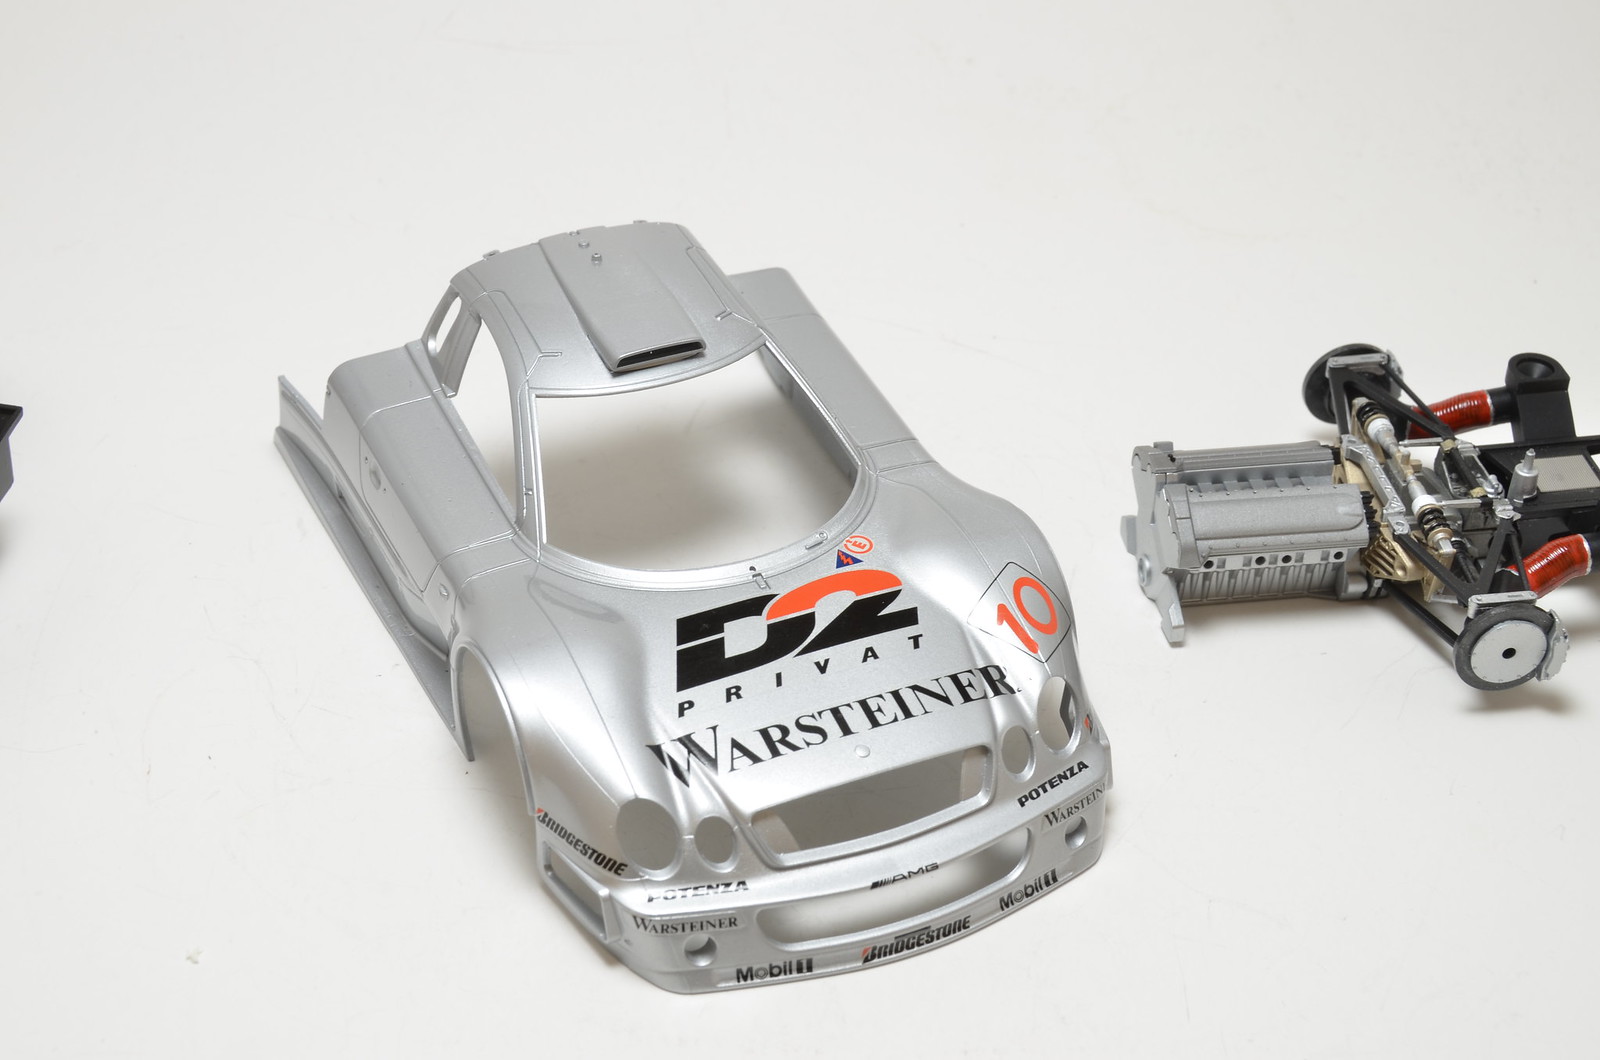
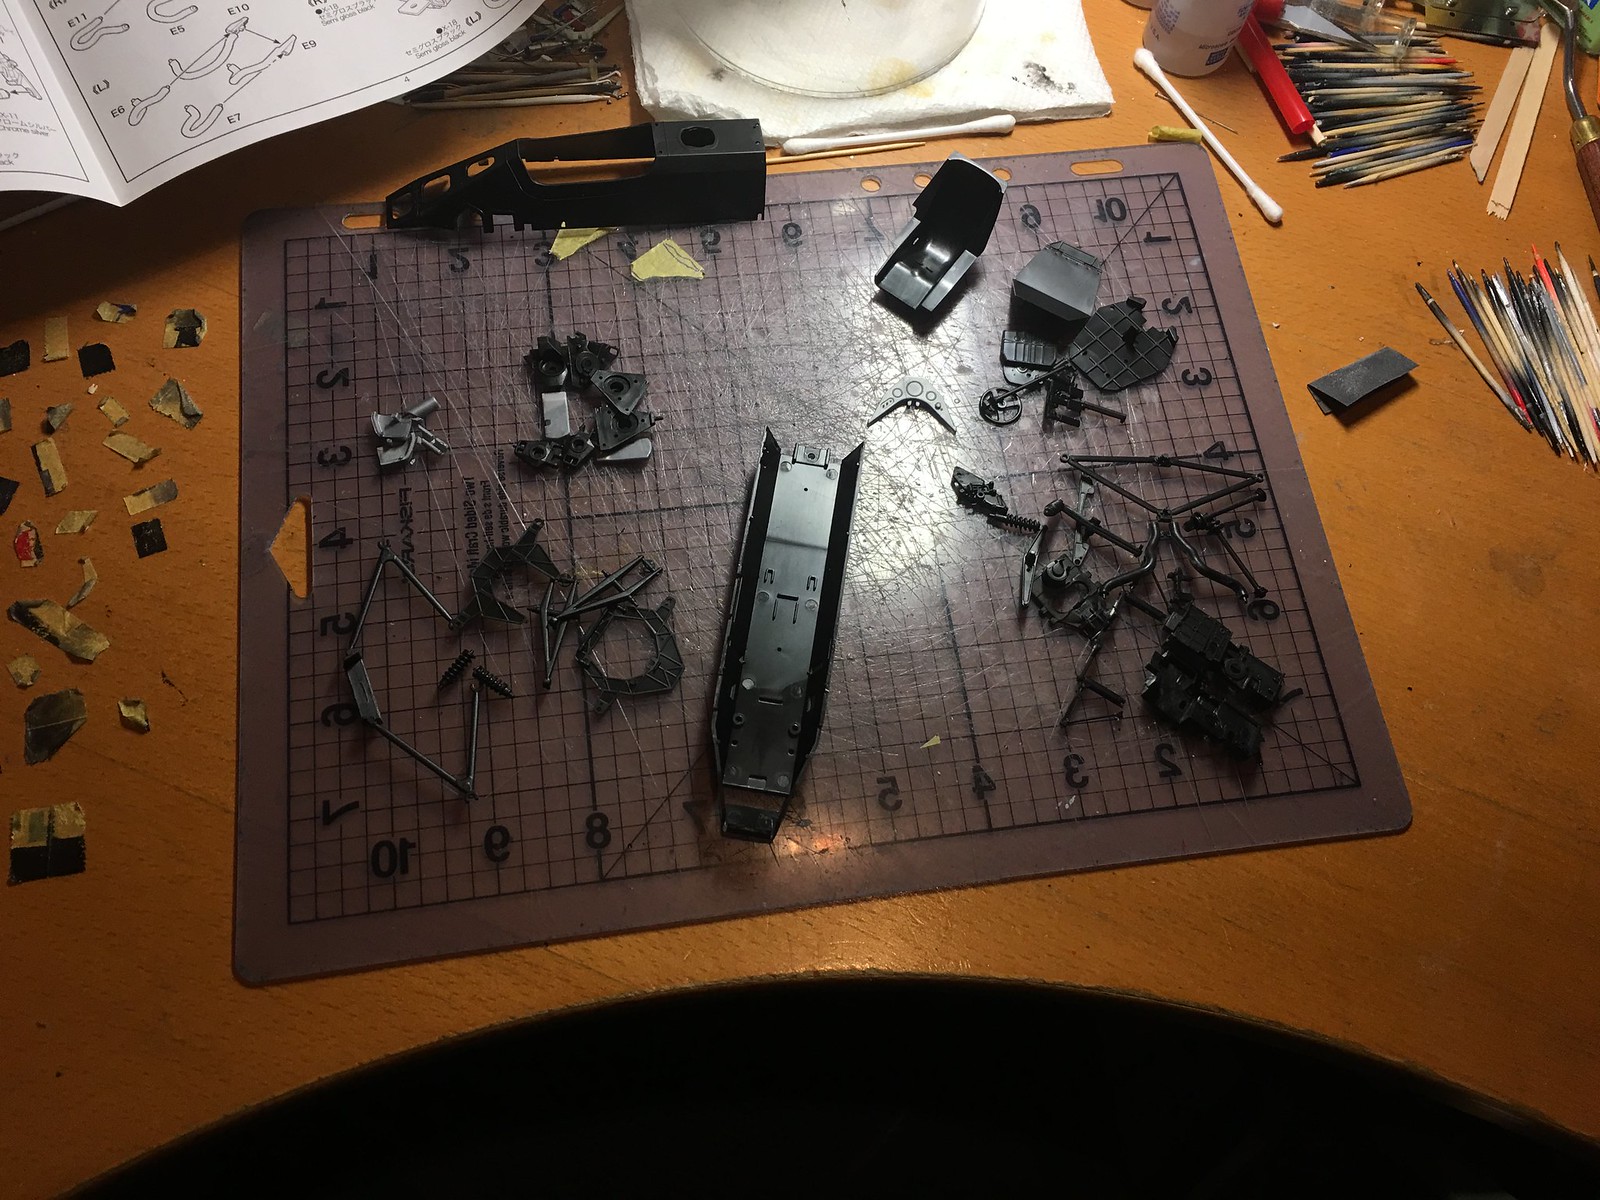
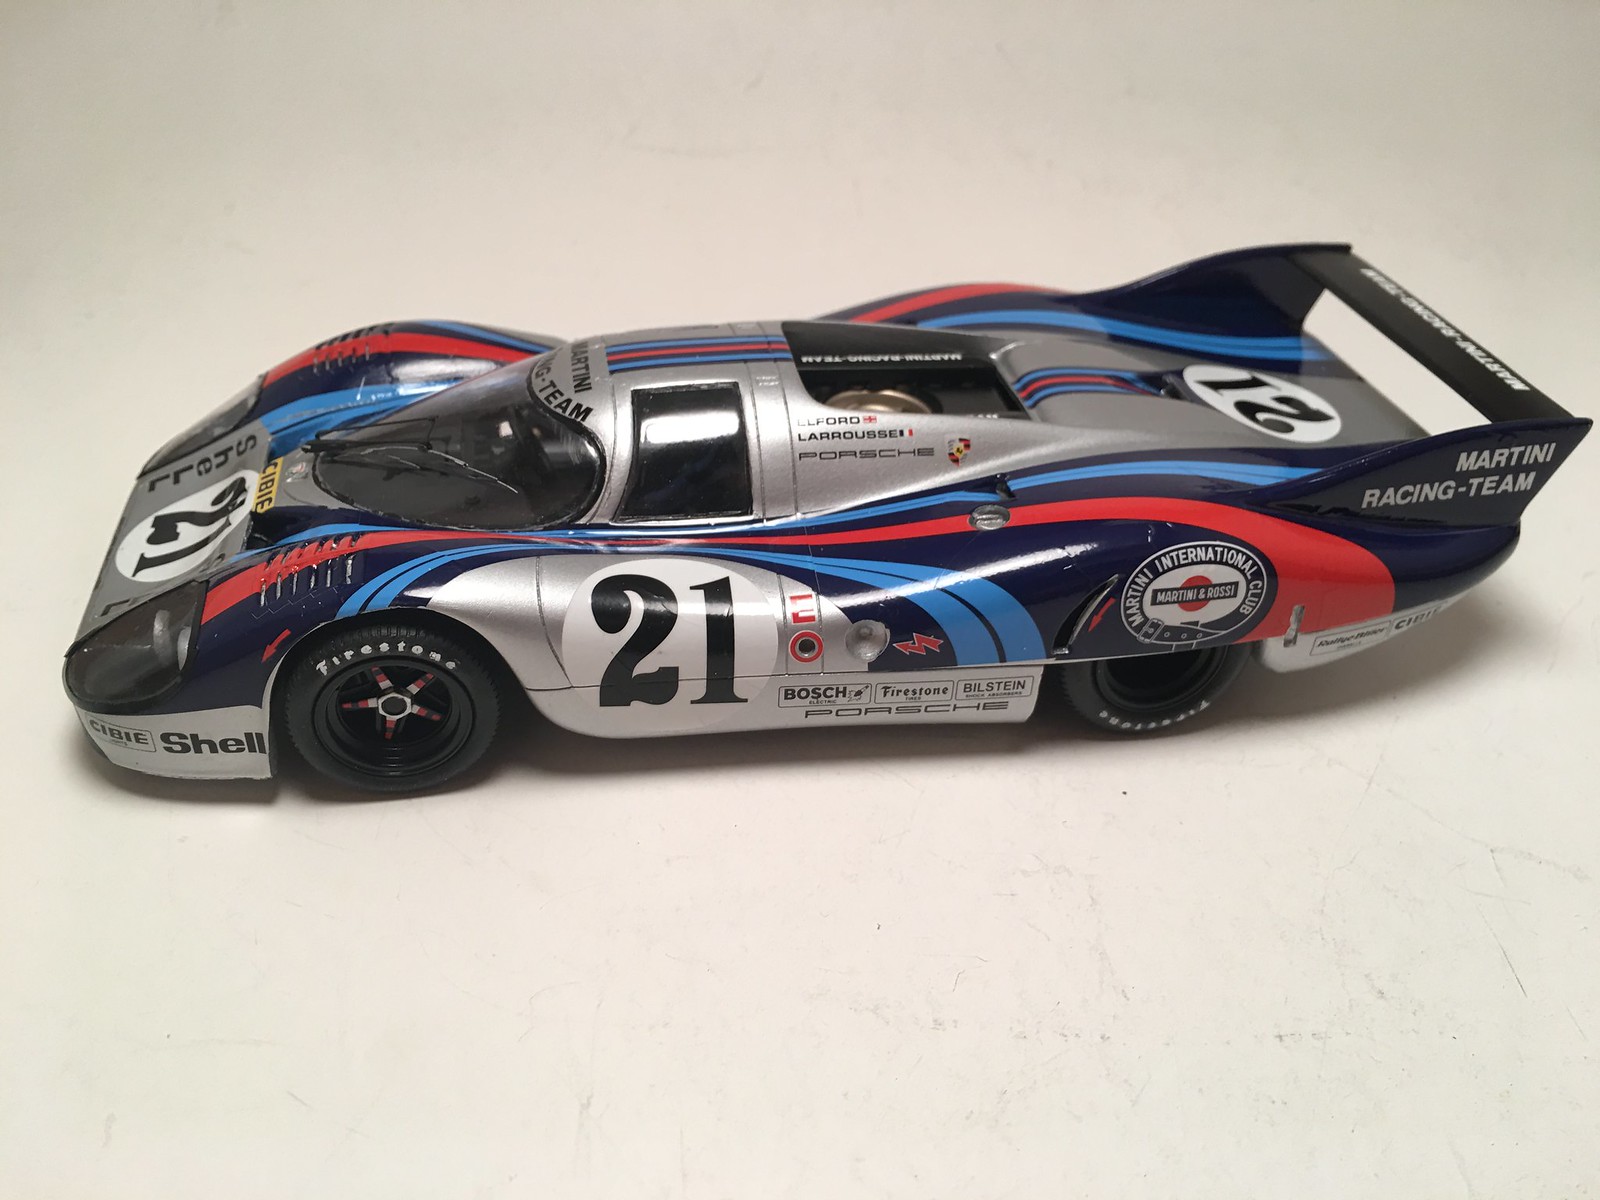
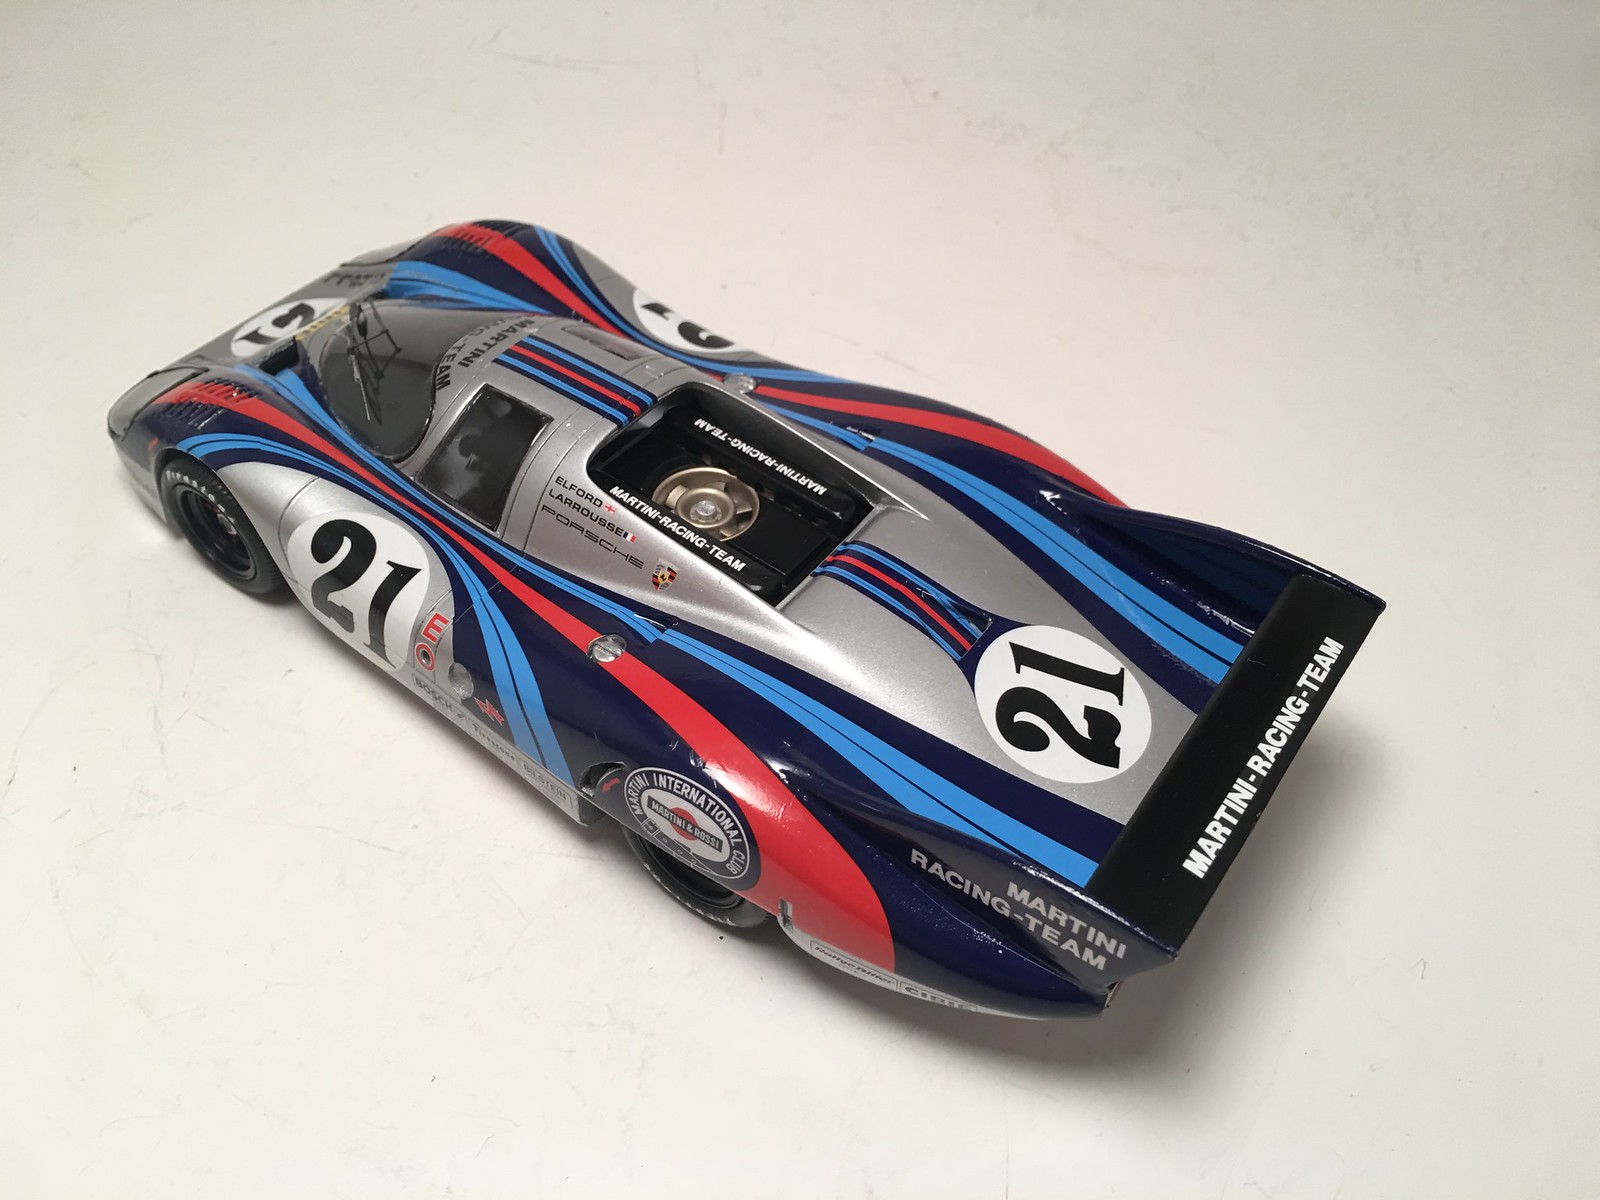
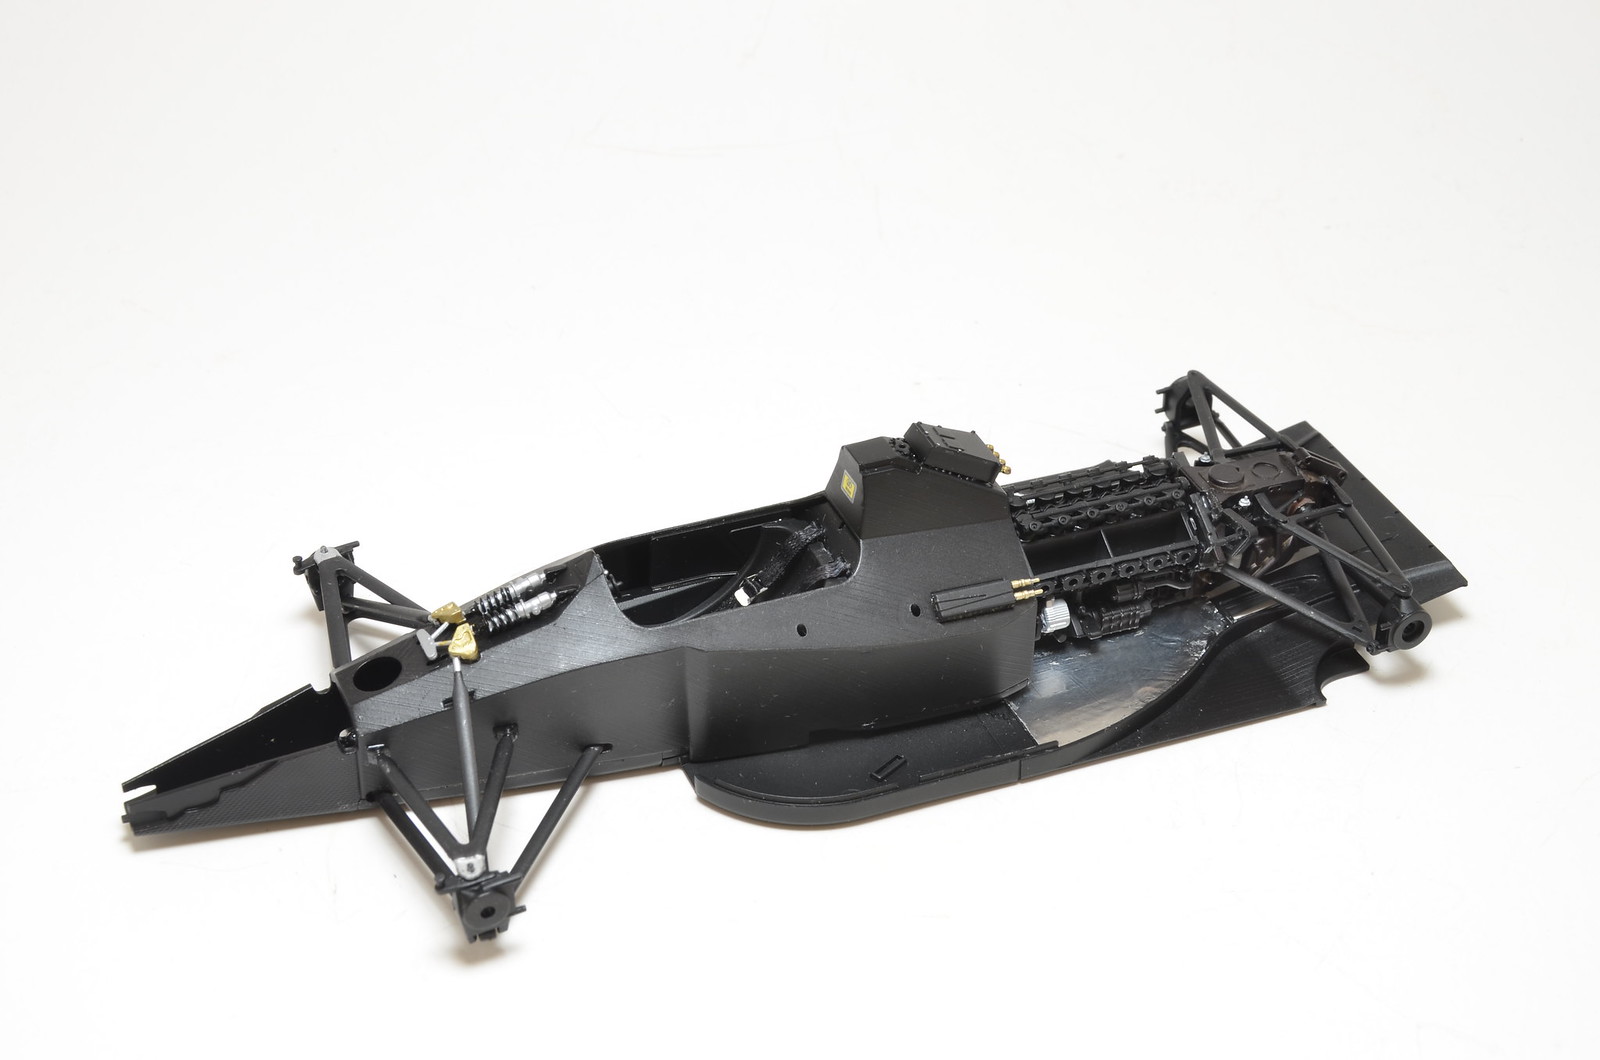
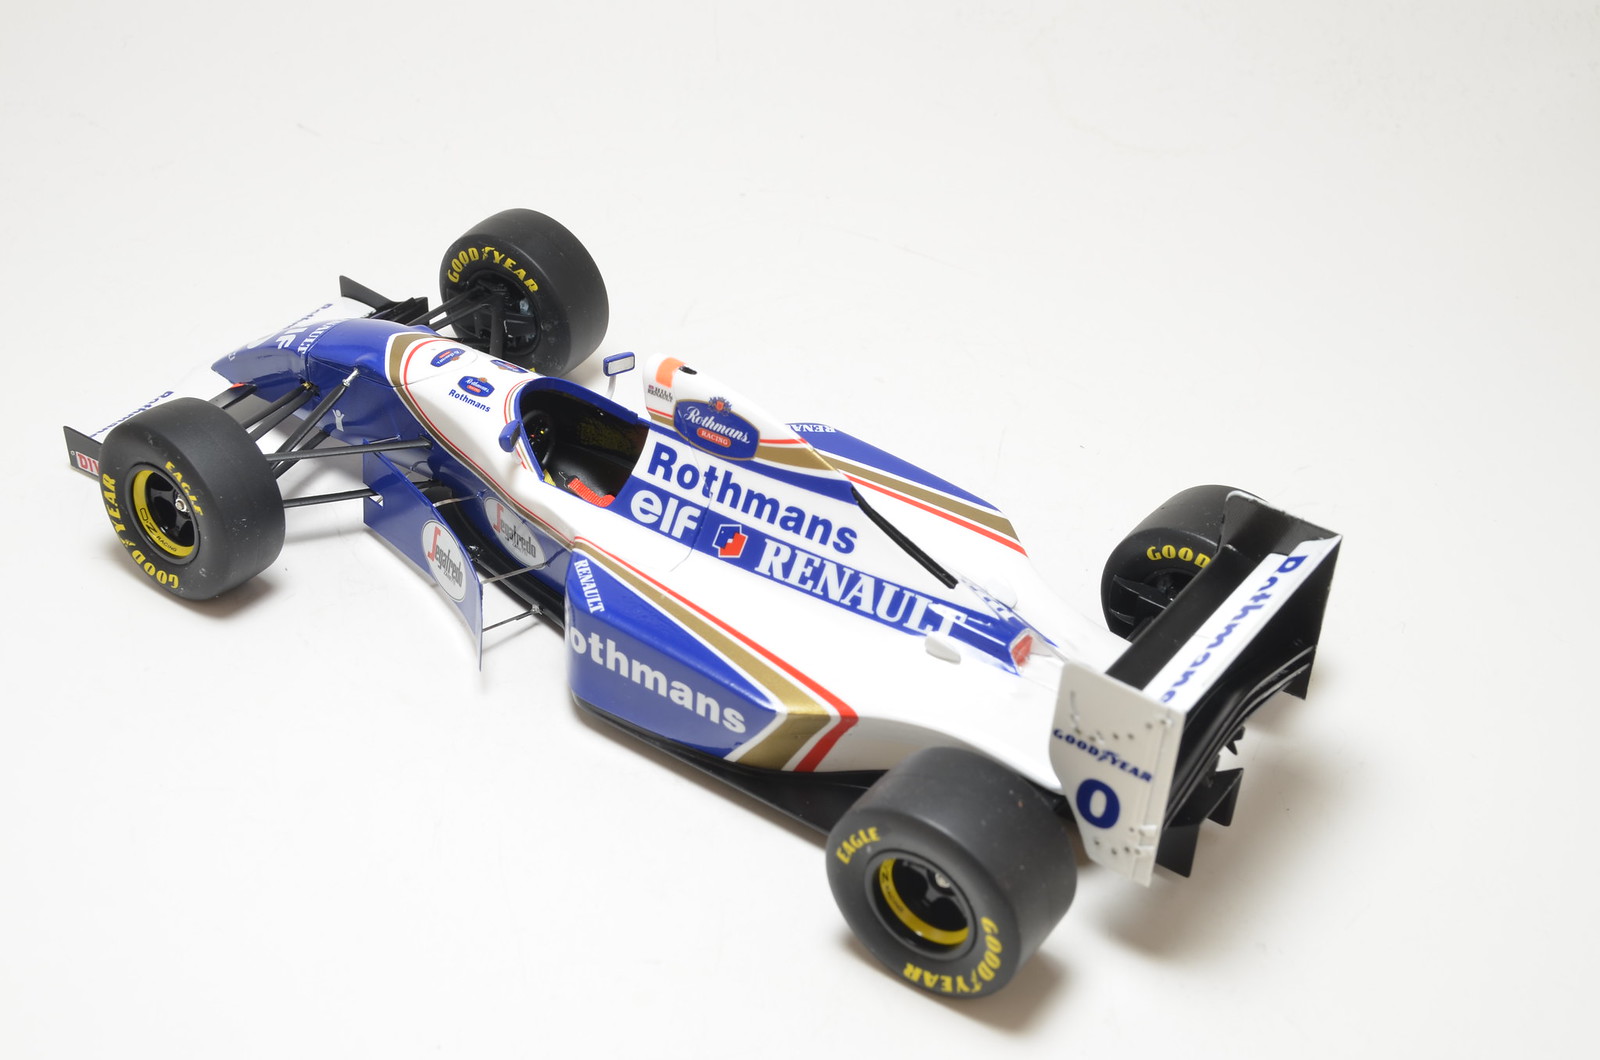
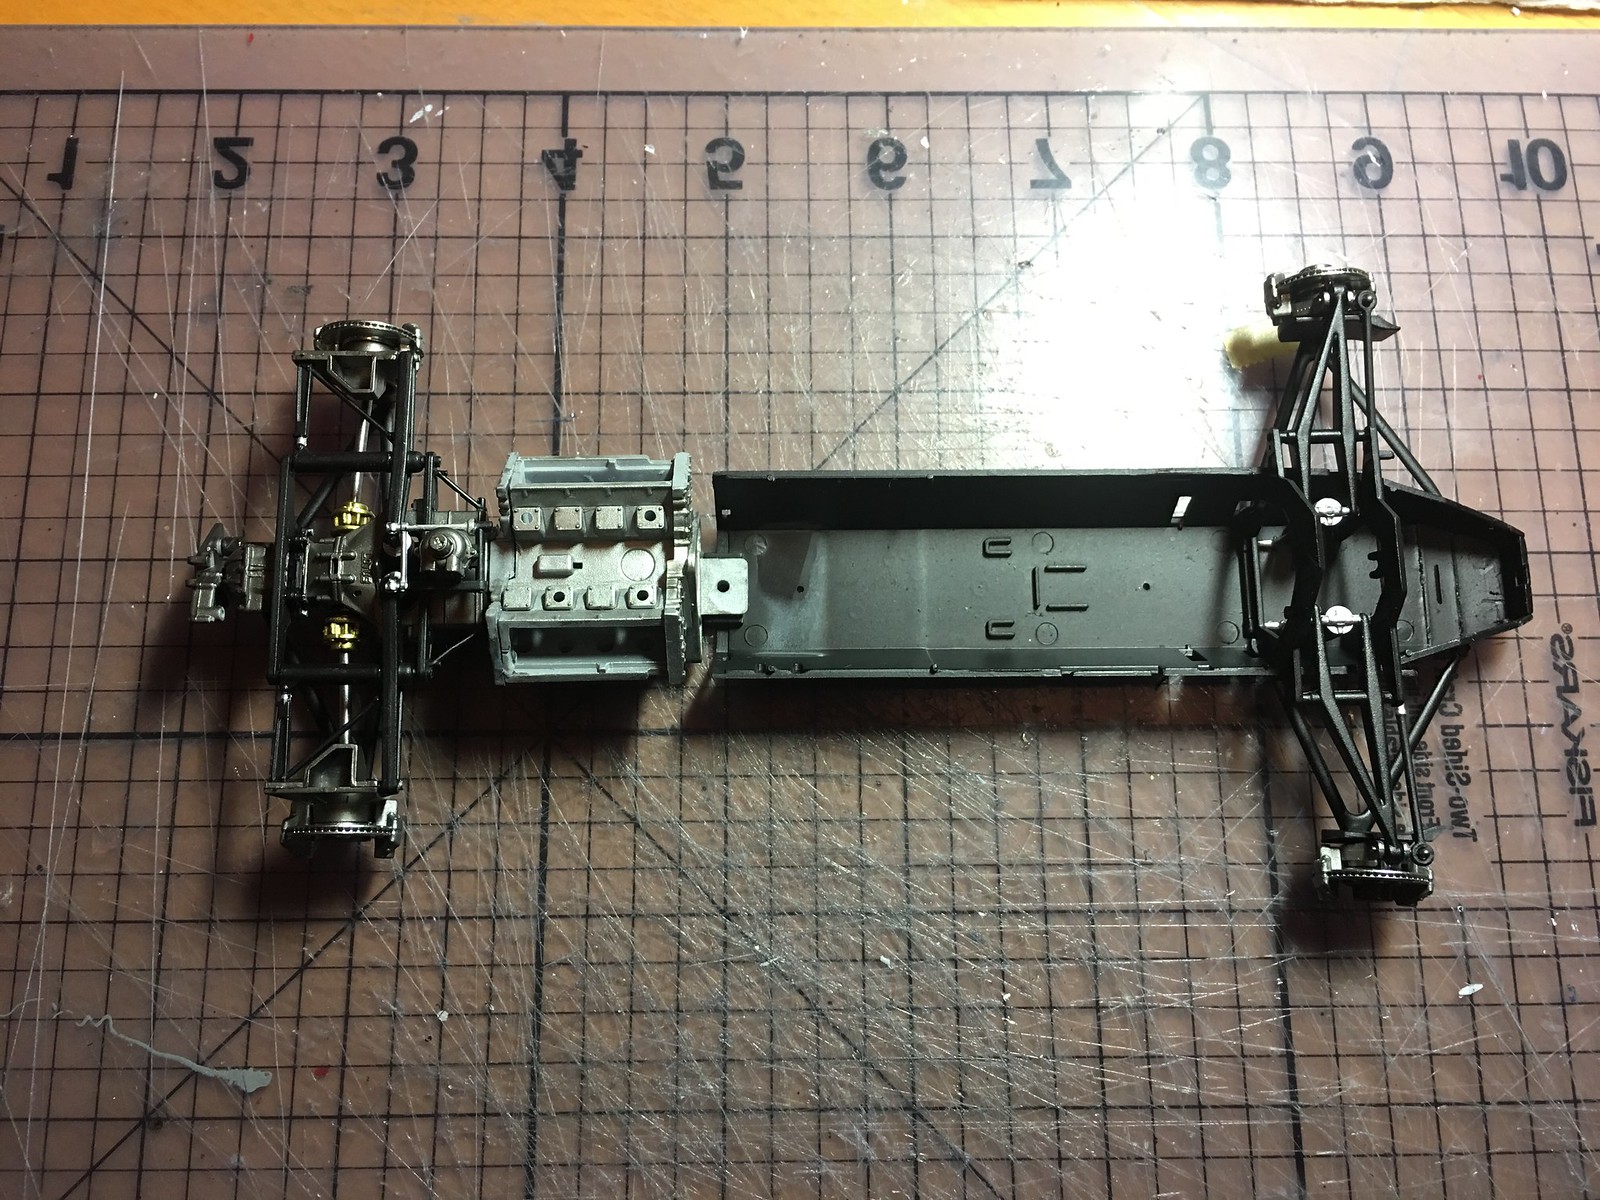
Started first assembly steps. Front and rear suspensions are mostly completed.

First fit issues appeared during these steps.

- for some reason B13 did not want to seat well over the top of gearbox and ended up with it seating at the small angle which might affect alignment of rear suspension later

- next fit issues was with E3. It was seating too high on top of E20. I had to make deeper channels in E3, so it could go lower and then E3 has aligned with E14/E15. Looks ok now

- at the front instructions are calling on putting B2, B3, B12, B14 and E8/E12 together at the same time. I figured there is not way I could do that. So, I came up with following sequence: put B2 in place first properly aligned; then B3/B14 and E8/E12 combination, using epoxy glue, so I had time to align parts; after all that was in place I carefully inserted B12 parts

- alignment of gearbox/rear suspension assembly and the engine is not firm. So, I plan to use car's floor as a jig to align them when engine is ready

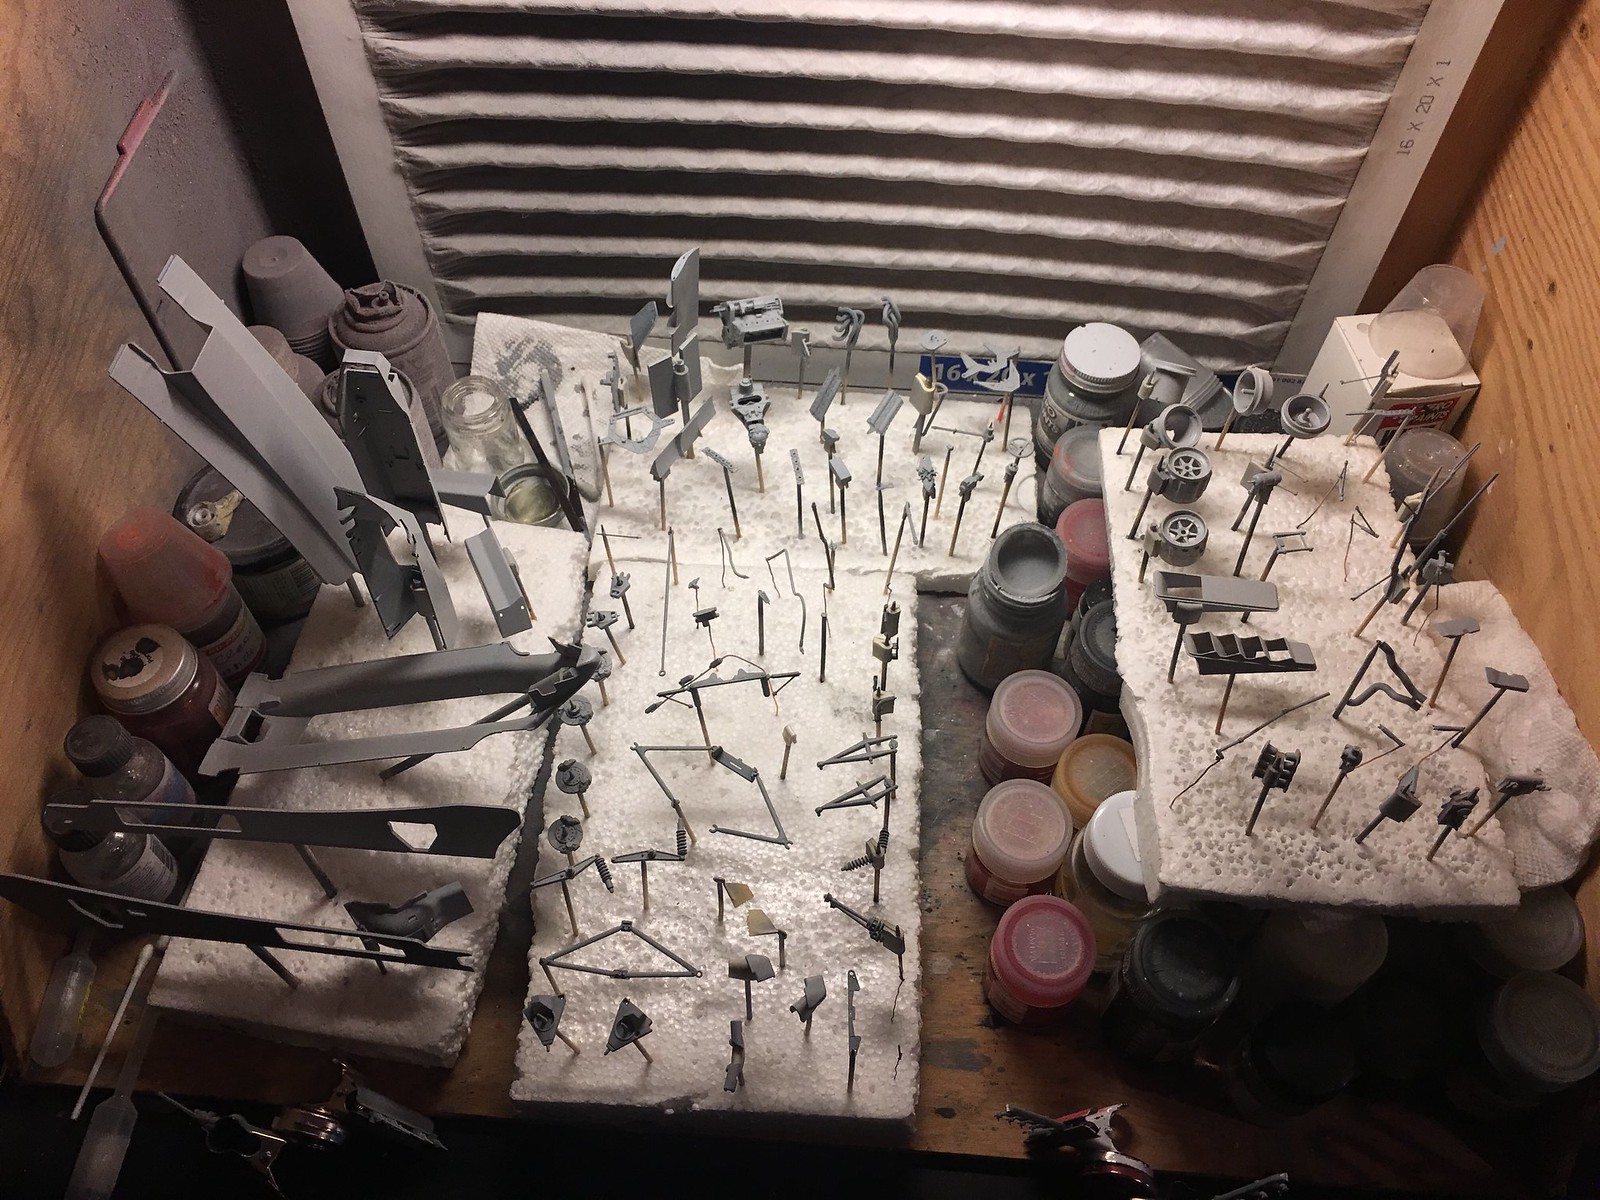
That all for now. Will report future modification as I continue with assembly steps.

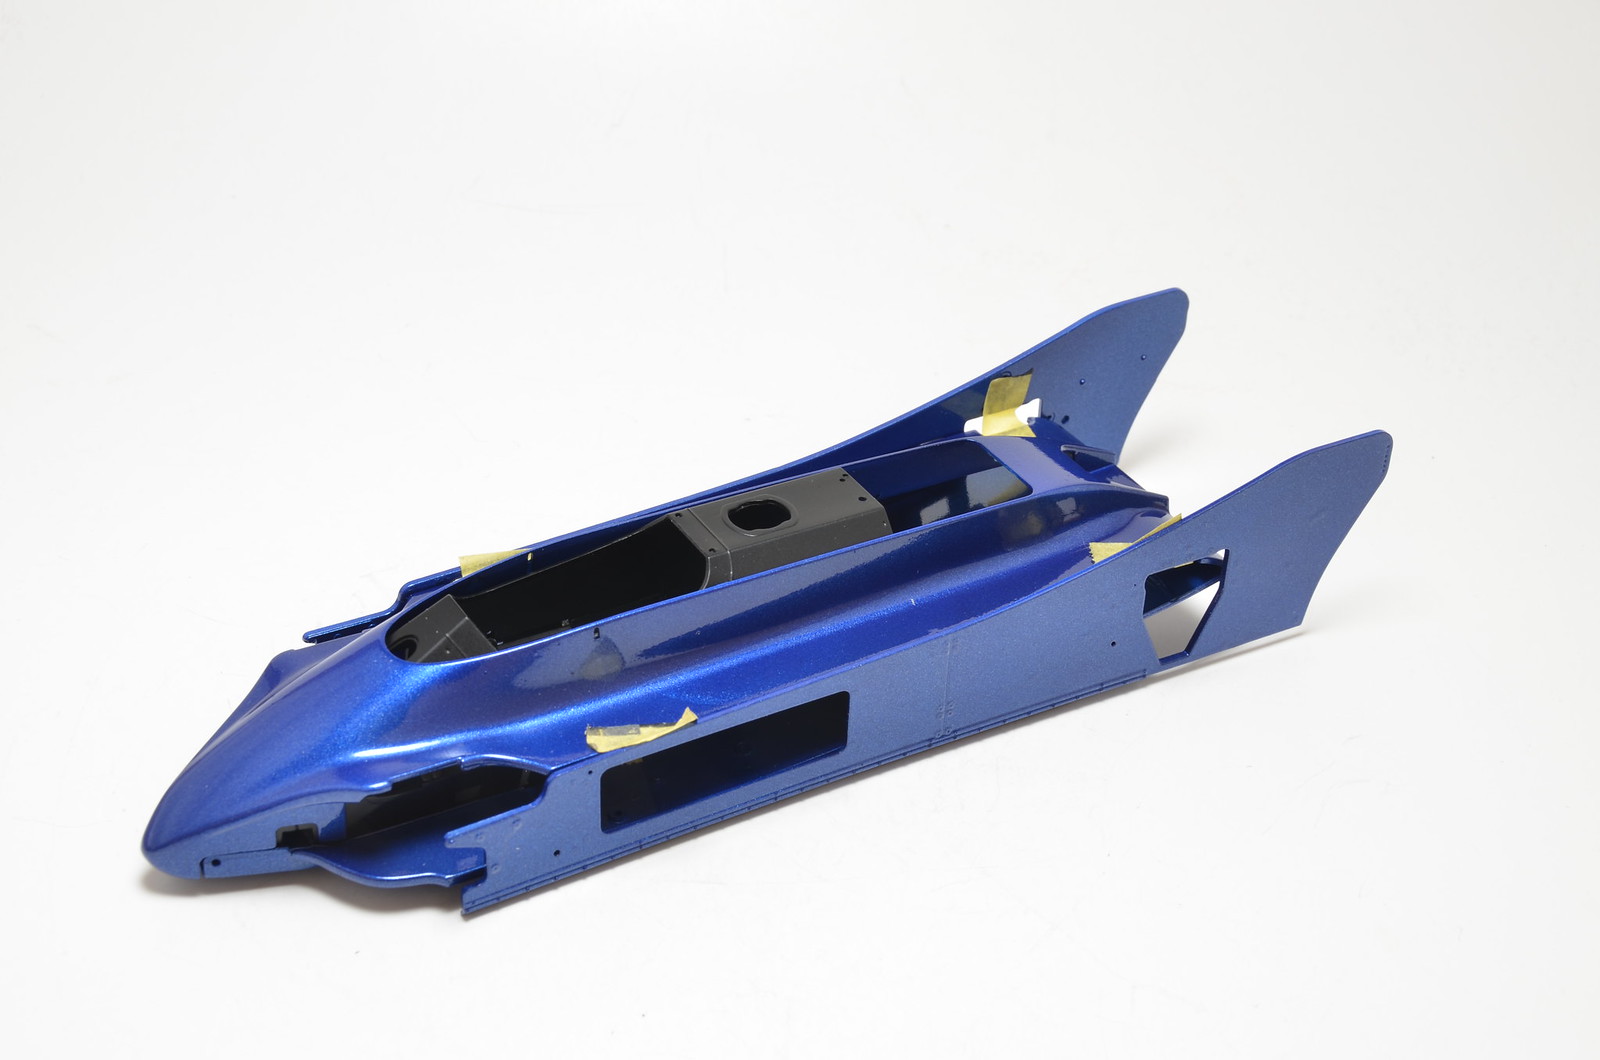
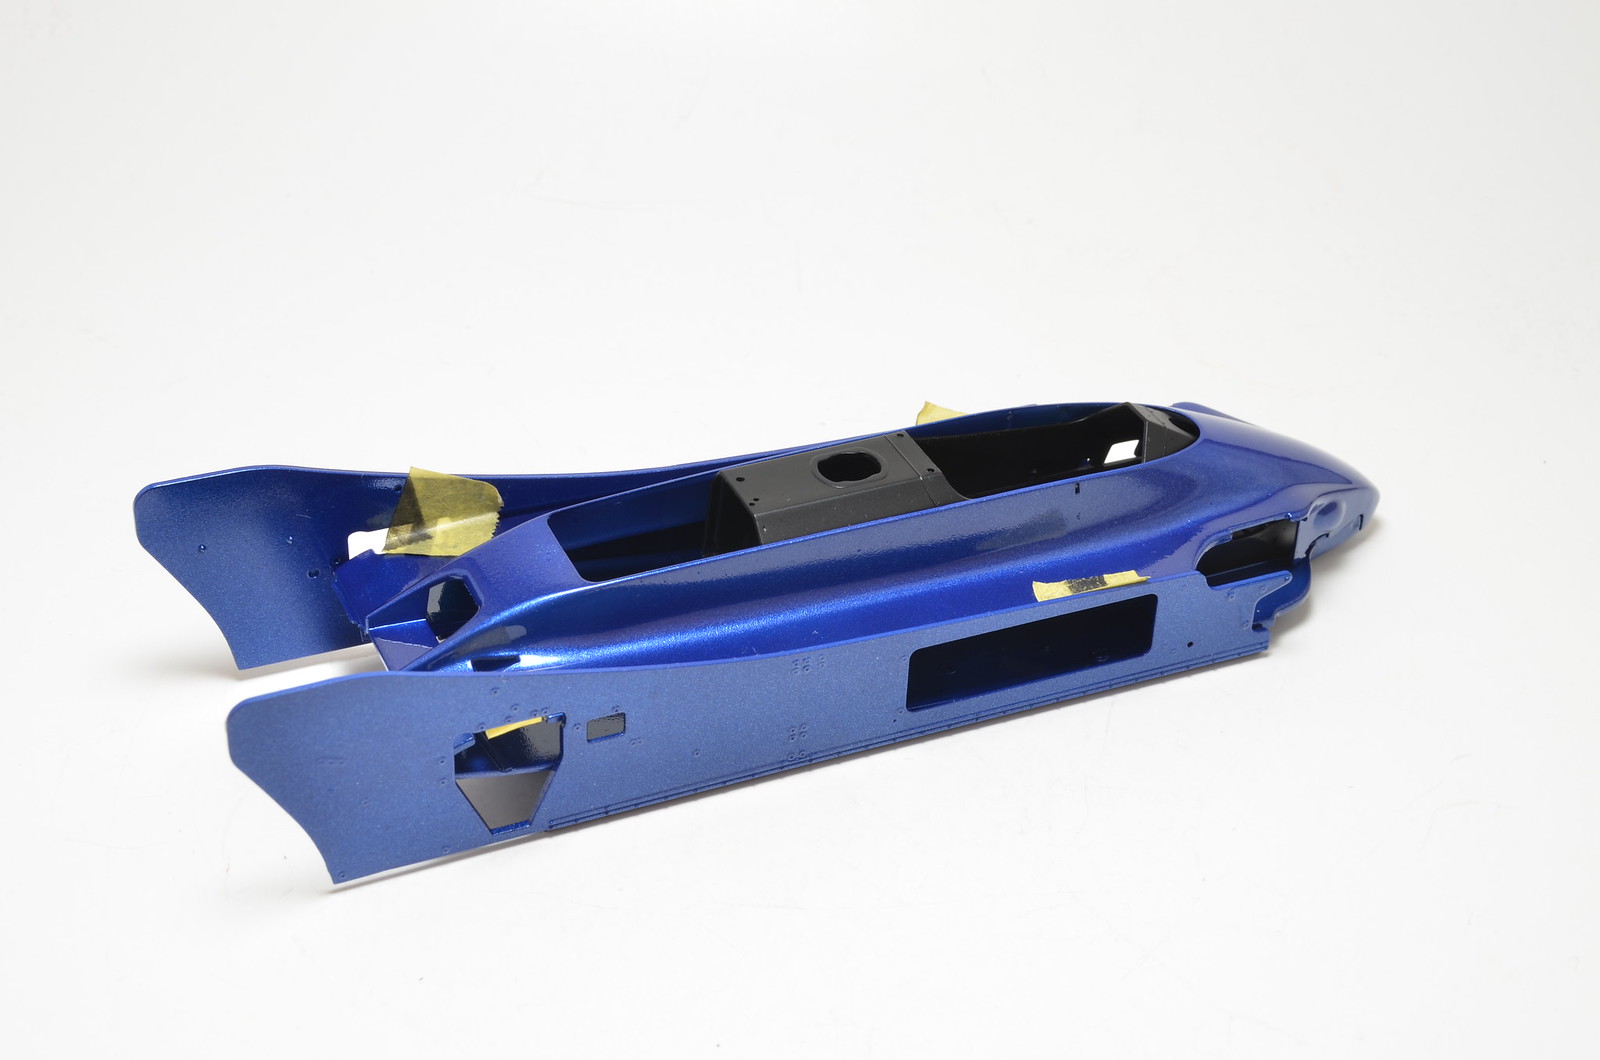
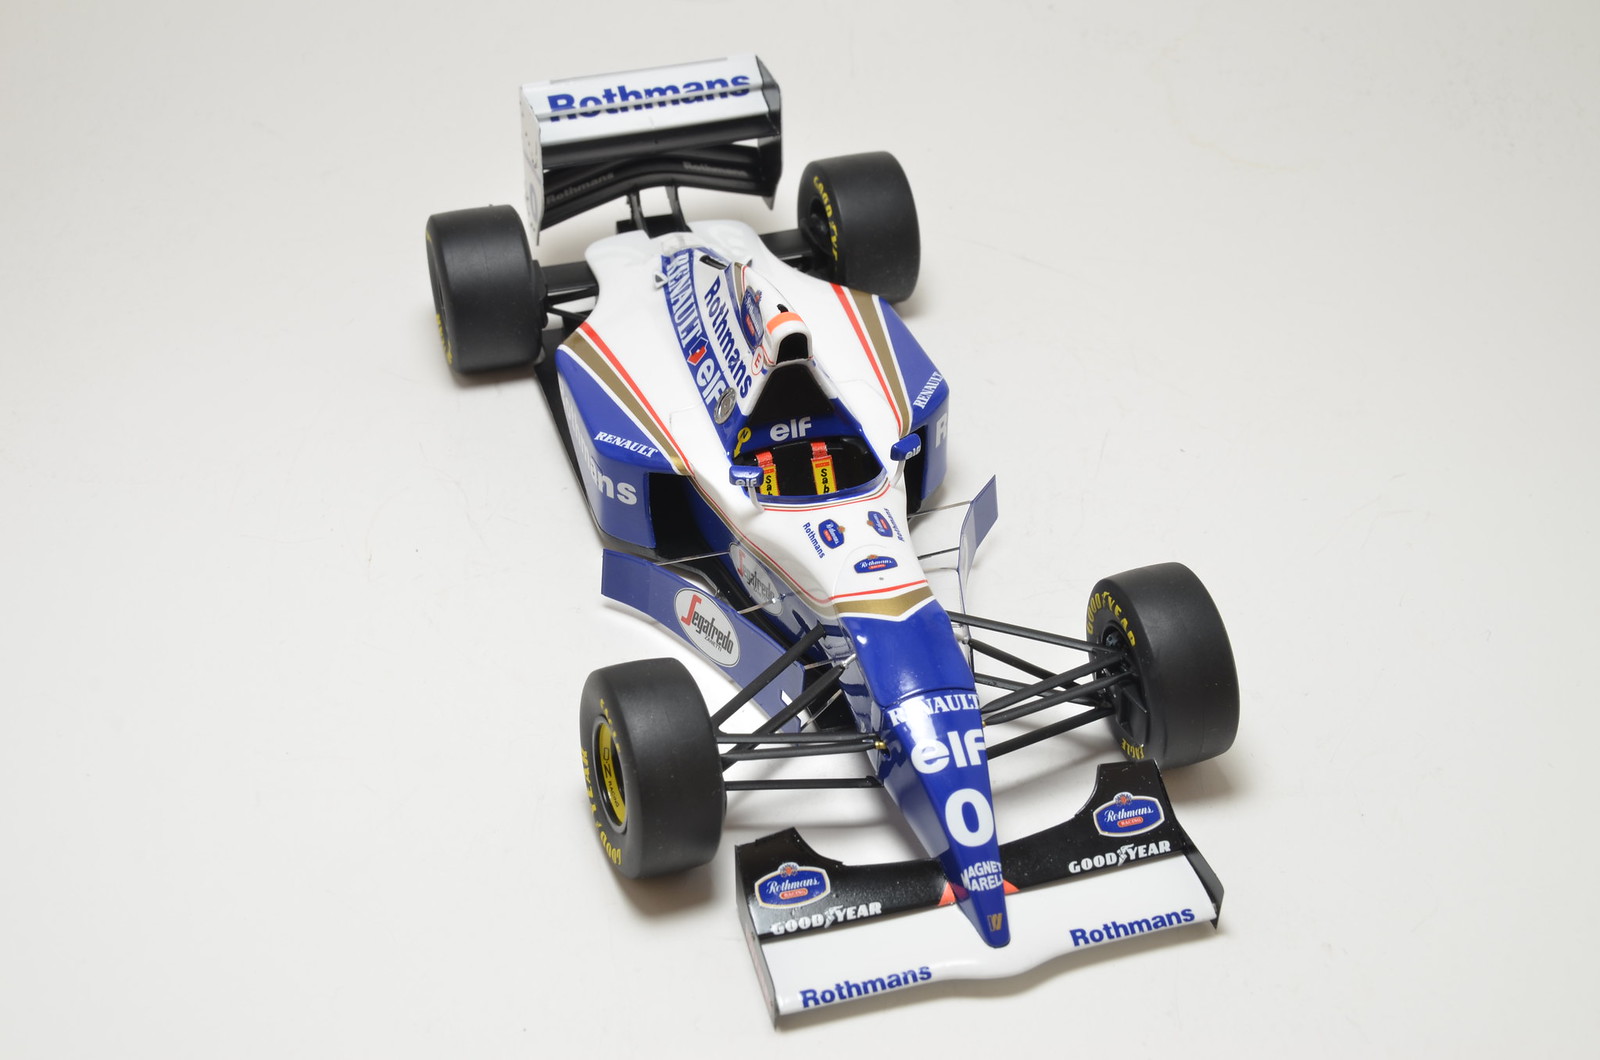
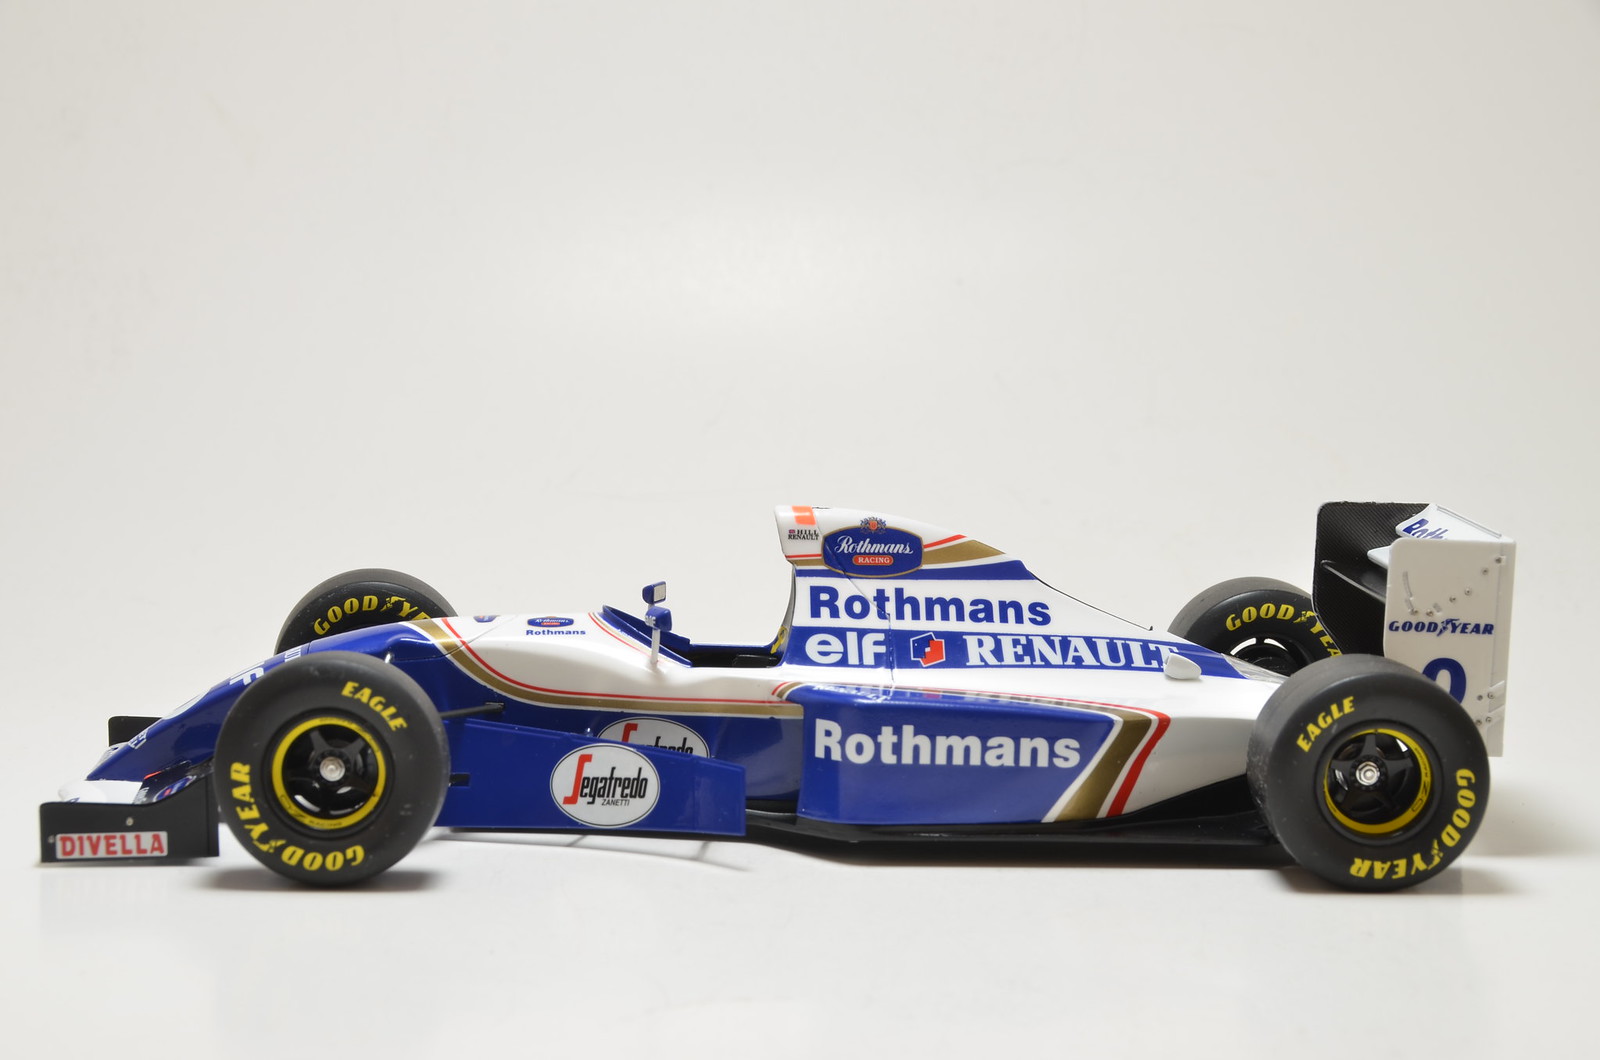
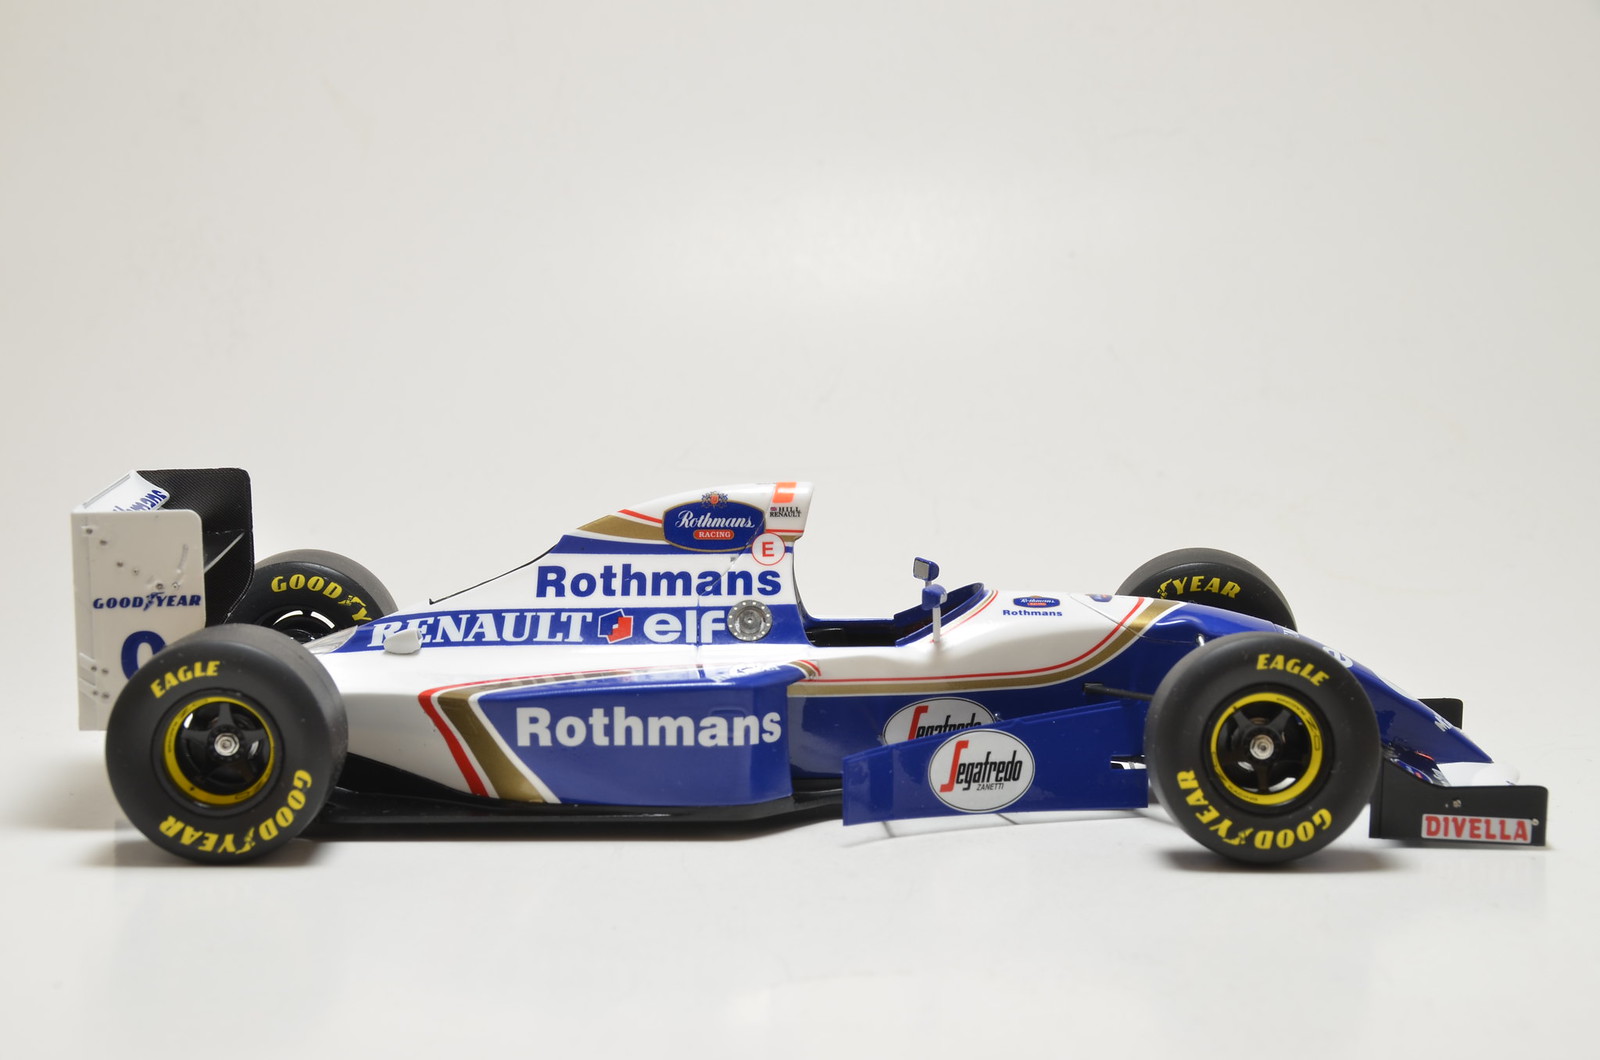
Here is quick photo to mock up assembled parts so far
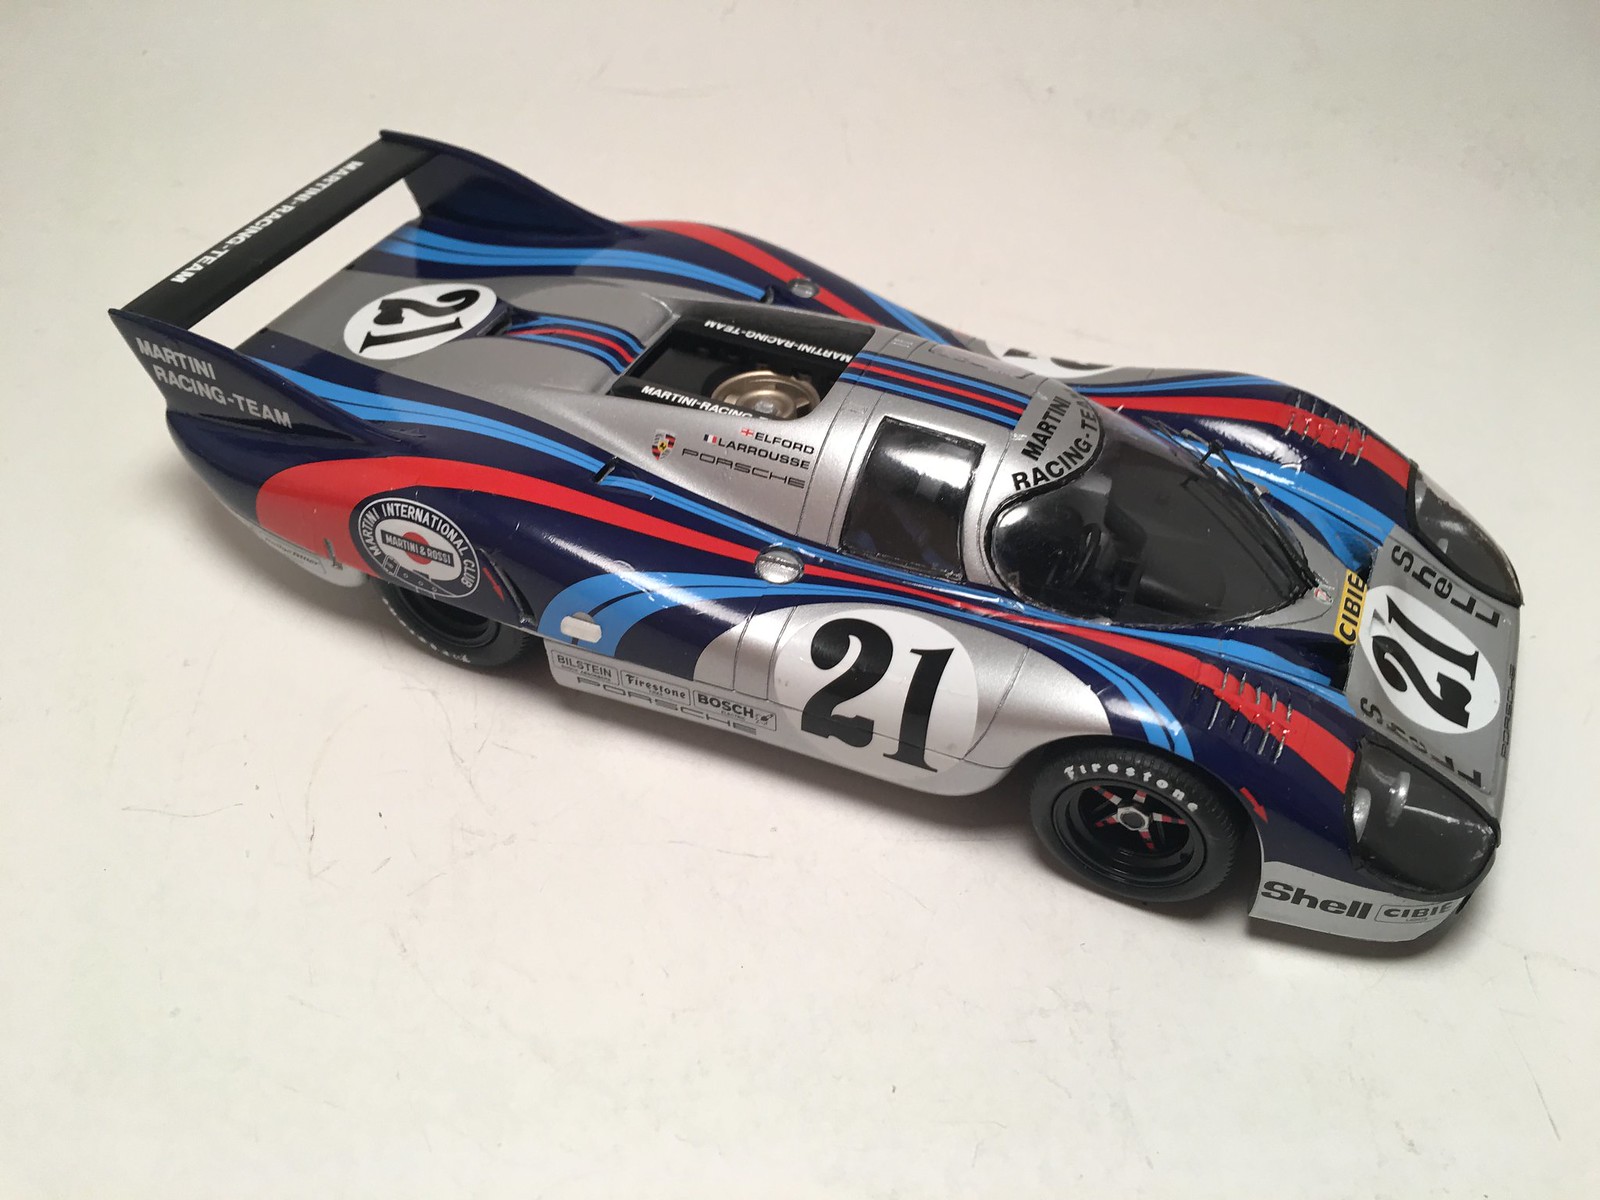
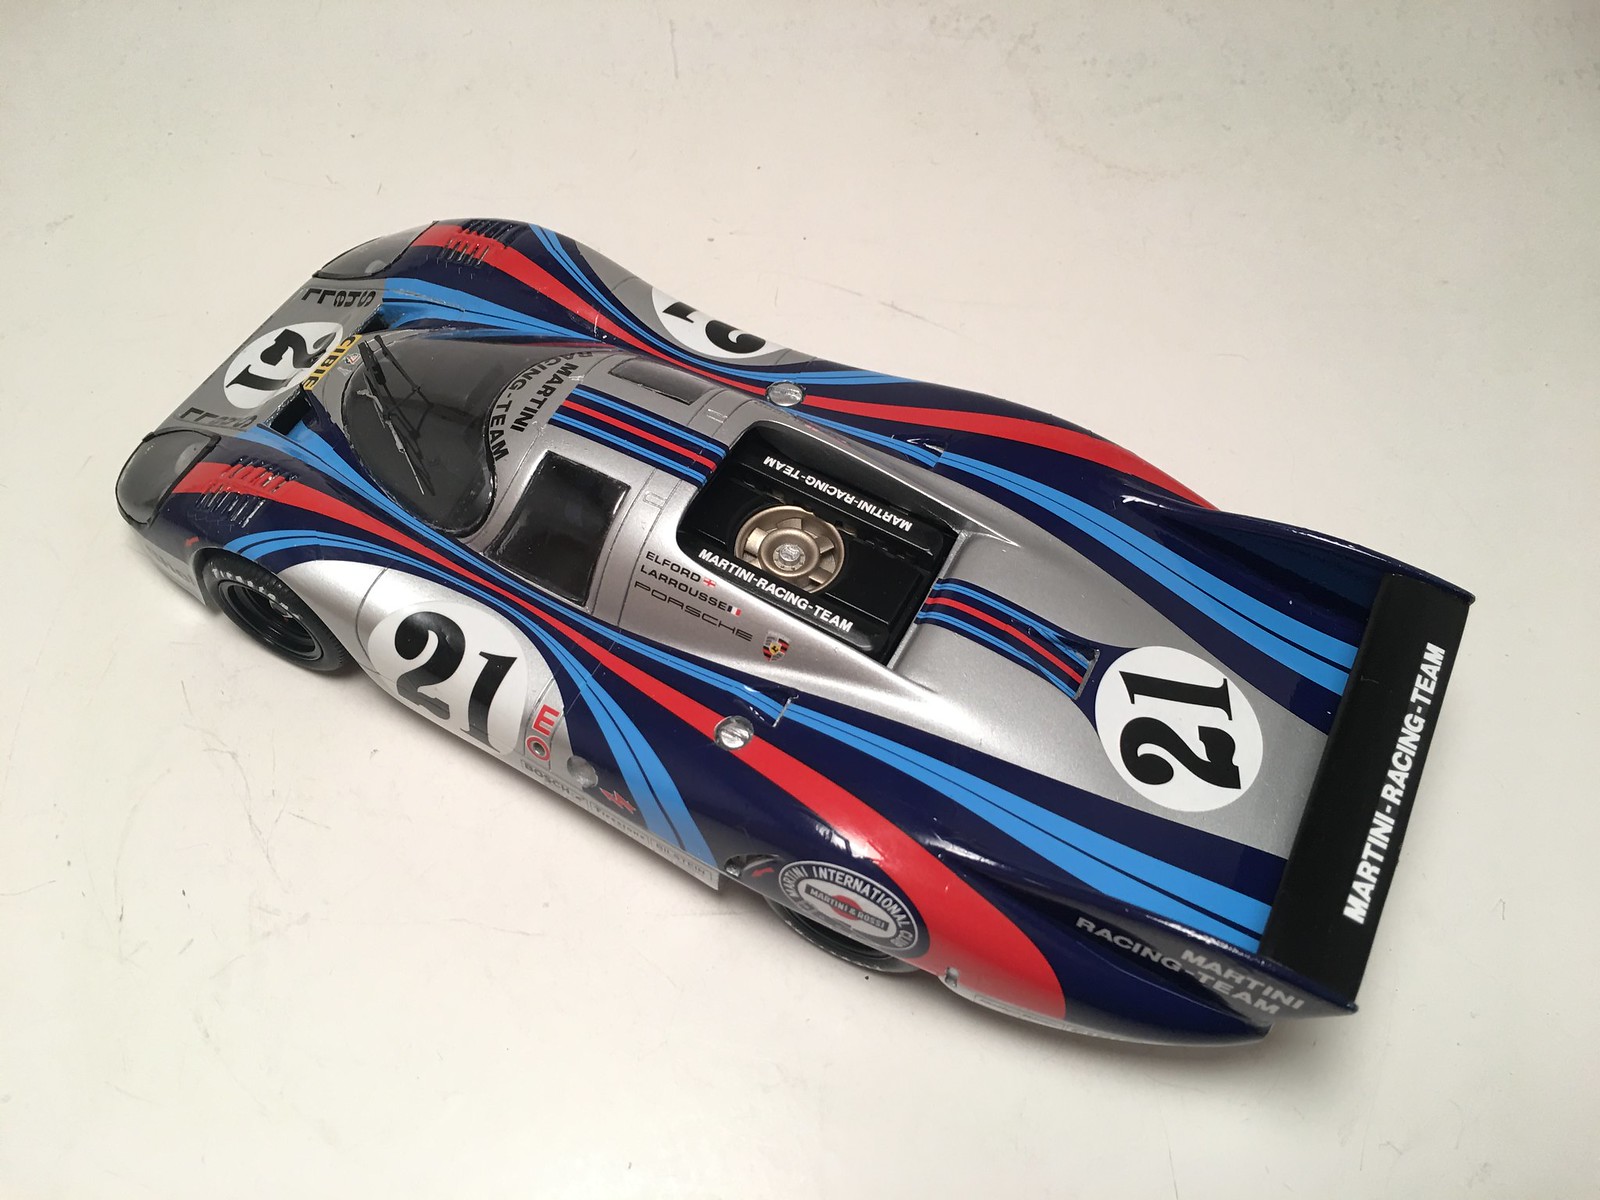
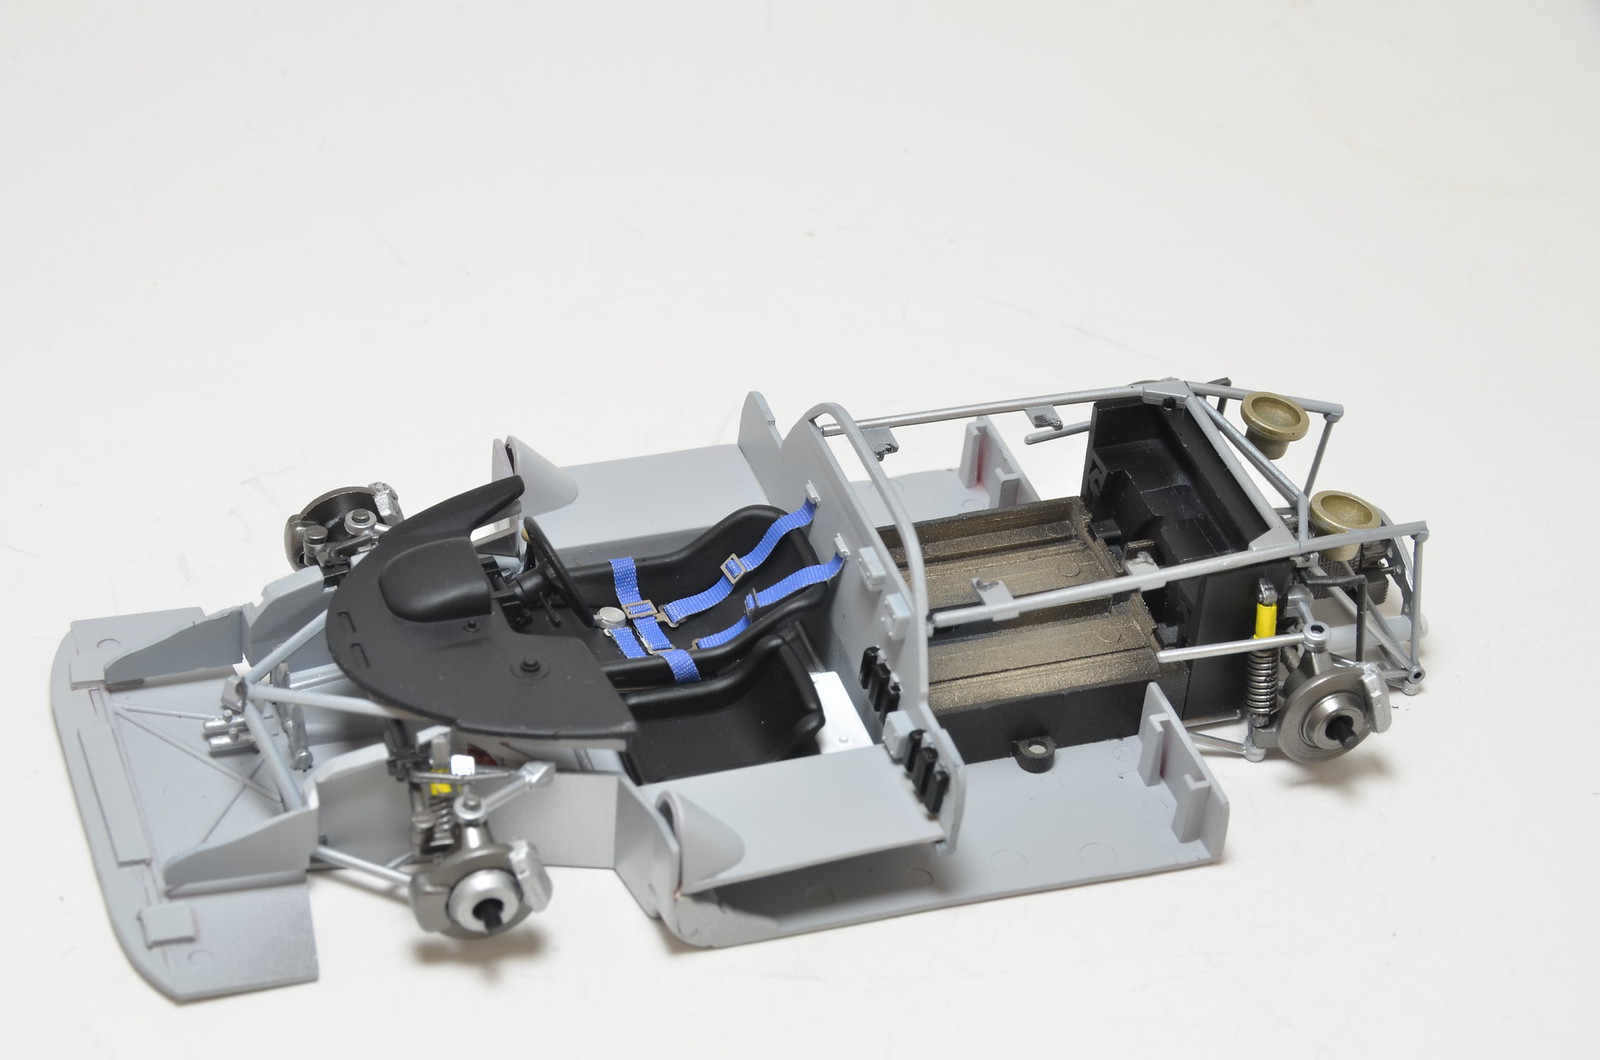

Wednesday, December 28, 2016

Most parts painted

I've been enjoying extra modeling time I can put in during holidays. Making a good progress on this build. Painted SG black, aluminum, steel and bunch of other Alclad shades on various parts. Then brush painted some details. Body parts were painted in Zero Essex blue and then clear coated with 2K gloss. I plan to start assembly steps soon. Will also work on decals at some point in near future.

Here is a small mock up to show how body color looks like.


Saturday, December 17, 2016

Chassis almost finished

Continued assemblies for chassis. Almost done. Only blocked by seat belts and decals to be applied over engine covers. After completion, chassis will have to wait for a while, until I finish body shell components. Last will be the wheels. Still have to prepare, prime and paint them. Plus usual boring task of getting tires ready. No my preferred task.


Monday, December 12, 2016

Primed parts

I have reached important for me milestone in this build. Mounted and primed all the parts. Took about 4 hours to mount all those parts for painting. Fortunately most of them I was able to mount using 3M mounting tape and it was not difficult. Only relatively small number of tiny parts and pipes needed to be super glued to toothpicks and thin wires.

This is a milestone step for me in any build, because from that point all future tasks are much more fun to do, compare to preparation steps. Also remaining steps are easier and feel more productive to me. It's just a feeling, but progress really becomes more visible and appreciative from this point.

Quick shot of parts drying inside my paint booth under outgoing flow of air. In 48 hours I will start applying colors. That's fun I am looking forward to.


Thursday, December 8, 2016

Porsche 962C WEC 1986 started

Even though I keep cursing builds of sports cars and not very happy with results from 2 recent builds, something draws me back to them. Looked at Rothmans livery of WEC car from 1986 season and could not resist temptation of starting one. Tamiya kit is quite basic, but that is probably a good thing. Because I might be able to complete it quickly, without major issues and to my satisfaction. Also it provides a little bit of extra motivation at present. Just started removing parts from trees and doing test fit assembly.


Sunday, November 27, 2016

Livery decals done for CLK-GTR

While my moto was going for this car, I've decided to finish all the livery decals on the body. Completed all last night. Next it is going to wait for clear coat and then wait till I get moto for it again mask and paint black inside and outside. I don't like those masking jobs, so wait could be quite long.


Saturday, November 26, 2016

Painted F12's body

While doing experiments with different colours for F2008, I've decided to paint F12's body to see how Gravity paint looks like. Primed it in grey, sanded smooth and then applied Gravity paint. This particular paint is 2 colours set. First I've applied layers of base colour.


Even single base colour looked nice. But final shade could only be achived with second colour application. So, next final colour was applied and then 2K clear coat. Over all it looks nice, but has little in common with F2008 colours.


Assembly started for CLK-GTR

After long hiatus, this model finally made it back to my modeling table and I've started first assemblies on it. In the mean time clear coat was put onto body shell and I've brush painted details on various parts. I am pretty much following sequence from kit instructions. First assembly was engine, gearbox and rear suspension parts. No major issues. There were small fitting problems that I worked out with a bit of sanding. Next was front suspension. Attached dumpers/rockers to the top of front structure, then installed PE faces to radiators and put them in as well. Then I switched to cockpit assembly. Put in all the items, except for driver seat. Still need to complete seat belts, before I could install it. Added some items to dashboard too. That was as far as I could go with assembly before I got blocked by missing decals. So, I switched to decal application. Most of decals for internals are applied, but I need to decided, if I will put any kind of clear coat over them to hide silvering. Decals look fine over SG black in direct view, but at the angles decal film could be seen. After internal decals were done, I've started application on main livery decals. Kit is 16 years old and I've got 2 of them. 1 set of decals is in good shape, another is not really usable. So, I am using better one. Decals are going on fine. Just need warmer water to get them off the backing paper. I've chosen car number 10, becasue I plan to do championship winning car 11 fully detailed. And I think liver for #10 car is more rare.


Sunday, November 6, 2016

Undecided on the Red

During recent push to finish other models for local contest, I had some time to finally get back to F2008. Finished prep tasks and primed F2008 parts. Then in mid October, I've put silver base paint on. This time I painted all parts separately, in a bid to get as light coverage of transparent red as possible. In the end of October I put red on. It went on better then last time. But it looks darker. I am afraid hiroboy sent me wrong mix. I have noticed this in the past. His light colours are not 100% consistent between batches.

It looks darker then my 248F1 and F2007 models, which were painted in pre 2008 bright red, and even darker then F60, painted with TS85. Below are some photos I did in sun light for comparison. Granted, F2008 does not have clean on yet, but still it looks too dark to me.

I don't know what to do. If I put clear on top of it and it still looks dark, I might have to go through another strip/prep/prime/paint cycle.


Saturday, November 5, 2016

Lotus 88 USA 1981 Elio De Angelis started.

With 3 models out of my pipeline recently, I can start couple of new builds. Most exciting at present is Ebbro Lotus 88. I've selected a Blue Essex car for my build. Just started it last night. At present I am in process of cutting off and preparing parts. Then I will do test fit assembly. So far impressions with fit and quality are positive. 2 light grey part trees seem to be made from softer type of plastic. It feels different to familiar hard plastics of Tamiya and Fujimi models. Hopefully no loaded parts in the model are made form this softer plastic. Black parts seem to be stronger. Haven't touched body panels yet, which are made in blue plastic.

Below is a quick shot of my work table. Quite a bit more work is needed to get parts ready for primer.


Saturday, October 29, 2016

917LH is finished

Installed wheels, attached windshield viper and married body with chassis. Last piece was underbody rear panel. I call it done. And it is out of my pipeline. Back to F1, hopefully.


Sunday, October 23, 2016

Worked on suspension.

Returned to MP4/6 Friday night. Assembled most of the rear and front suspensions. Uprights are only there temporary to keep arms aligned. Will have to assemble and attach brakes first, before I could put uprights in place permanently. At the rear body panels have to be installed as well, prior to final assembly. Still some progress to be happy about. Nothing is attached to the floor at the moment. Just a mock up to see how it all fits.


Tuesday, October 18, 2016

Clear parts attached

Worked on vacuum formed windows and light covers over the weekend. It's quickly becoming my least favorite part of builds for sports cars. Struggled again with epoxy while attaching them. I wonder if there is a more suitable glue to do it. Epoxy is too messy. Before clear parts, I've also done front and rear lights and tank caps. Does not look like a lot of progress, but it took a lots of hours to complete.


Sunday, October 9, 2016

Seat belts done

Bit more progress. Finished cockpit items and seat belts. Clear coat is on as well. Could not find any reference for seat belts. So, went by MFH instructions and my own guess on colour. Need to paint black on the body next. Then windows and windshield. And finally wheels.


Monday, October 3, 2016

Finished decals on 917LH

Finished decals on 917LH: Long break again. Was busy with other builds. Returned to 917 this weekend. Finished all the decals on the body, rear wing and engine cover. Spent hours building up coverage of front louvers from 10 pieces a side. My recommendation to other builders would be to paint strips instead of using decals. Lot more work applying decals, yet result is far from perfect. Here is how it looked before last few small arrows were added.


Finished FW16B conversion

I am going to call this one done. Made front alignment a bit better. Attached mirrors and nose. While I was working on suspension, rear wing fell off to the concrete floor. Ended up with some chipping at the bottom of wing end plates and broken off top wing element. But otherwise not much broken. Epoxy glue did it job of flexing and holding parts together. Fixed top element back on with super glue and used super glue to put wing back. Fortunately not too much damage overall (unless you look very close). Still missing antenna, but out of my pipeline for now.


Monday, September 5, 2016

MP4/30 mostly completed

MP4/30 model is pretty much done. Missing only top camera housing and antenna. It was fast (by my standards) OOB build. Went together well and easy. I liked some solutions Ebbro put in it. Some others I did not like. Overall it is a nice kit, which could be built into great model, imho.