Sunday, September 17, 2017

On its wheels

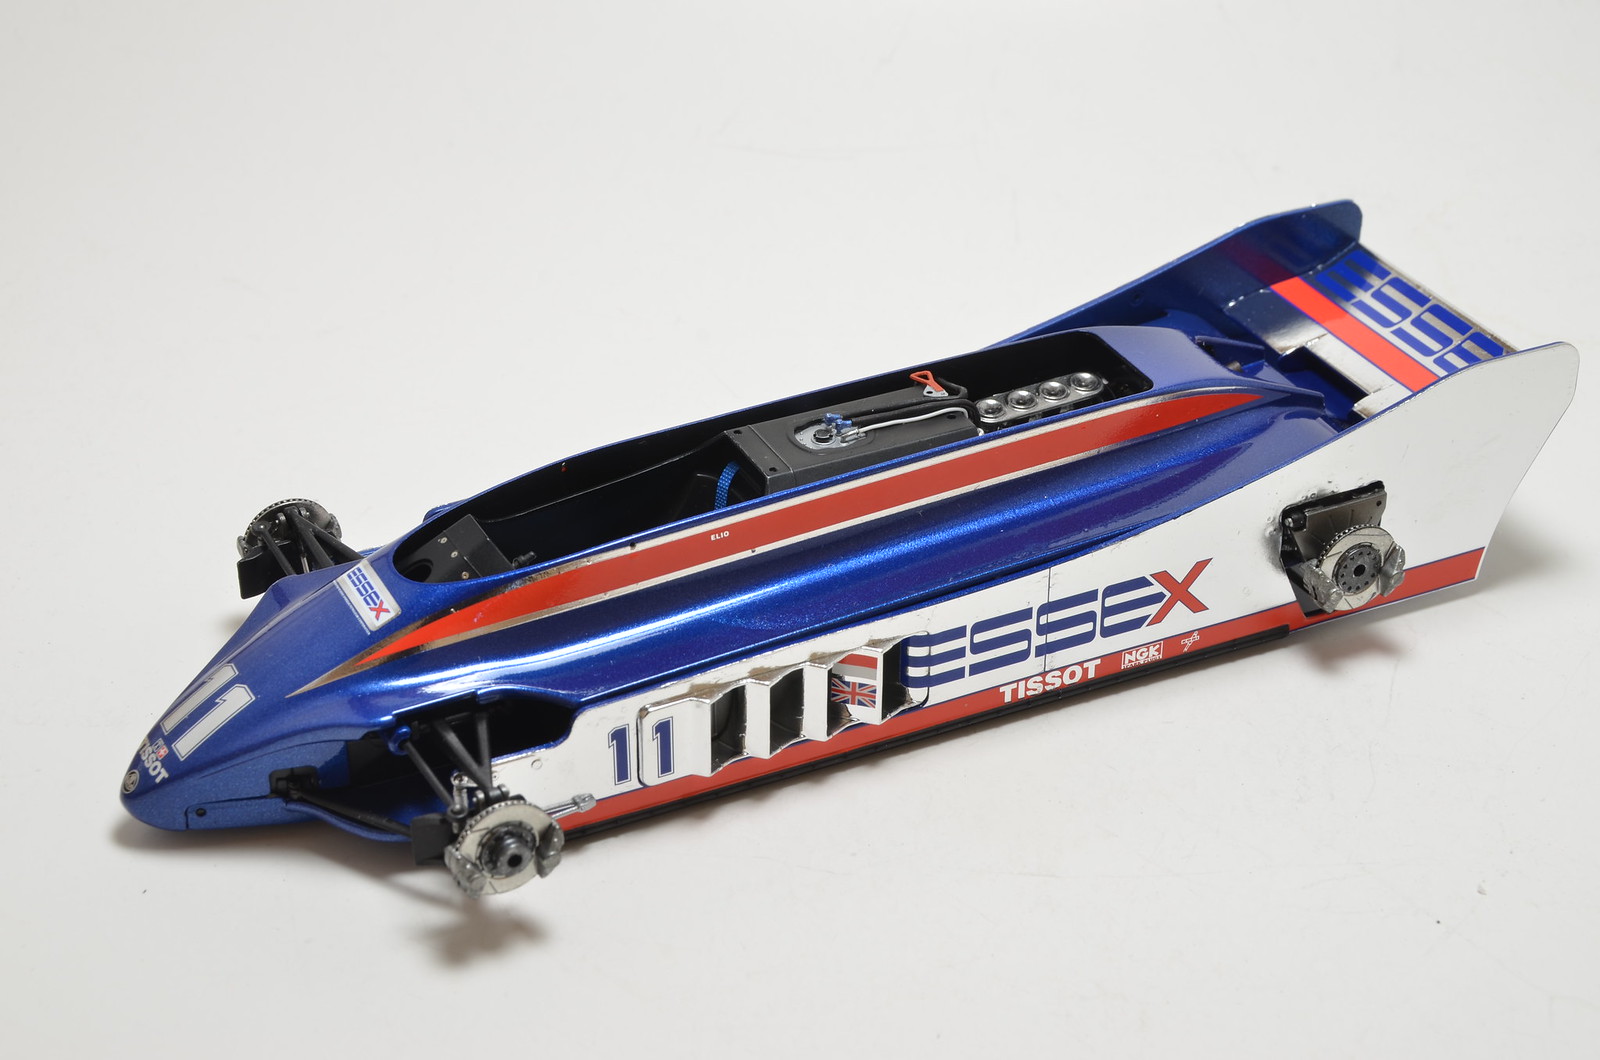
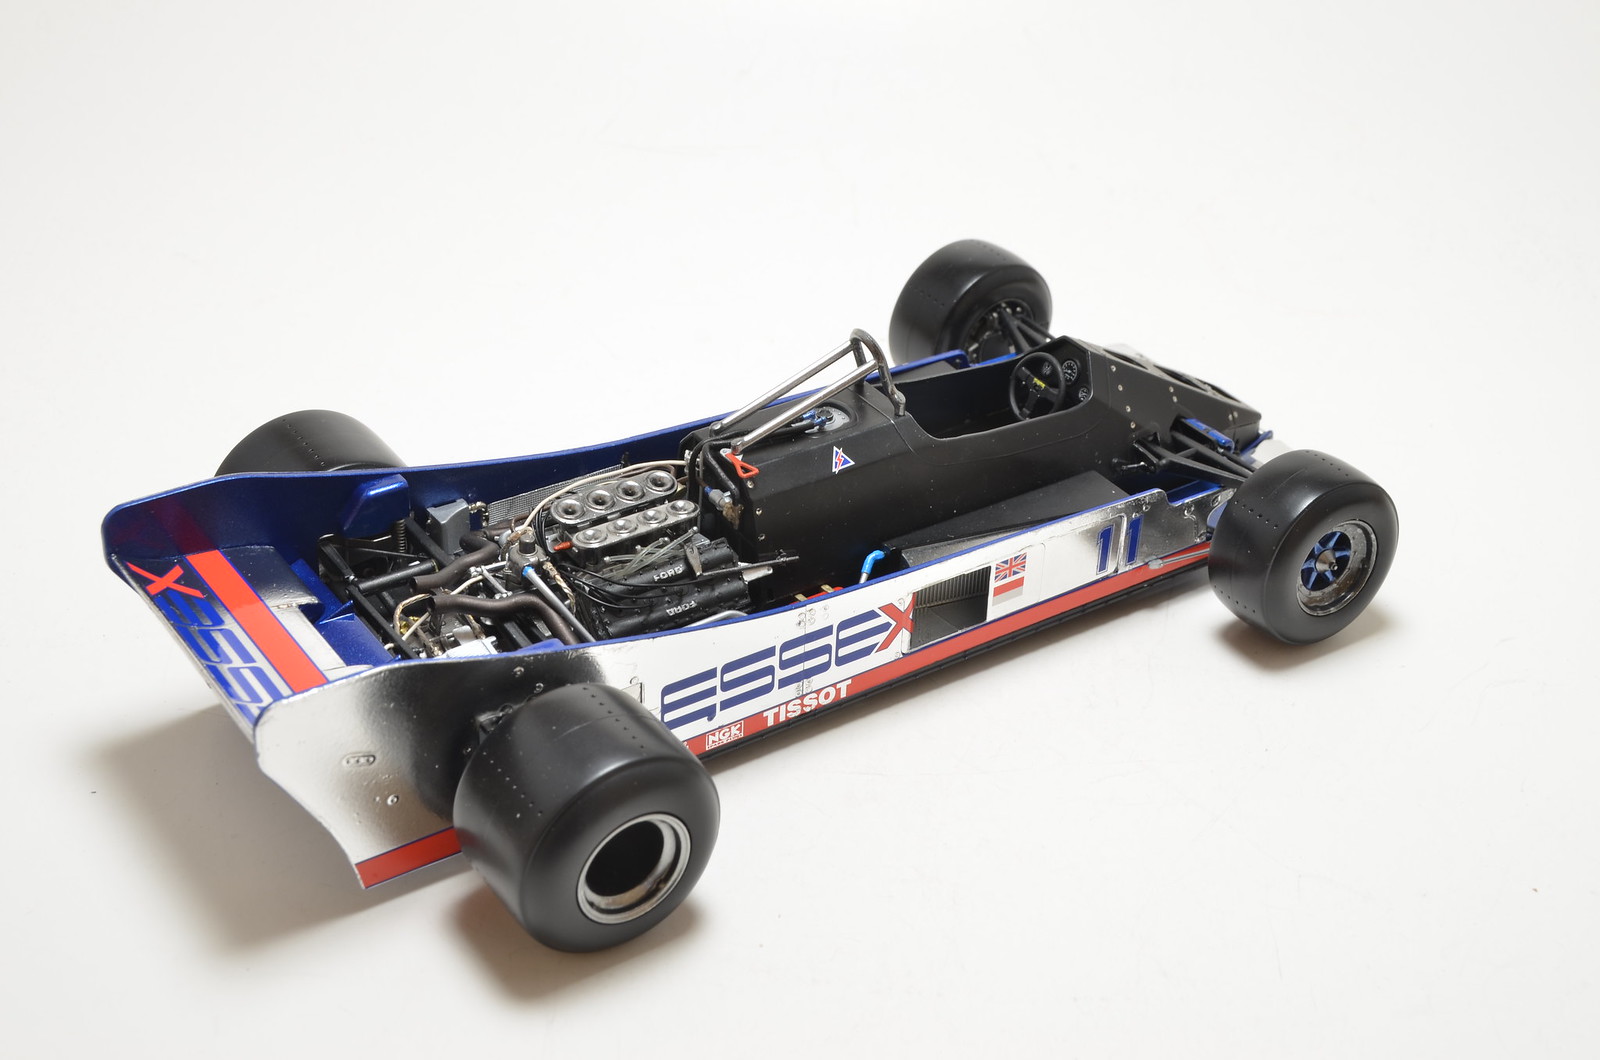
Getting close to completion. Assembled and installed wheels. Added front wing and steering wheel. Also added couple of last oil lines. Basically only rear view mirrors are left to add. After I added cooling duct inlets for rear brakes to side body panels, top body cover does not fit any more. Instructions suggest to add then after body cover is in place. But that would mean it will not be removable any more. Gotta think about it. Don't want to hide internals forever. I think I will just let top cover to seat loose. As expected this one stands on only 3 tires. Front right is about 1mm off the ground. Nothing I can do about that now. Will put it on the shelf and forget about it.

Tuesday, September 12, 2017

Further progress on Lotus 91

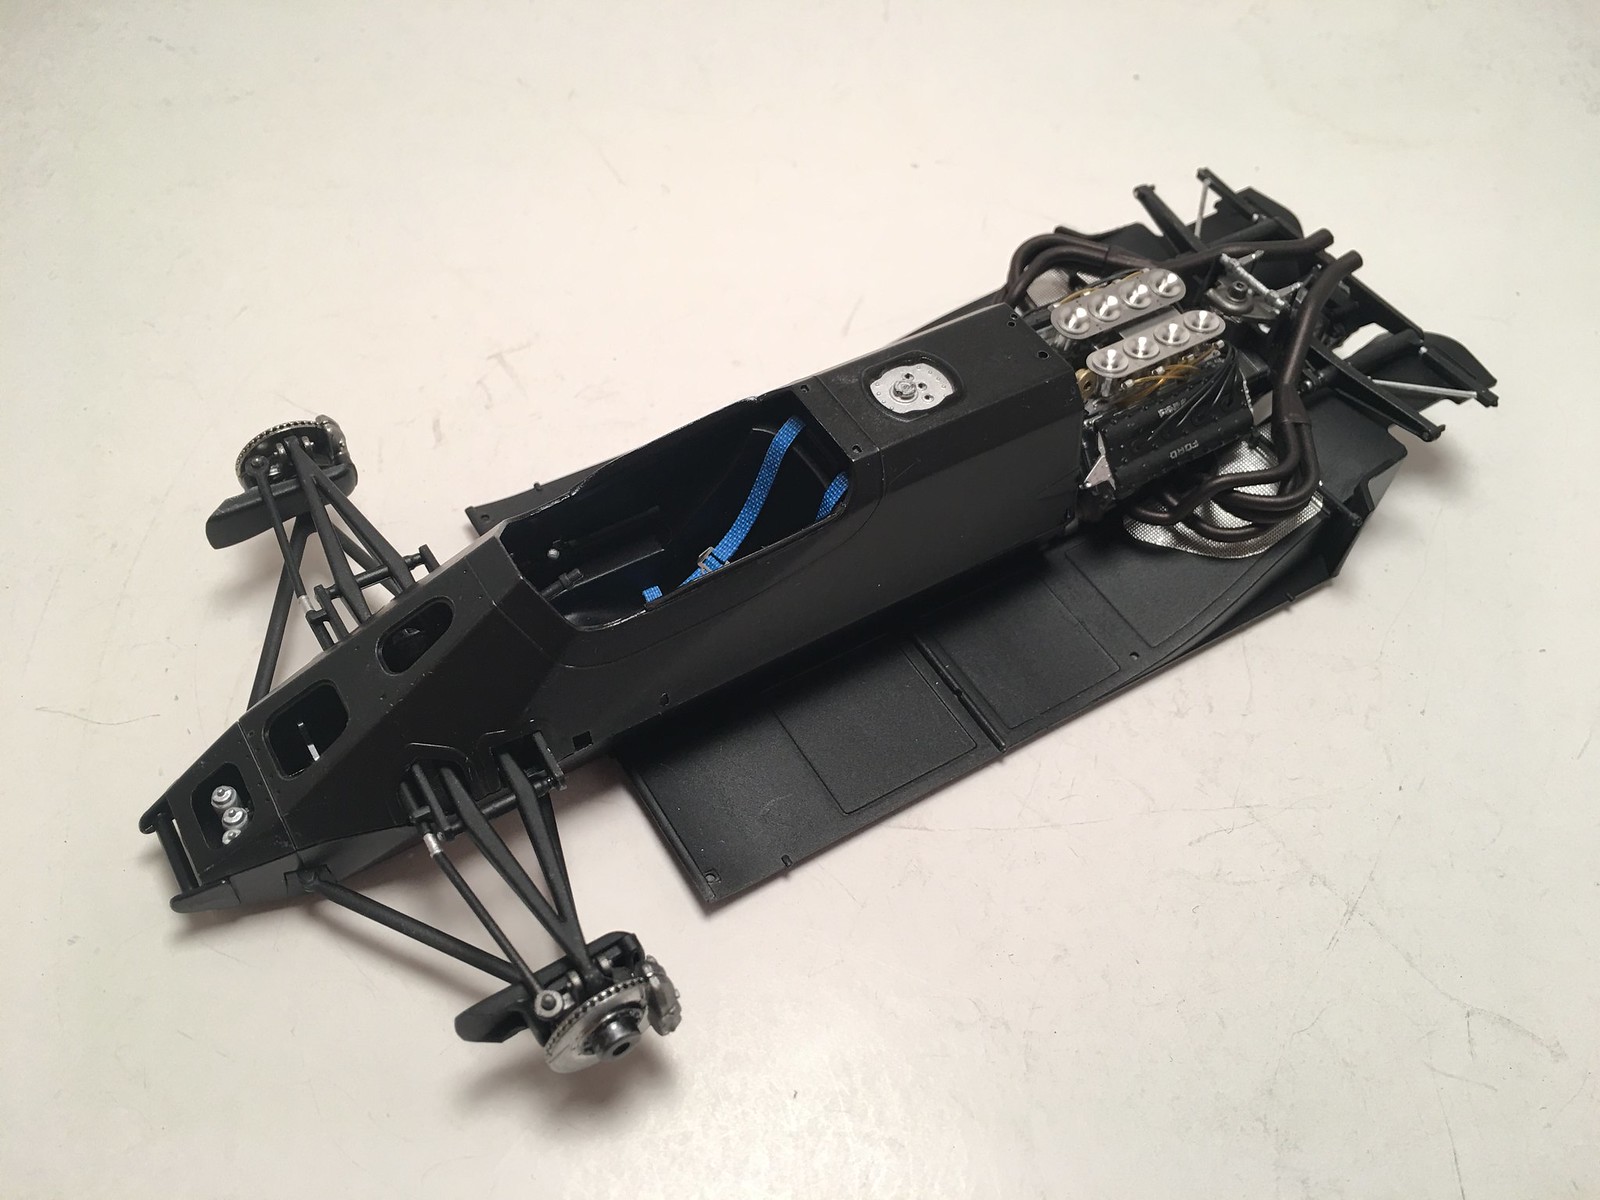
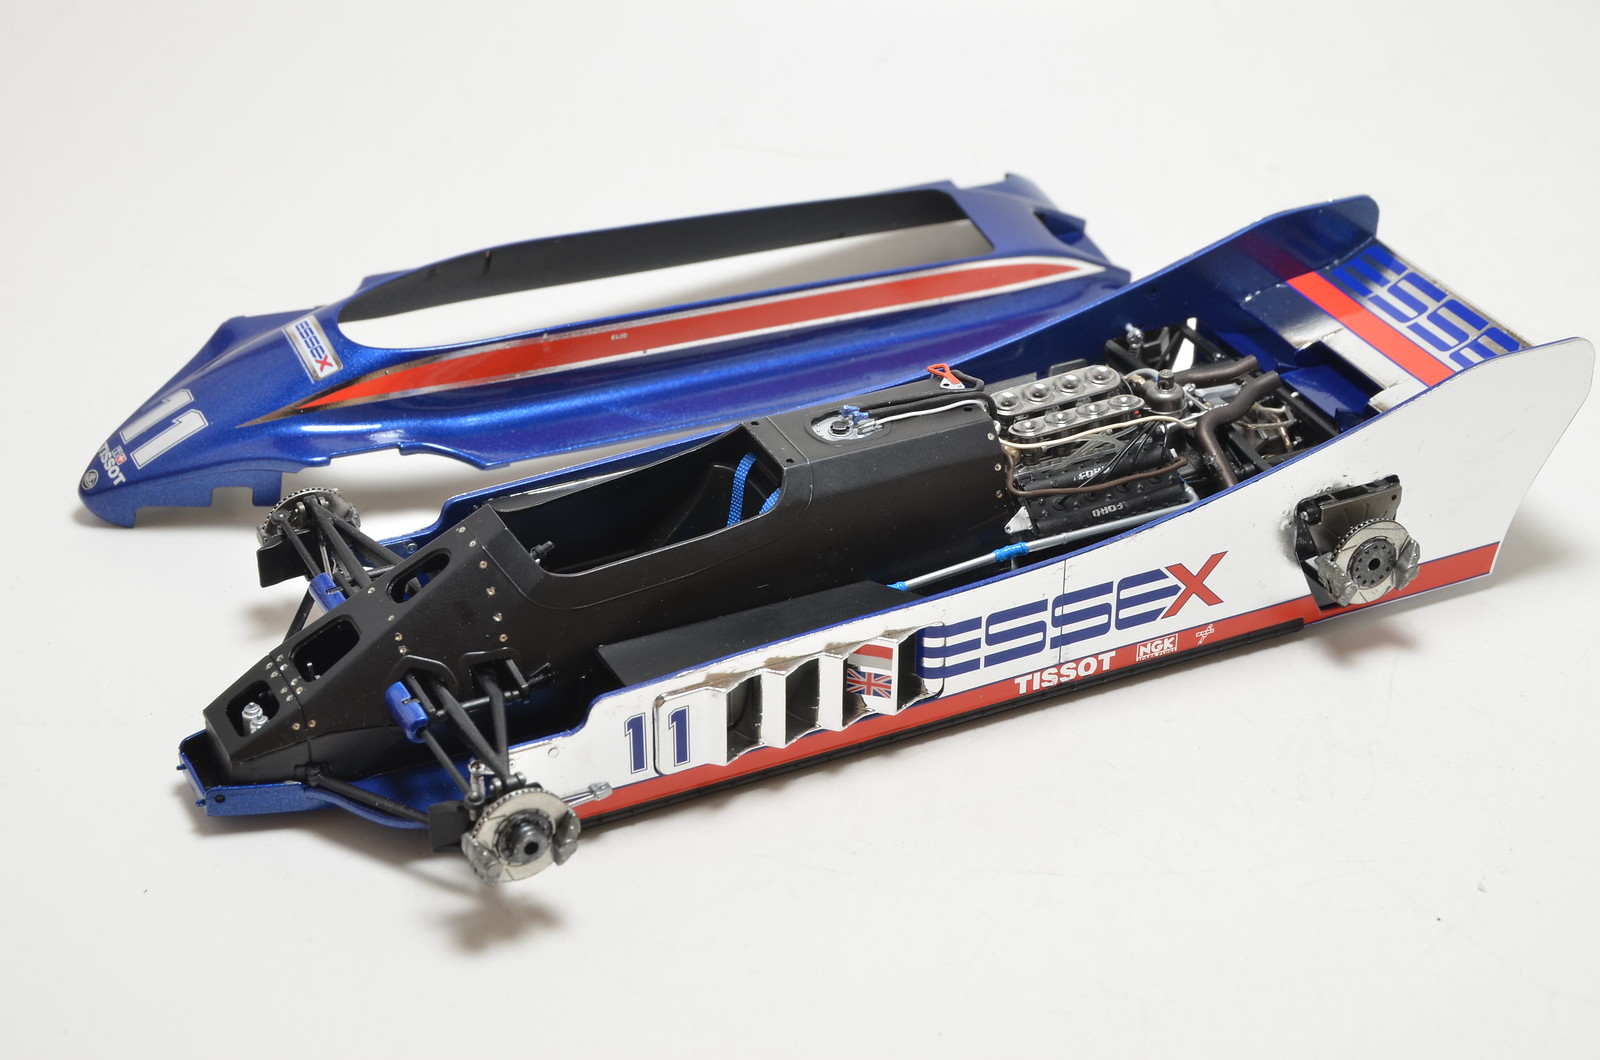
Results from past weekend work. Attached gearbox to engine and installed exhausts. Make and installed seat belts. Installed seat, dashboard and various other components into cockpit. Closed monocoque with attaching top part. Photos show a mock up. Note, that CF decals are missing now from top of monocoque. Some masking take I've use to hold it together temporarily pulled off decals and I had to choice but to remove rest of it. Did not want to restart that work. So, will have to leave with it in base semi-gloss black.


Wednesday, September 6, 2017

Engine basically done

Completed routing of fuel lines and ignition wires. Only fuel filter and throttle linkage are left to add.


Monday, September 4, 2017

My best DFV so far

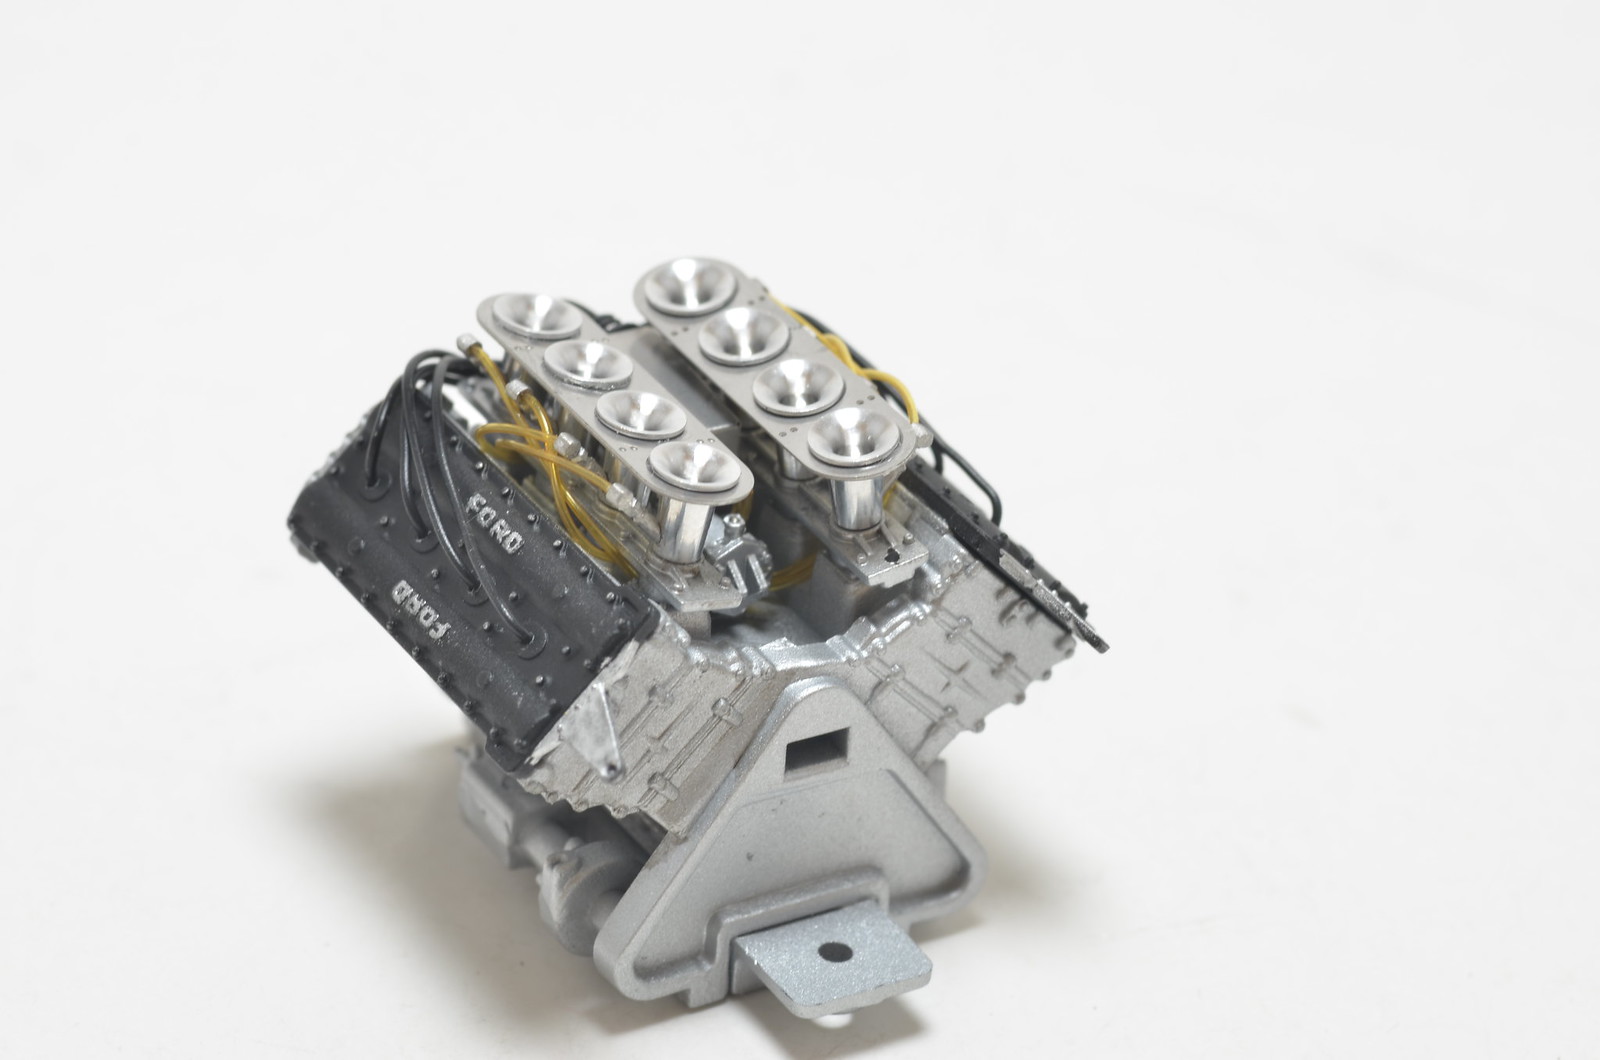
I've built 3 DFV in 1/20 to date and Lotus 91's is my 4th. It shaping up as best one so far. It has a lot to do with MFH's detail set. I think it looks much more realistic then previous ones. There is always room for more details. But at my current skill level, I think it's good. One missing detail item from MFH set is throttle linkage. My DFV would have benefitted from more accurate one. Hopefully I will be able to scratch build it in the future.


Sunday, September 3, 2017

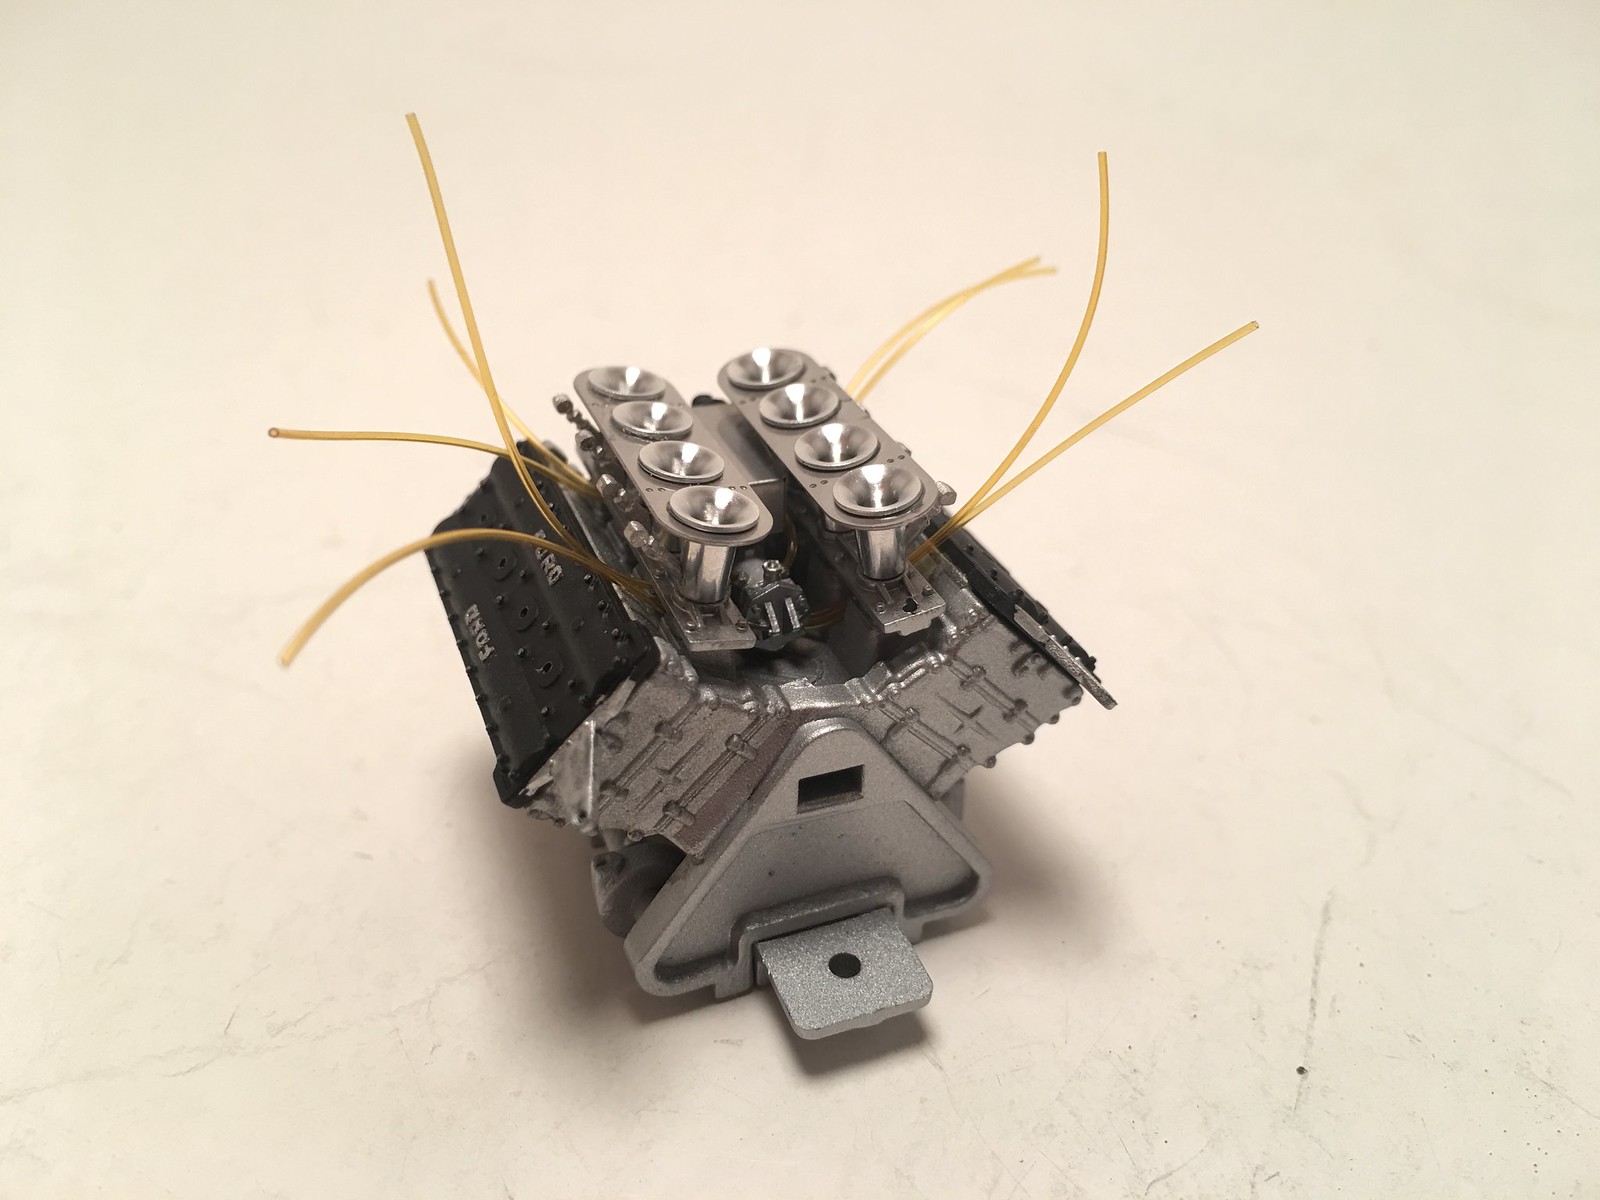
Work of engine detailing started

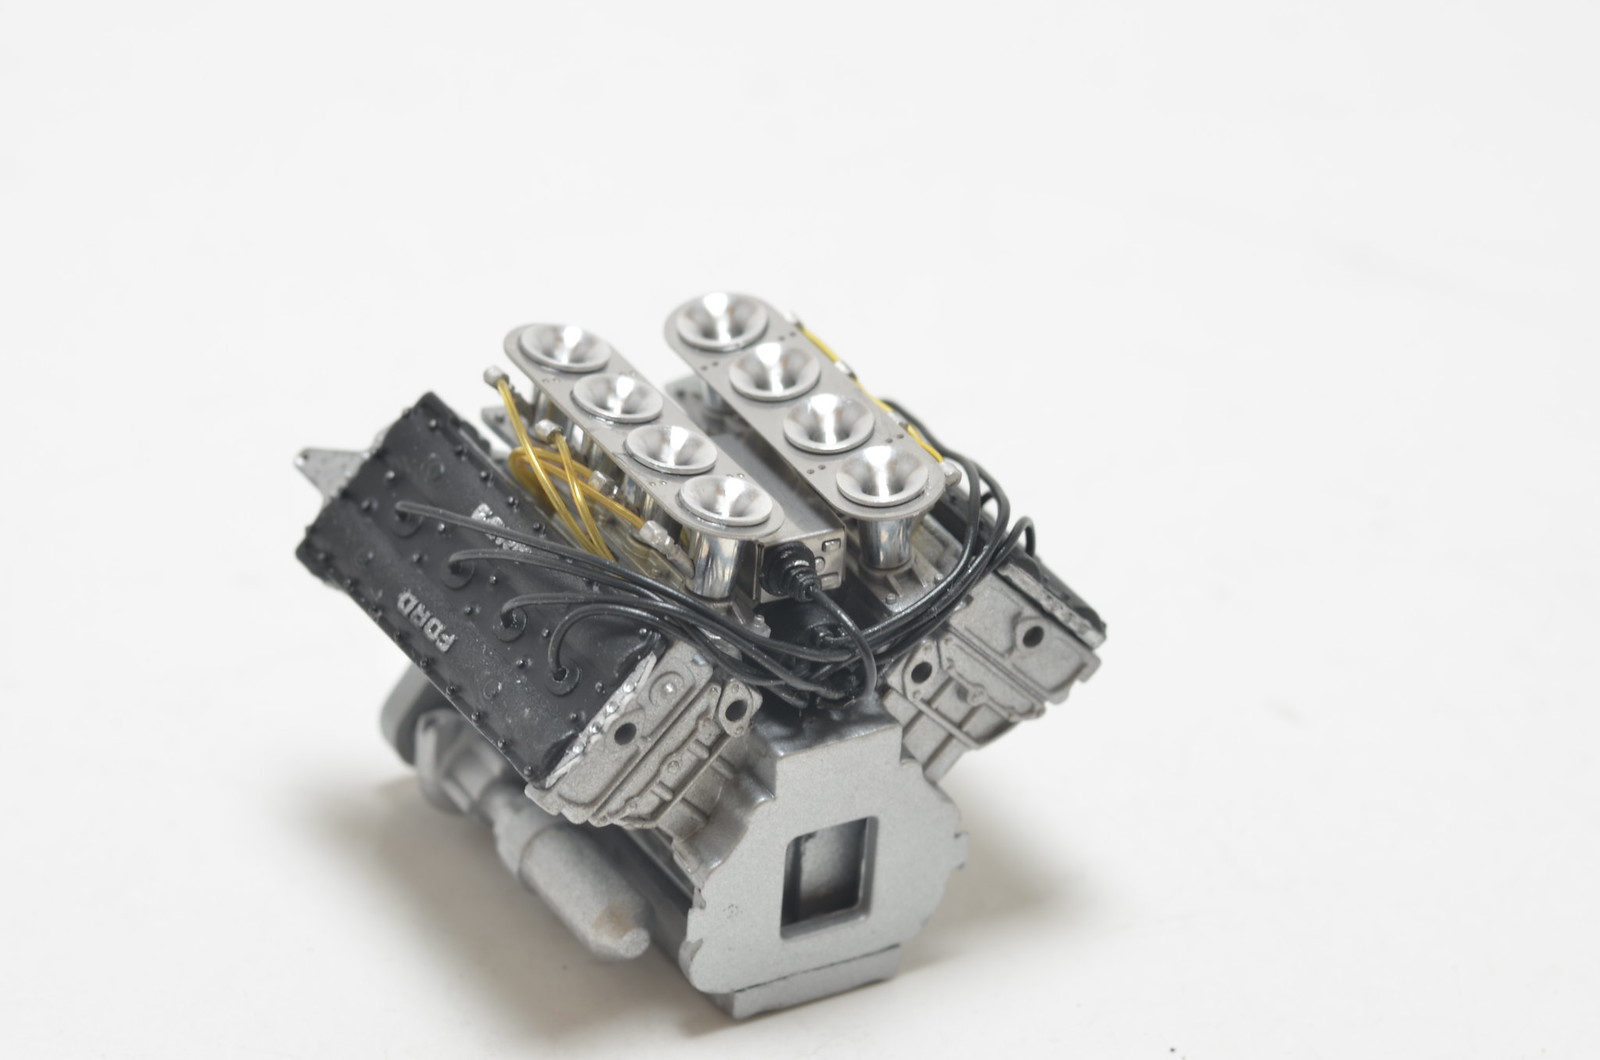
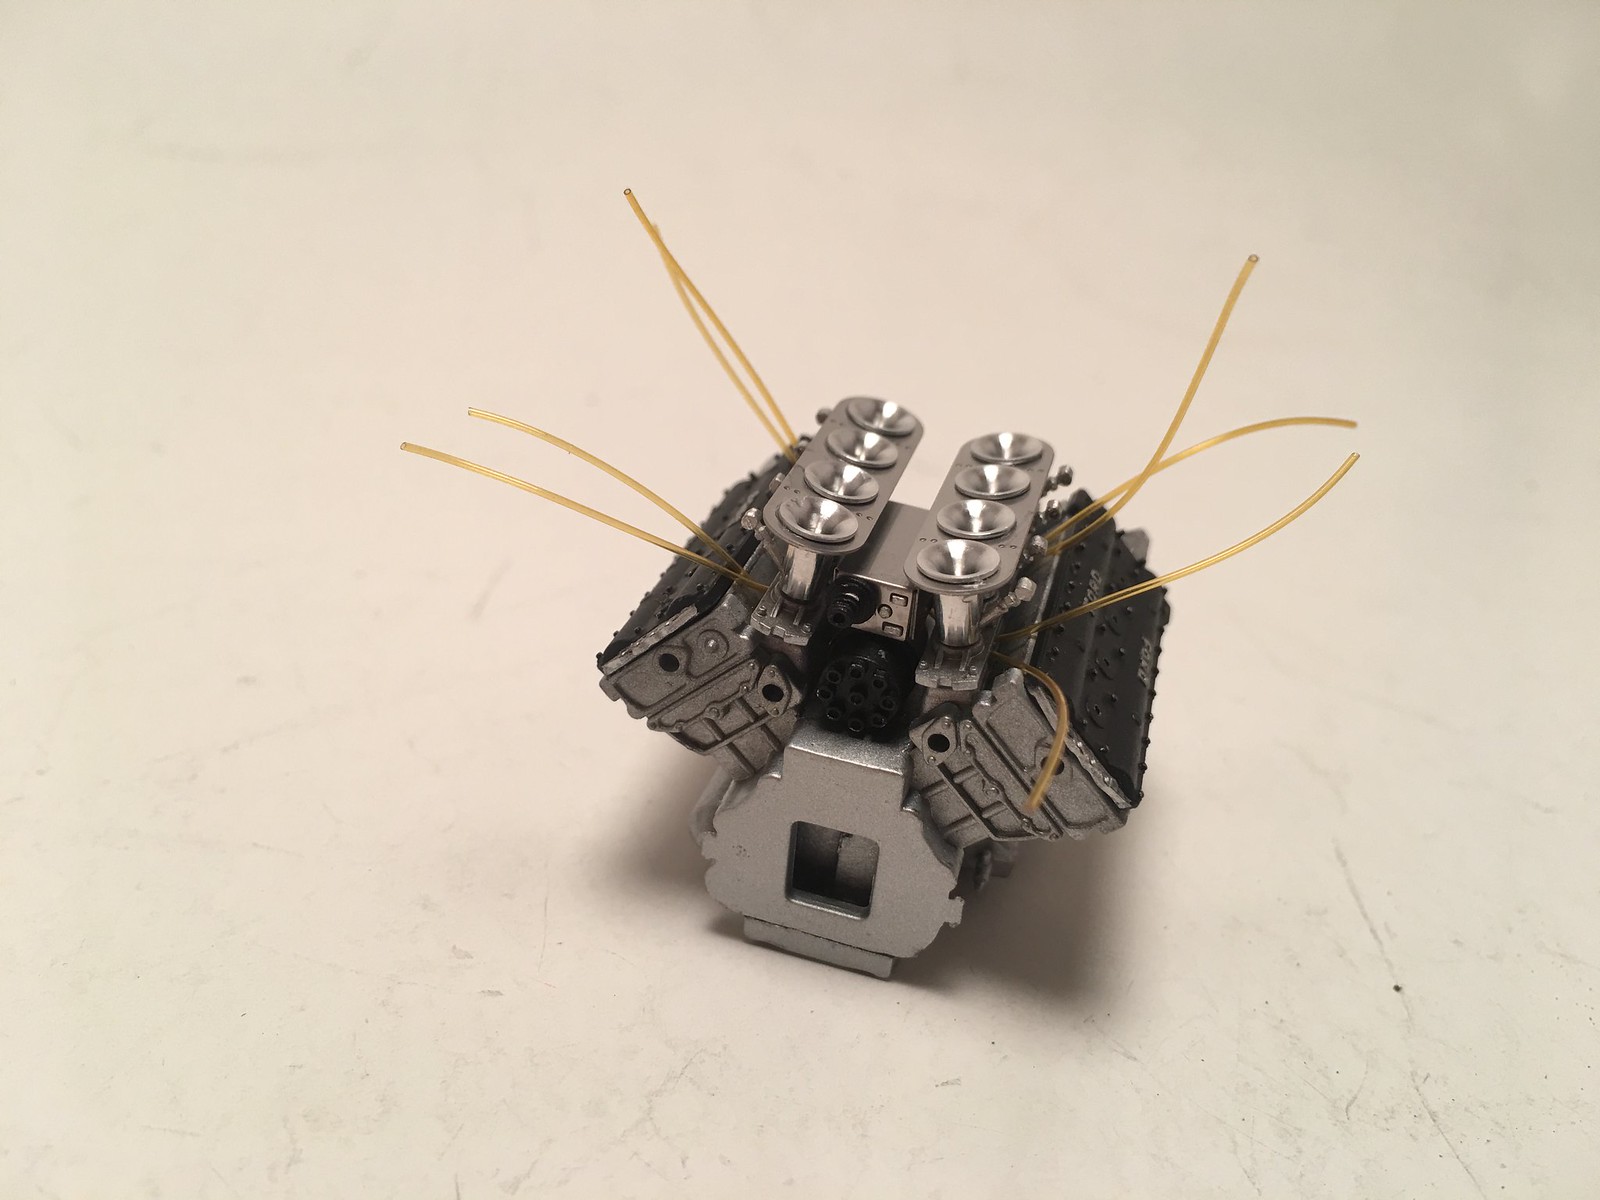
Last night started detailing work. I am using DFV detail set from MFH. Nice turned trumpets, fuel lines and detailed ignition box. However I have not expected that assembly would be complex and will take that much time. Spent more then 2 hours assigning and glueing trumpets and fuel injection leads together. Adding fuel lines to the distributor as well. Next will have to attach trumpets to engine and then route fuel and ignition lines. I am starting to enjoying detailing work more and more. Kind of looking forward to adding more detail items to engine and gearbox. By now I have accumulated enough AN fittings and braided lines to do this type of detailing with ease. It will probably not be 100% accurate, but will look better then OOB. Quick shot of current state attached.


More progress on chassis assembly

Since decals were completed few months ago, I have put clear coat over them. Then masked and painted skirts black. This weekend I've got to the point when I could put chassis together. Attached side panels to the floor and put rear wings in place. Over all result is not bad. Not 100% square, because of warper floor, but kind of ok visually. It is my first Ebbro kit to build and I am pleased with quality and detail level. Fit was pretty good. Only low point is warped floor, which causes suspension and body panel's alignment to be off. Something is in the of body cowling, so it does not seat properly. But unless you look at the rear, it's not that apparent. Some photos of current state are below. Number of accessories and some wirings are left to complete. Then only wheels would be left to finish it all off.


Saturday, July 1, 2017

Breakthrough in F1-GTR MeLans 1995 1/12 scale conversion project

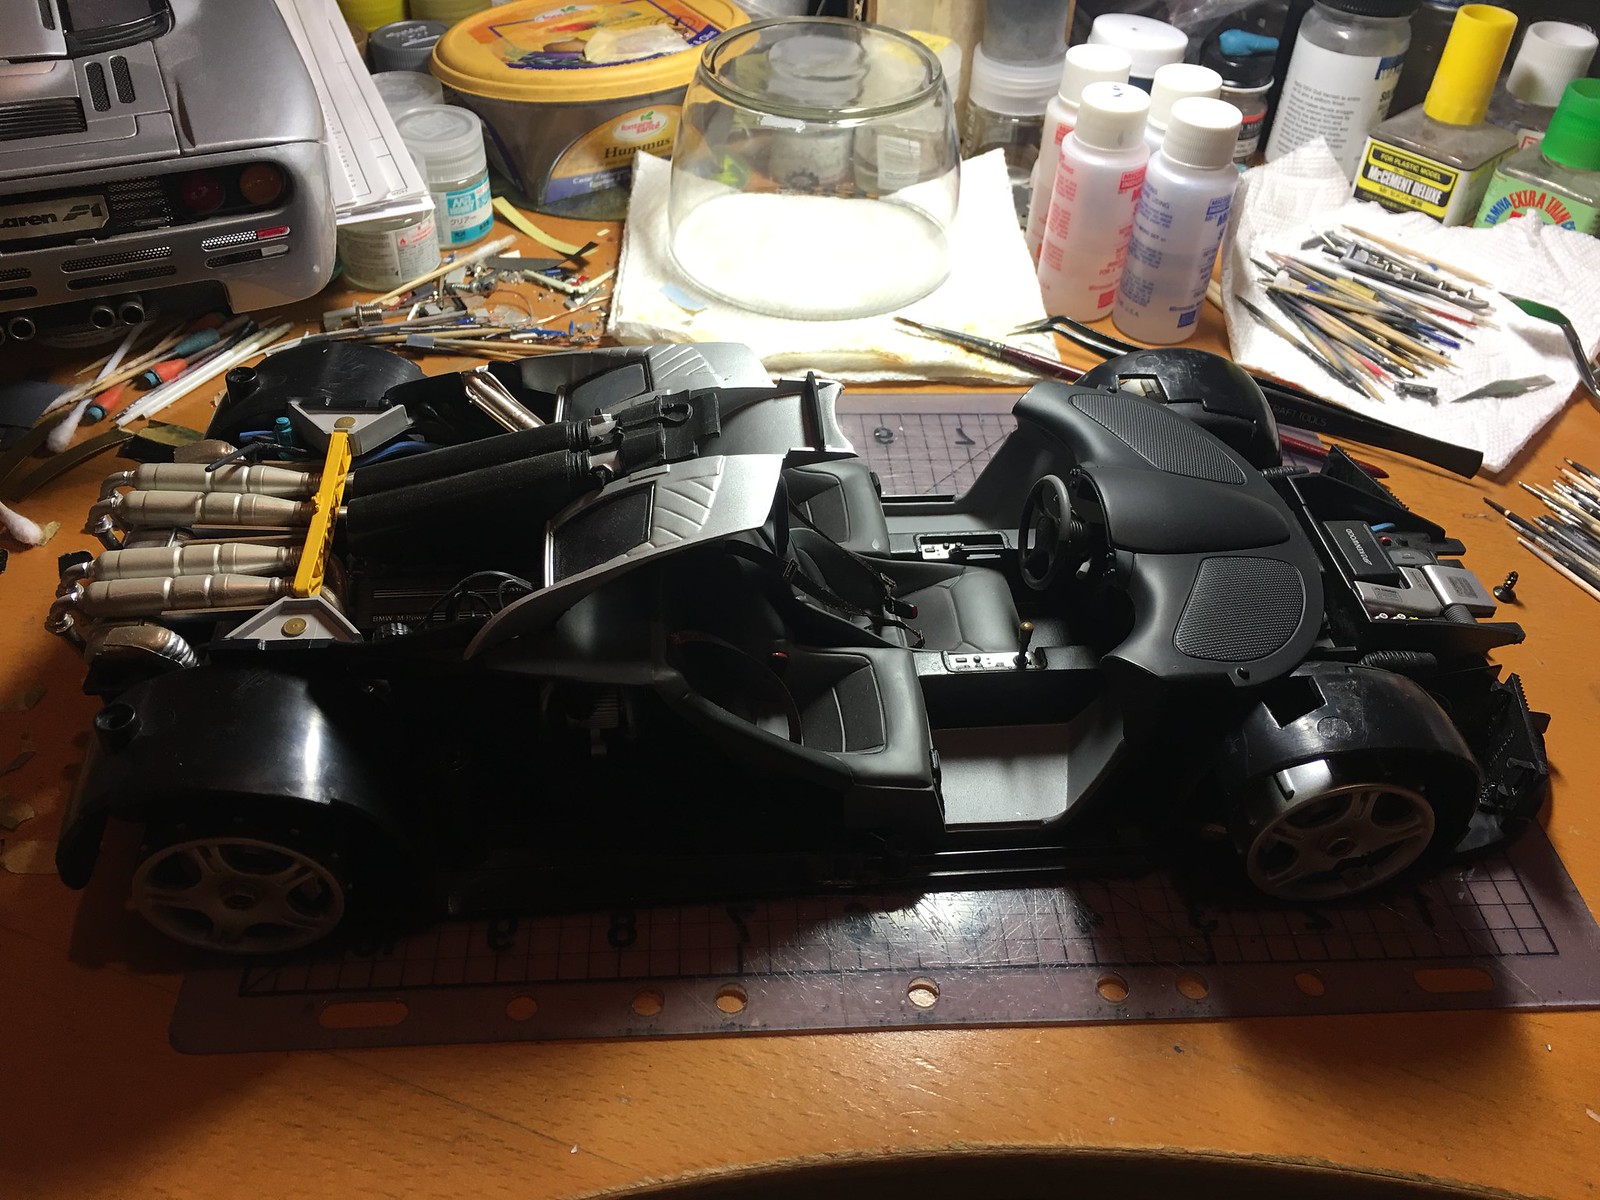
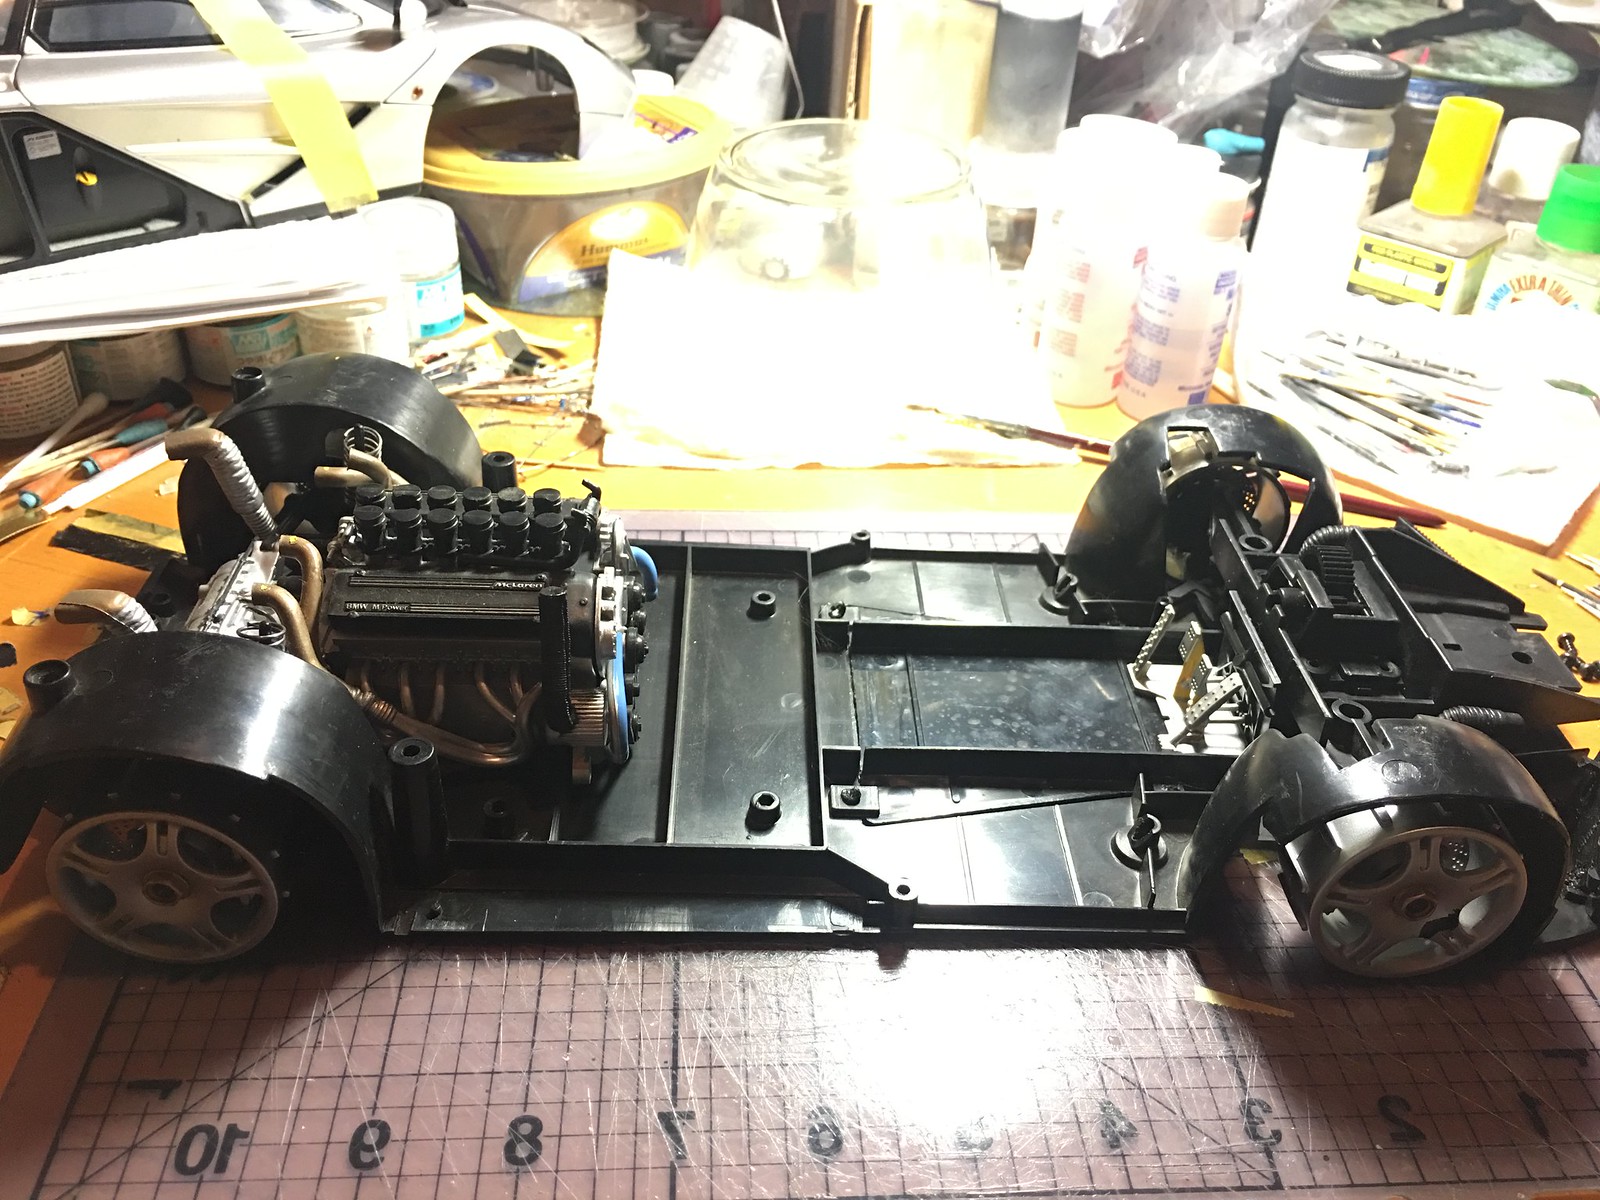
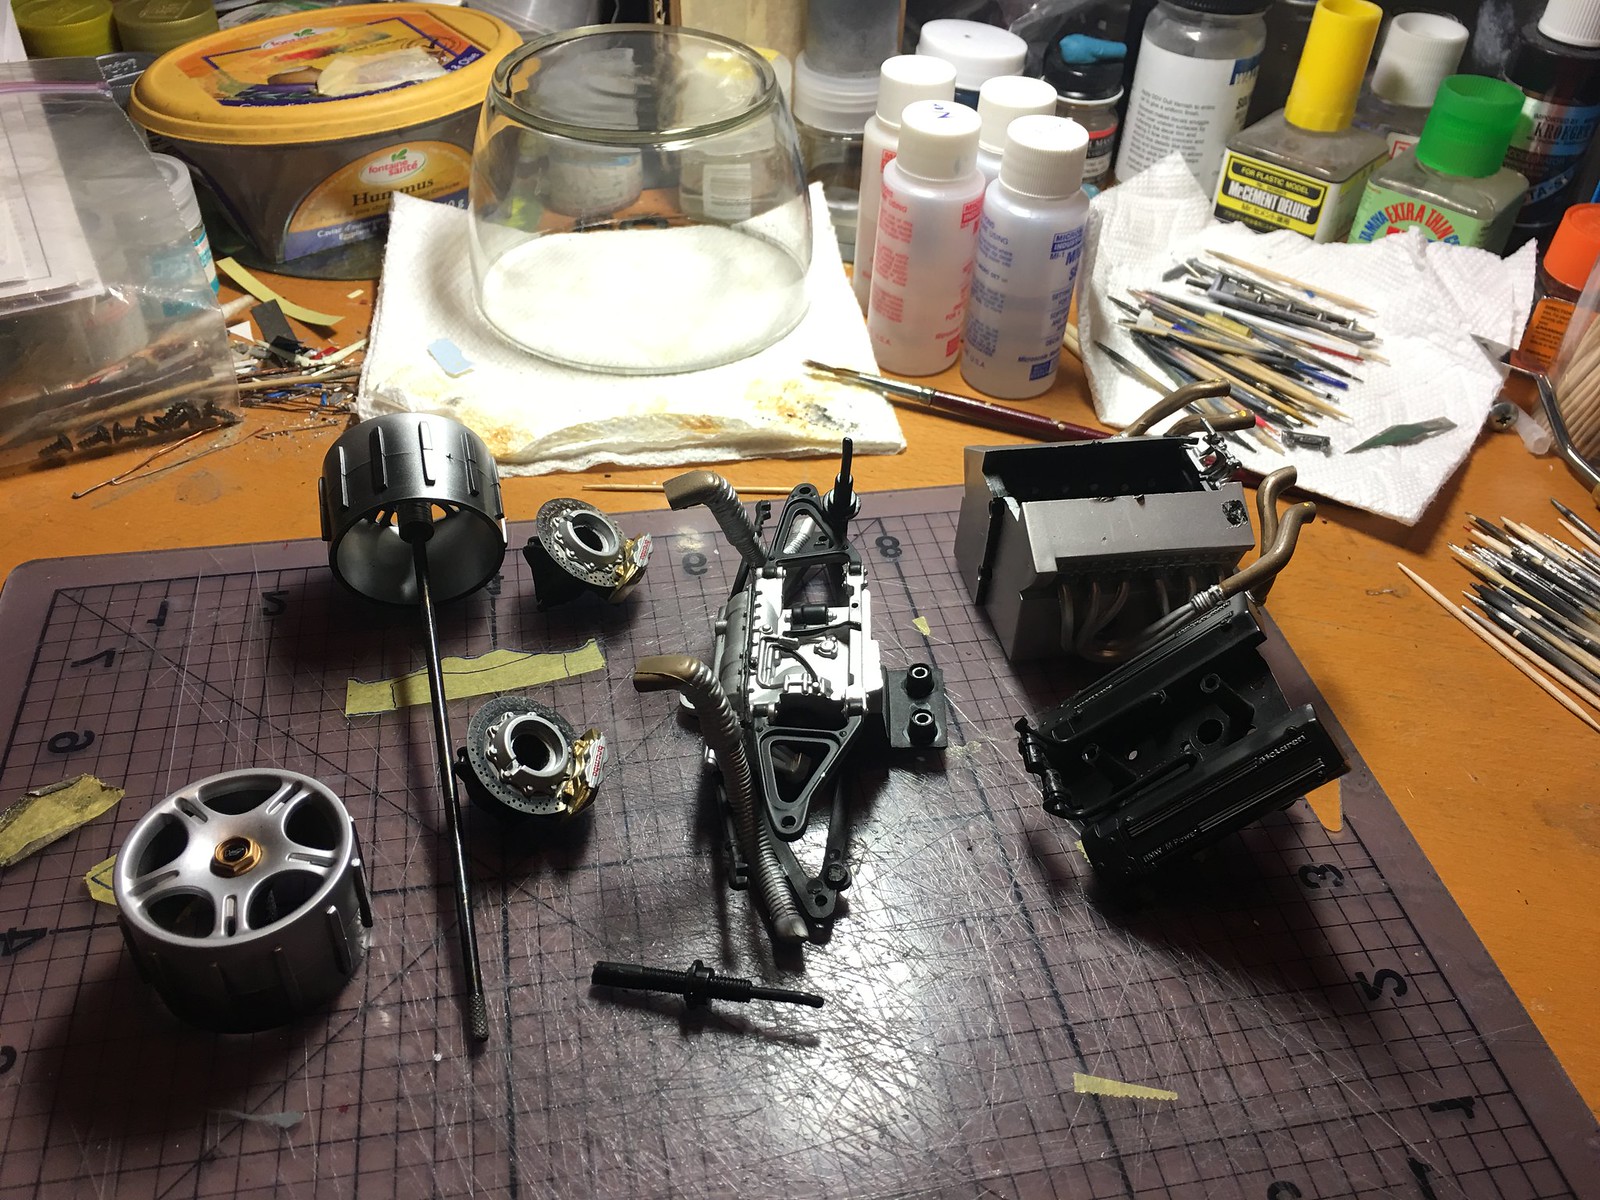
This is my "dream" project. I wanted to convert Minichamp's die-cast McLaren F1 road car into winner of Le Mans 1995 race. It has been on the back of my mind for many years. I have event started it few years back, but got stuck on the first step. Bottom part of the chassis just didn't want to separate, even though I took out all the screws I could see. Apparently there were 2 more screws at the top of rear wheel arches. Following an advice from automotive forums' F1 forum, I've removed rear tires from the wheels and that opened access to those hidden screws. After that block was removed I was able to dis-assemble the rest of it with pretty much no issues.

It turned out a decent models with high level and accuracy of detail for a die-cast. There will be a lot of things that would have to be improved and converted to specs of racing car. But it provides a decent starting platform, imho.

Here are some photos of the process.