Monday, January 19, 2015

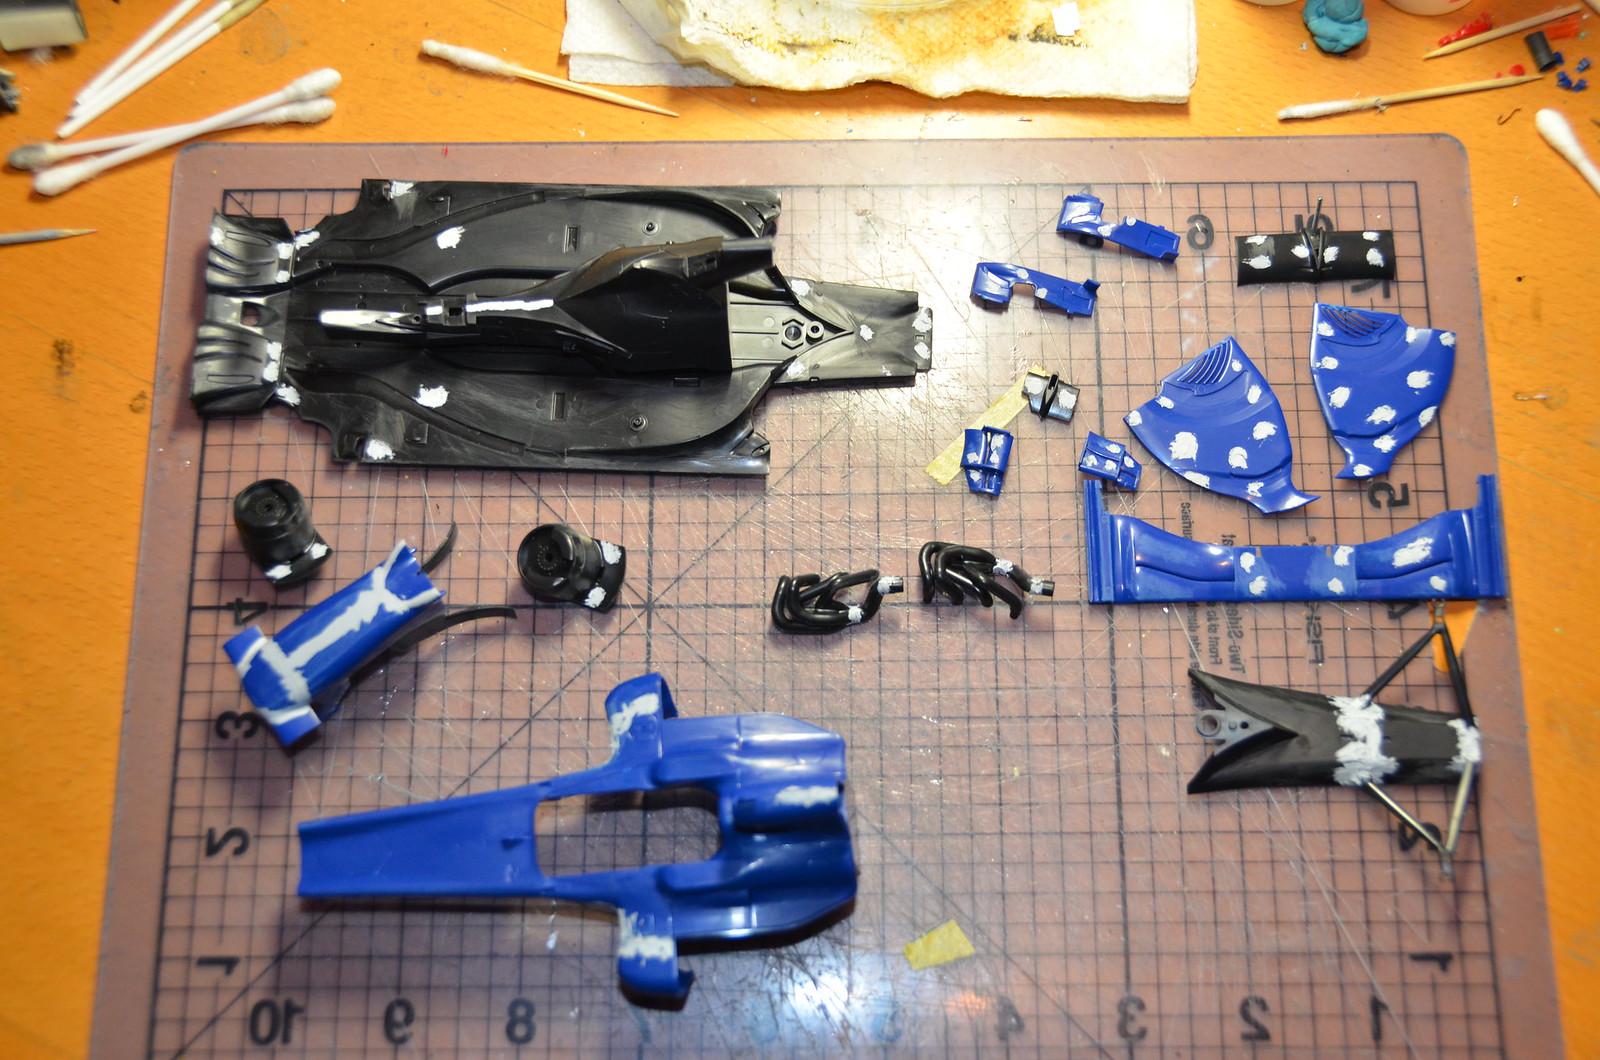
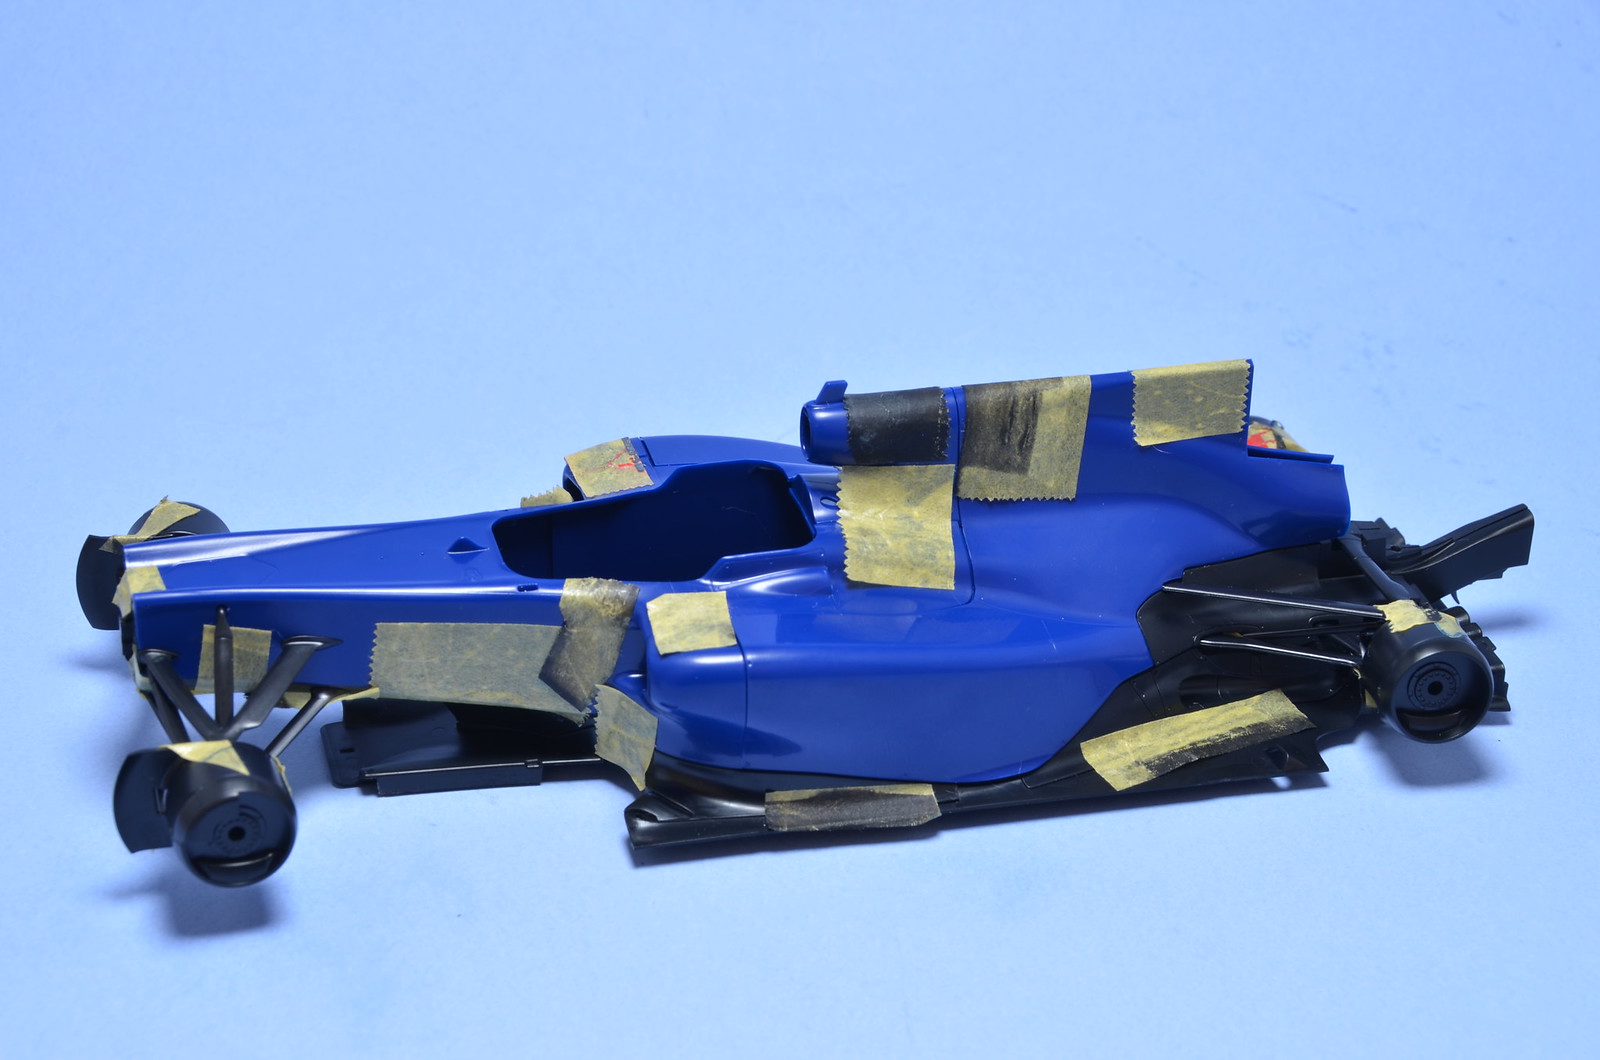
Little progress for STR5

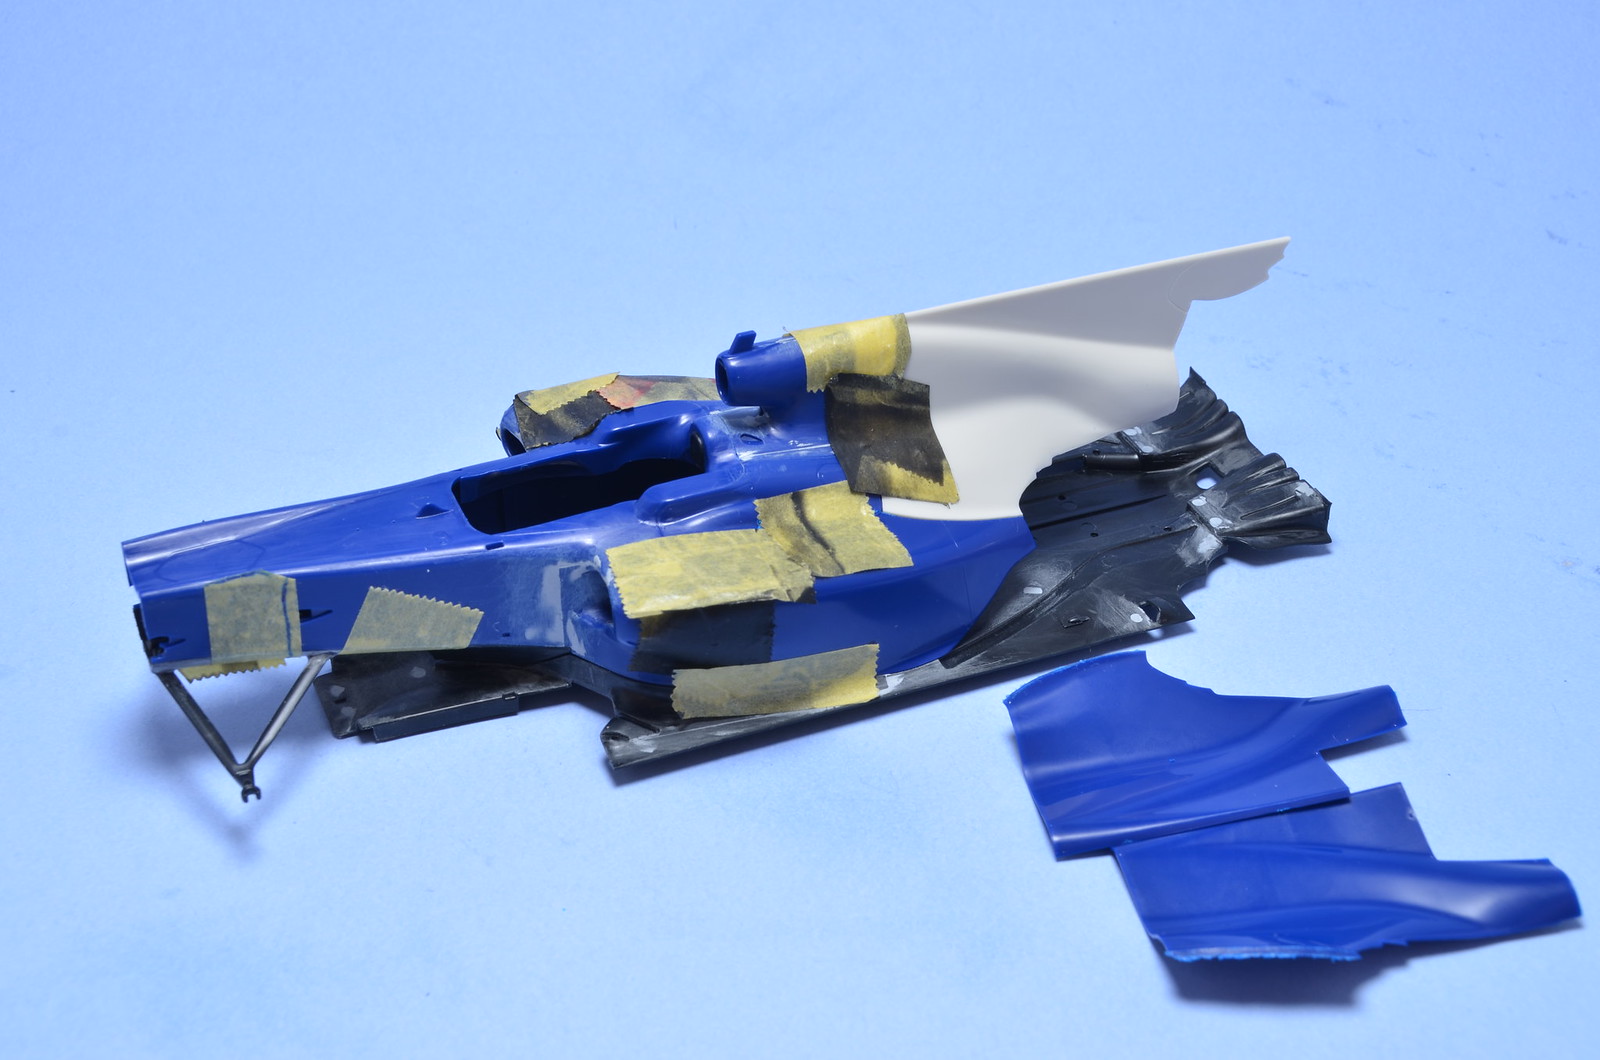
Decided to use super glue to connect resin air box top with plastic side pod covers. Managed to smear glue all over plastic parts. Now I have to clean it up somehow. I might yet try to reinforce underneath the seam with thin plastic. Not sure.

Sunday, January 4, 2015

Adding small items

Continued work on this model. Mostly small things. Installed PE nets in front hood. Worked on fit of doors and had to do quite a bit of paint touch ups. They fit better now, but still far from perfect. Attached radiators. Realized that there isn't enough CF on PE splitter to cover visible areas. Have to add more CF to it. Another part I have to fix is rear engine door. I've made quite a mess of it, trying to fix paint and clear on it. Detached windows and stripped glue and black paint. It's masked for re-paint of black areas by now. Windows are also stripped of paint and decals. Will have to re-do them. This is going to set this build back some extra weeks, but I could not live with how it looked after all bad touch ups.


Windows installed

Continued with this build. Installed all windows, beside front wind shield. Also installed head lamp covers. Then worked on rivets and fasteners. As well as on door support struts and mirrors. I have used Gunze H30 acrylic clear on windows and it was a mistake. That clear coat melts under finger's heat and there is a lot of blemishes on windows by now. I'm considering putting on more clear coats. But this time I would likely have to do it with brush. Not sure yet. Right side head lamp cover didn't go on well and I've made a bit of a mess. It often happens to me on later assembly stages. Still working on improving my glue application techniques. Current plan is to attach front radiators and splitter next. Then I will have to attach doors, engine cover and top of the roof.


Back to F1-GTR

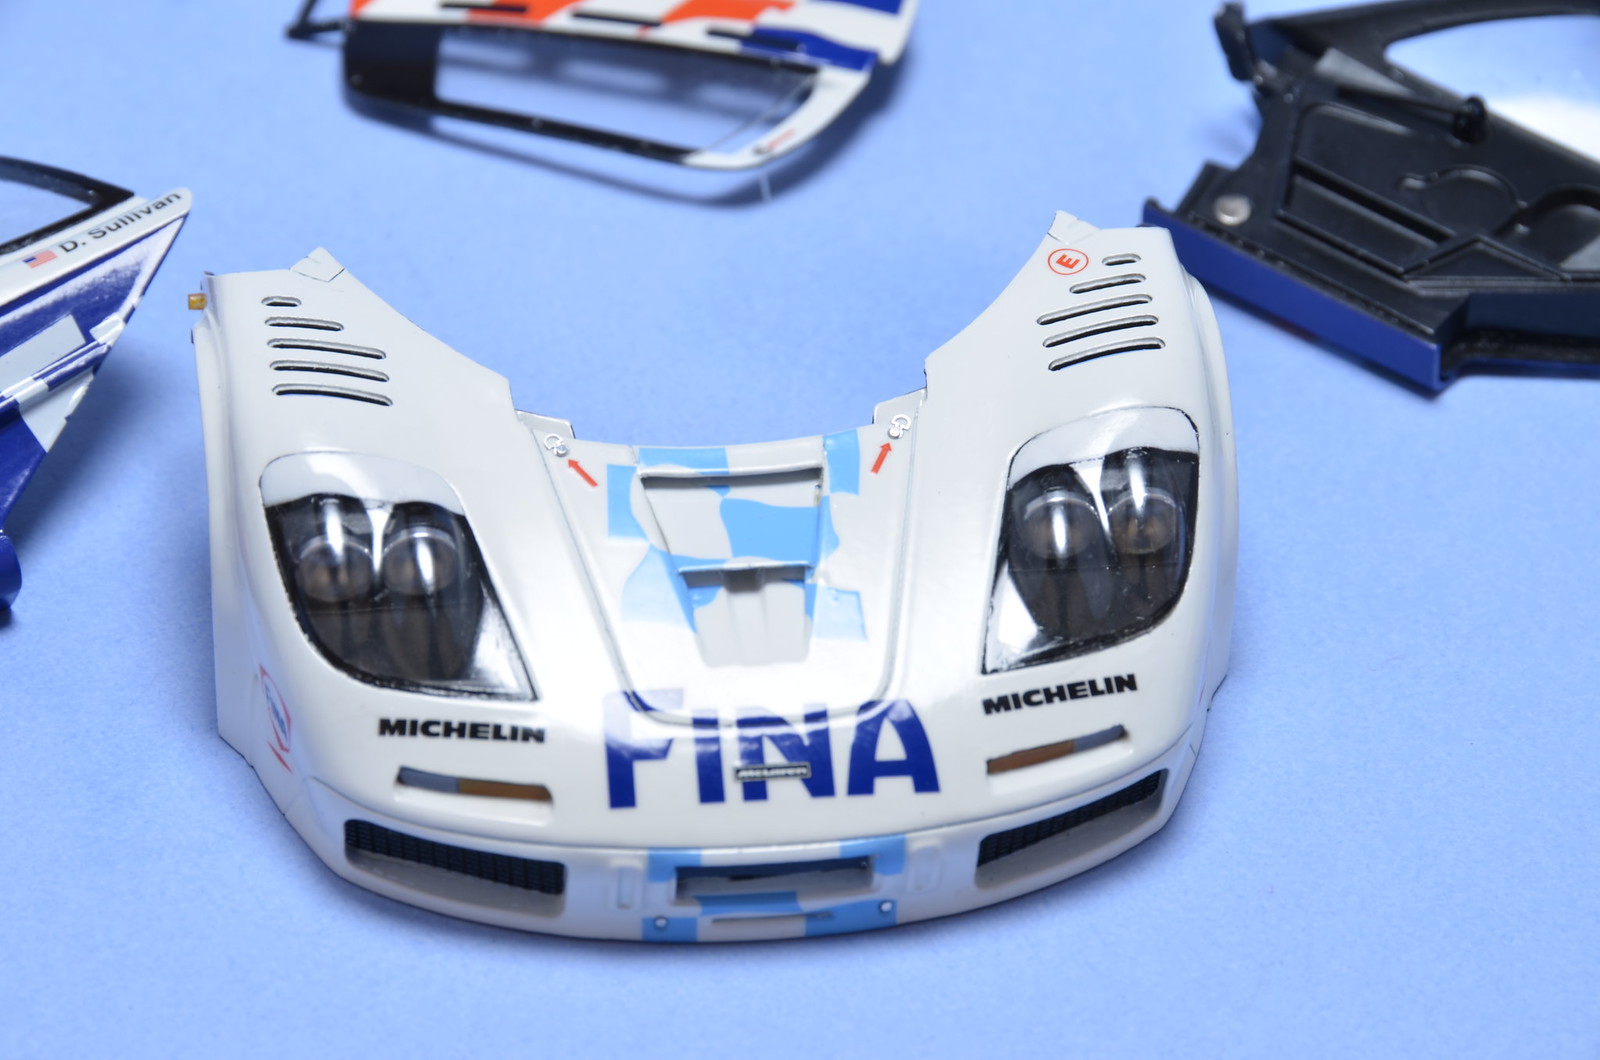
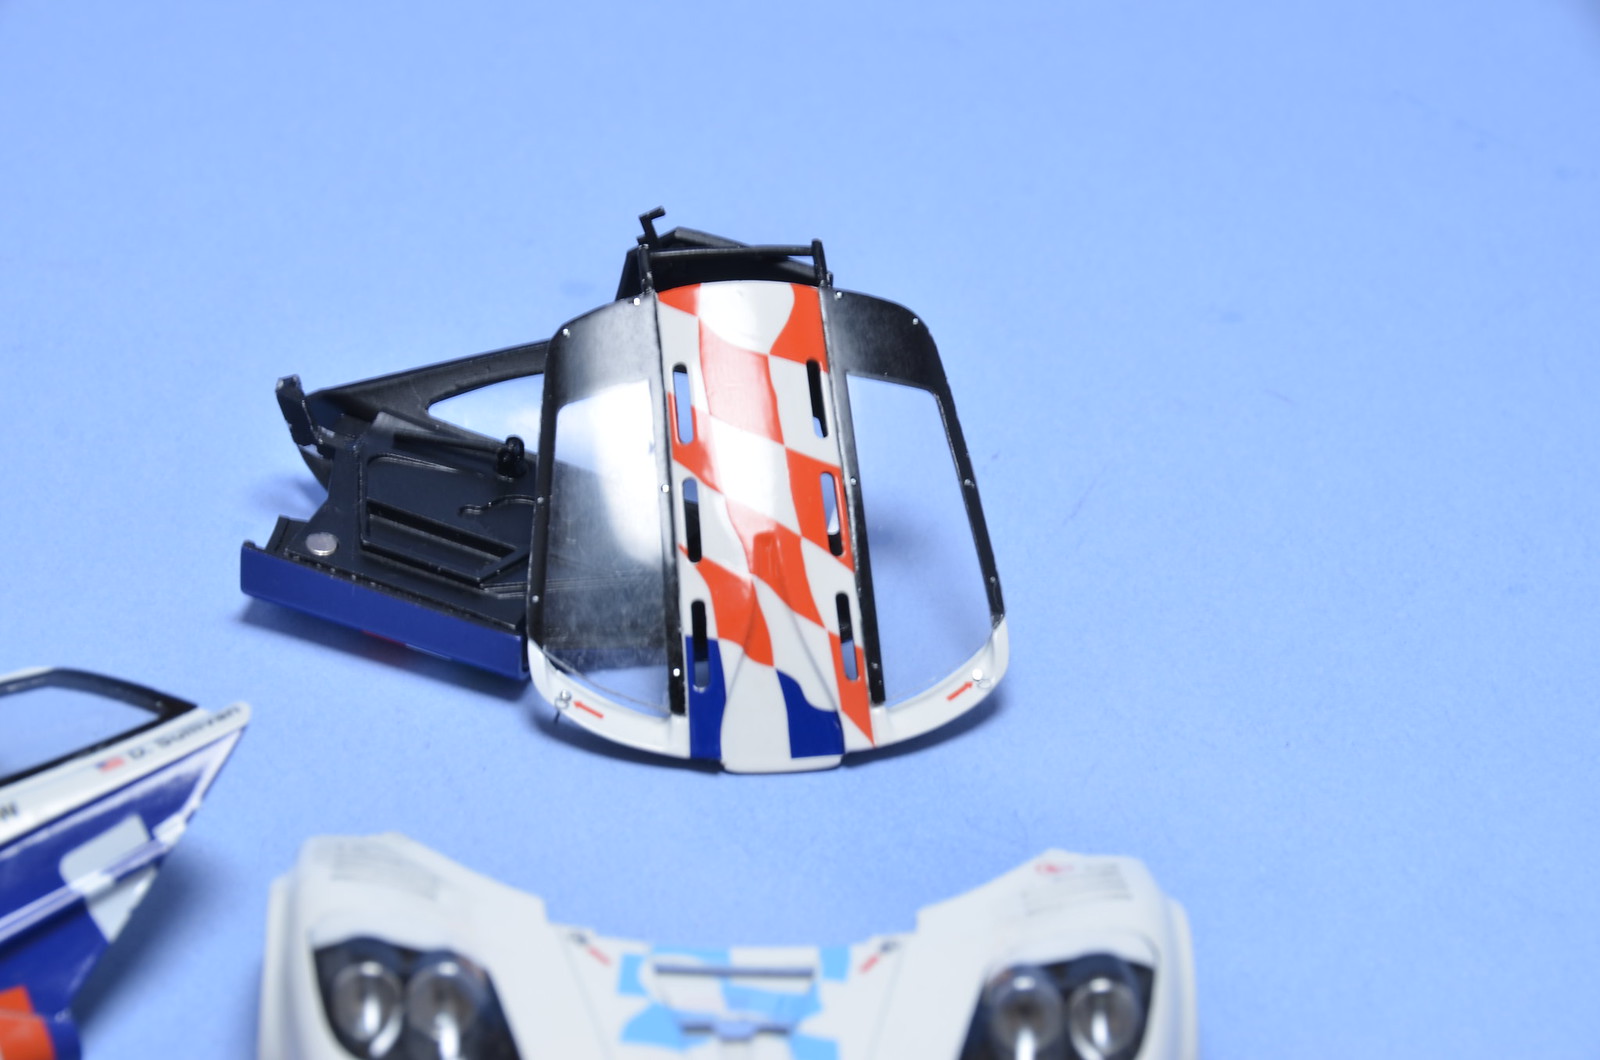
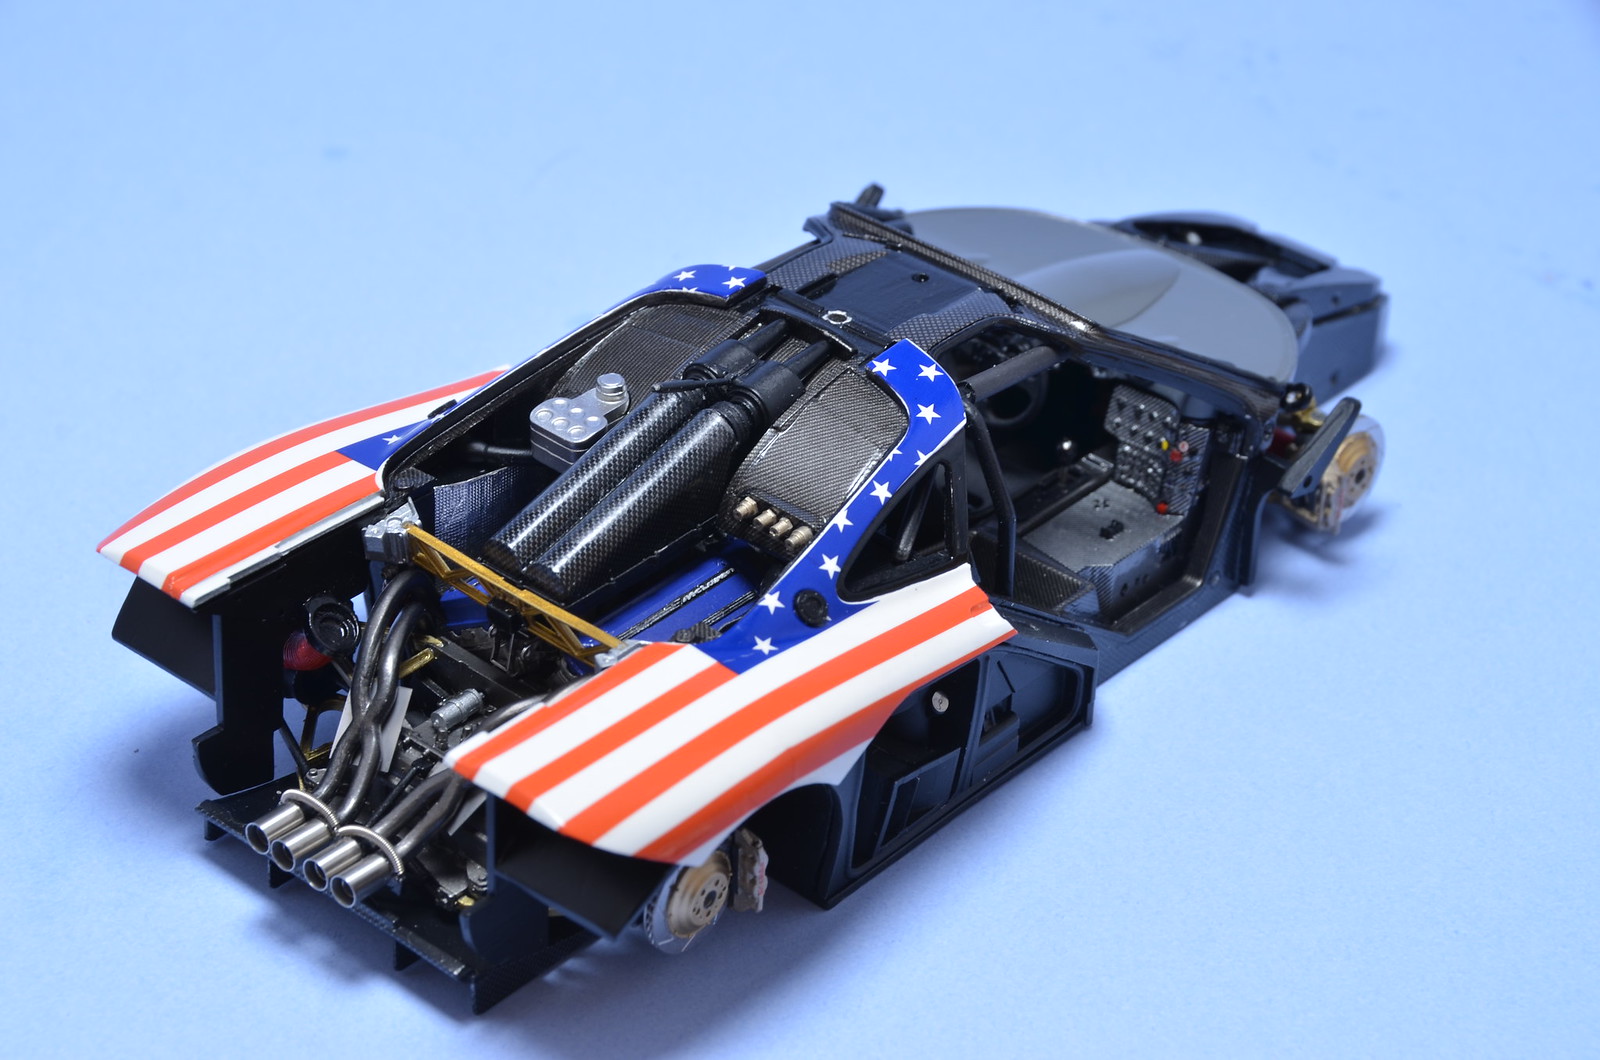
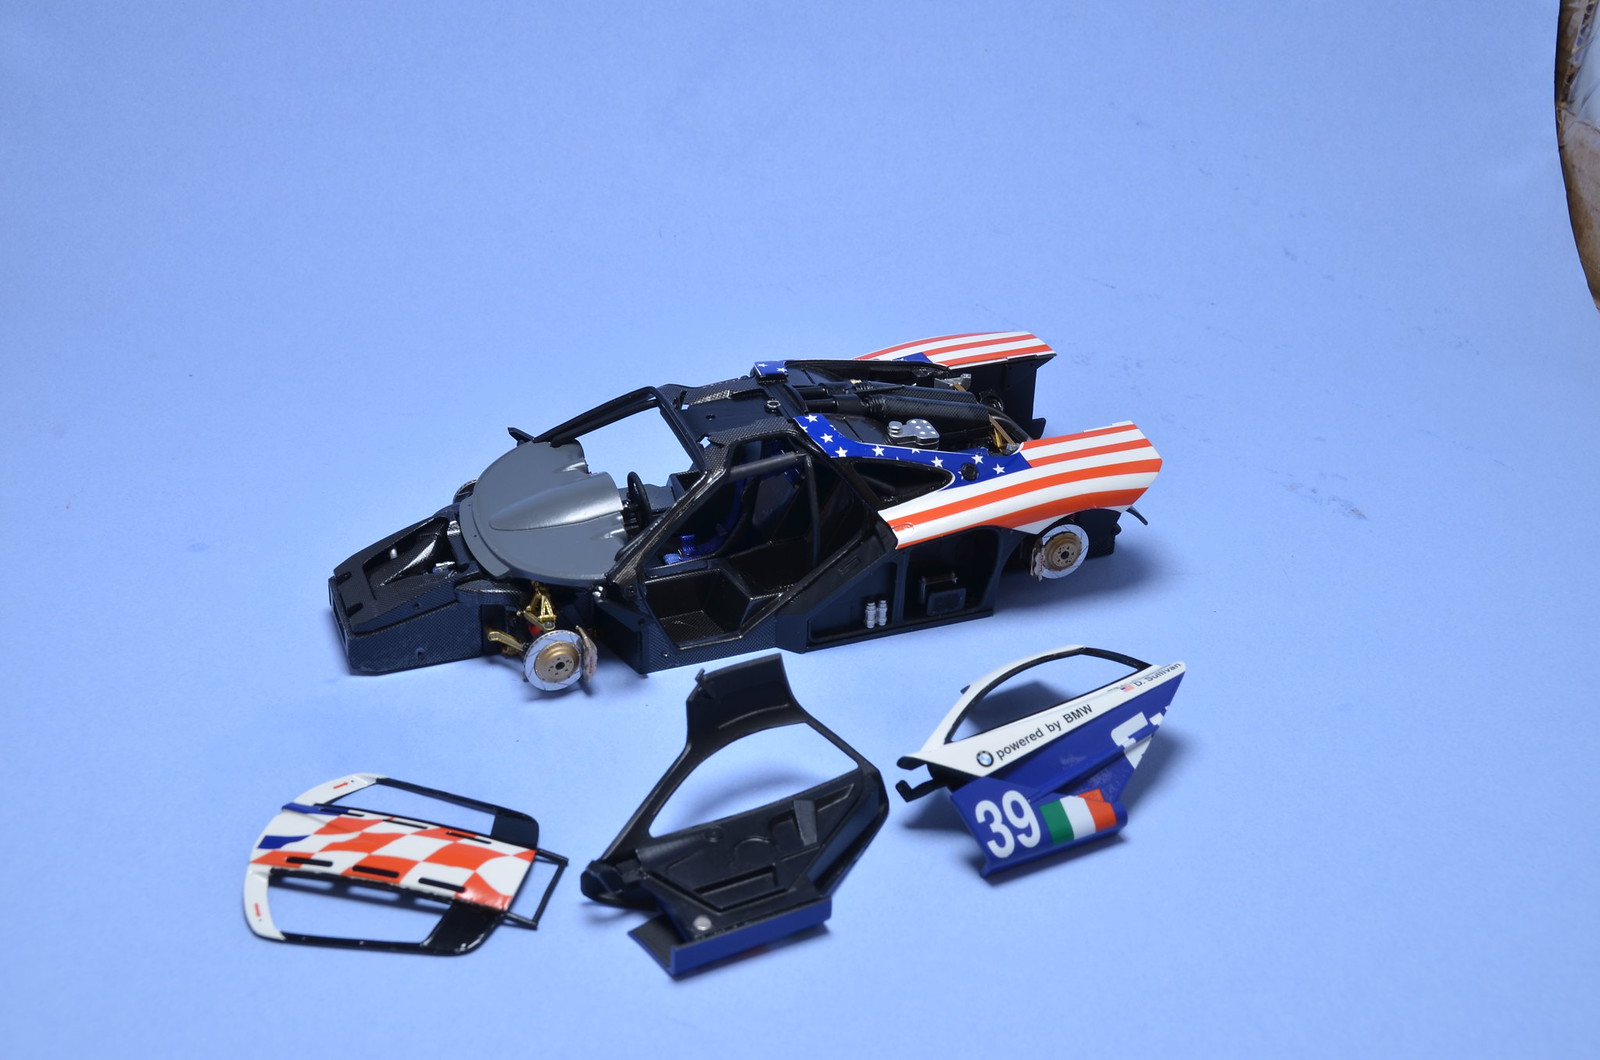
Finally was able to return to this build. I have applied window trim decals some time ago, but only get to apply clear coat over them recently. I've also started assembly of the doors. After a bit of a soul searching, I've decided to not spend any more time on CF decals and used door inserts as is in plain SG black. Same happened with remaining engine intake parts. Assembled them as there were. It is probably my own fault, but window trim decals did not fit perfect and some white body paint would be visible, if I installed them as is. So, I had to paint trim black on body and door parts as well. Last I was able to attach rear side panels. I guess I've done something wrong, but there are significant gaps around rear engine door. It appears to be not wide enough. I'm going to try to flatten it a bit.

Here is where this build at now.


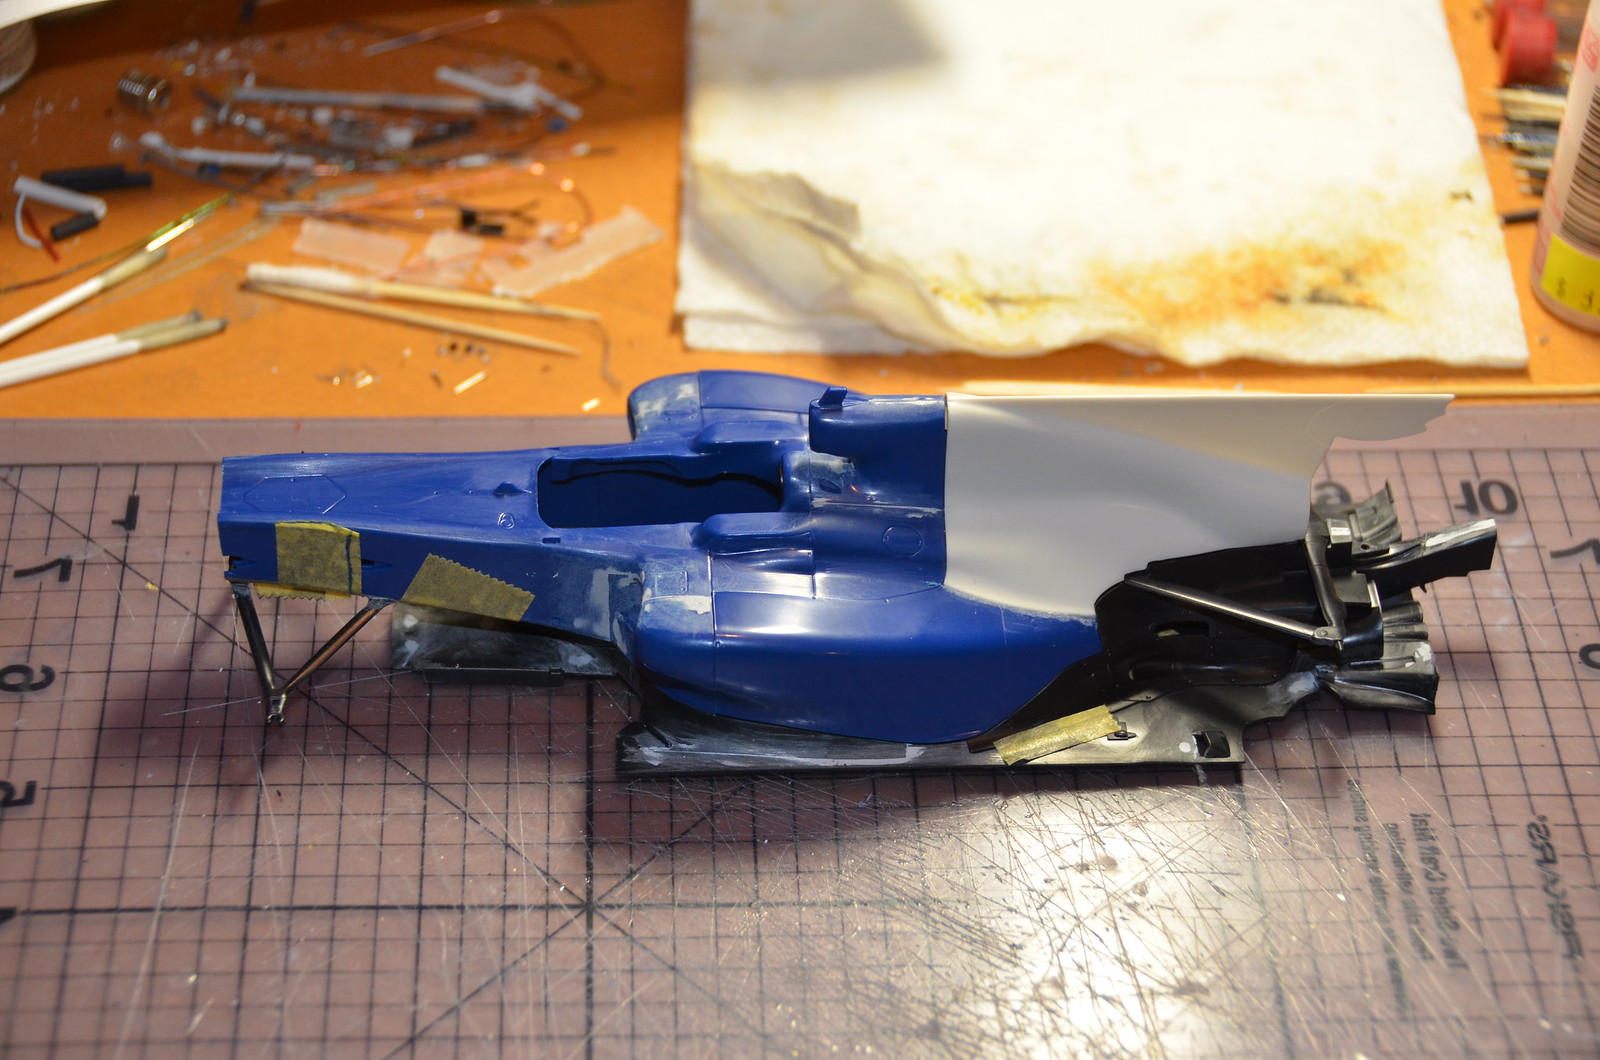
Early season air box for STR5

In attempt to get closer on shape to STR5, I've decided to use air box cover from Studio27 Monaco GP trans-kit. It's probably not 100% correct. but IMHO better represent pre F-duct configuration STR5 had most of the season. Now I have to somehow attach resin part to plastic side pod covers and reinforce connection lines. Haven't come up with definitive idea yet.


Sunday, December 21, 2014

Preparation work continues

Glued together bunch of part before starting preparation work. Then filled in most of seams and plastic injection pin marks. Tamiya injection plastic parts are amazing, but it seems that big number of pin marks is a necessary price to pay for that. Some more seams to fill then parts should be off to priming step.


Monday, December 8, 2014

Started STR5 conversion

I have too many builds of multimedia kits at present. Need to have one easy build of plastic kit to keep me sane and motivated. Started my own conversion of Tamiya RB6 into STR5 car. So far, just removed most of the parts from trees, done test fit assembly. Next I've started to glue together some parts, which should be put together before surface preparations start.

Tamiya kit fits together very well, as usual. Major challenge will be engine cover. Plan is to use parts from Studio27 Monaco trans-kit. However that requires a "surgery" on kit parts and then I have to re-assemble kit parts with resin insert from S27. Unfortunately S27 didn't make any kind of guides or slots or anything to help align parts. I hope to be able to use mocked up chassis and engine/gearbox sub-assembly to help me align engine cover parts for gluing.