Sunday, August 17, 2014

917LH 1971 conversion project started

I've started a new project. With all the fuzz around MFH 1/12 917LH and with arrival of Fisher body with Fujimi donor included, I could not resist and started the conversion project. Idea is to use chassis with most of the components from Fujimi donor kit and Fisher body of 917LH car from Le Mans 1971. Decals I have are for the car with Martini livery. I think it is a cool livery.

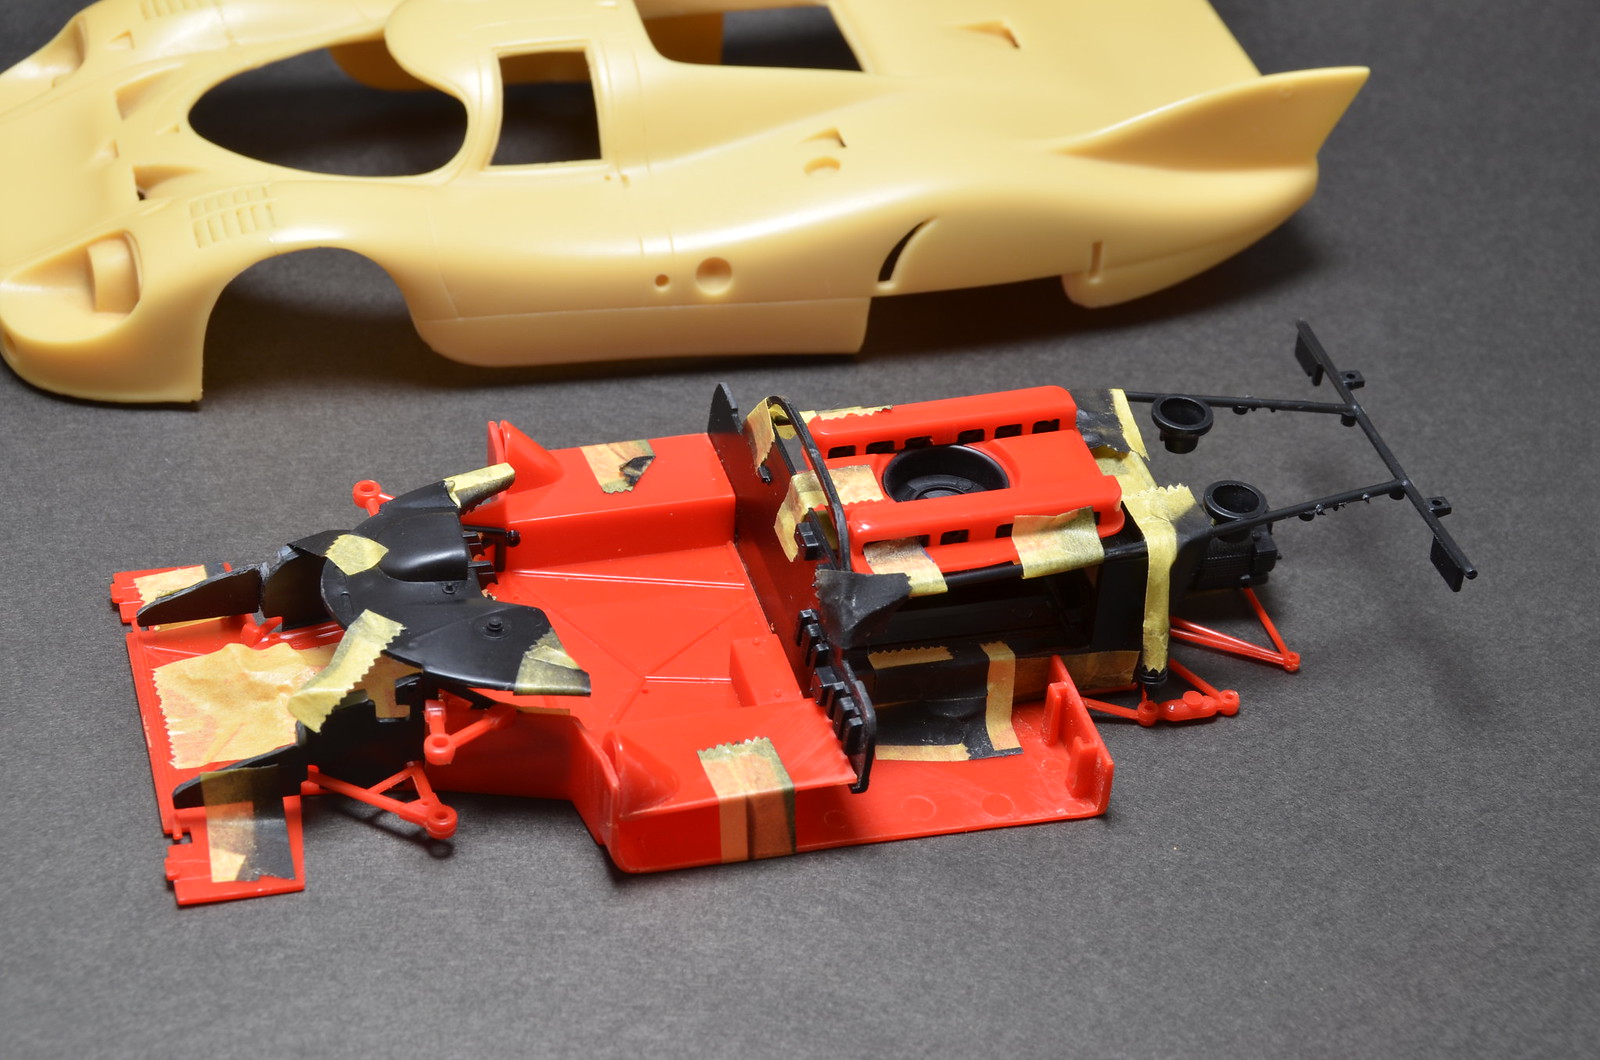
First I've detached all parts of Fujimi kit from plastic trees and cleaned them up. Next step is to modify Fujimi parts, so Fujimi chassis fits under Fisher body. I actually had to shave quite a bit of resin from Fisher body as well. Fit still not 100% as I want it, but not too bad. One kind of funny thing was that Fujimi chassis did not want to fit well until I removed Fisher copyright block. I guess Fujimi chassis wasn't happy to mate with foreign body :)

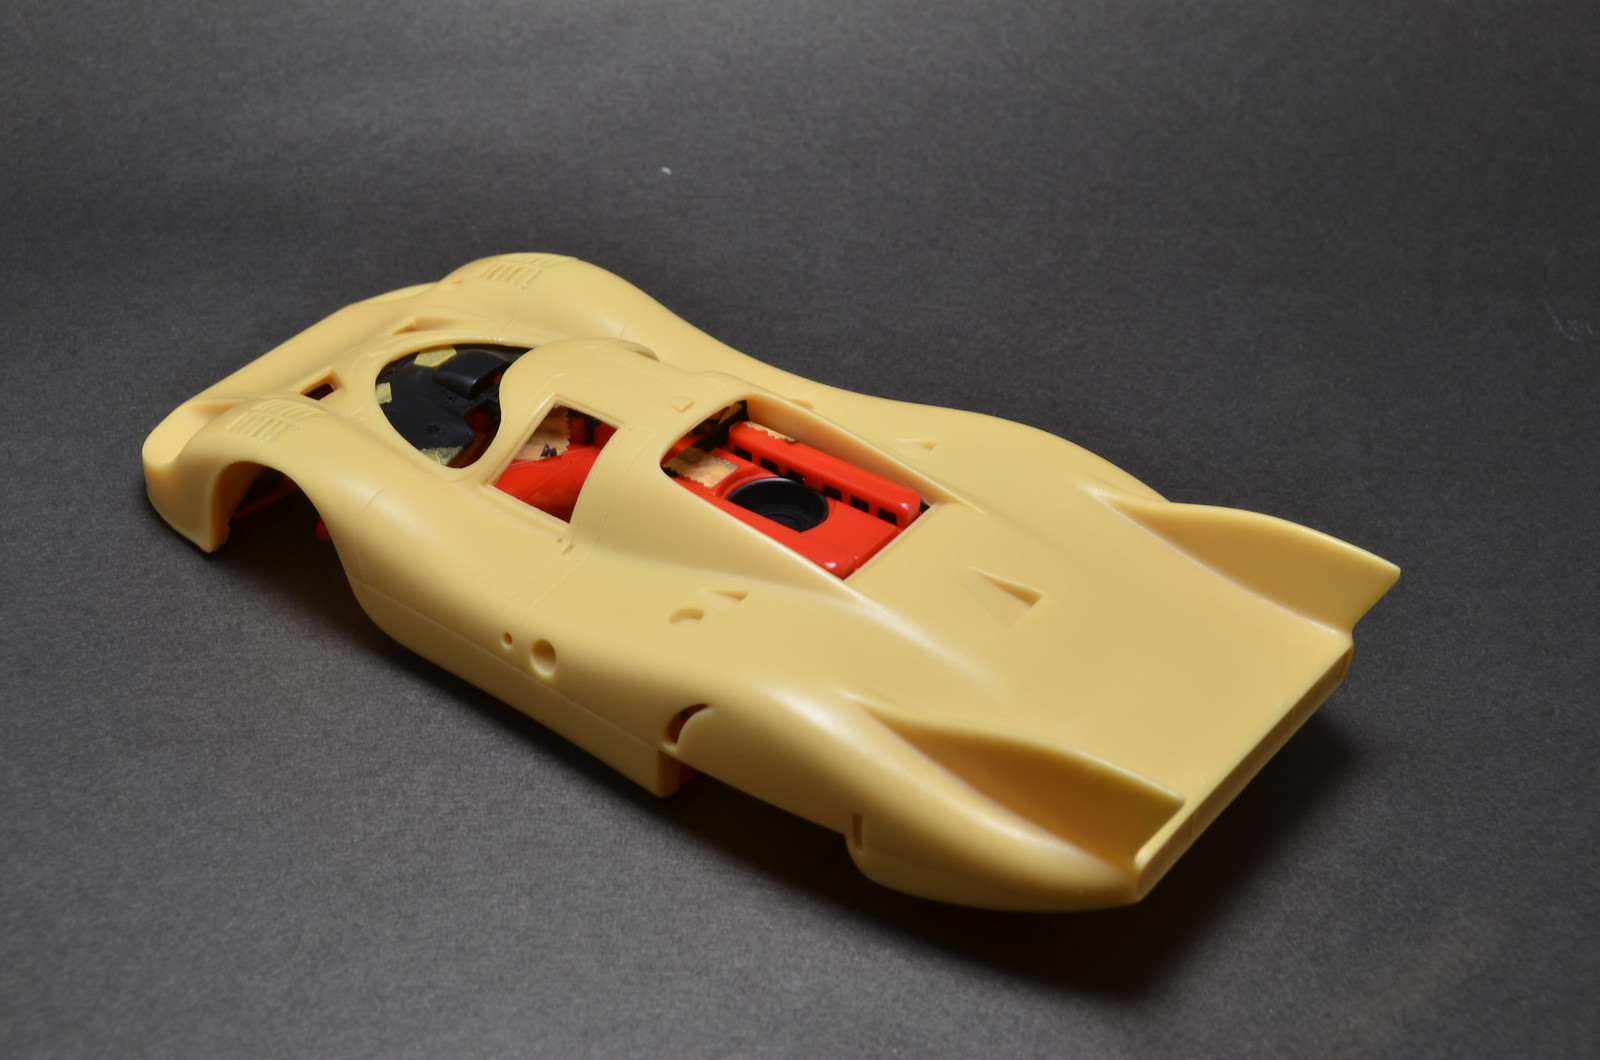
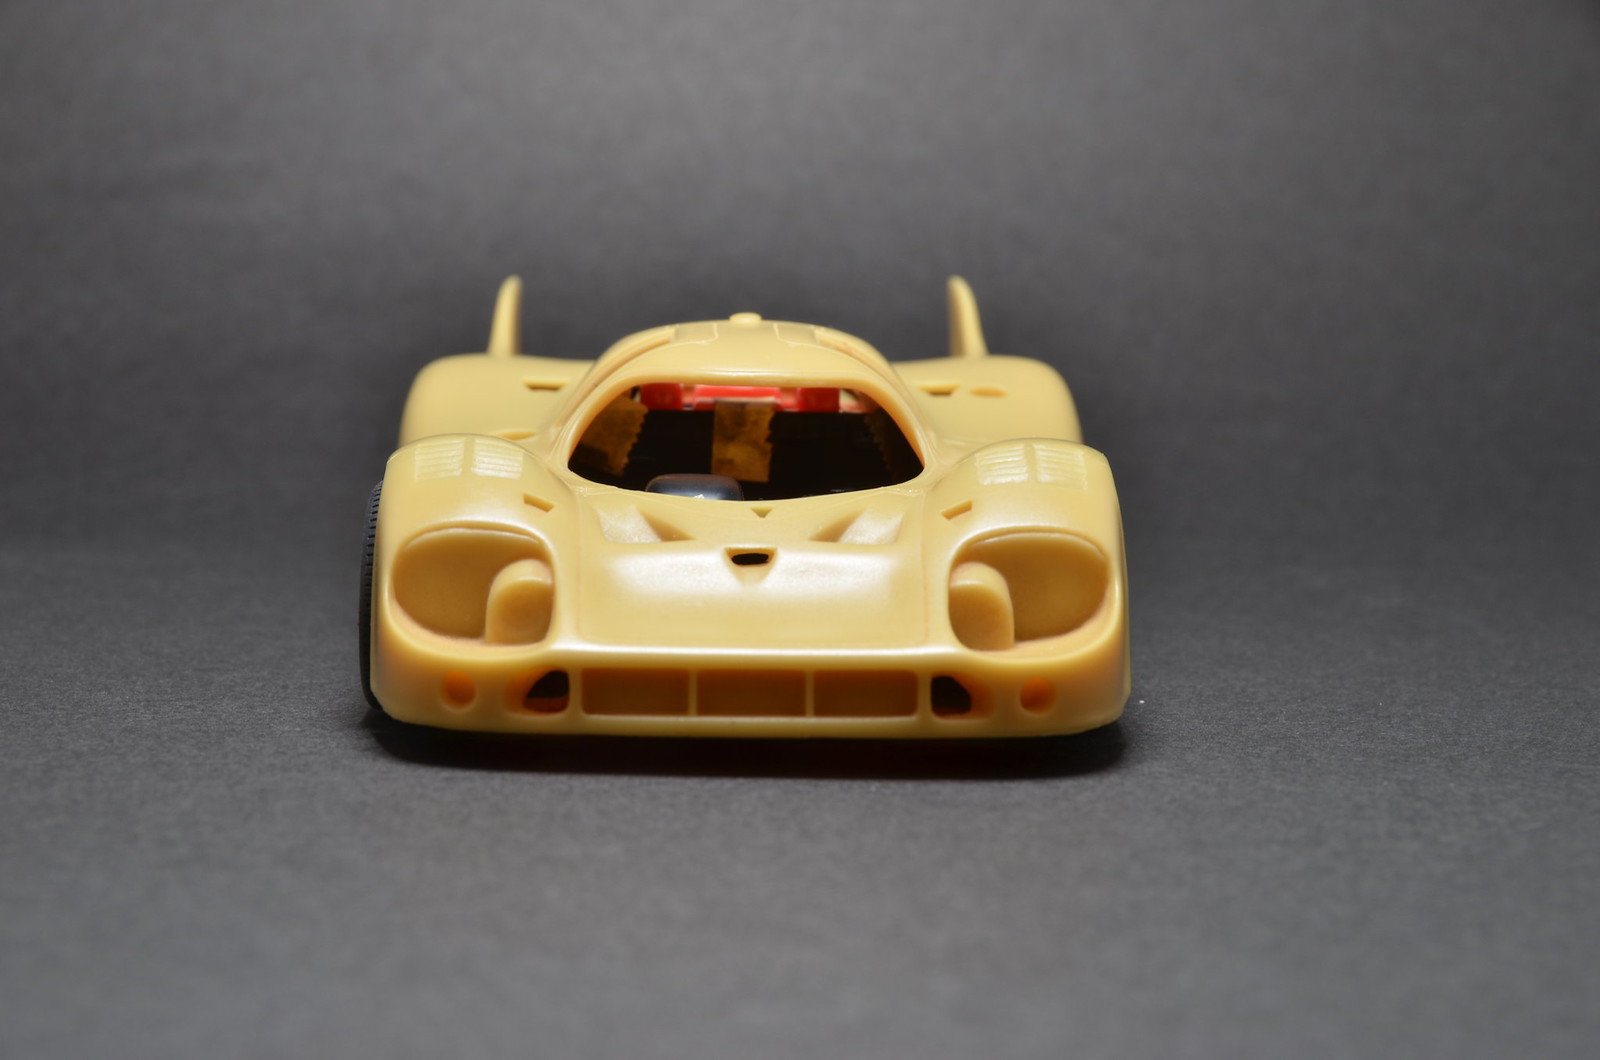
First photo shows how Fujimi chassis looks like after modifications. Never mind masking tape, it's there just to hold parts together for test fit tryouts. Next couple of photos show body and chassis' fit. And the rest show how chassis with wheels and tires fitted works with Fisher body. Front looks too high. In the rear wheels don't fit well under body and end up with too much negative cumber. Not sure yet what I could do about the front ride height. For rear wheels I will have to reduce their track width a bit and remove some more resin from the body.





Monday, August 11, 2014

F1-GTR chassis is taking shape

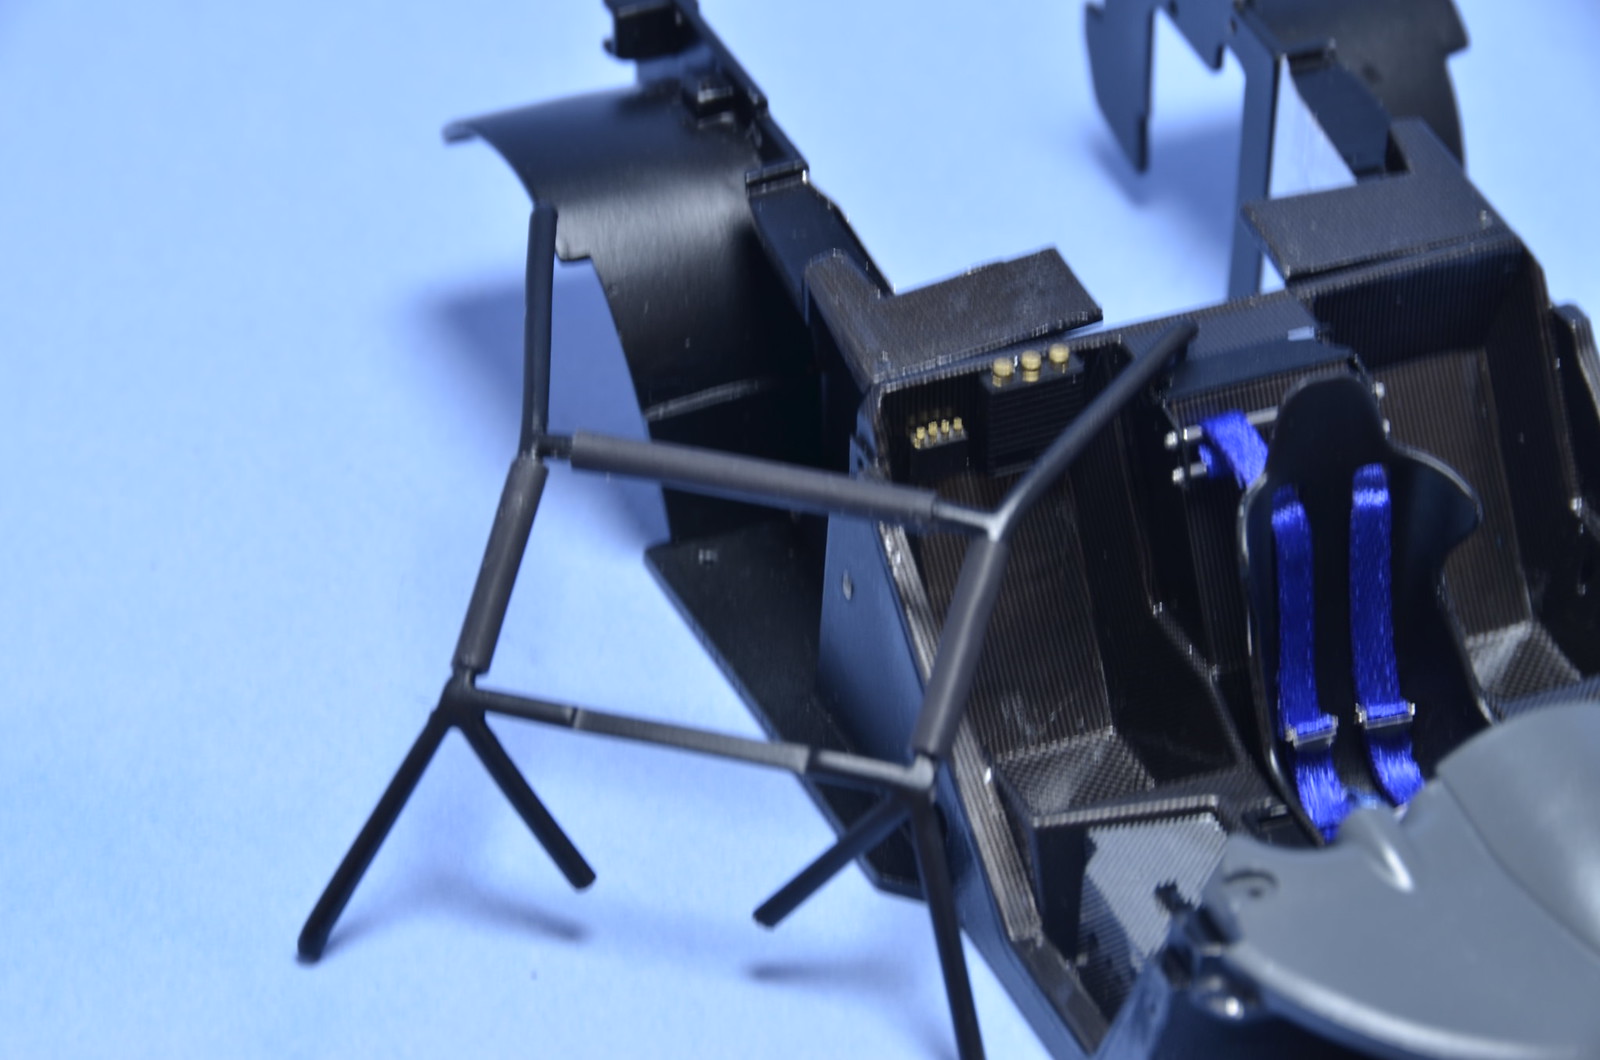
Had two productive sessions on weekend. First assembled and put in place the roll cage. Next touched up black paint and attached roof structure. Accessory items were attached to the back of the roof just before that. I also attached engine air intake and couple of pipes underneath it. Next I put fuel lines in place. Then worked on brakes. All 4 corners were done and I proceeded to attach whole engine /gearbox assembly to monocoque. Last items to attach were rear brake cooling ducts and diffusor. And here are photos of intermediate steps and how the chassis looks now.


Monday, July 28, 2014

More cockpit work

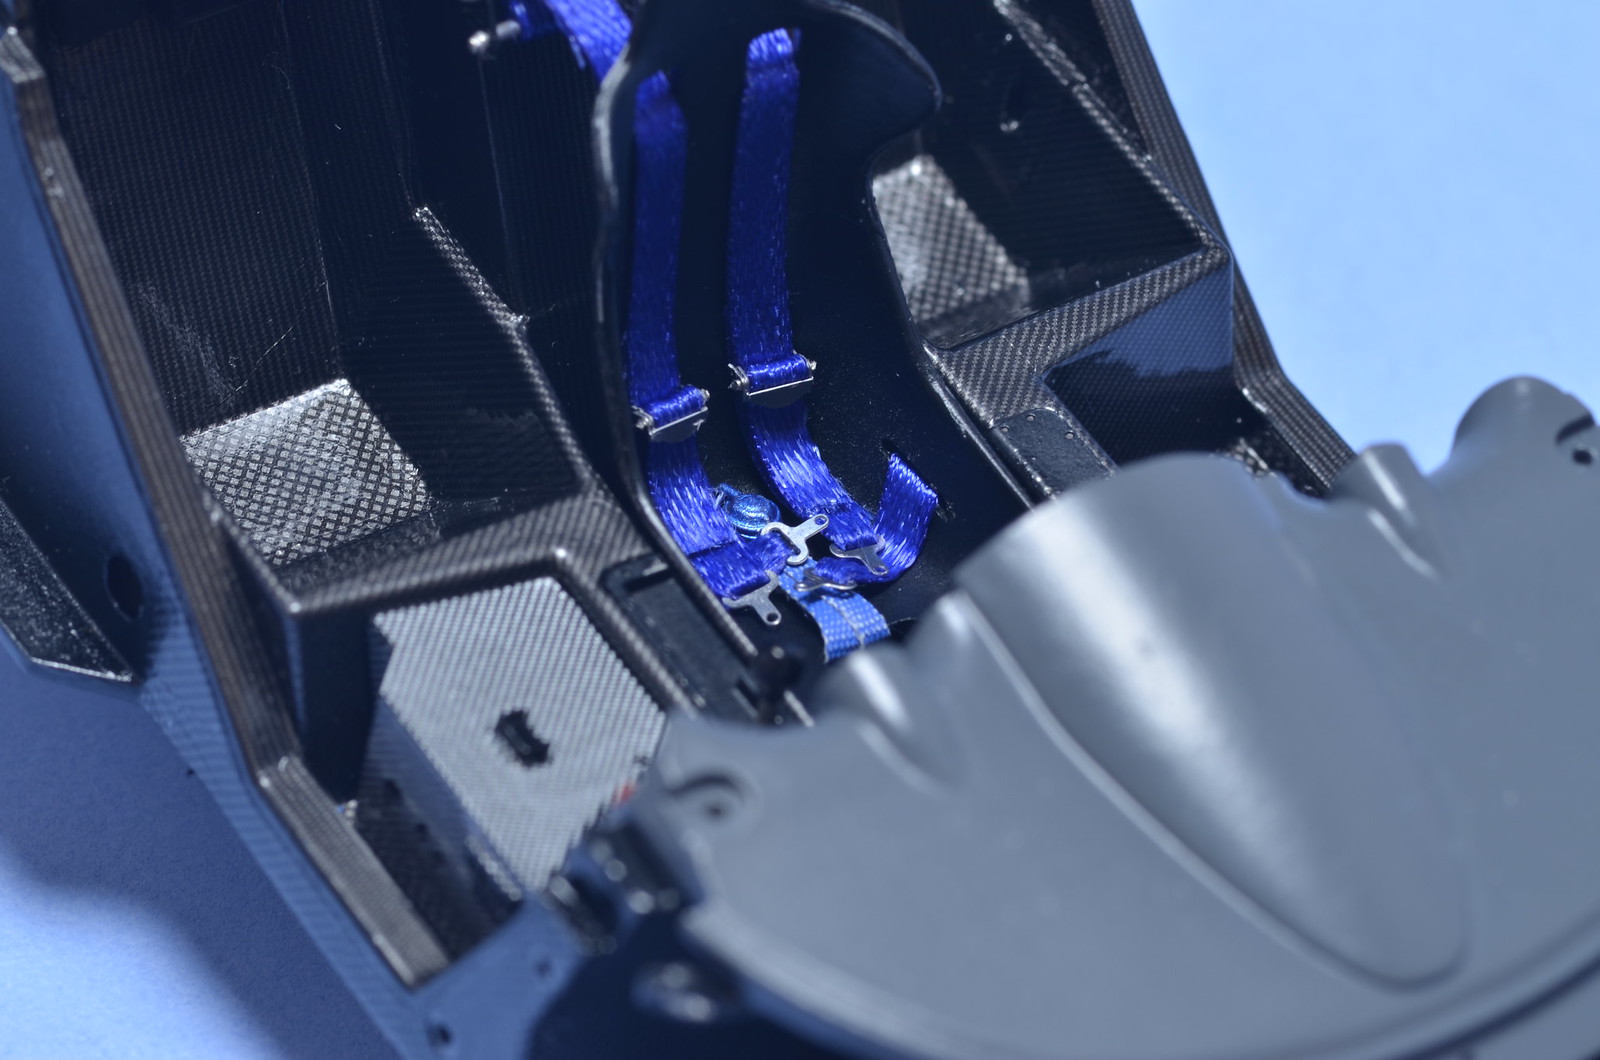
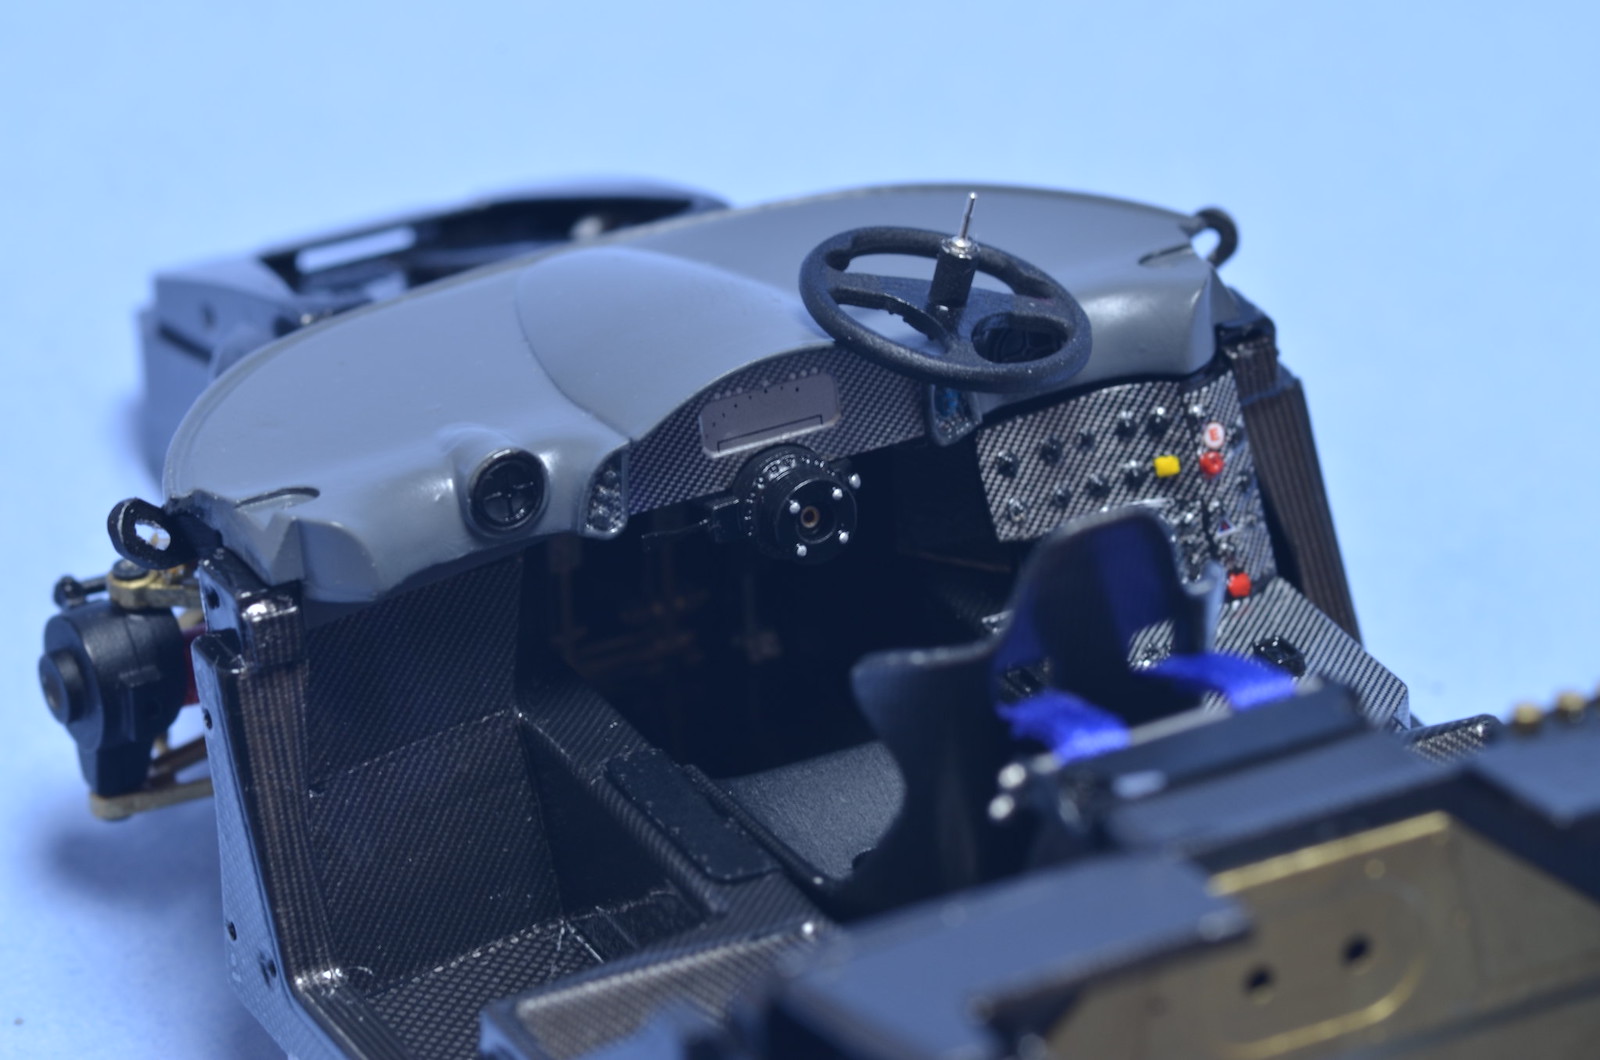
Some small tasks and one big unblocker were completed over the span of last 2 weekends. Big blocker were the seat belts. Spent towards 5 hours on them. Now completed. They are not perfect and not entirely accurate, but will do for this build. And I'm happy they are done, so I could go on completing most of the remaining assemblies for this model. Among smaller things done are completed cylinder head covers, attached engine air intakes, padding on roll bar, attached dashboard, gear shifter and name plate, installed steering column socket, so it is removable. Below are photos. It starts to look like I am on or near the home stretch.

I've painted seat belt buckles black initially, but as soon as I started handling them, paint begun to chip off. I decided to strip paint altogether and just leave them unpainted. They look nice this way too. I've also decided to leave seat belt decals out.

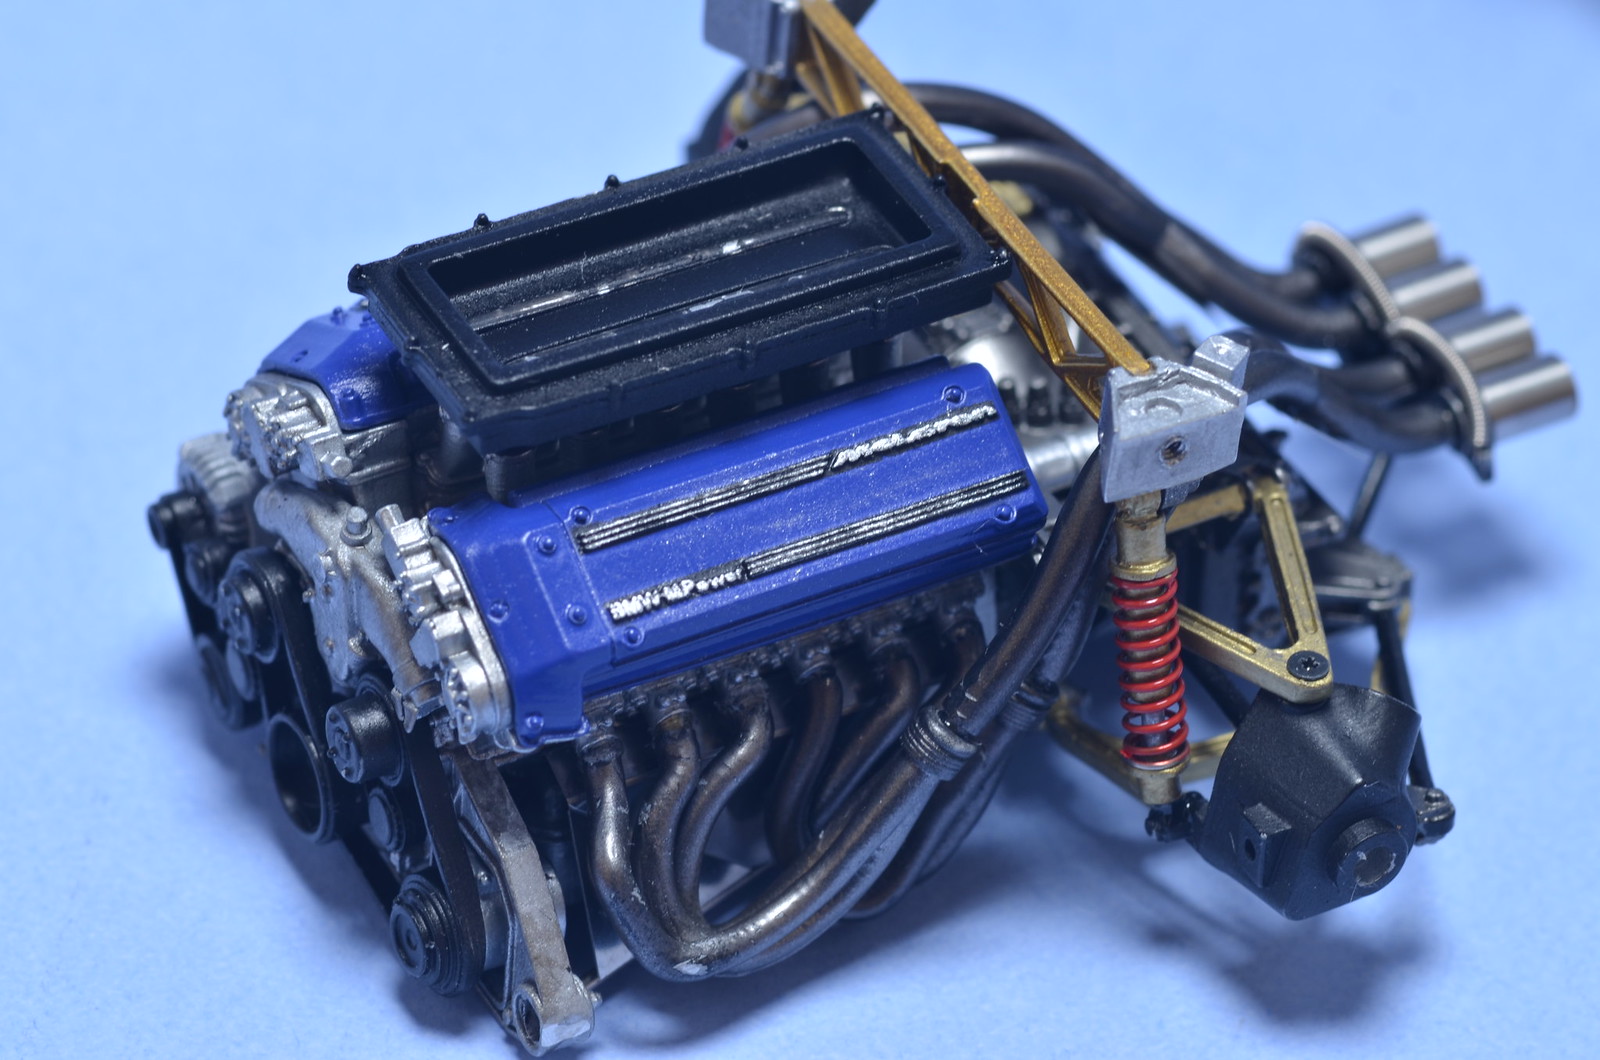
For cylinder head covers I first masked around scripts and painted black. Then tried to dry brush scripts with Tamiya X11 silver. I've used new technique described recently in forums - put small piece of tissue paper over wooden stick, painted it and pressed it onto scripts. It worked only to some extent for me. I had to use brush to touch up some of the paint later as well. As I've said, they are far from perfect, but at this scale, that's best I could do.

For padding on roll bars, I've used shrinkable electrical wire insulation. It shrinks when heated. Matches were used to produce heat. I could not put padding onto bars directly. Had to make insulation tubes shrink over toothpick first, then cut at the bottom and then transfer to roll bars and glue in place.


Wednesday, July 16, 2014

Engine/gearbox assembly completed

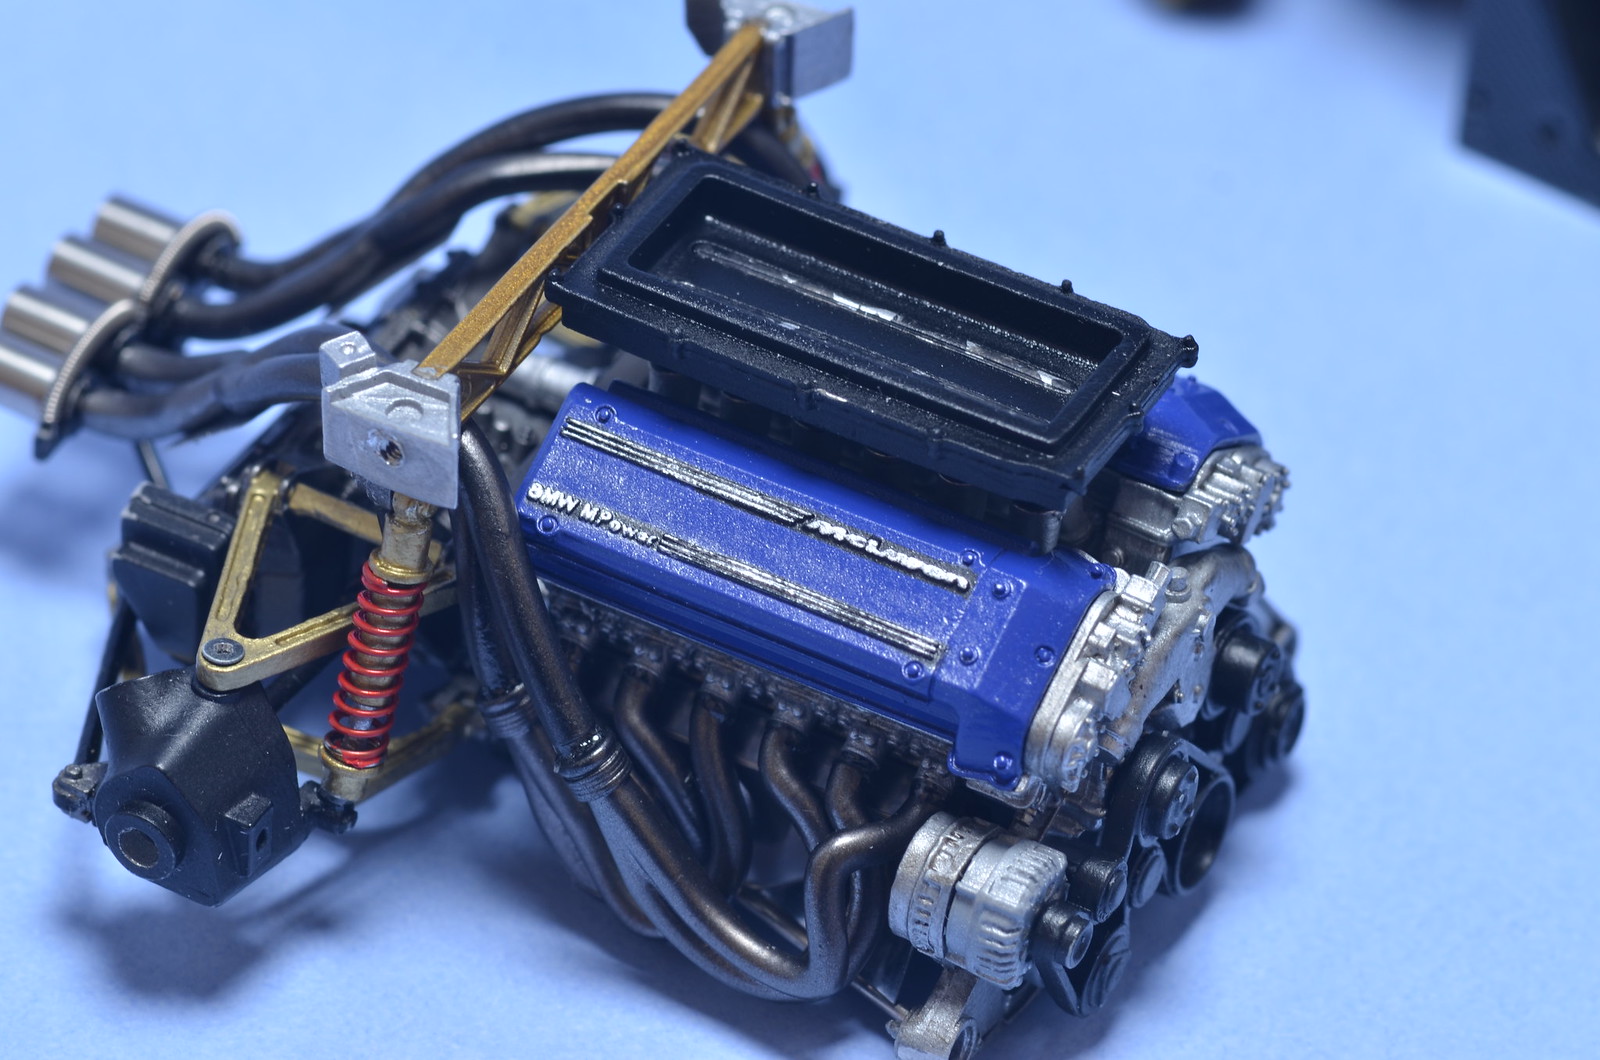
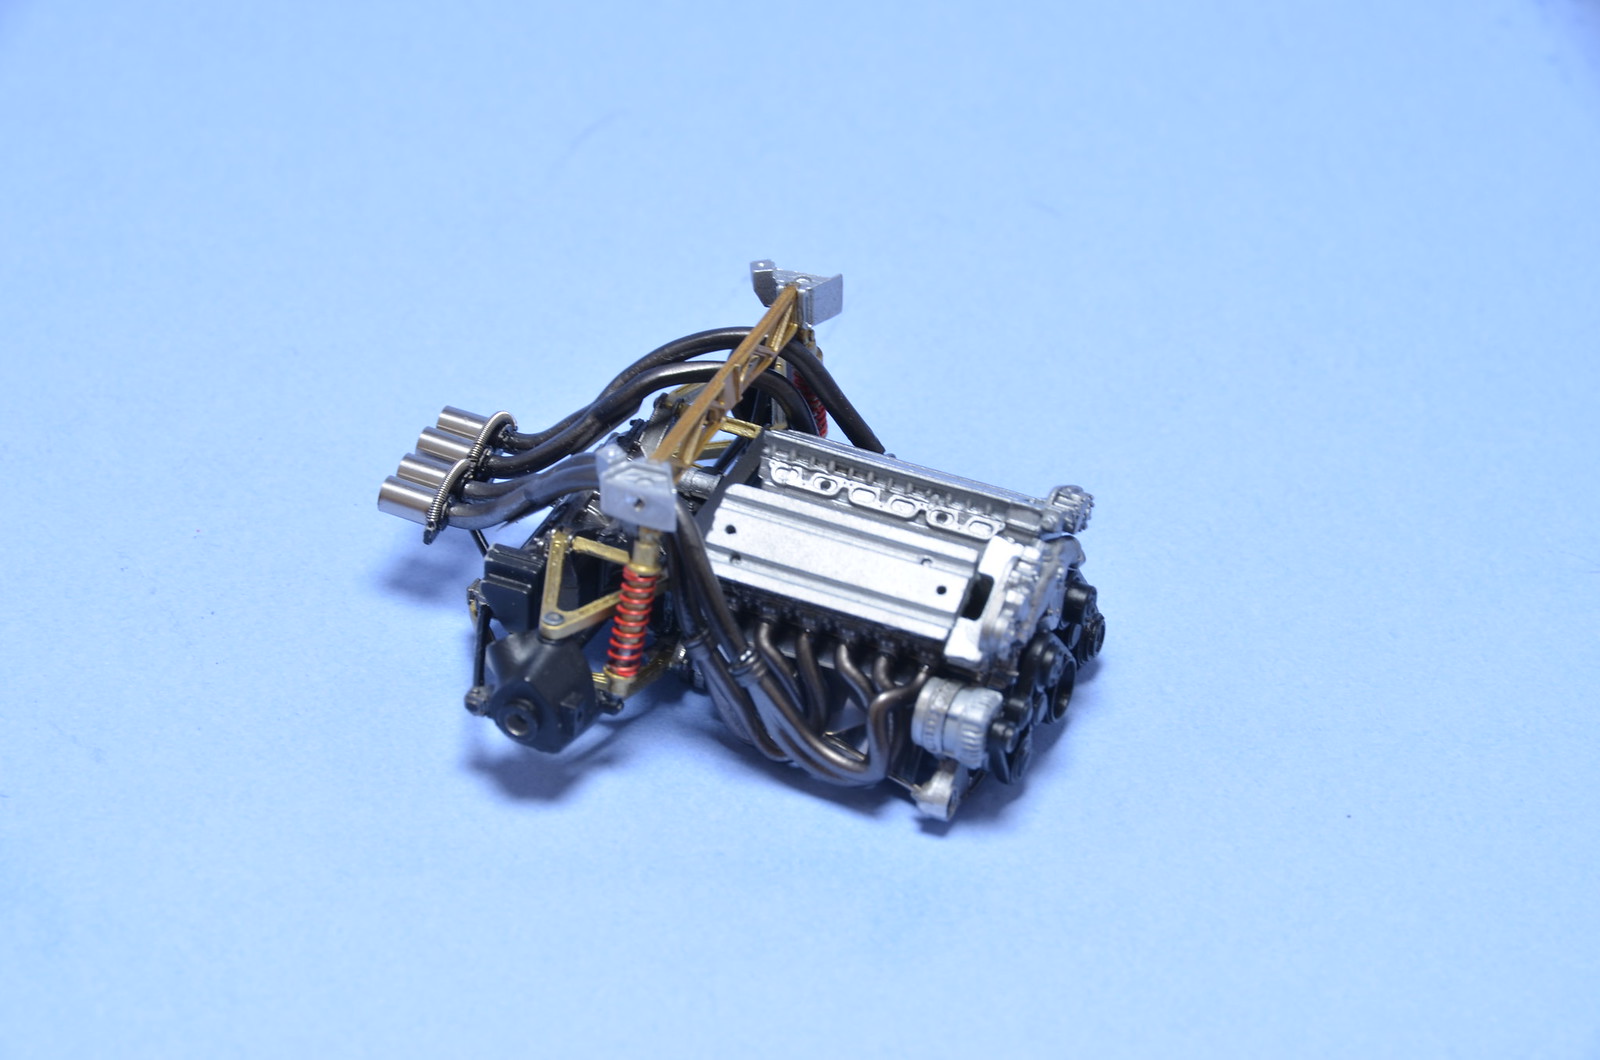
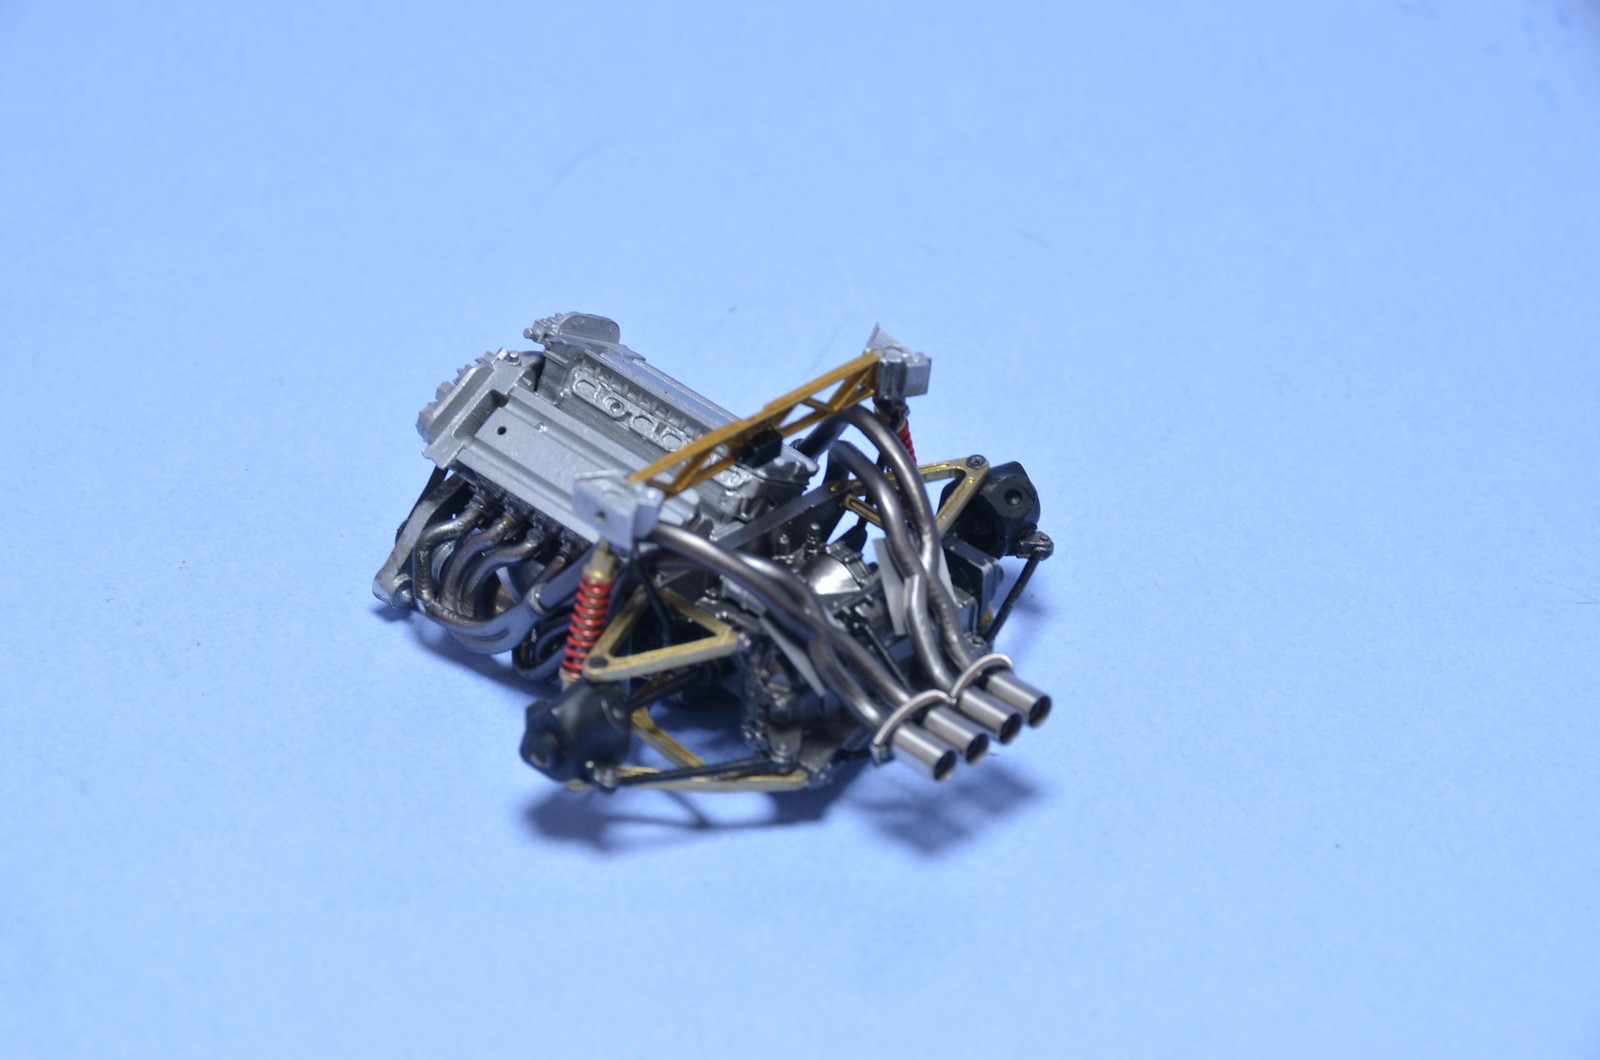
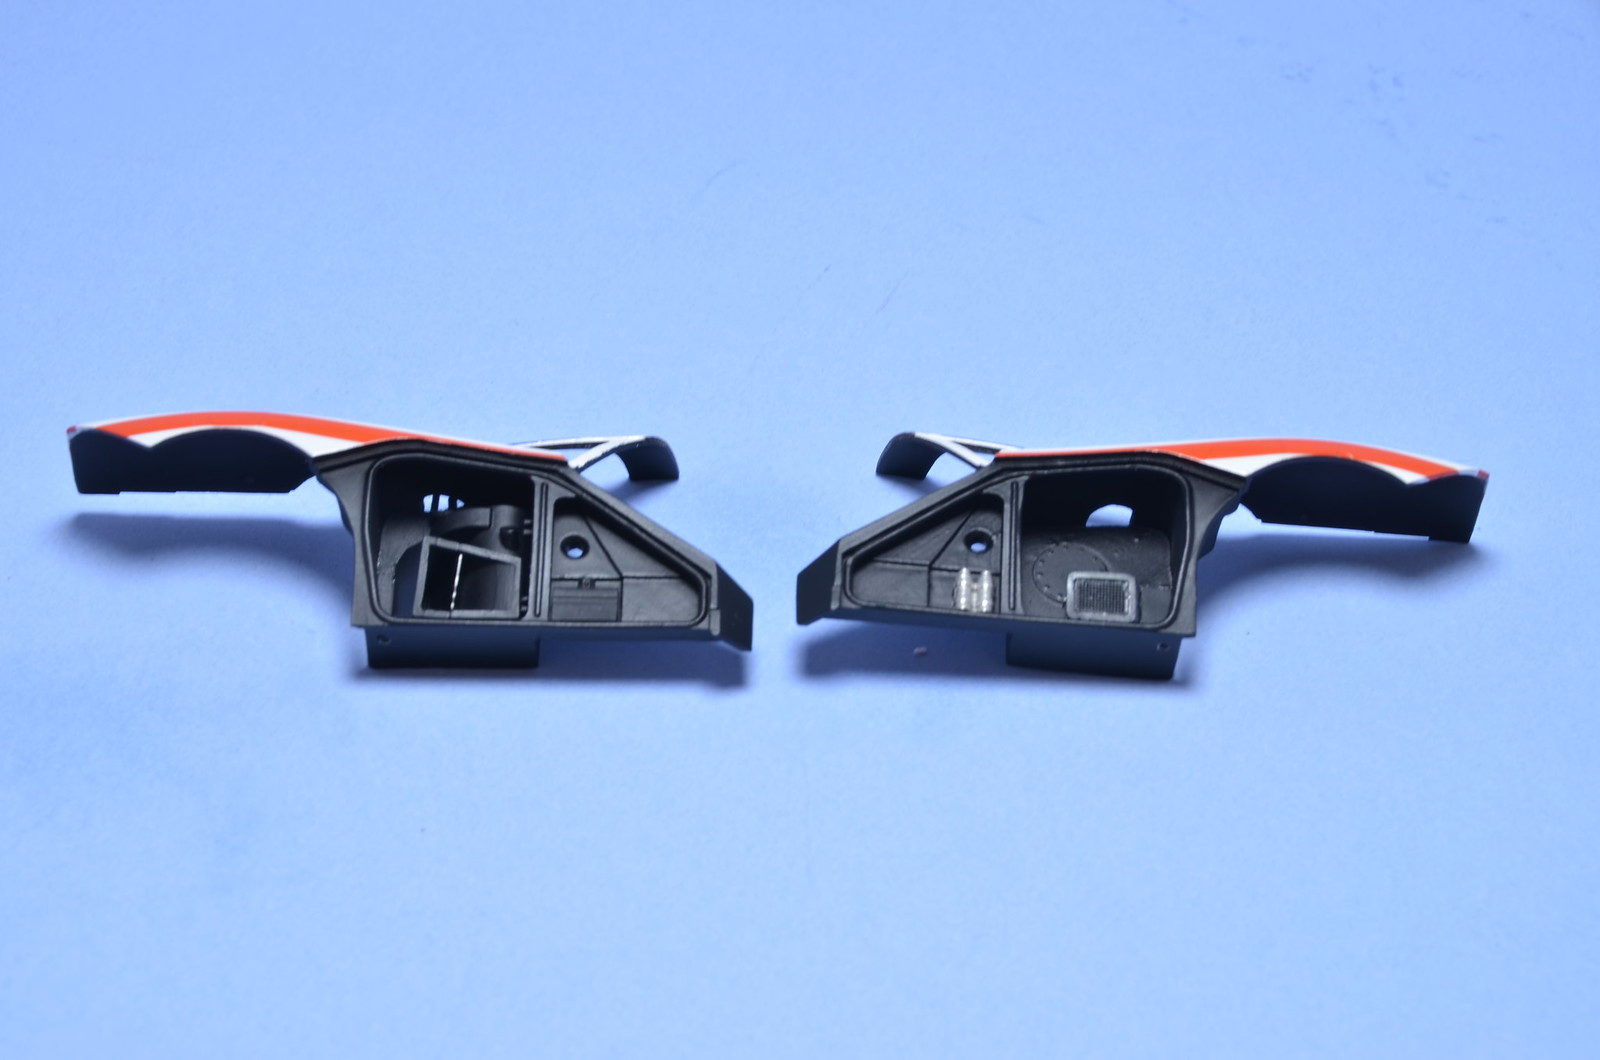
Spent most of the weekend working on exhausts for this model. Managed to get them together after more then 5 hours spent bending and fiddling with parts. There are many gaps and number of scratched showing how difficult that fight was. Likely the biggest struggle of this build. My mistake was not doing complete pre-assembly for the exhausts and not reshaping them as it was needed before hand. It was much more difficult to do, after parts were painted. I think most of defect will not be visible when engine is installed in its place, but I will know they are there Hopefully rest of assemblies will not be as hard. Also worked a bit on accessories in side pods. Mostly assembled by now. Prior to exhausts gearbox was permanently attached to engine. I've used epoxy exclusively for all the assemblies. Takes longer, but bond is strong, while it retains some flexibility. Will likely switch attention to finishing cockpit items next, as they prevent me from putting roof in place and doing other assembly steps.


Monday, July 7, 2014

Black and clear coat are on before decals

Not a big update, but again important step. Sprayed black, removed masking and removed bleed through defects as much as I could, and finally put clear coat over it. Hope is that I will be able to hide imperfections in paint under orange lines. Had troubles with clear this time. For some reason my air-brush was spitting while I was spraying first batch of clear. I've cleaned it and it was ok afterwards, but there are bunch of imperfections in clear coat. Before I can get to decals, I will have to polish those imperfections off as much as I can.


Tuesday, July 1, 2014

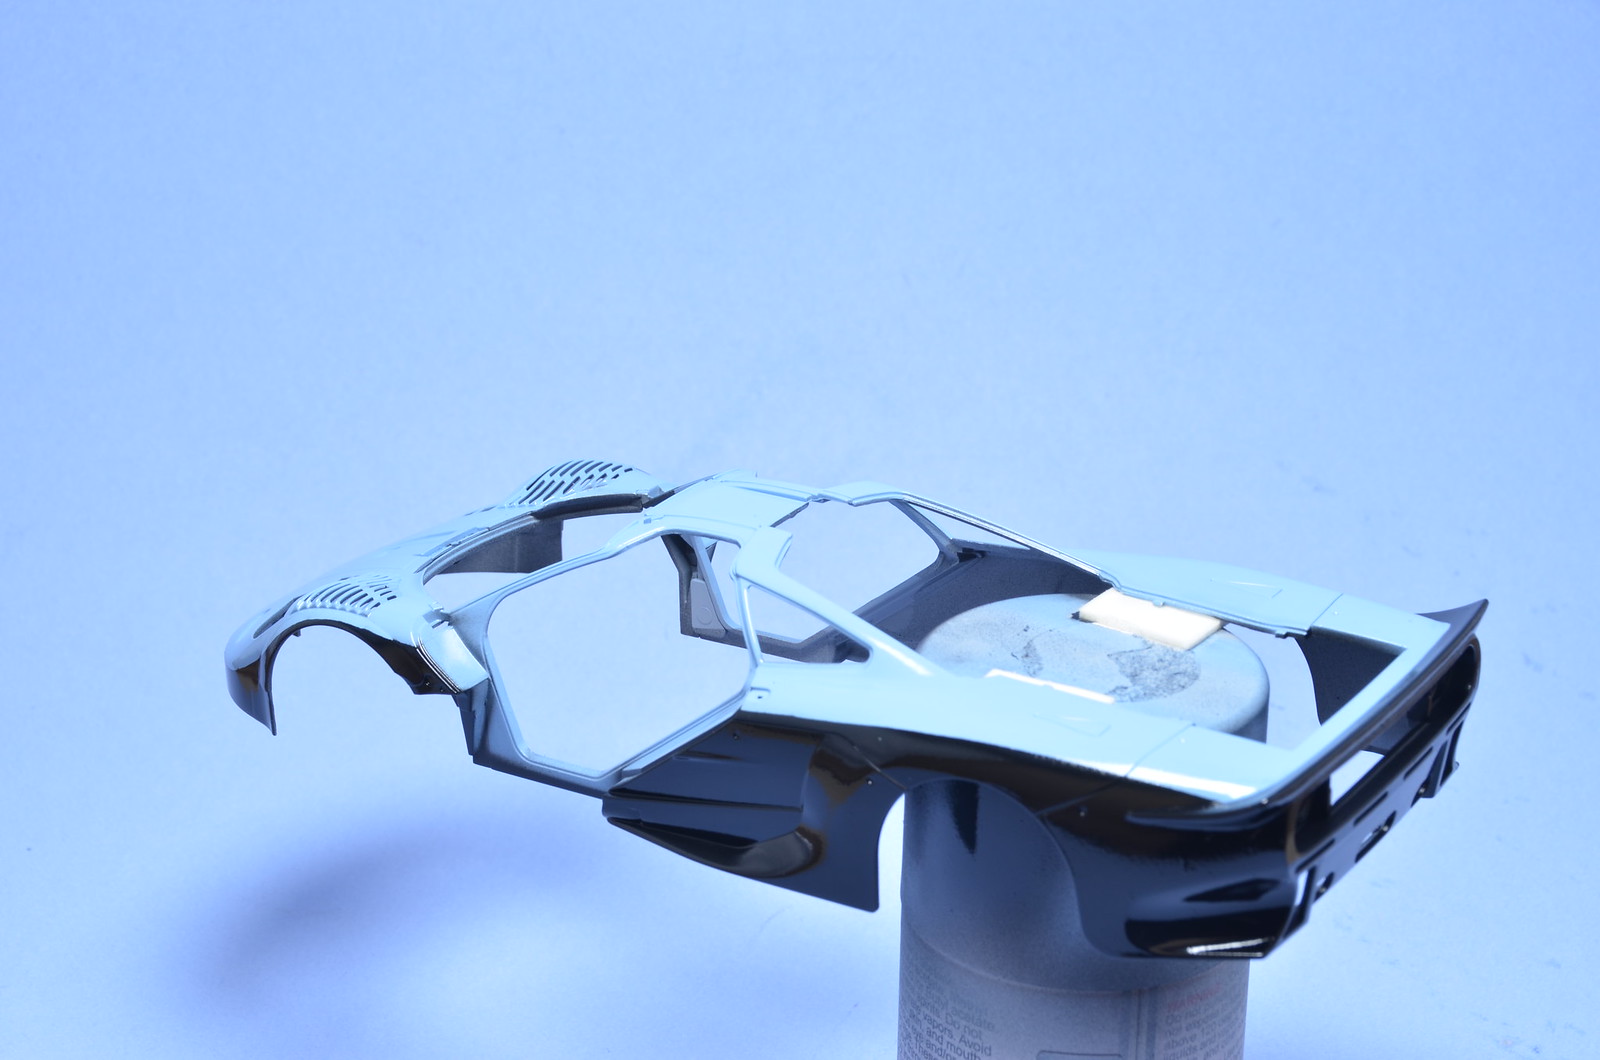
Masked for black colour

As my weekend of masking continued, I've decided to do masking for this model as well. I have dreaded it a bit, but in the end it wasn't that difficult. There is no guiding lines or anything like that, so I've masking it free hand based n reference photos I found. Looking to spray TS6 onto it hopefully tonight.


Black is painted on inside and out.

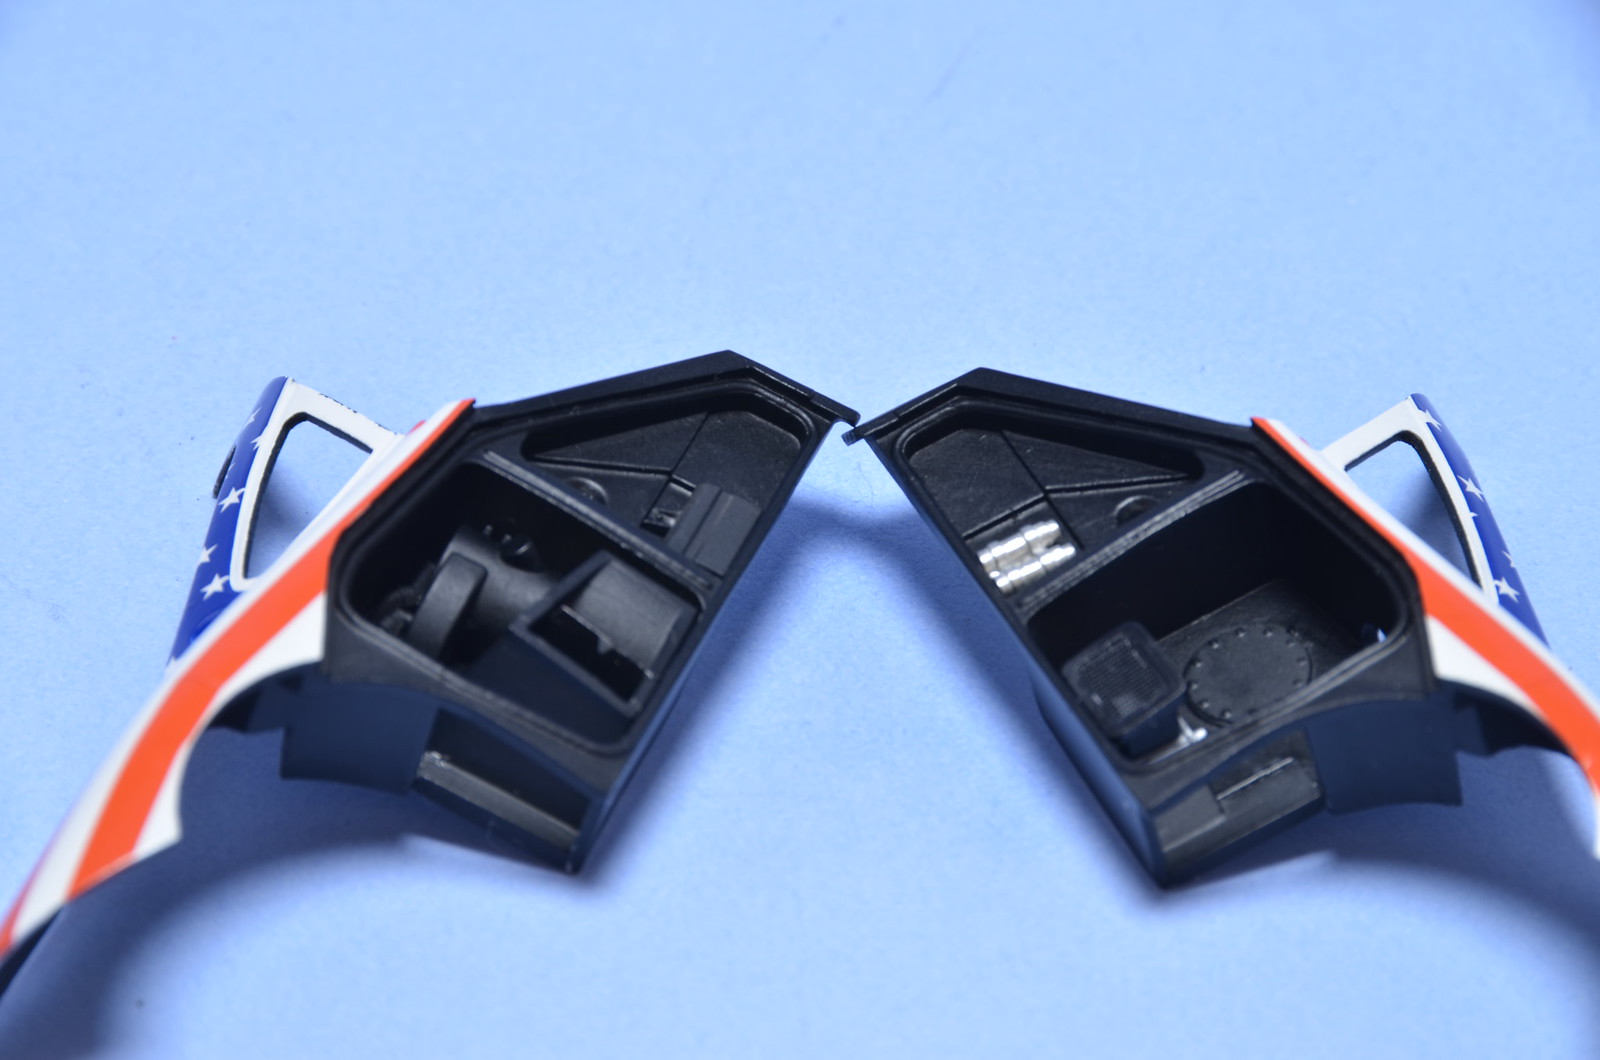
Removed major block over the weekend. Masked off and painted semi-gloss black all internal surfaces on body panels. 5 hours spent on complex masking seem like a lot of wasted time to me. But it had to be done. Actual painting took may be 15 min and then another 30 or so to remove masking. Fortunately there wasn't much bleed through to remove. I've used Tamiya fine polishing compound and cotton swabs to remove it. Over all result is better then I've expected. But most important is that I can go ahead and complete most of the assemblies for this model. Also cleared coated wheels and seat. Only some PE bits are left to paint, before I have it all ready for final push.

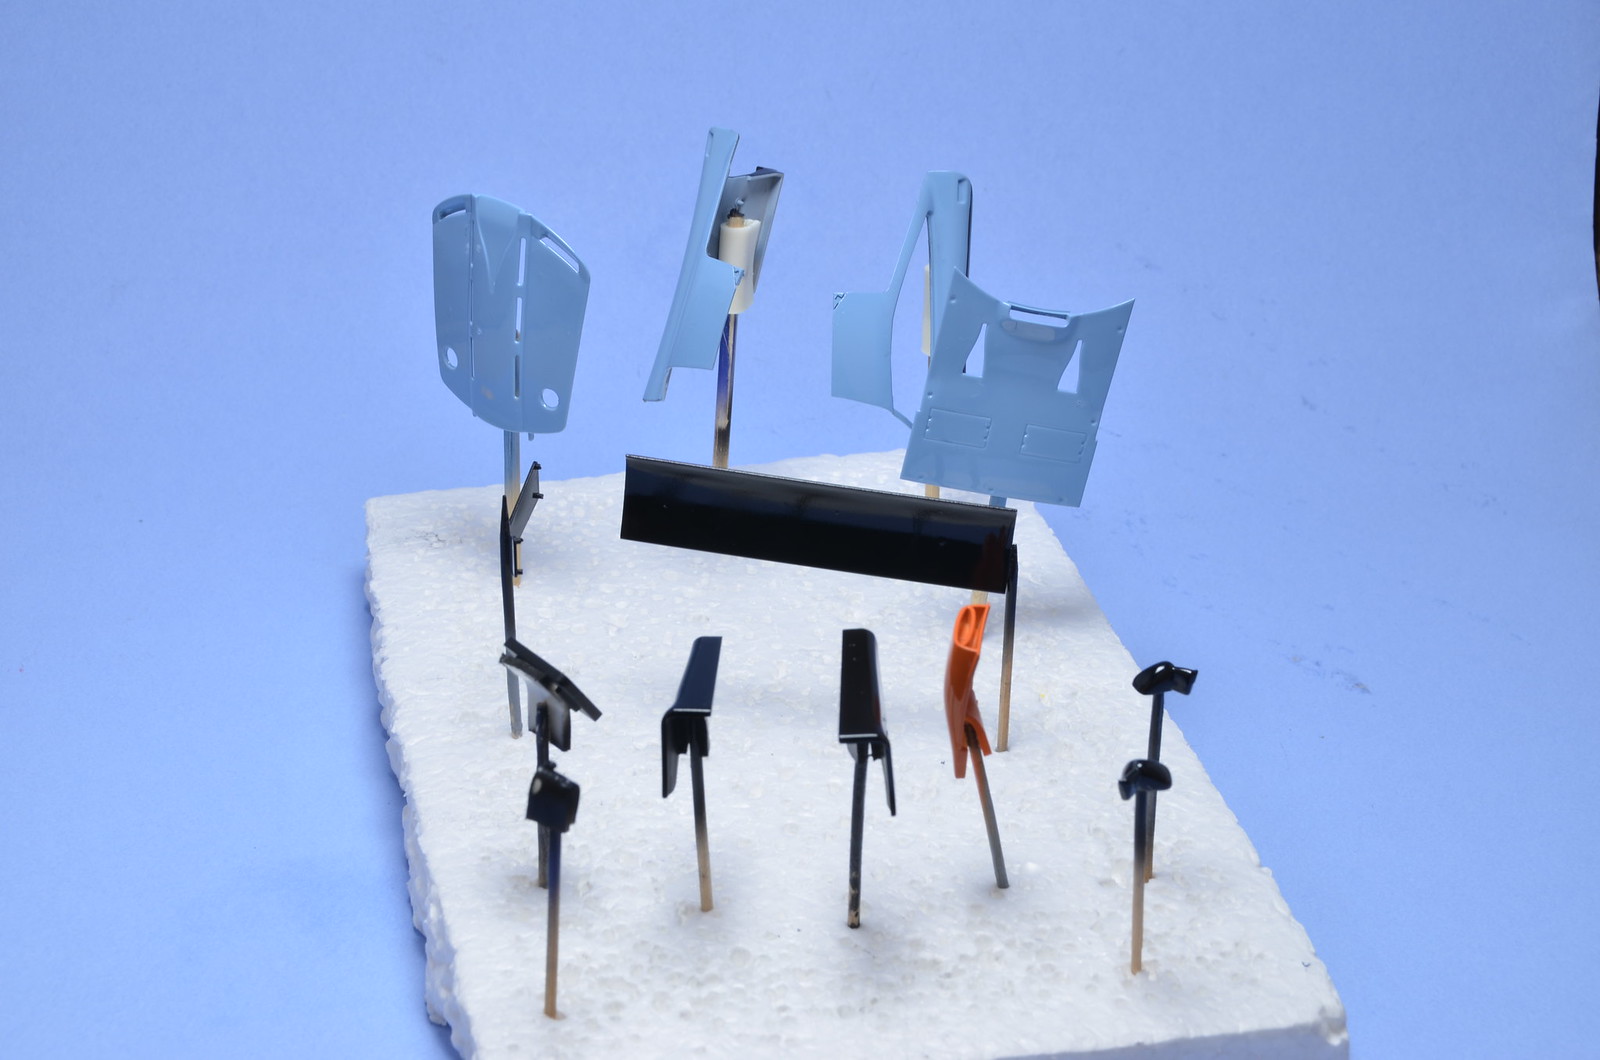
Here are masked parts with semi-gloss black already applied.


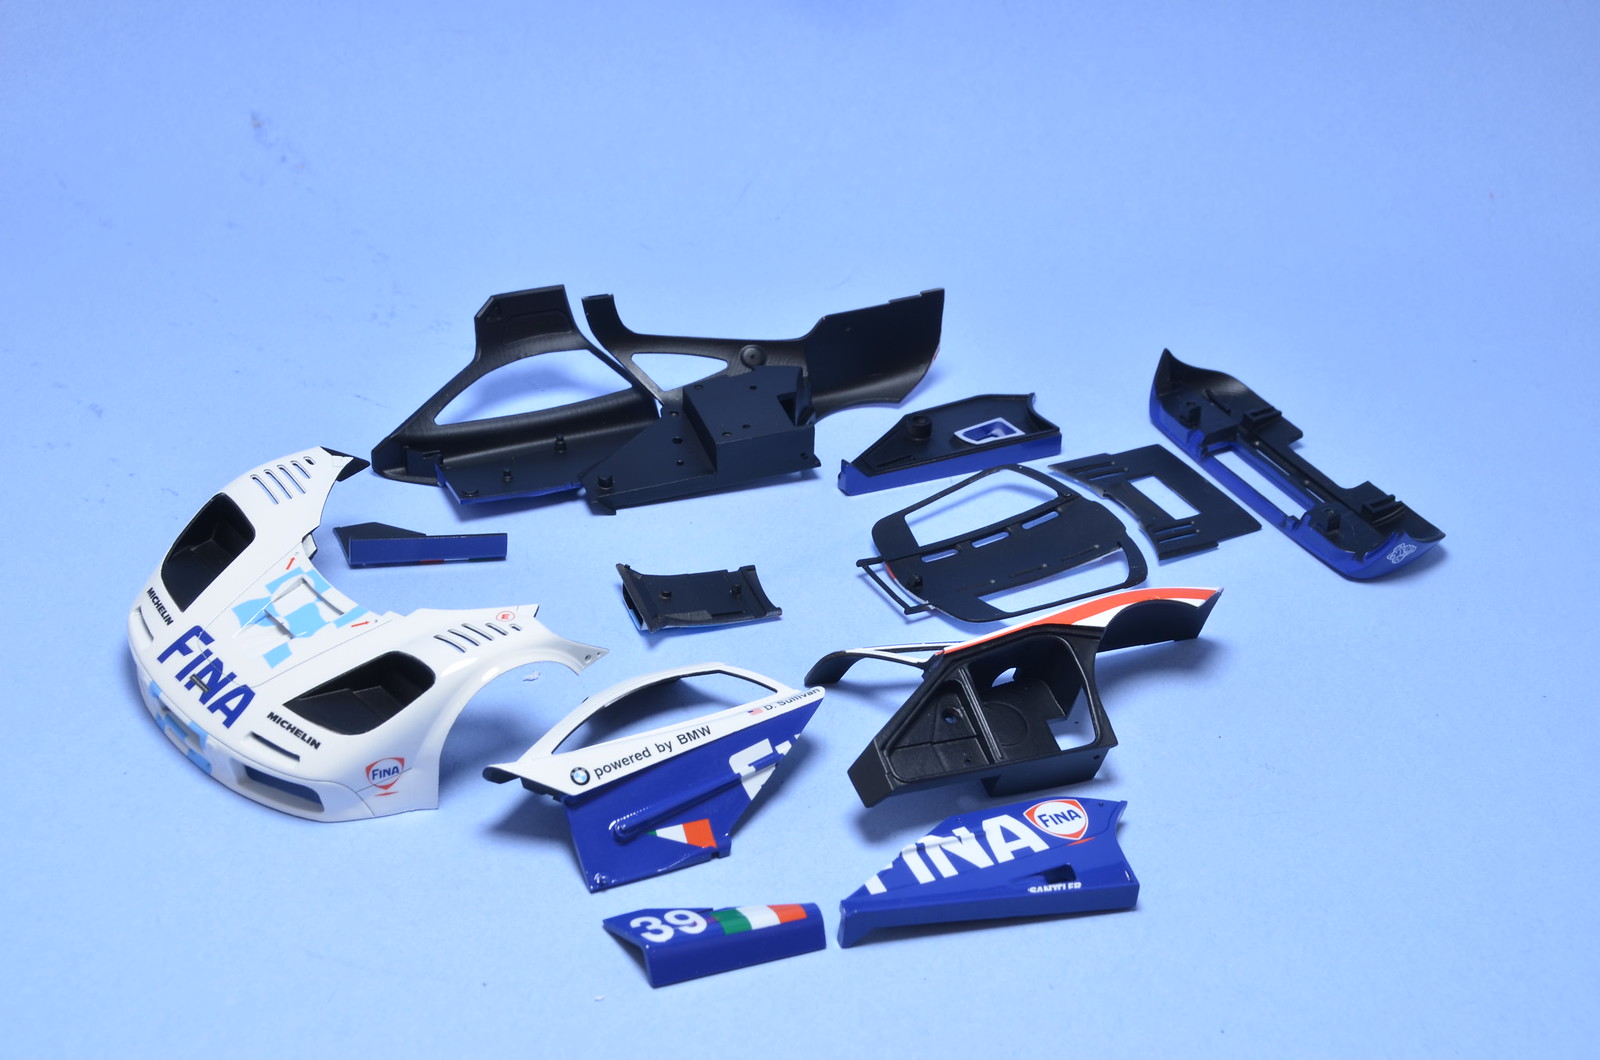
Here are parts ready to go. I can't show both side of parts at the same time, so I put some of them outer face out, some inner face out.